Ever feel like your nails are just… doing too much? One week you are rocking neon chrome and the next you are wondering why your hands look like they belong to someone else. What I’ve noticed over the years in this industry is that we always come back to the “Clean Girl” aesthetic for a reason. It is the white button down shirt of the beauty world. It is chic, it is reliable, and it makes you look like you actually have your life together even if your morning was a total disaster.
The mistake most people make with this look is thinking “simple” means “lazy.” Trust me, I have seen it all. A truly polished, everyday look requires a specific kind of intentionality. We are talking about the kind of nails that make people ask, “Are those your natural nails?” even when you are wearing three layers of product. Ready to ditch the high maintenance drama for some high value minimalist vibes? Let’s get into the essentials.
Quick Results Snapshot
- What This Look Solves: Overgrown cuticles, stained nail plates, and the daily “what color goes with this outfit” struggle.
- Who It’s Best For: Busy professionals, minimalist lovers, and anyone trying to grow out damaged nails from heavy extensions.
- Time Required: 30 to 45 minutes for the initial DIY set, or 1 hour at the salon.
- Budget Range: $15 (DIY basics) to $90 (Luxury Russian Manicure).
- Expected Timeline: Instant aesthetic upgrade, but expect 4 weeks for natural nail strength to peak.
- Biggest Mistakes: Skipping the cuticle prep and over buffing the nail plate until it is paper thin. FYI, thin nails don’t hold polish.
Goal + Who It Is For
The goal here is simple. We want a glossy, “expensive” finish that looks effortless. This look is for the girl who wants her hands to look groomed but doesn’t want to spend every Sunday night at a nail salon. It is best for short to medium nails, brittle nails that need a break, and absolute beginners.
If you have active nail infections, severely damaged nail beds from “ripping” off acrylics, or a known allergy to HEMA (if using gel), you should skip the polish for now. Focus on the “Recovery” section I’ve included at the end of this article instead. Your nail health always comes first. 🙂
Love the momentum. Now we are getting into the “meat” of the article. If the intro set the mood, this next section is where we build the foundation. Most people think the “Clean Girl” look is just about the polish color, but any pro will tell you that the magic is in the prep.
Nail Prep: The Invisible Hero
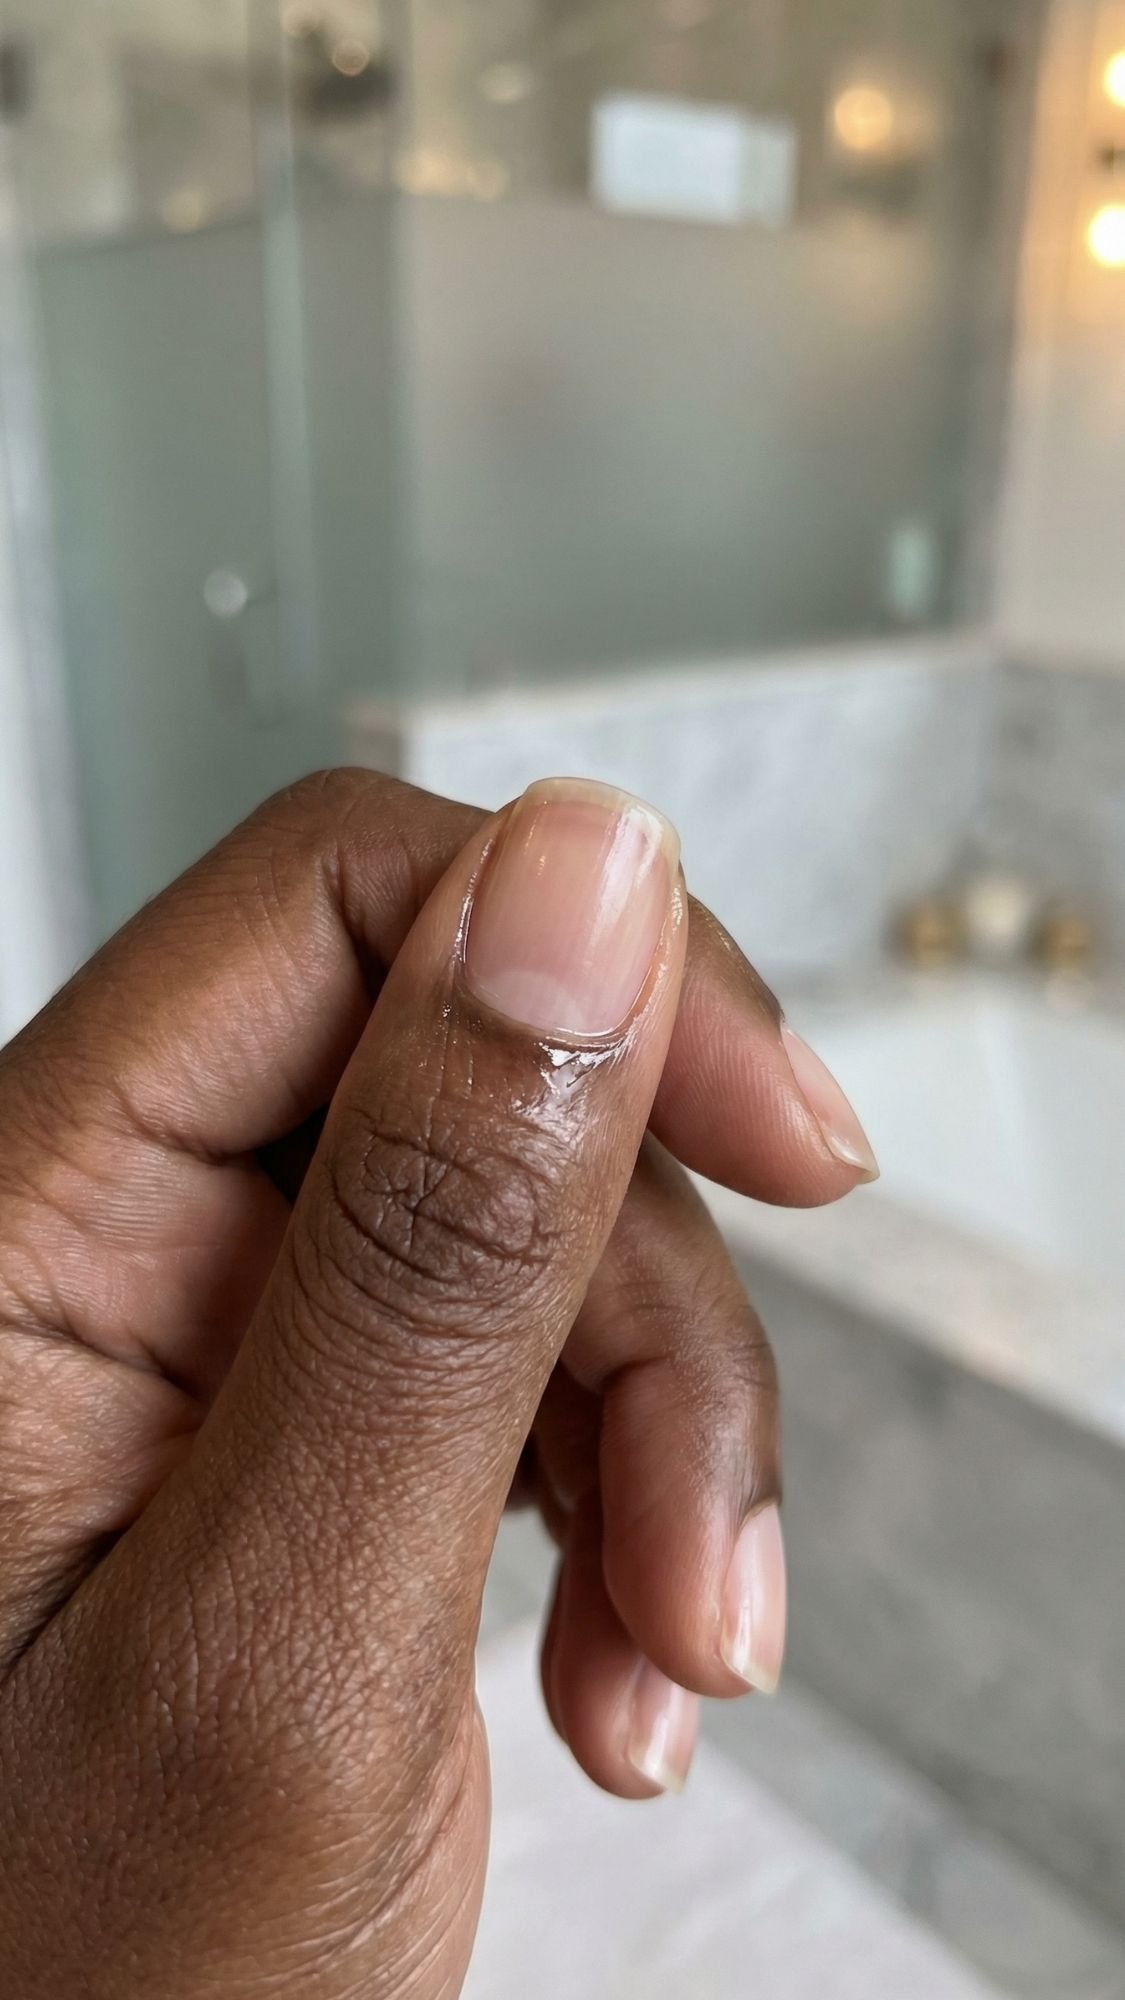
What I have noticed over the years is that a “clean” look fails immediately if the prep is messy. You can have the most expensive sheer polish in the world, but if it is sitting on top of dry, jagged cuticles, it looks cheap. IMO, prep is 80% of the work. The mistake most people make with this technique is jumping straight to the color without “dehydrating” the nail plate first.
- The Dehydration Move: After you shape your nails, wipe each one with 90% isopropyl alcohol. It feels cold and smells clinical for a second, but it removes the natural oils that cause polish to lift.
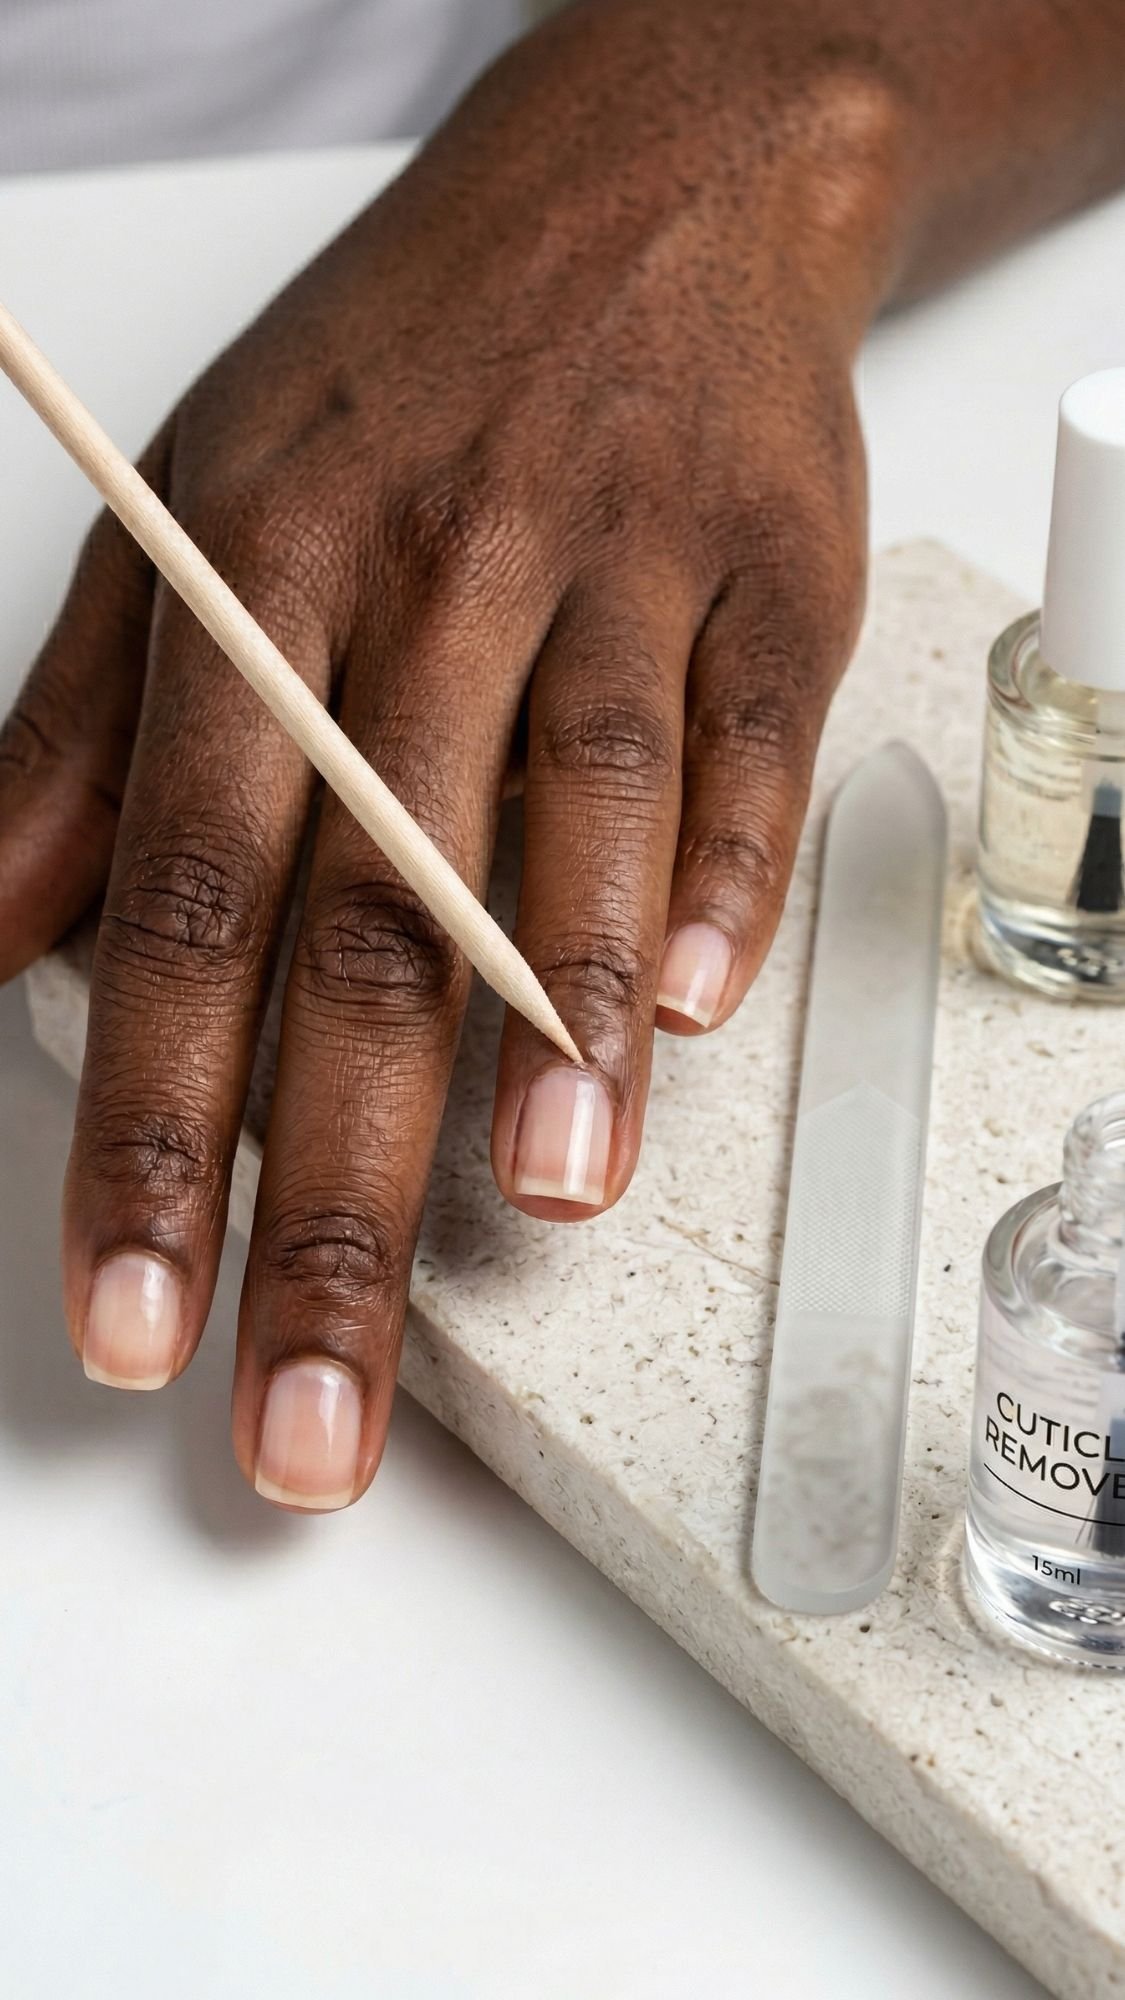
- The Cuticle “Push” (Not Cut): I never recommend “hacking” at your cuticles with nippers. Instead, use a liquid cuticle remover. It usually has a slightly soapy, slippery texture. Apply it, wait 30 seconds, and gently push the skin back with an orangewood stick.
- The Shape Factor: For that polished everyday look, I always suggest a “Squoval” (square-oval) or a soft almond. These shapes follow the natural line of your finger and are much less likely to snag on your favorite sweater.
- Glass Filing Only: Toss those orange sandpaper files in the trash. A glass file feels smoother and literally seals the edges of your nails as you file. It prevents that annoying peeling at the tips that we all hate.
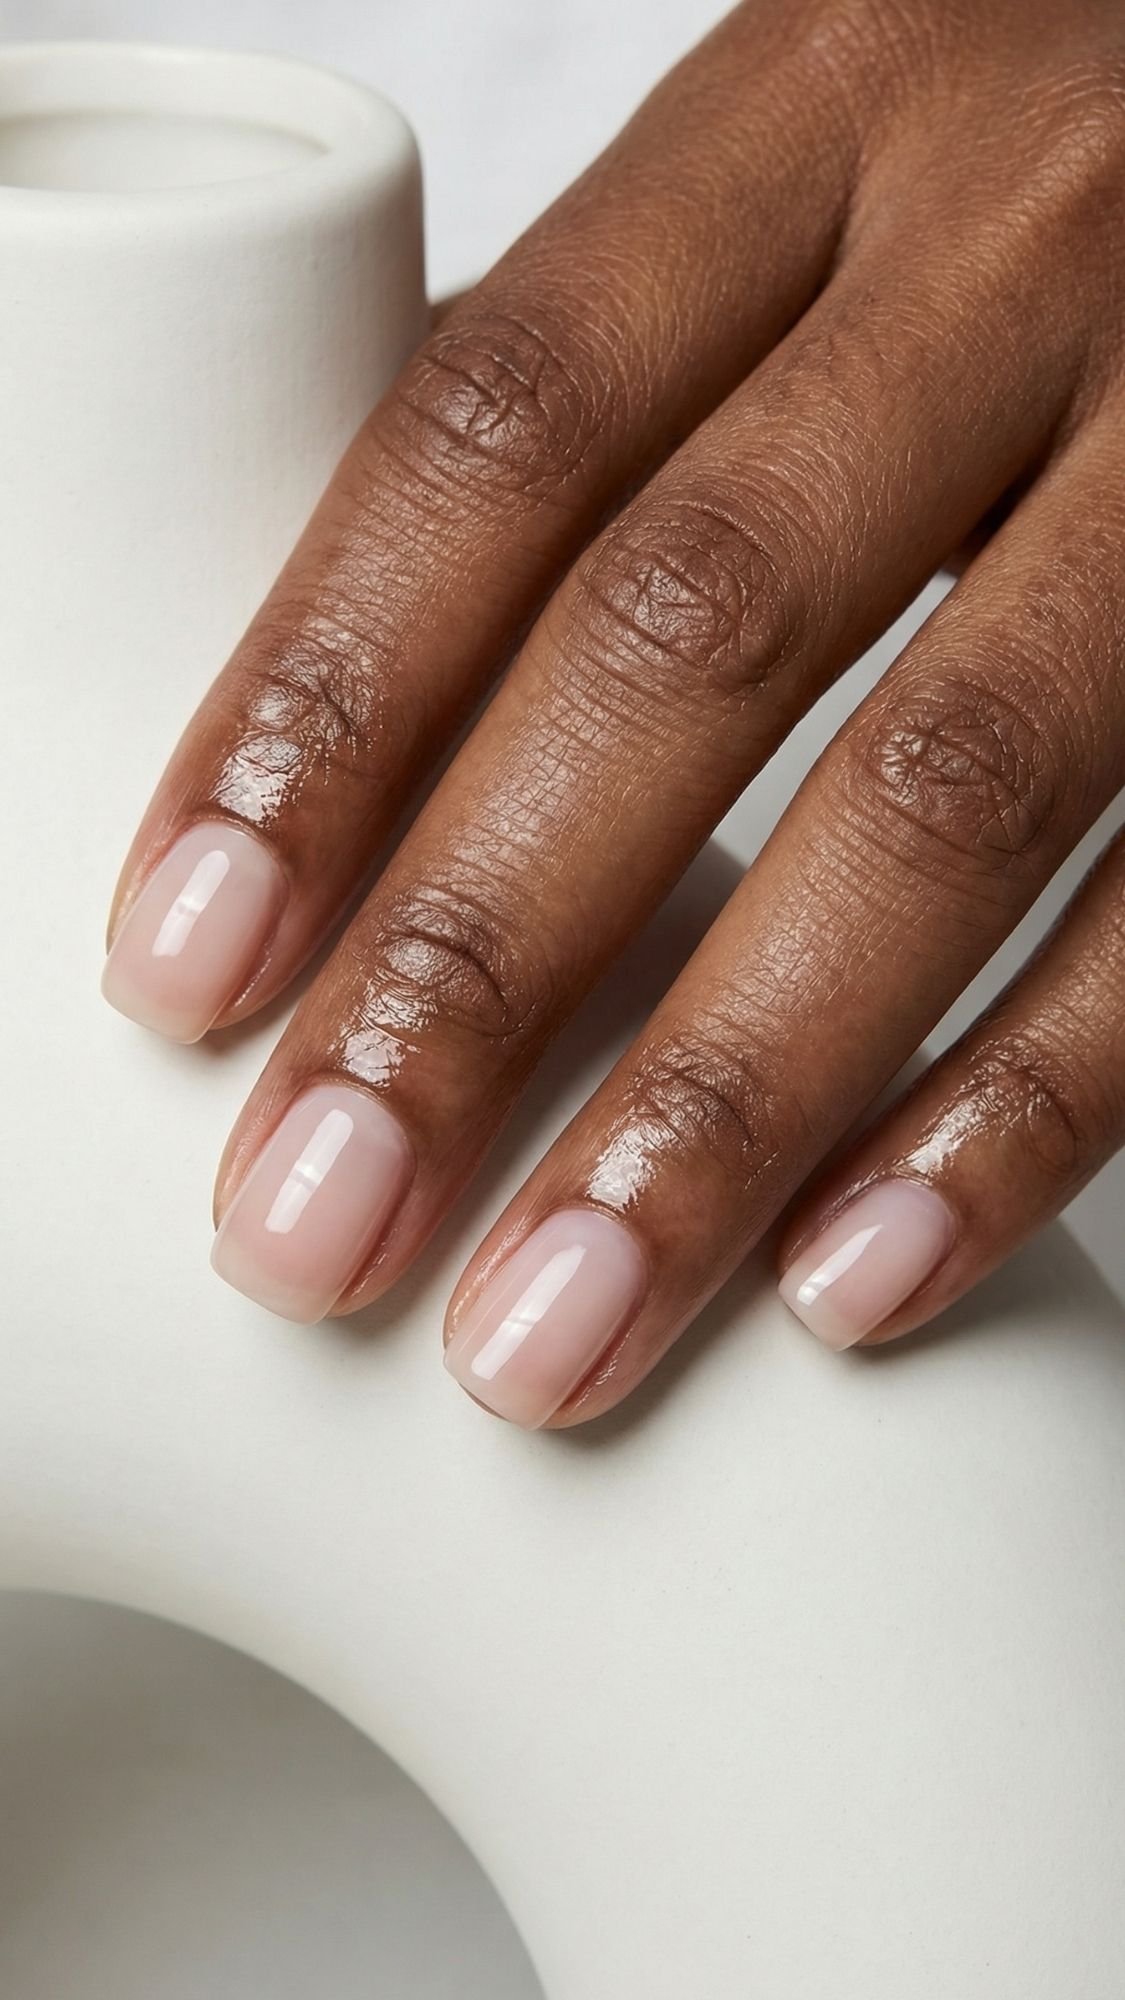
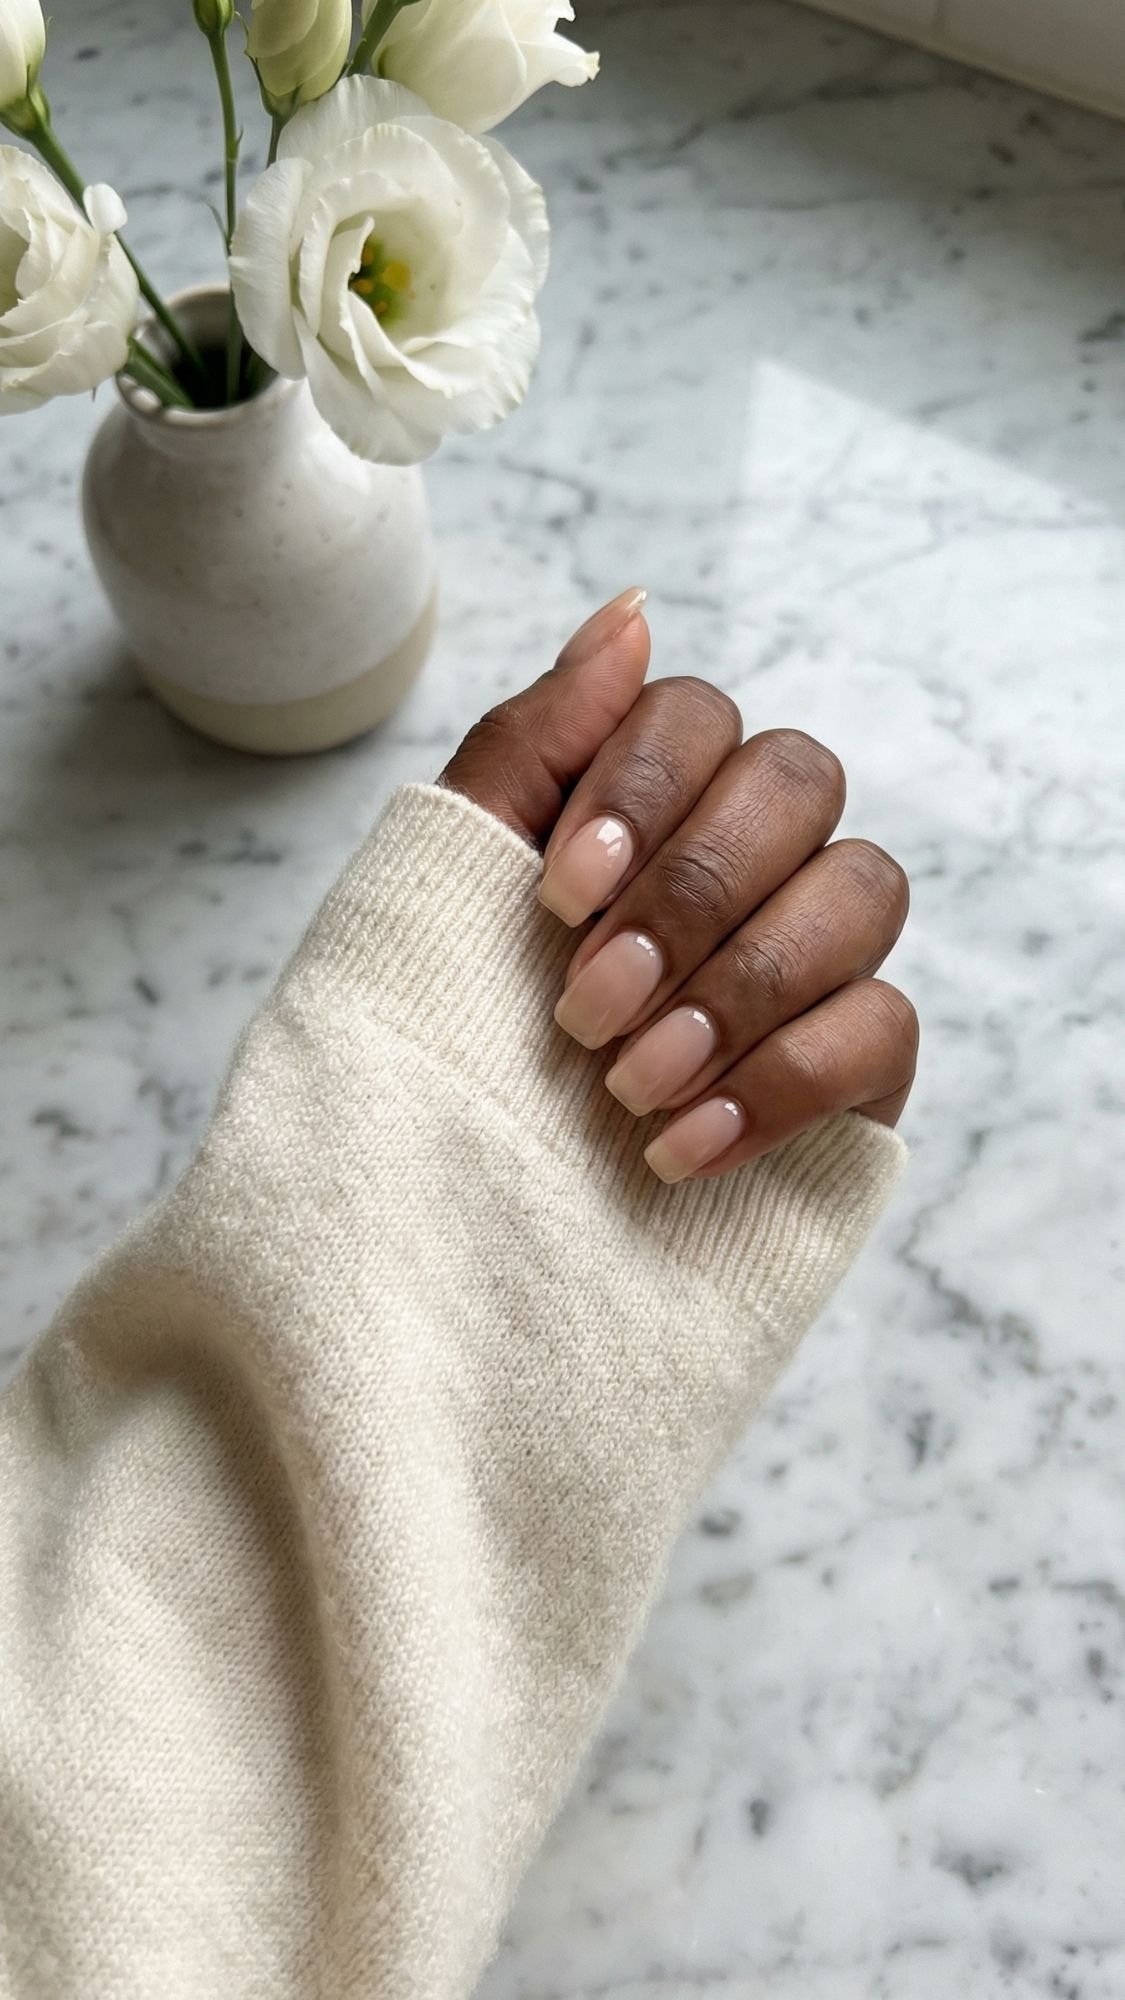
1. The “Soap Nail” (Ultra Glossy)
This is the breakout star of 2026. The goal is for your nails to look like they just came out of a fresh, sudsy bath. It is not quite clear, but it is not quite pink either. It has a translucent, “high-water” shine that makes the nail bed look bright and incredibly healthy.
The pro secret here is to use a tinted ridge filler as your base instead of a regular clear coat. Most ridge fillers have a slight “blurring” effect that hides any white spots or unevenness on your natural nail plate. Follow that with two coats of an ultra-glossy, plumping top coat. It is the ultimate “I’m not wearing makeup” makeup look for your hands.
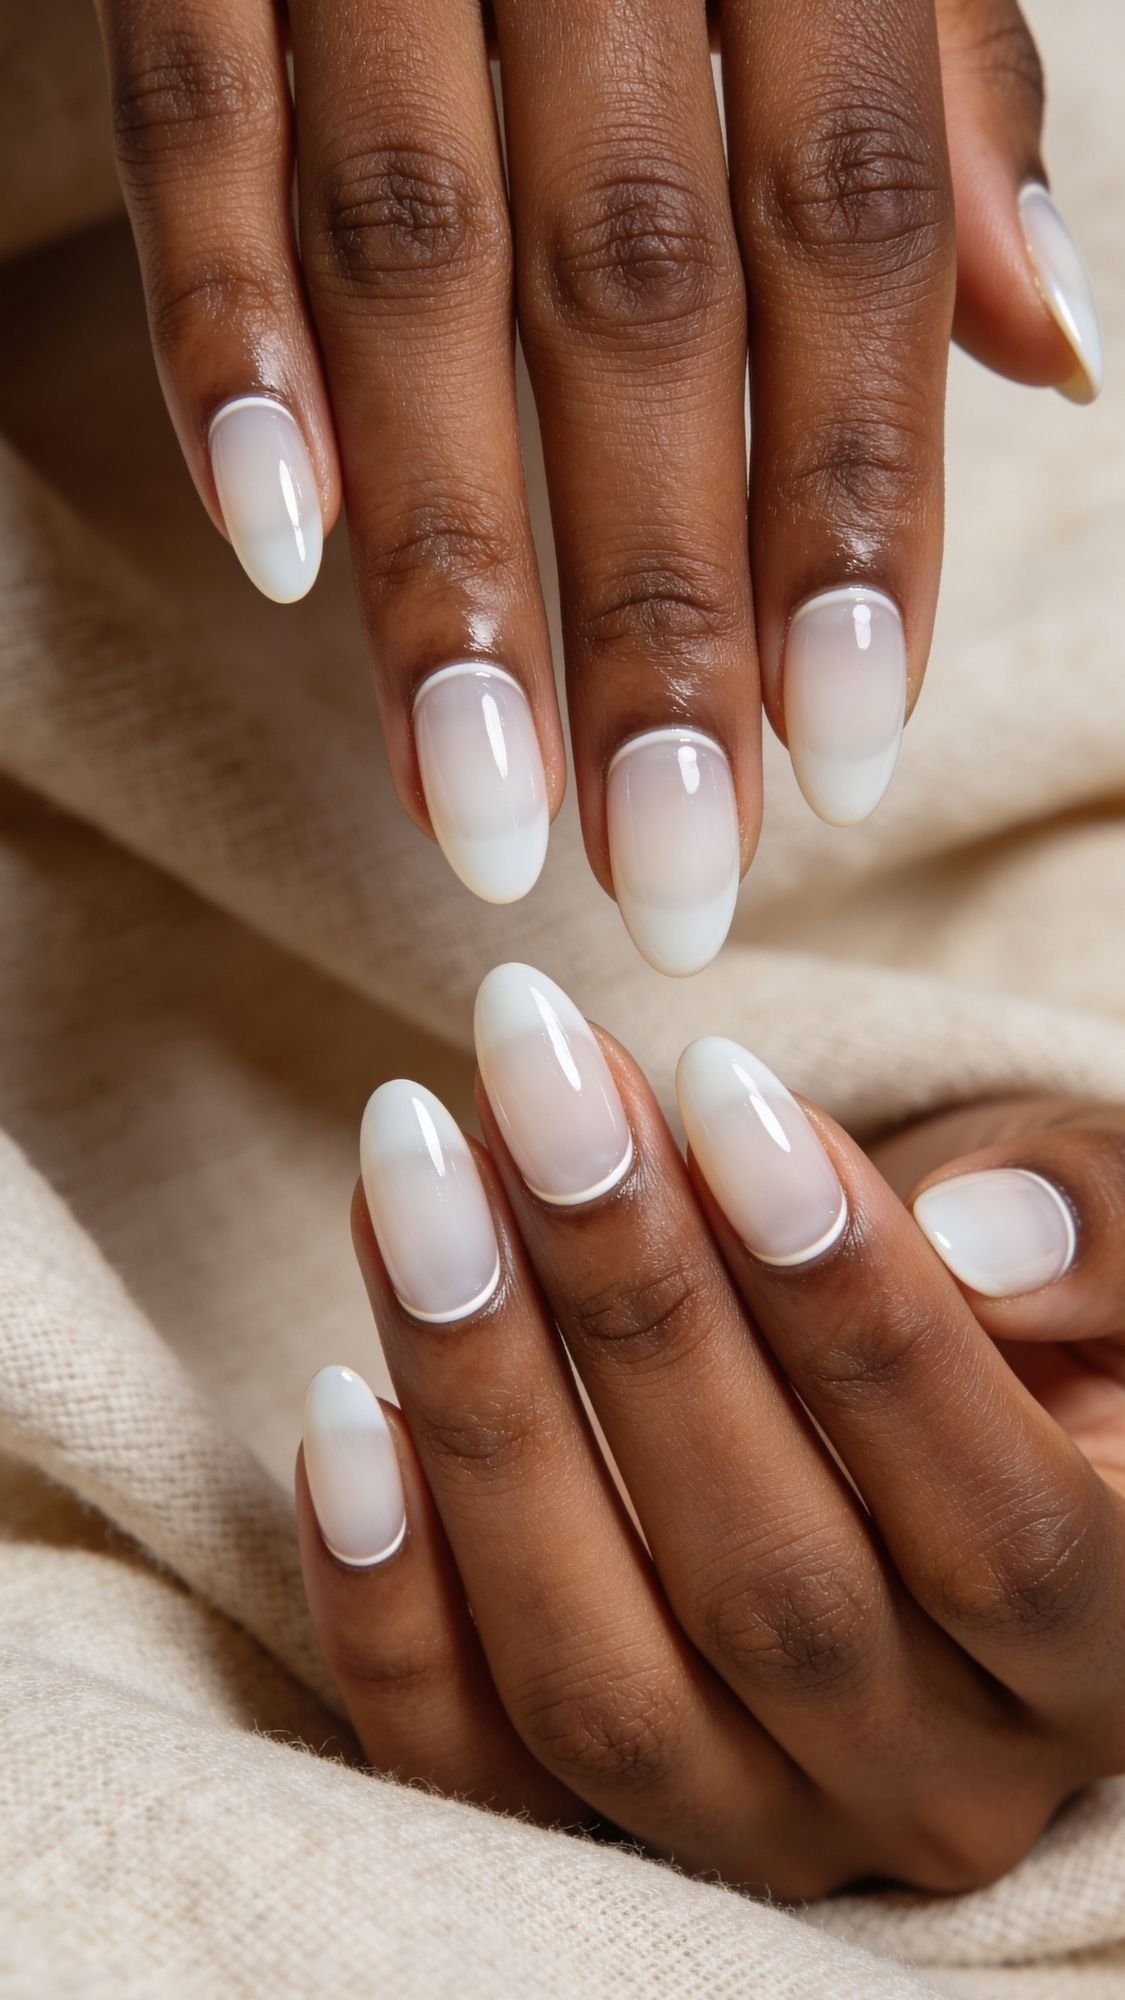
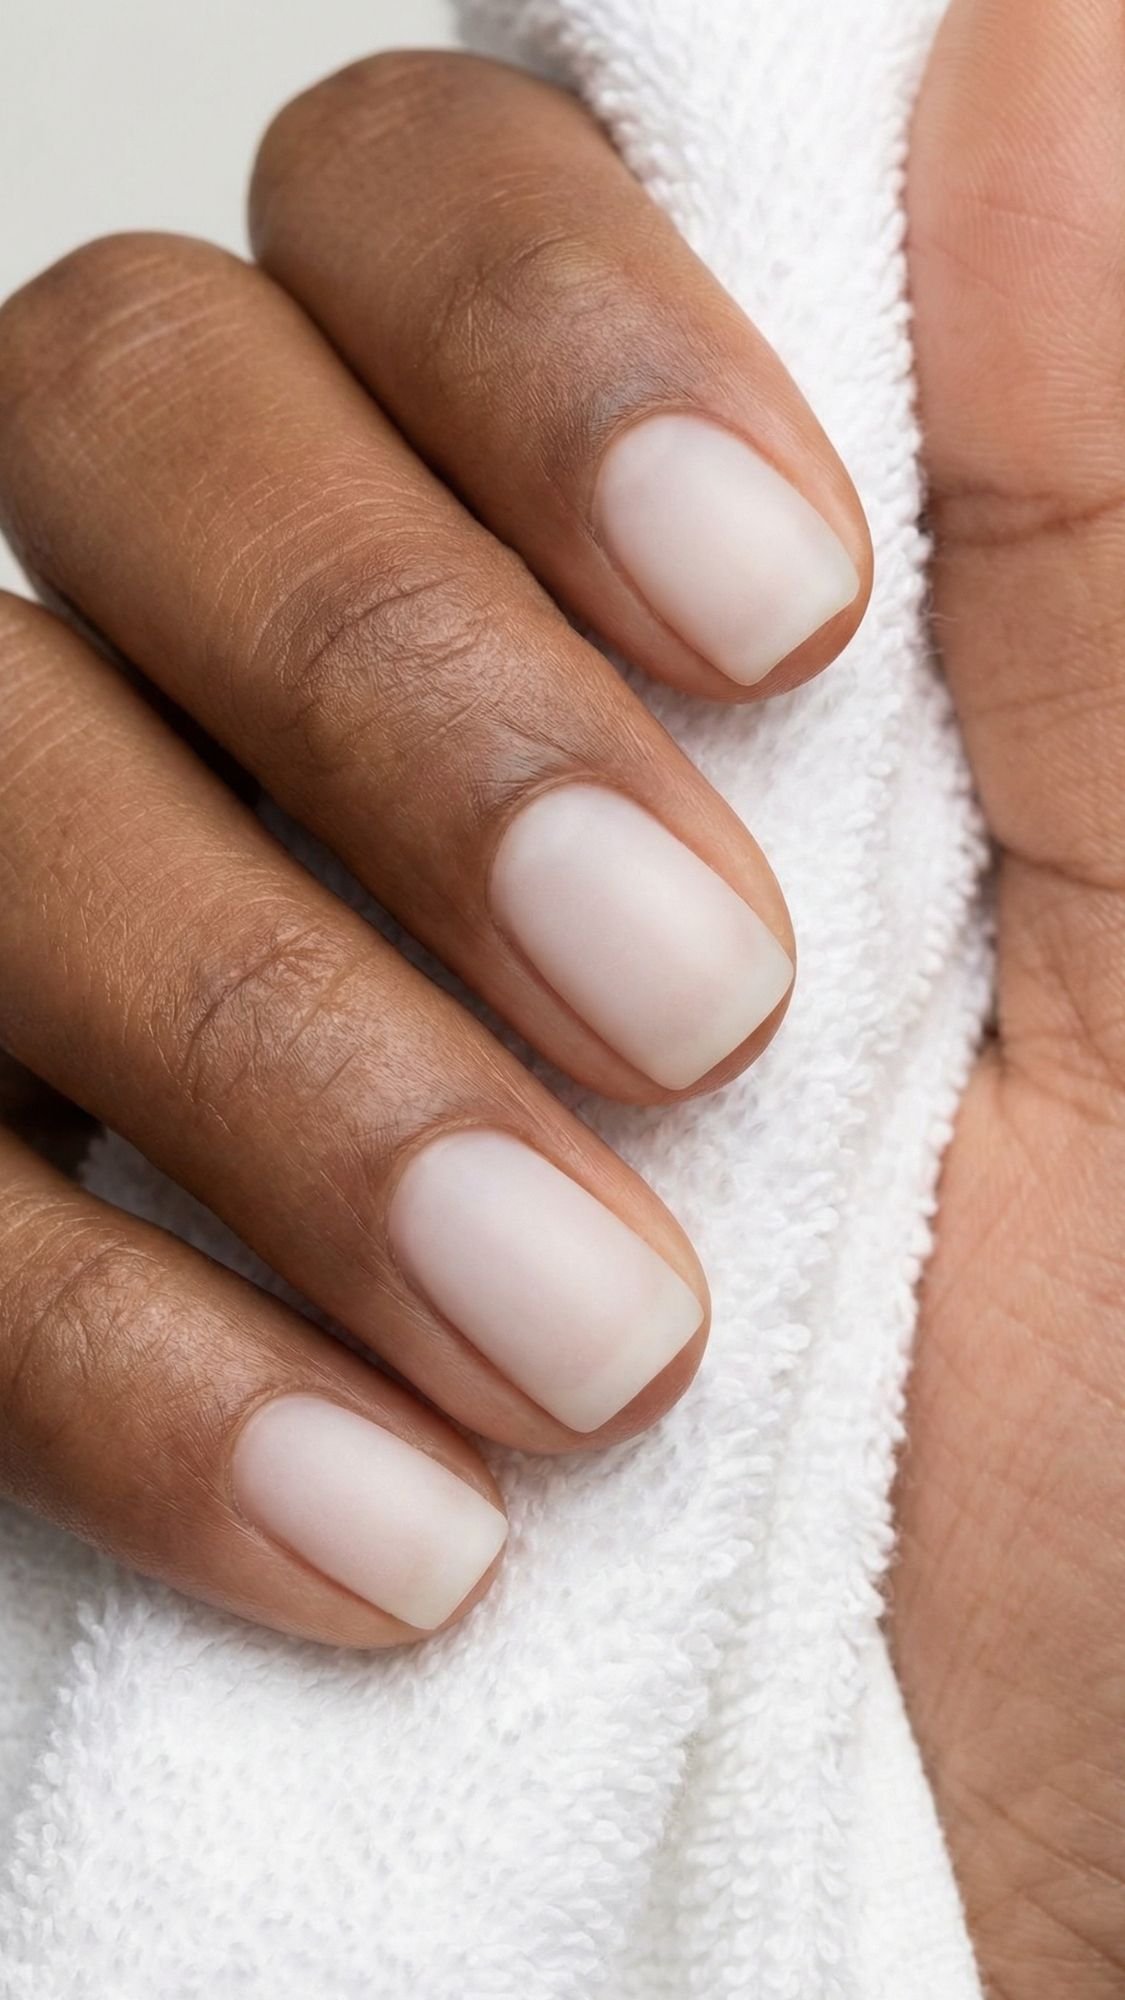
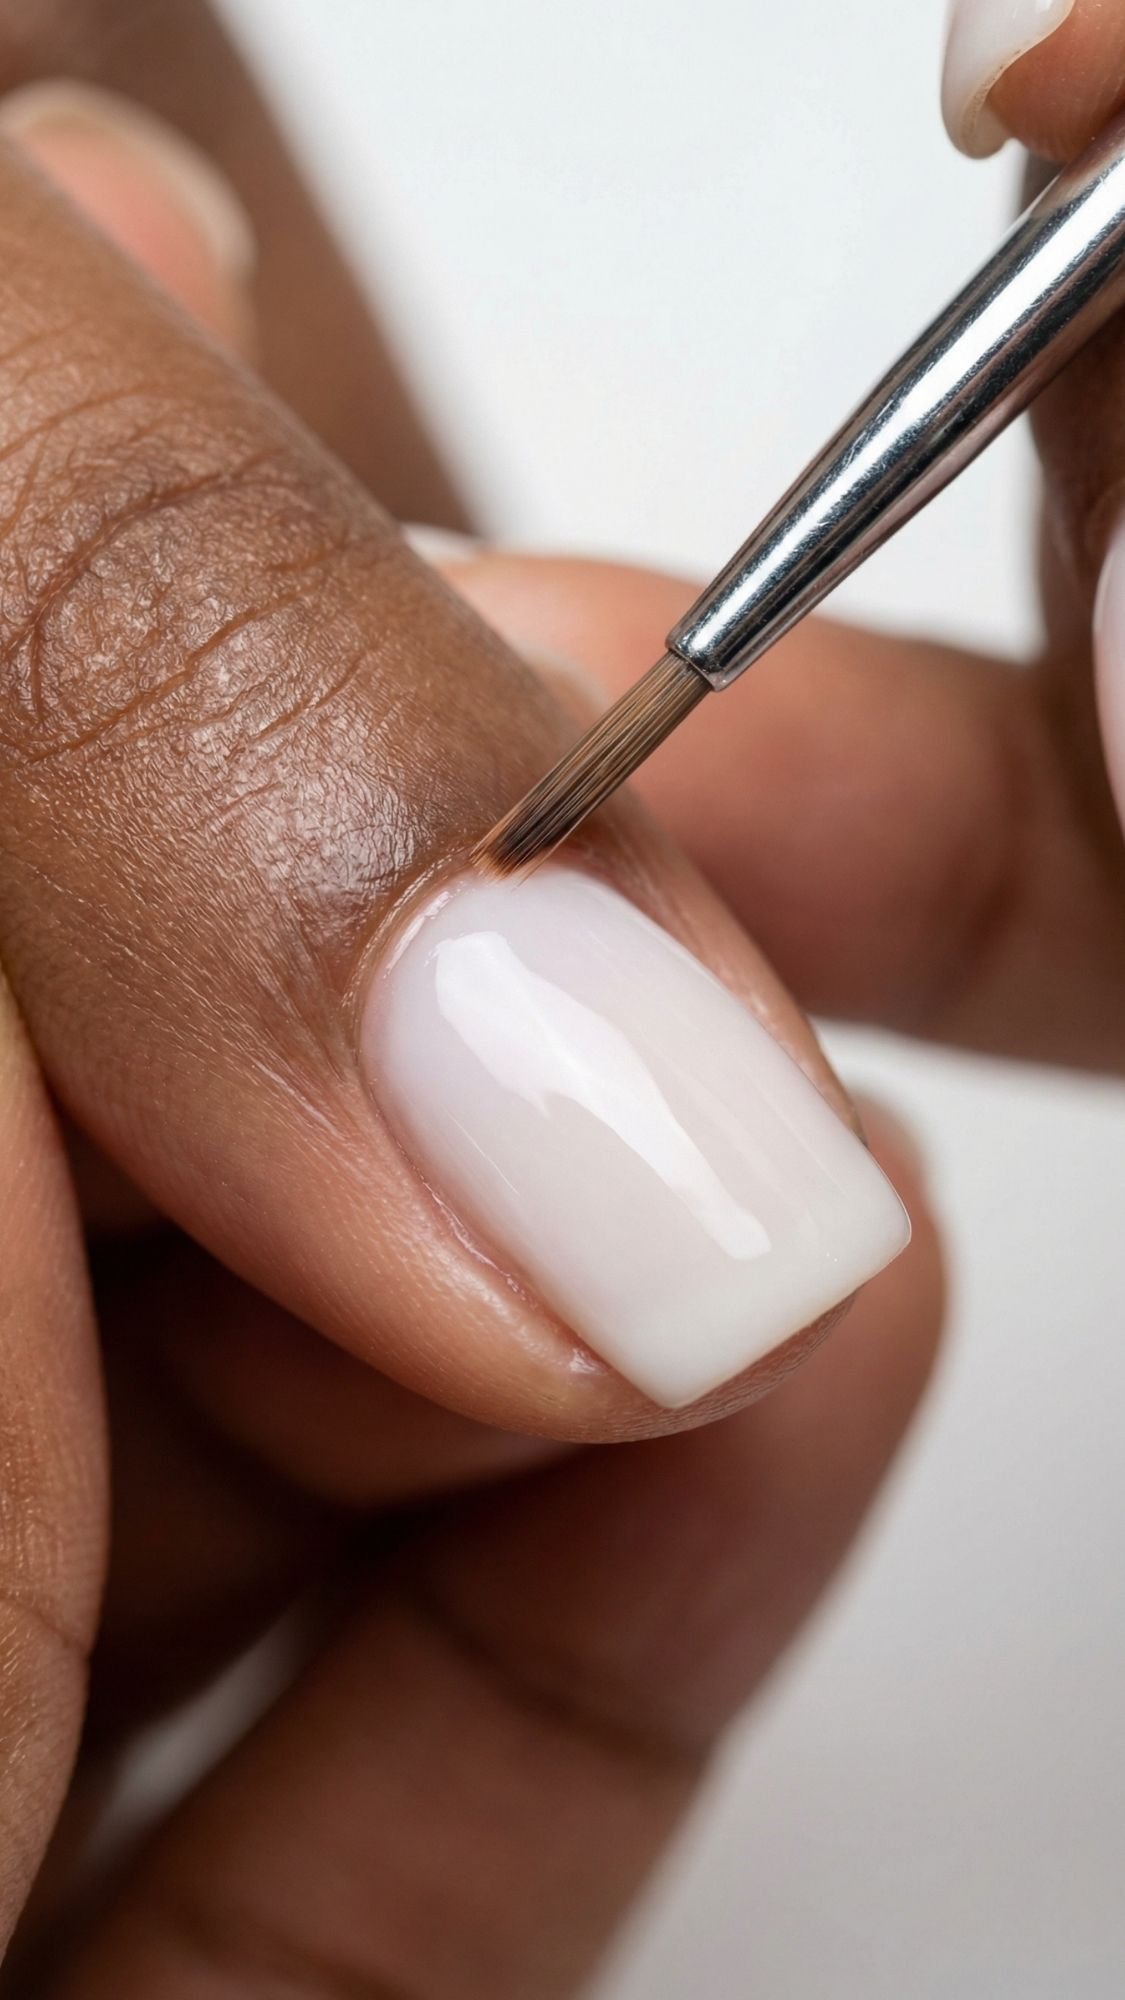
2. Milky White Jelly
I have a love-hate relationship with white polish. Standard “stark white” can often look like white-out, which is never the vibe for a clean look. But a Milky White Jelly? That is sophisticated. The texture is buildable and slightly sheer, so it doesn’t look flat or chalky against your skin.
If you have a deeper skin tone, this look is a total power move. The soft contrast is stunning. Just make sure you are doing very thin coats. If you go too heavy with a jelly formula, it won’t level out properly, and you will end up with those annoying streaks that scream “I did this in a rush.”
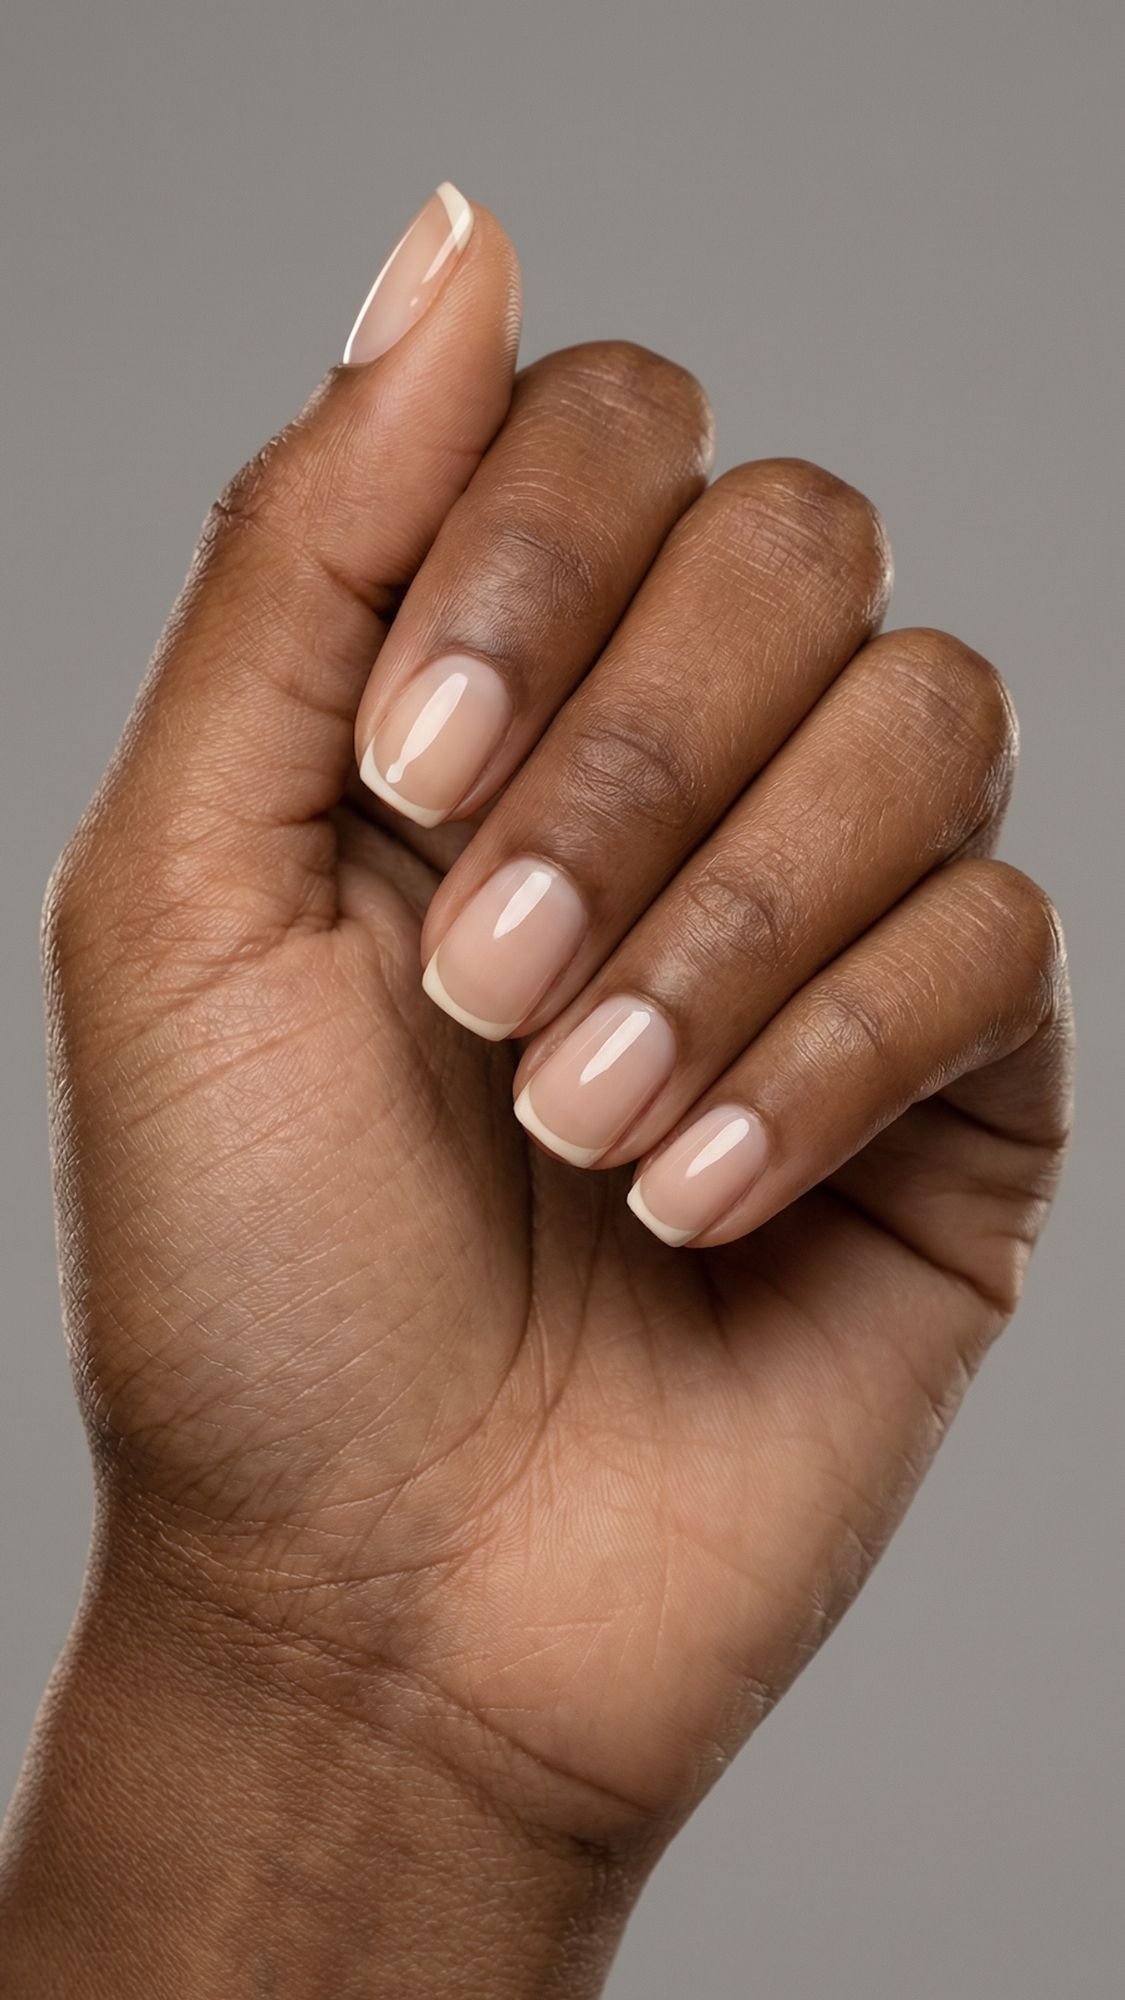
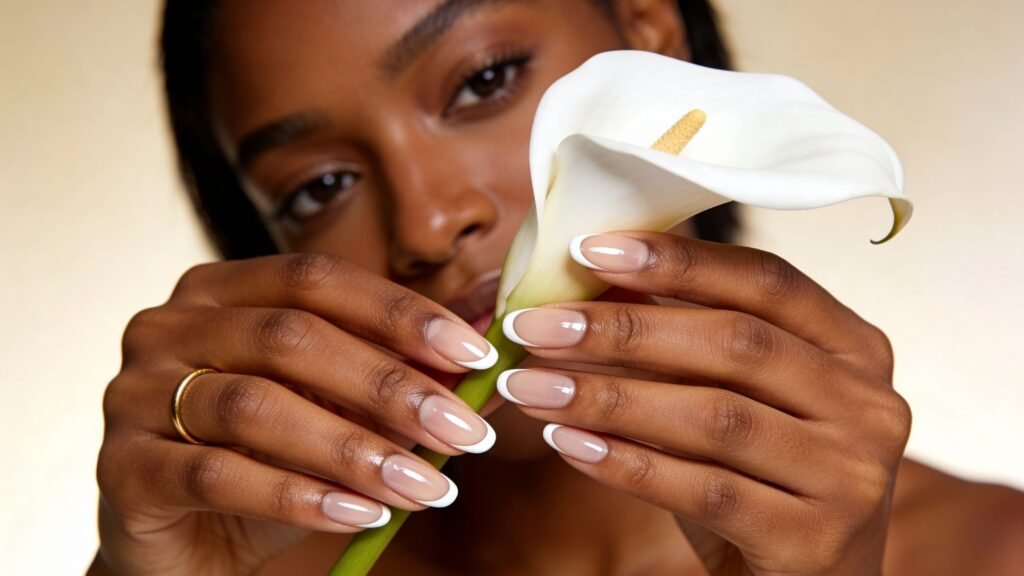
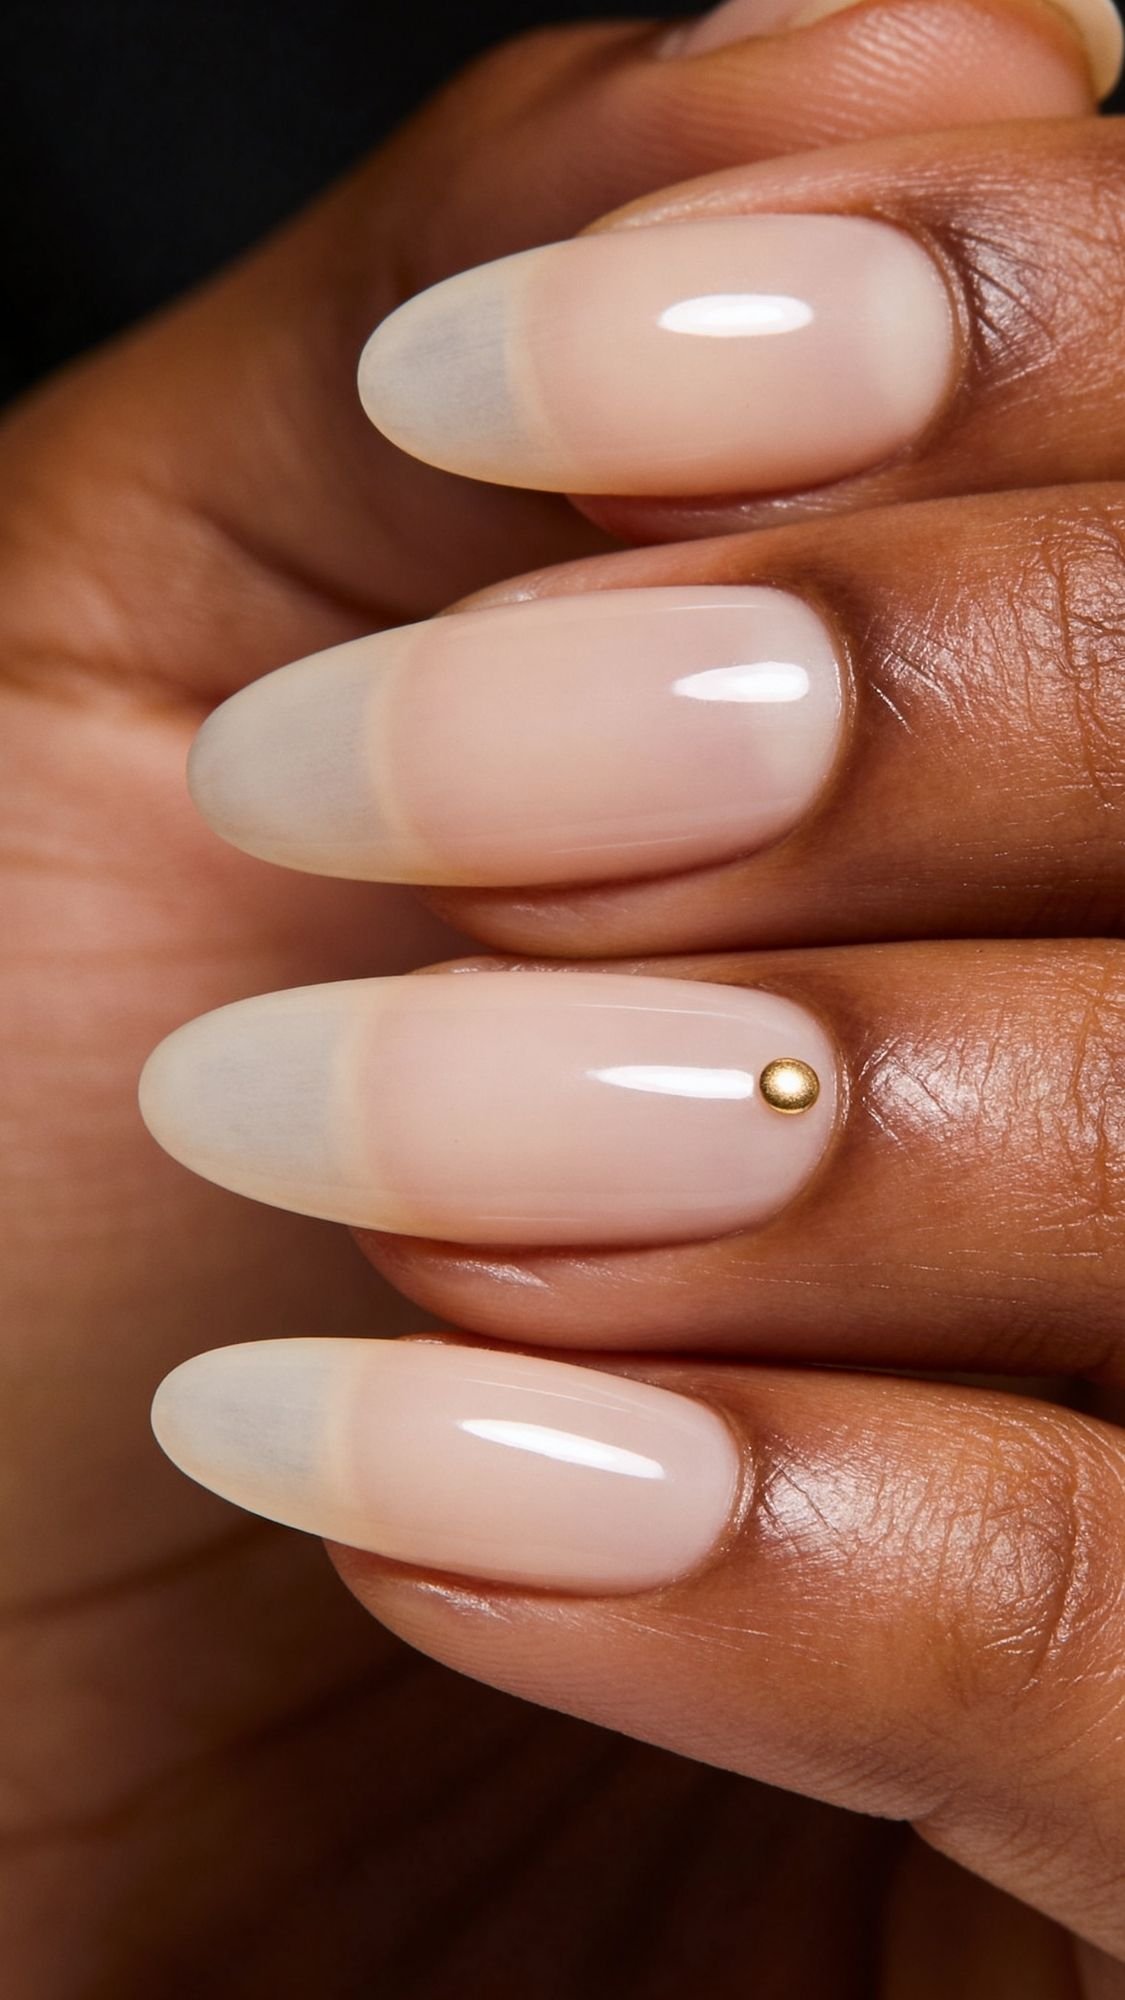
3. The Micro French Tip
Forget the thick, blocky French tips from the early 2000s. The 2026 version is so thin you might miss it if you blink. We are talking about a line at the very tip that is barely a millimeter wide. It provides just enough “structure” to make your nails look professionally done without being loud or trendy.
The mistake most people make is using a pure, bright white for the tip. Instead, reach for an off-white or “linen” shade. It looks much more organic next to the natural color of your nail bed. Use a tiny, long-haired striping brush to “draw” the smile line. If your hand is shaky, try moving your finger instead of the brush. It is a total game-changer for stability.
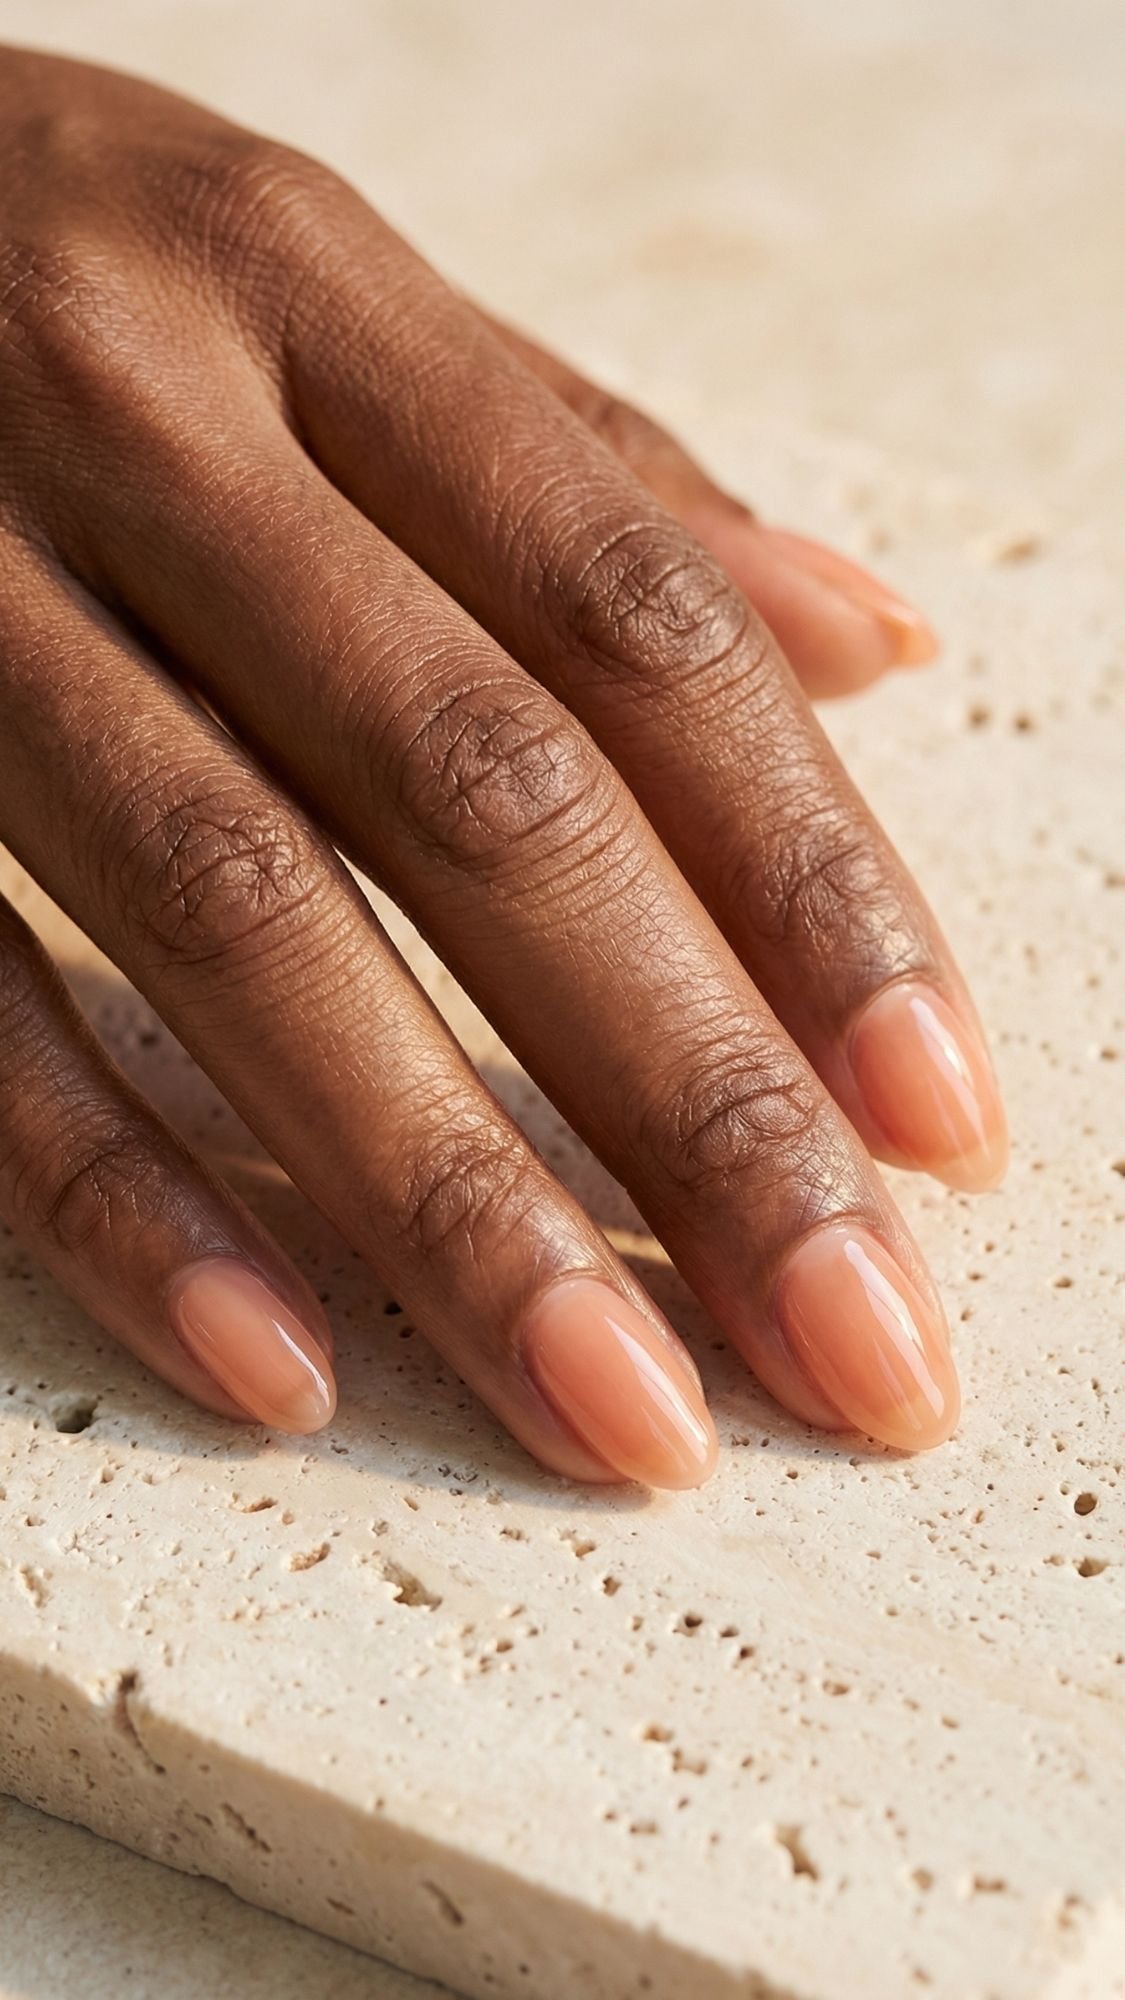
4. Lip Gloss Nails
This is for the girl who loves a bit of “squish.” Lip gloss nails mimic the look of a high-shine, slightly tinted lip oil. It is usually a soft, sheer rose or peach that gives the nail a healthy, flushed glow.
The texture of the polish should feel slightly “syrupy” as you apply it. I love this for everyday wear because as it grows out, the “line of demarcation” near your cuticles is almost invisible. You can easily stretch this mani for 10 to 14 days without anyone noticing you are overdue for a refresh. Plus, it looks incredibly healthy in photos. 🙂
5. Skin-Matching Sheers
This is the ultimate “no-manicure” manicure. The goal is to find a shade that is an exact match for your skin’s undertone. When you get this right, your nails look like an extension of your fingers, which elongates your hands beautifully. What I have noticed over the years is that people often pick a shade that is too “cool” or “white-based,” which can make deeper skin tones look a bit ashy.
- Pro Tip: Look for “syrup” textures. If the polish looks a bit translucent in the bottle, it will melt into your skin tone much better than a flat cream.
- The Undertone Test: Hold the bottle up to your wrist. If the polish makes your skin look vibrant, it’s a winner. If it makes you look slightly gray, put it back.
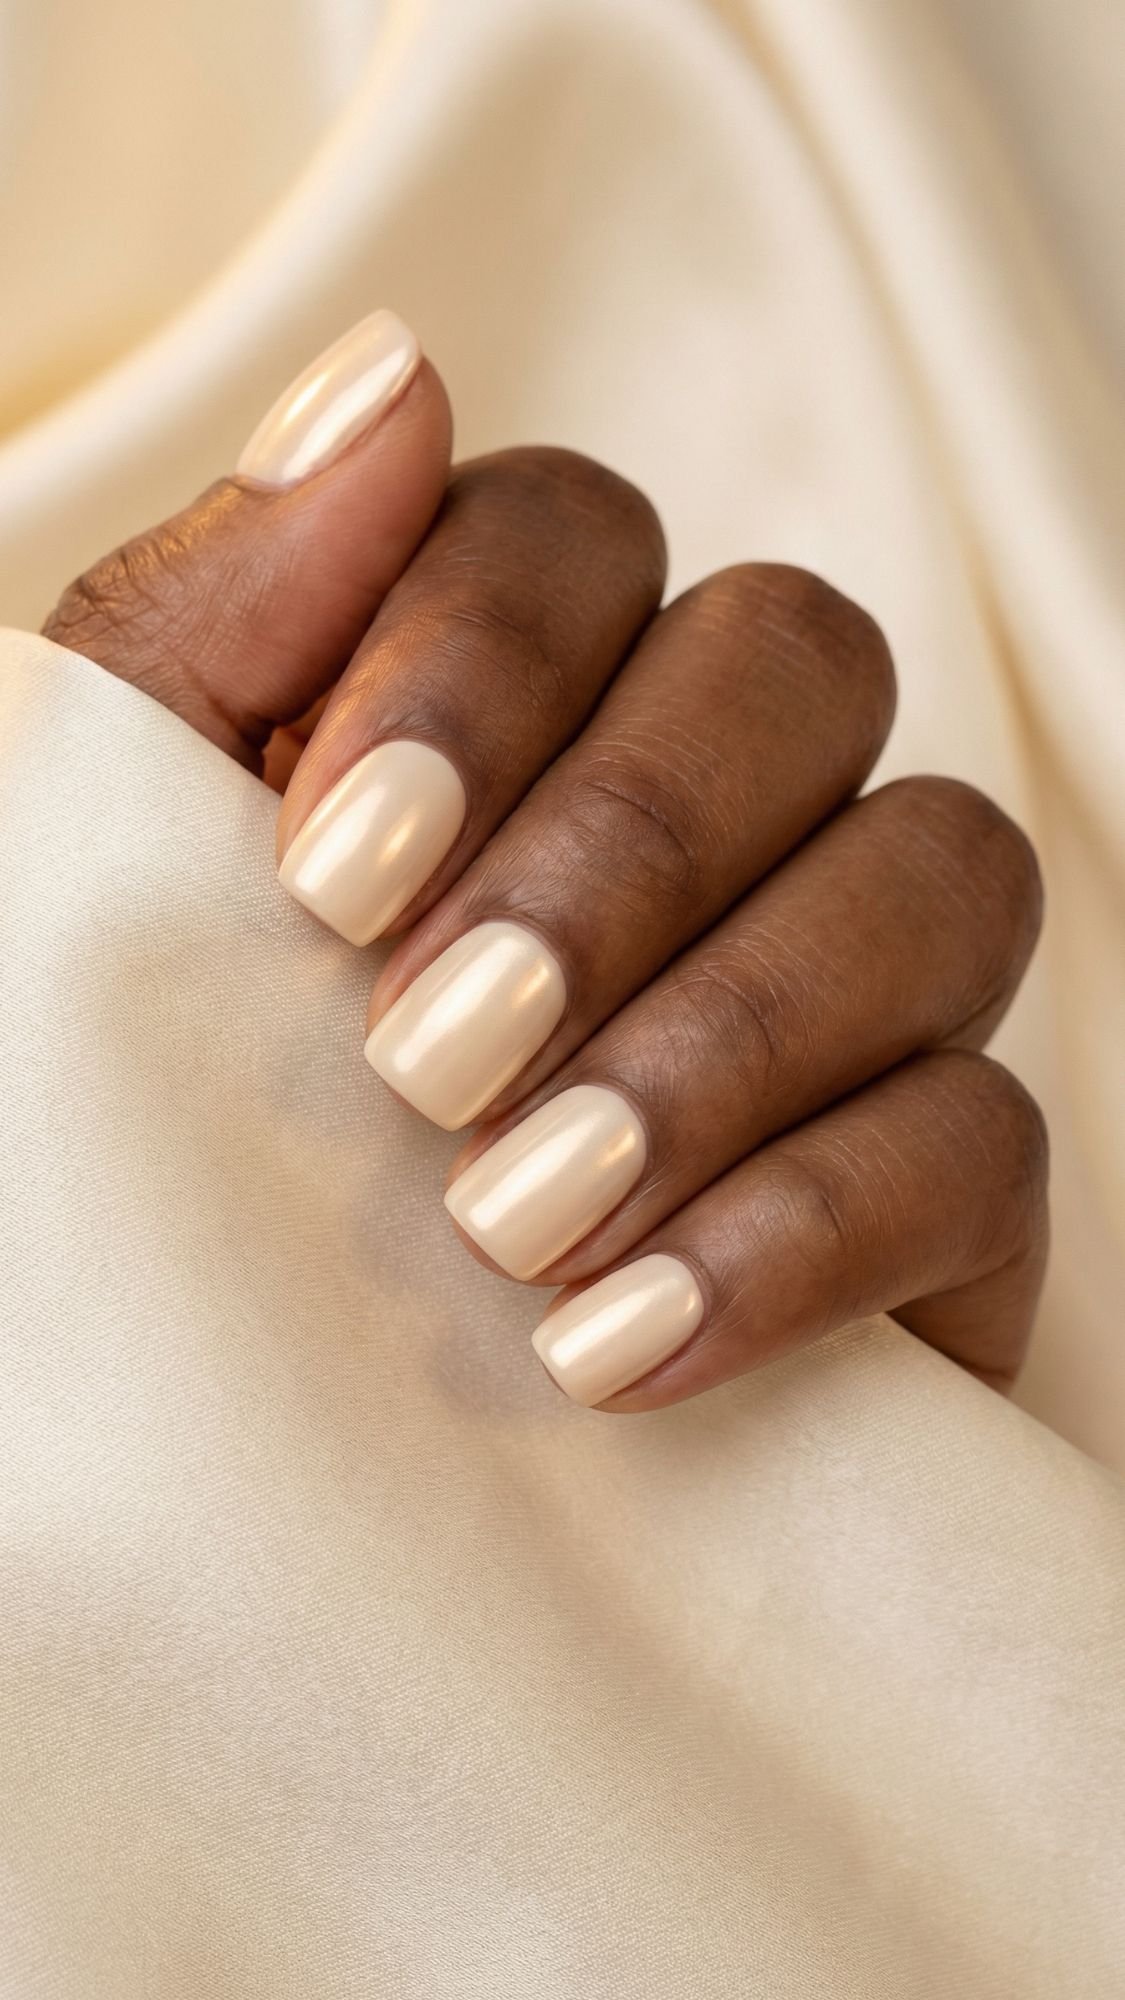
6. Vanilla Chrome (The 2026 Refresh)
We all remember the “Glazed Donut” craze, but for 2026, we are toning it down. The Vanilla Chrome look uses a soft, off-white base with a very fine pearlescent powder. The mistake most people make with this technique is using too much chrome powder. If you use too much, it looks like a mirror; if you use just a “whisper,” it looks like a soft glow.
- Application Hack: Apply your top coat, cure it (if using gel) for only 15 seconds, and then rub the powder in. This “half-cure” gives the powder just enough grip to shine without becoming chunky.
- The Finish: It should look like a silk ribbon, not a piece of metal.
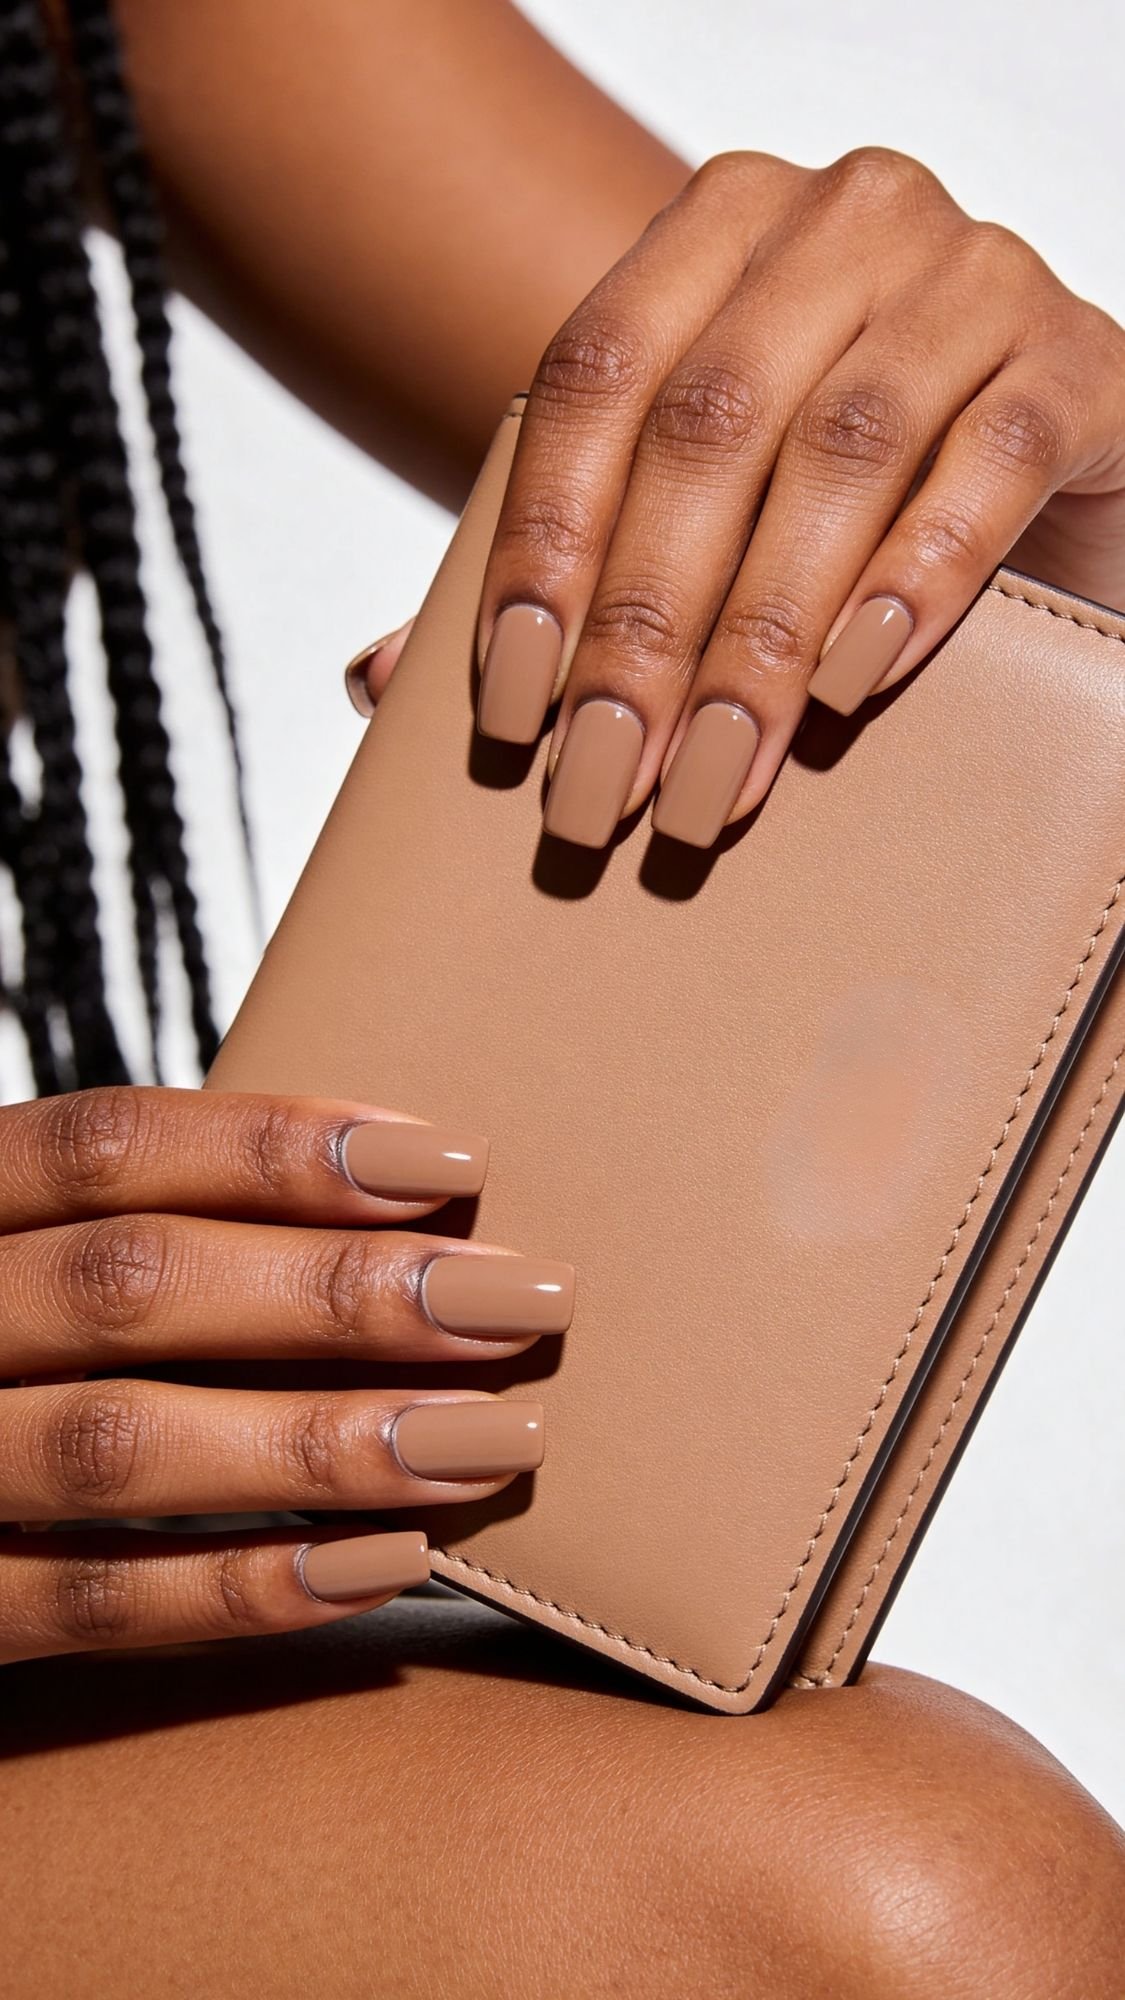
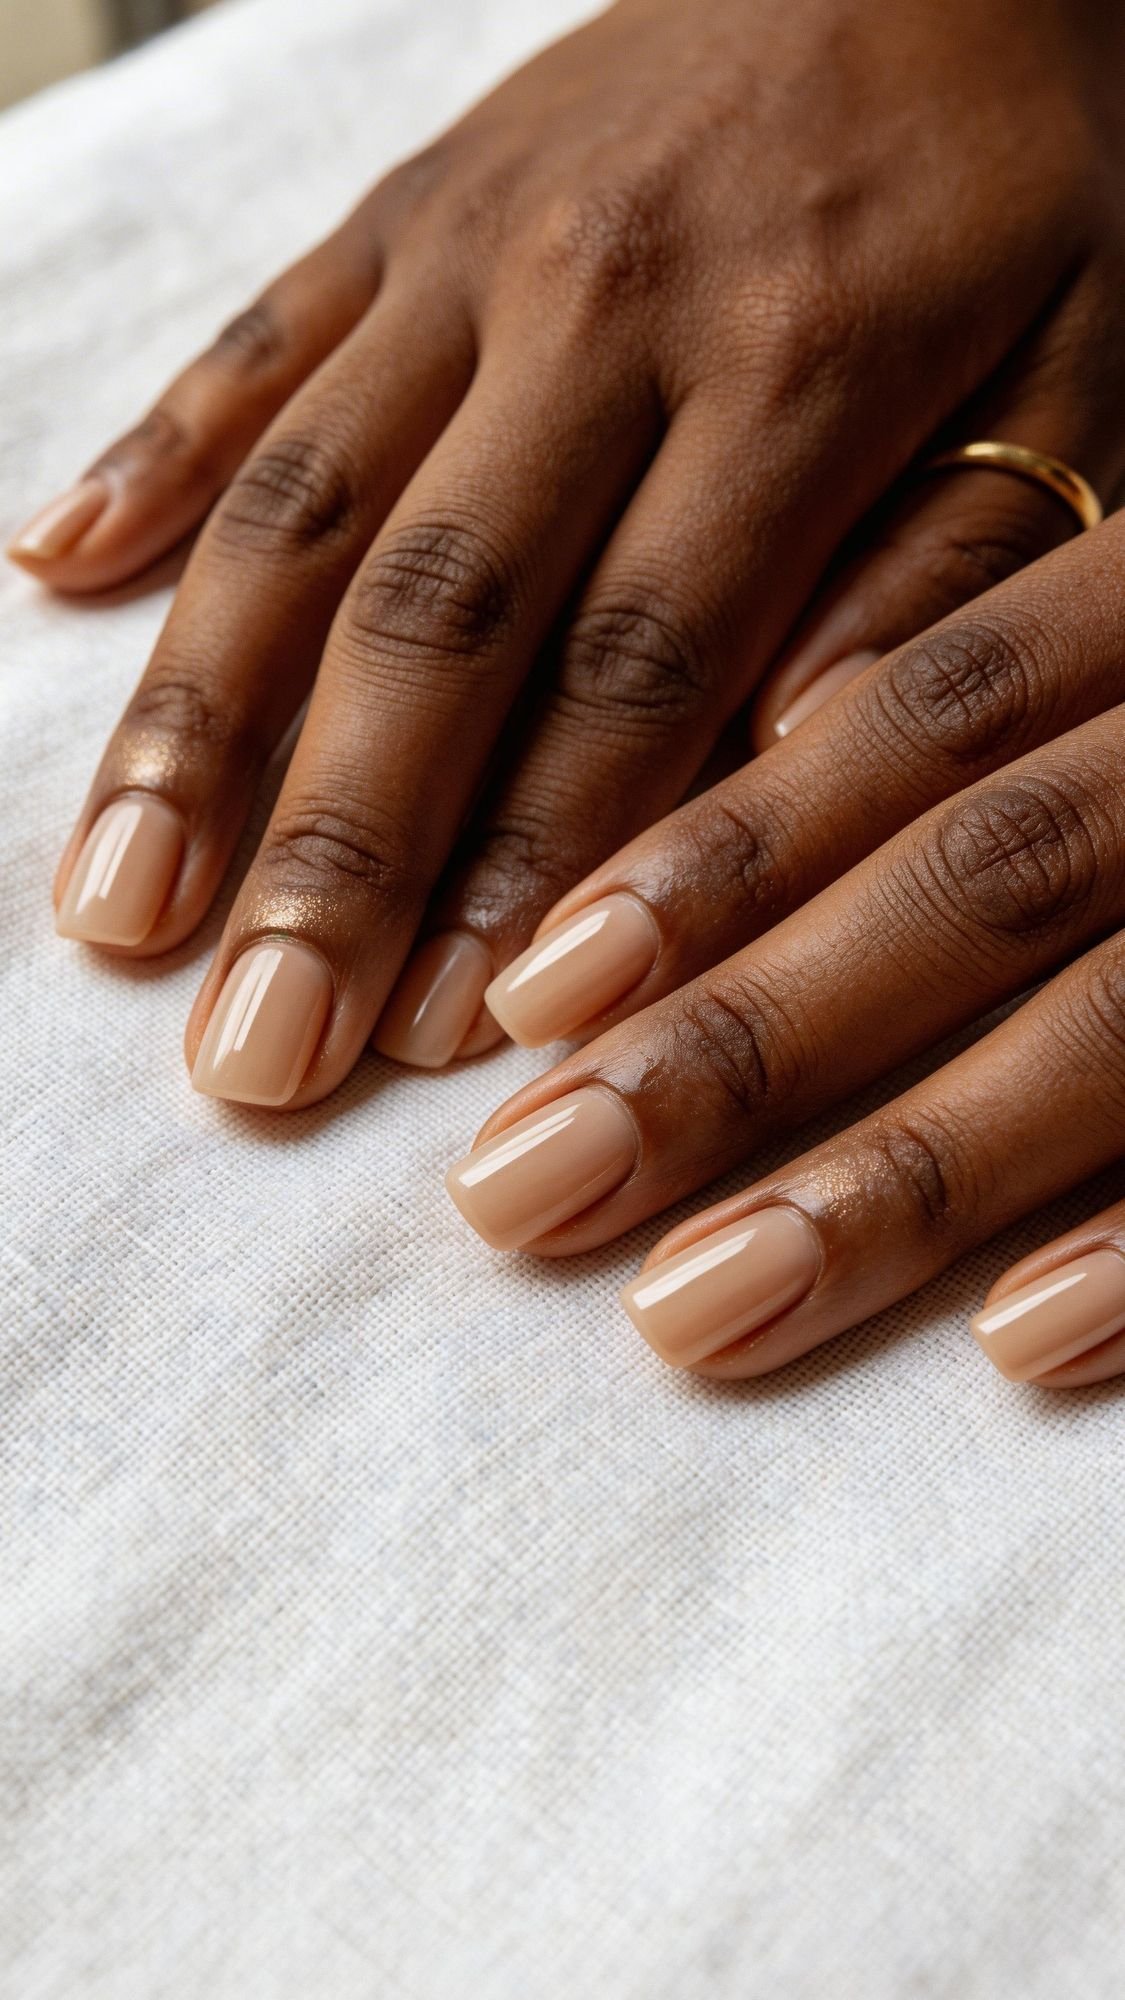
7. The “Rich Girl” Nude
This look was popularized by the “Quiet Luxury” movement. Unlike the sheer looks we’ve discussed, this one uses a more opaque, creamy nude. It’s the kind of color that looks expensive because it’s so intentional. It covers the natural white tip of your nail completely, creating a uniform, clean palette.
- The Secret: The formula must be self-leveling. If you see streaks, the “Rich Girl” illusion is broken. I always recommend a “plumping” top coat for this look to give it that thick, gel-like depth.
- Common Mistake: Choosing a shade that is too light. Aim for a “coffee with lots of cream” vibe for a sophisticated contrast.
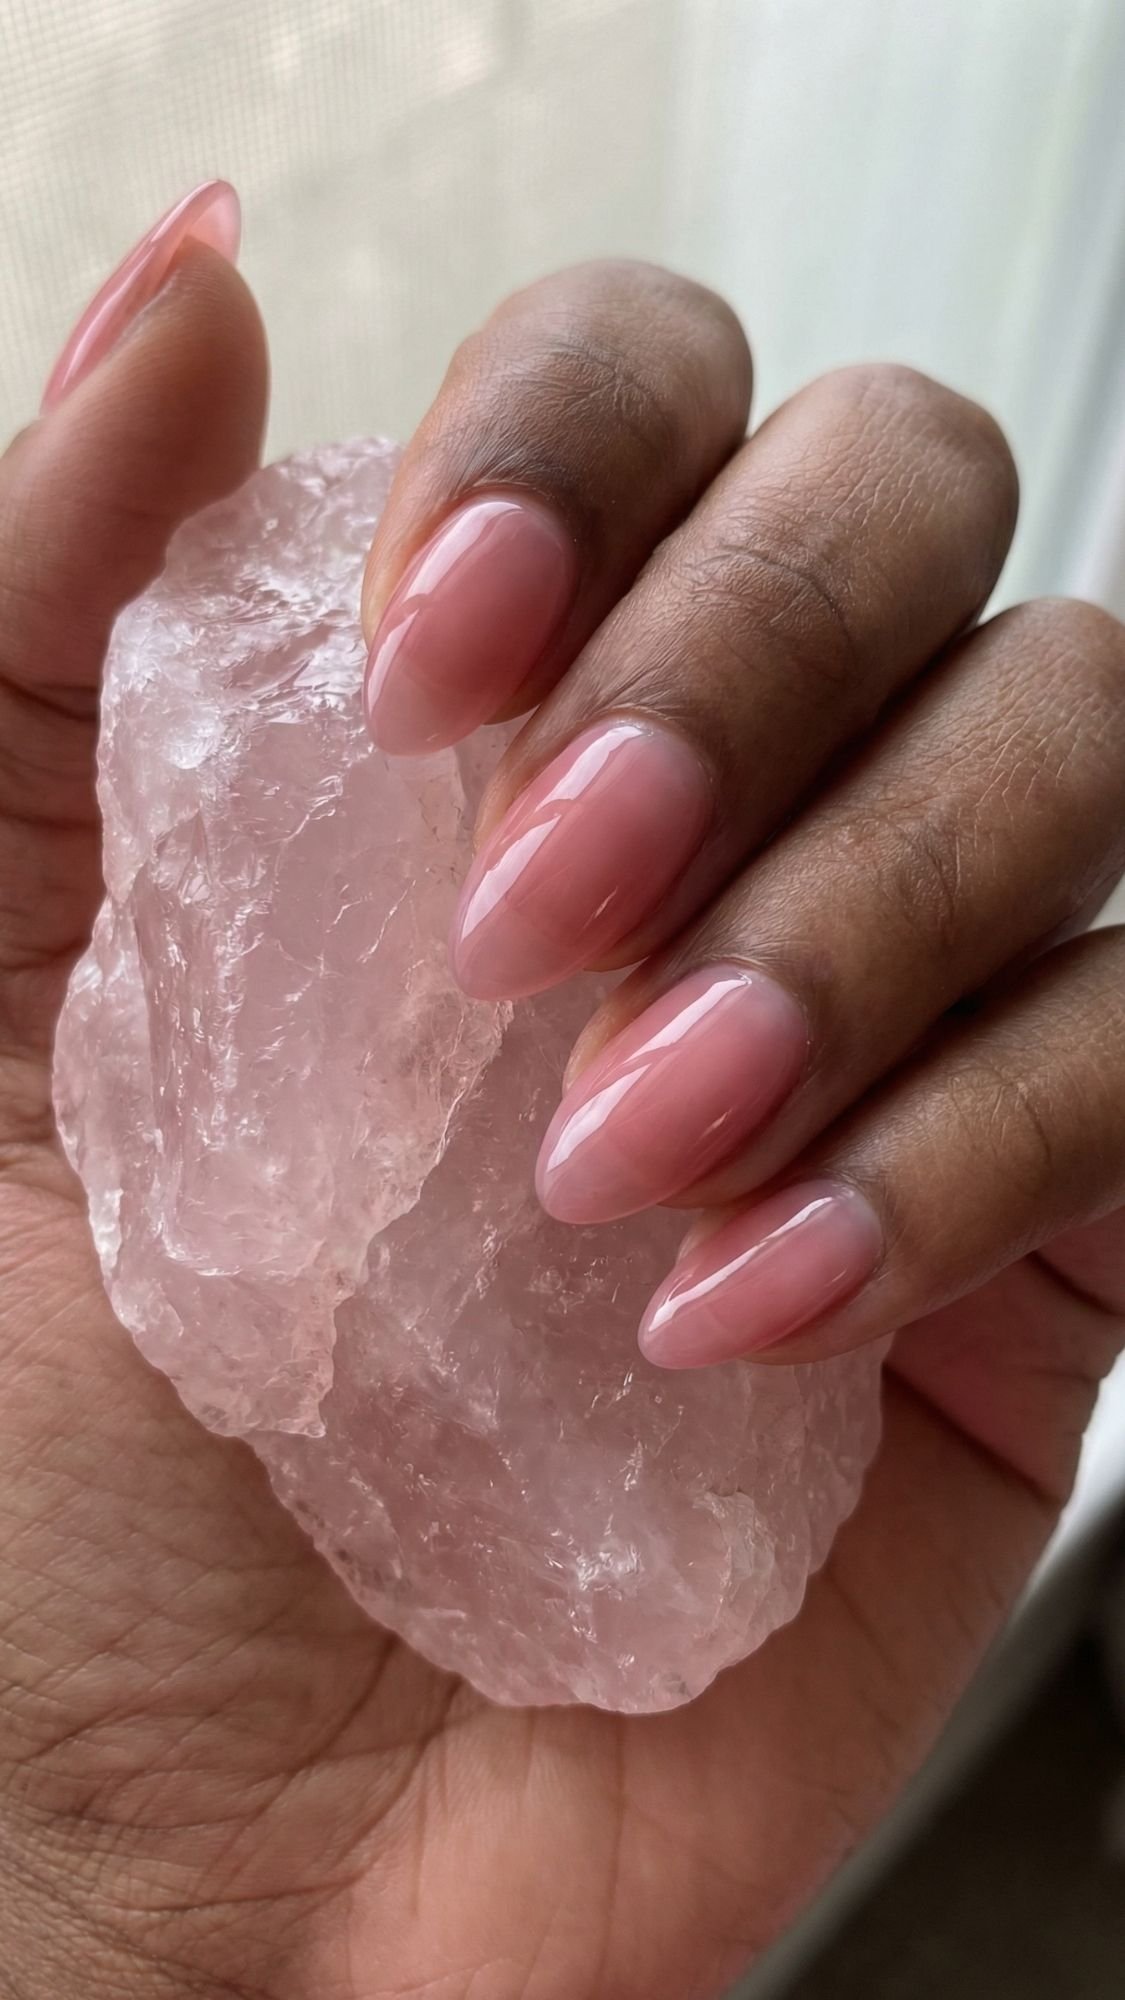
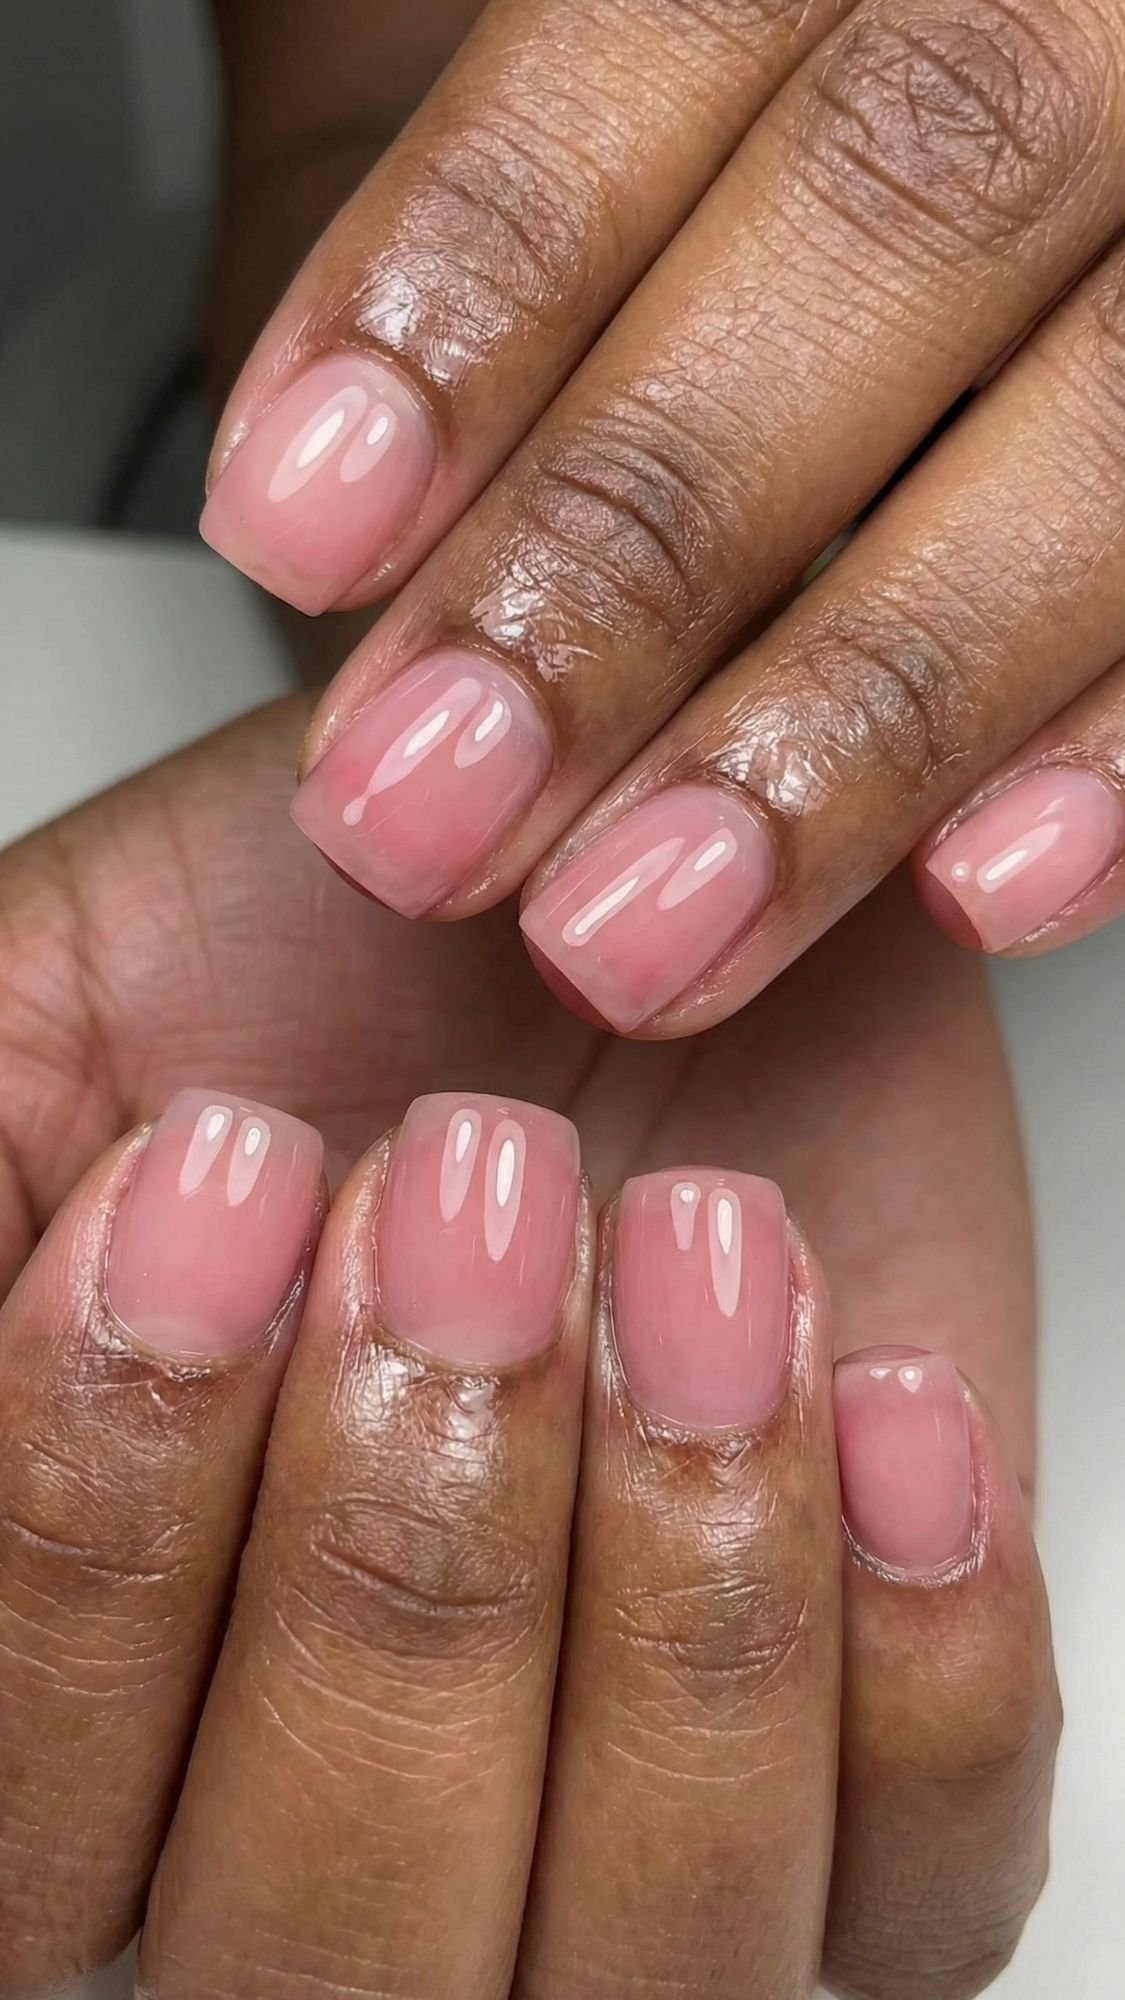
8. Rose Quartz Jelly
This is for the girl who wants just a tiny bit of color. Imagine the softest, most translucent pink you can find. It mimics the look of a Rose Quartz crystal. It’s a very “youthful” look because it makes the nail beds look naturally flushed and healthy.
- Why it works: Because it’s a jelly formula, it has a “squishy” finish. It’s incredibly forgiving. If you get a small chip, you can literally just dab a bit of polish on it and it disappears.
- Layering Rule: Two thin coats are better than one thick one. This maintains the “transparency” that makes this look so chic.
We are picking up the pace! We’ve covered the basics and the “glassy” looks, but now we’re moving into the shades that add a tiny bit of “flavor” while still staying firmly in that “Quiet Luxury” territory.
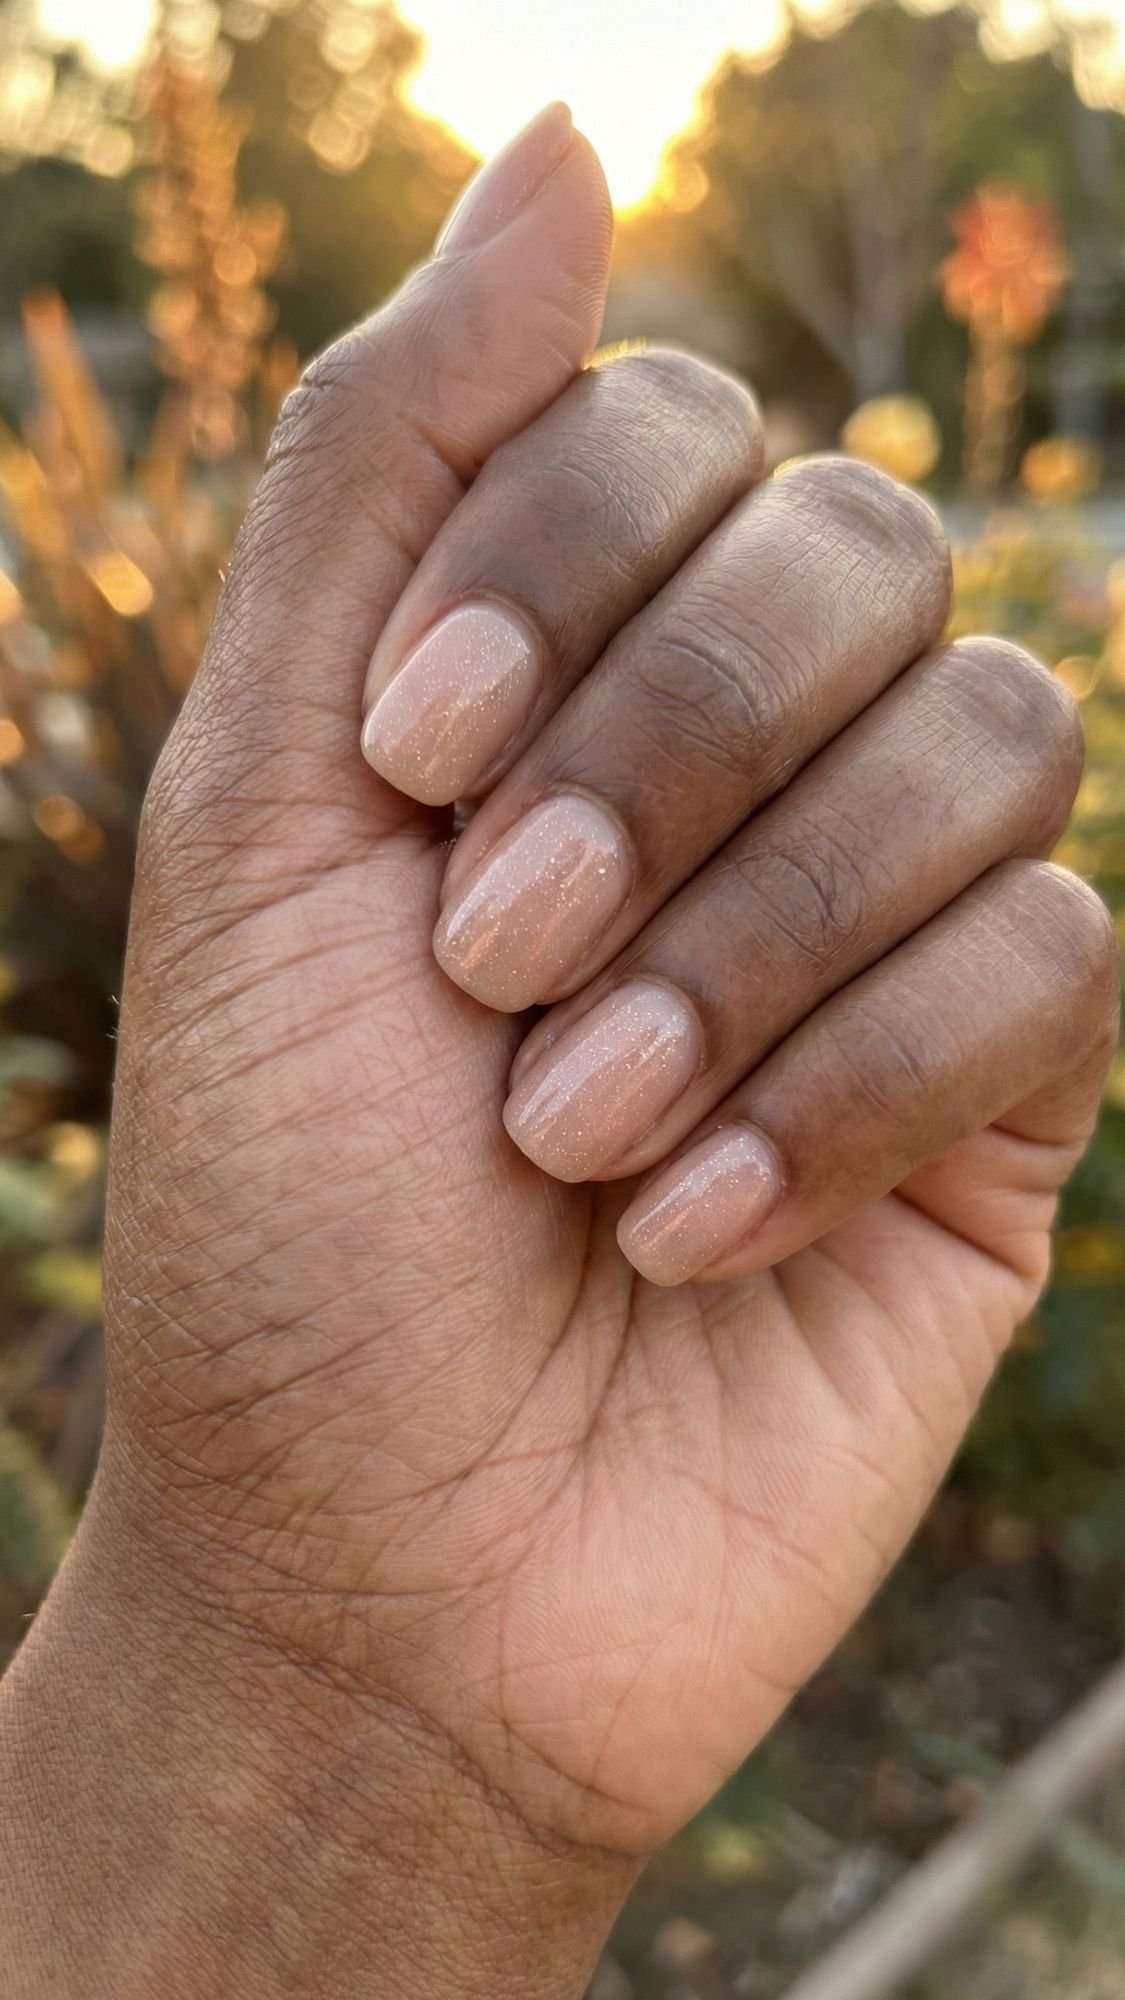
9. The “Barely-There” Shimmer
Now, don’t panic—I am not talking about the chunky glitter we all wore in middle school. This is what I call “interior lighting” for your nails. It is a sheer base with a micro-shimmer so fine you can only see it when the sunlight hits your hands at a certain angle. What I’ve noticed is that this is the best look for hiding ridges or imperfections because the light reflects off the shimmer instead of the nail plate.
- The Secret: Use a “shimmer topper” over a skin-matching nude. One thin coat is all you need.
- The Vibe: It looks like your nails are naturally pearlescent. It’s subtle, sophisticated, and surprisingly professional for the office.
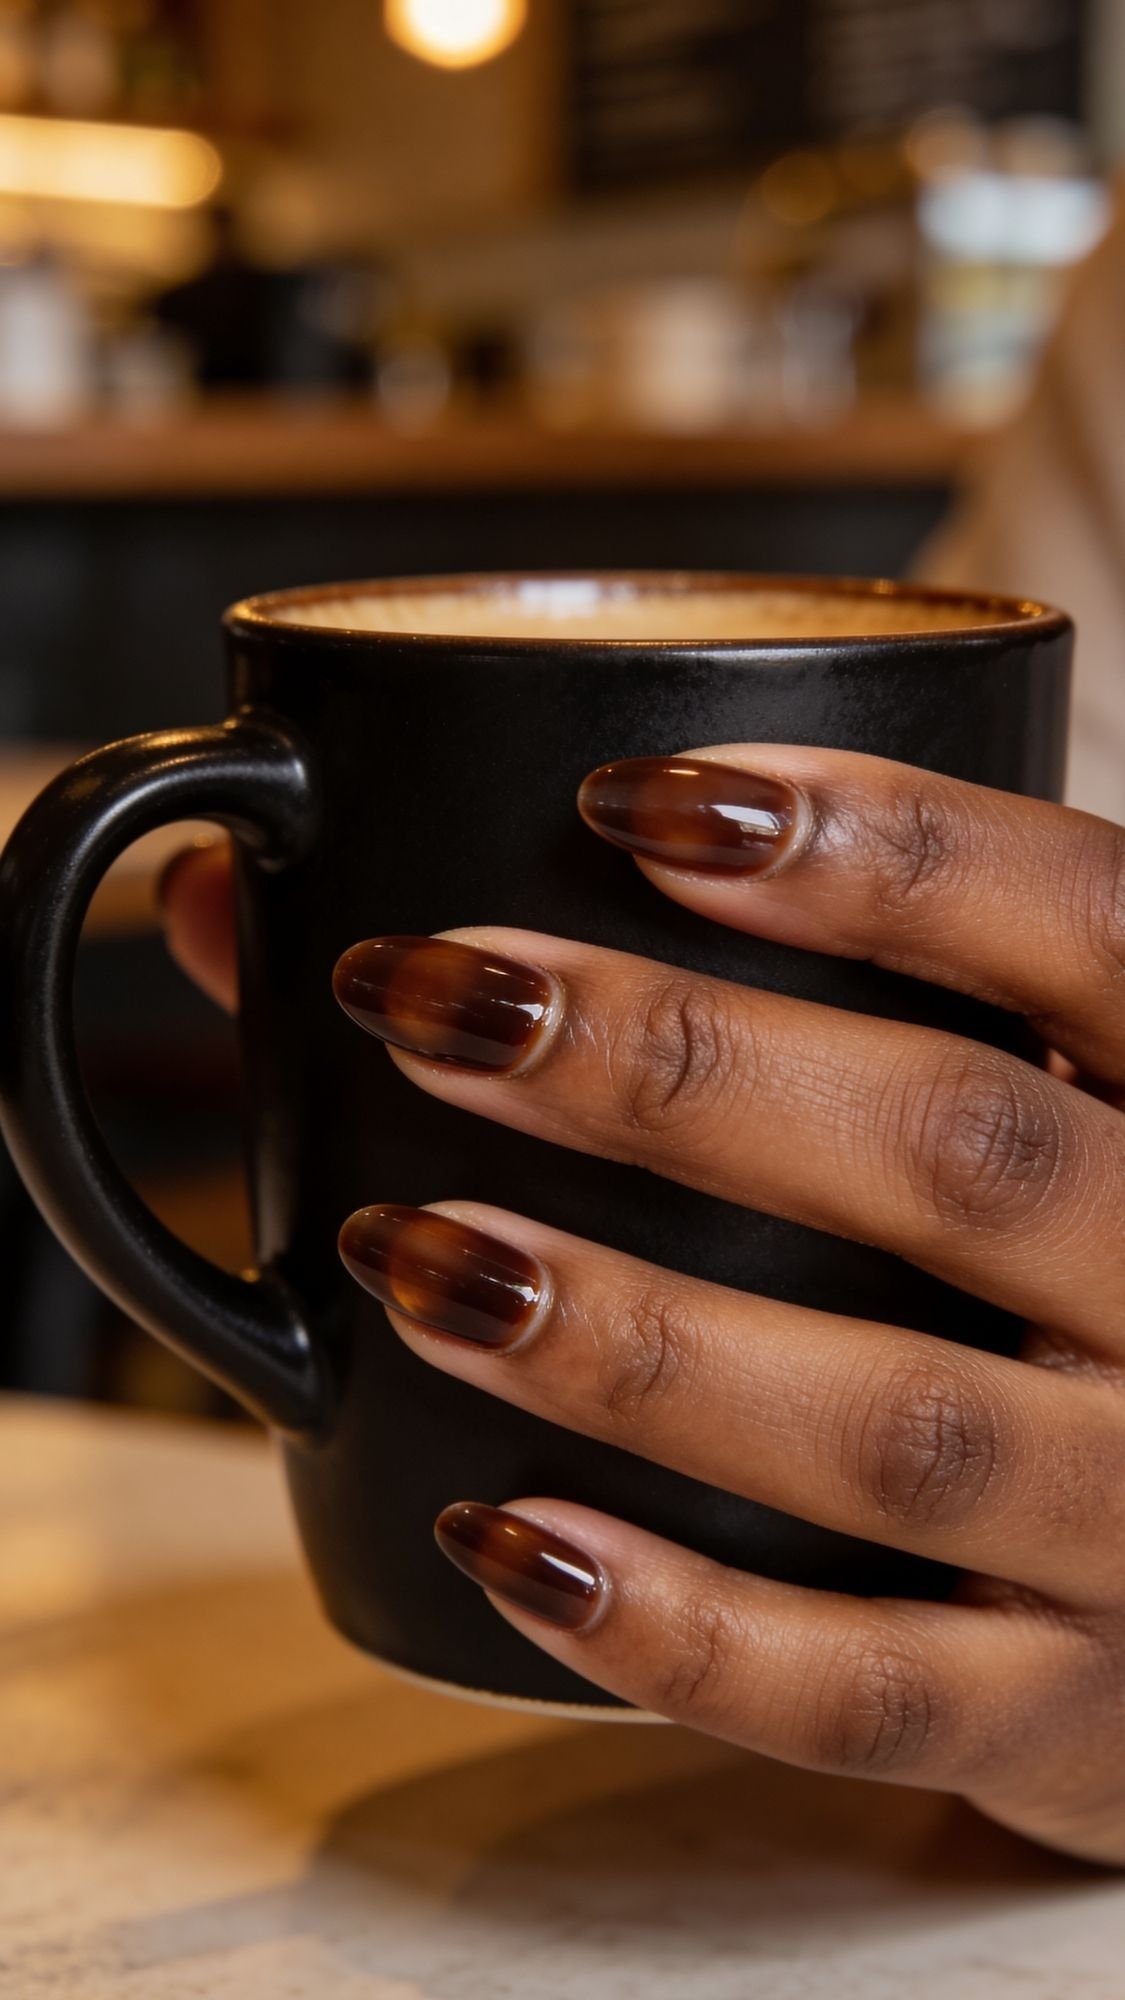
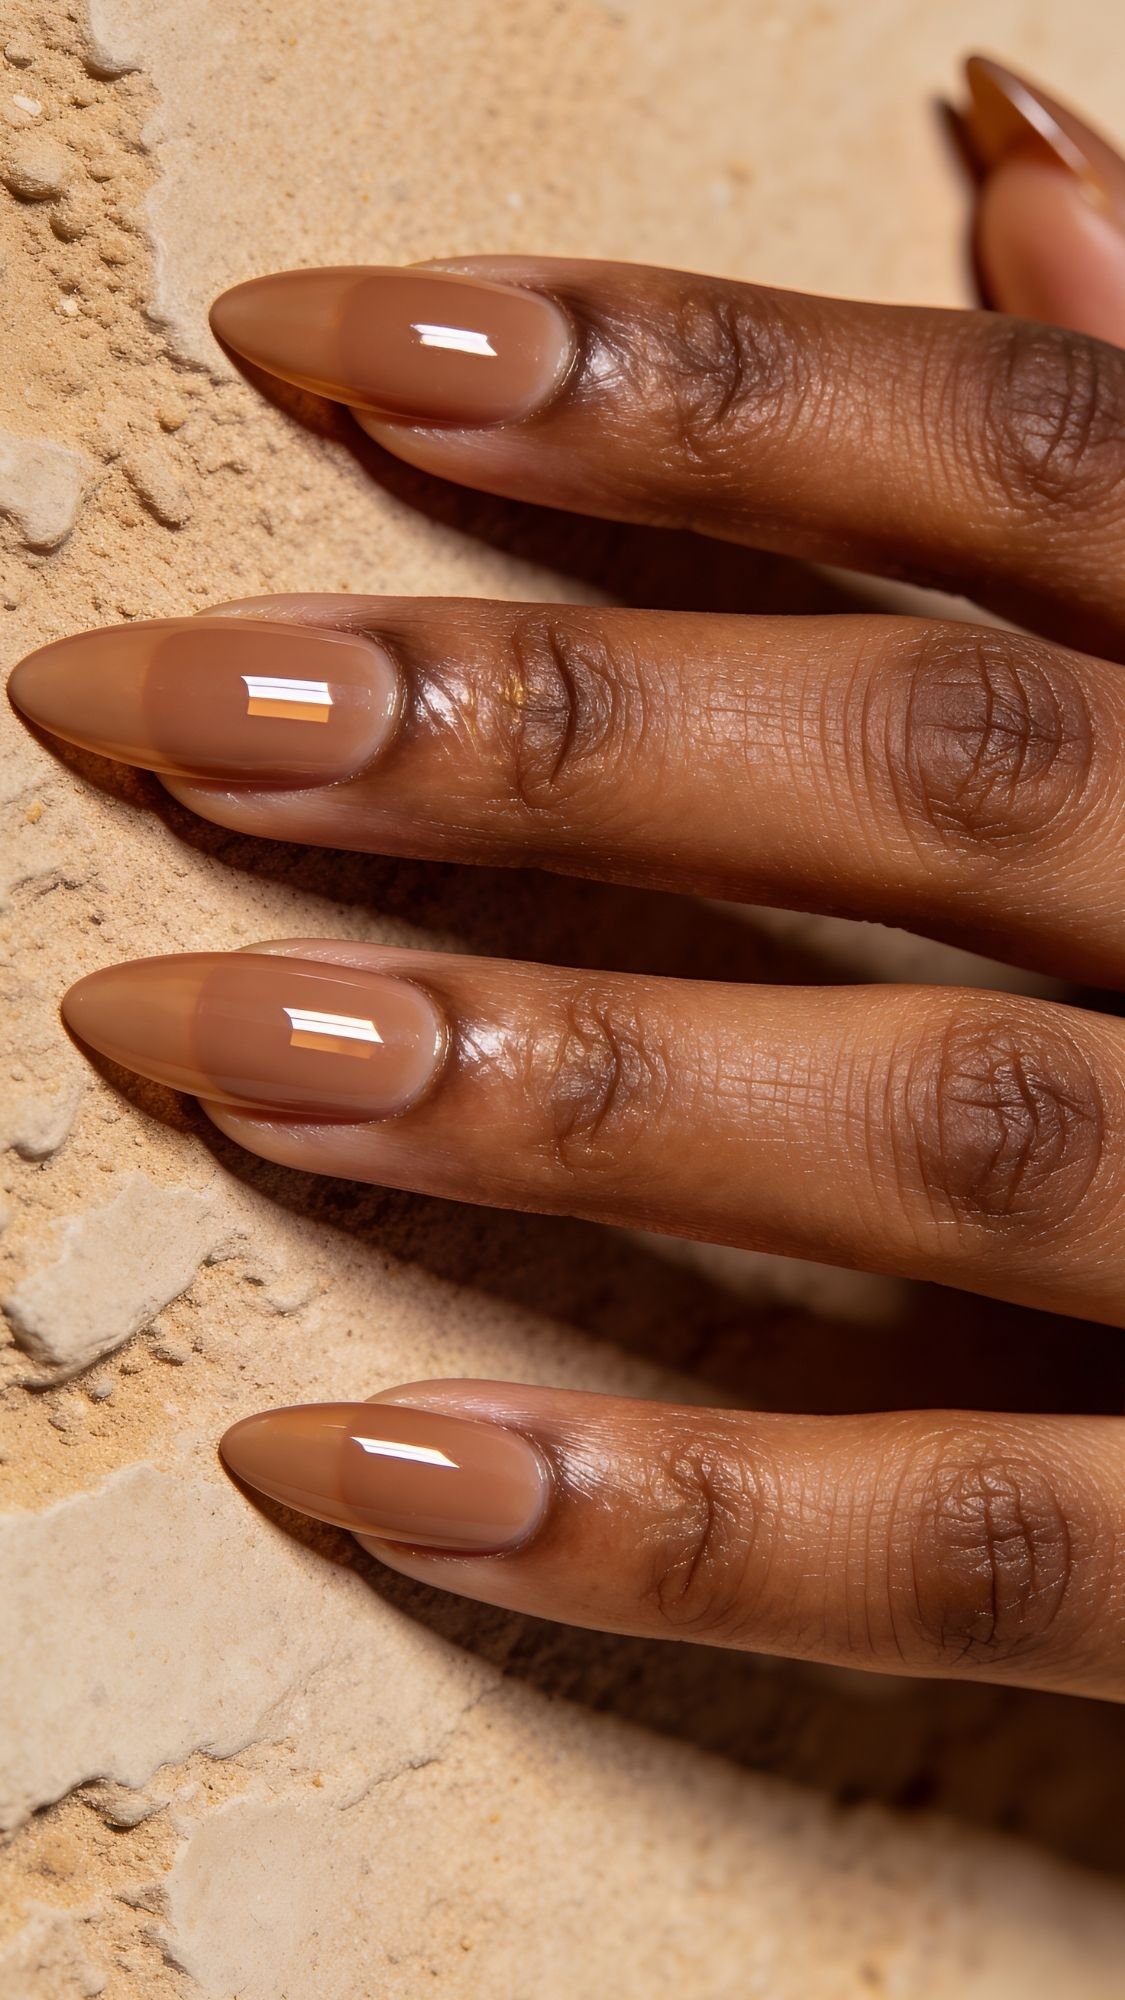
10. Sheer Espresso (The Neutral Reset)
Who says “Clean Girl” has to be pink or white? For my girls with deeper skin tones, a Sheer Espresso or Mocha is actually the most “natural” look you can get. It mimics the deep, rich tones of your skin but with a high-shine finish. The mistake most people make is picking a brown that is too opaque. If it looks like chocolate paint, it’s too heavy.
- Pro Insight: You want a “syrup” brown. It should be translucent enough that you can still see the “half-moon” (the lunula) at the base of your nail.
- Why it works: It’s incredibly flattering and makes your hands look warm and toasted.
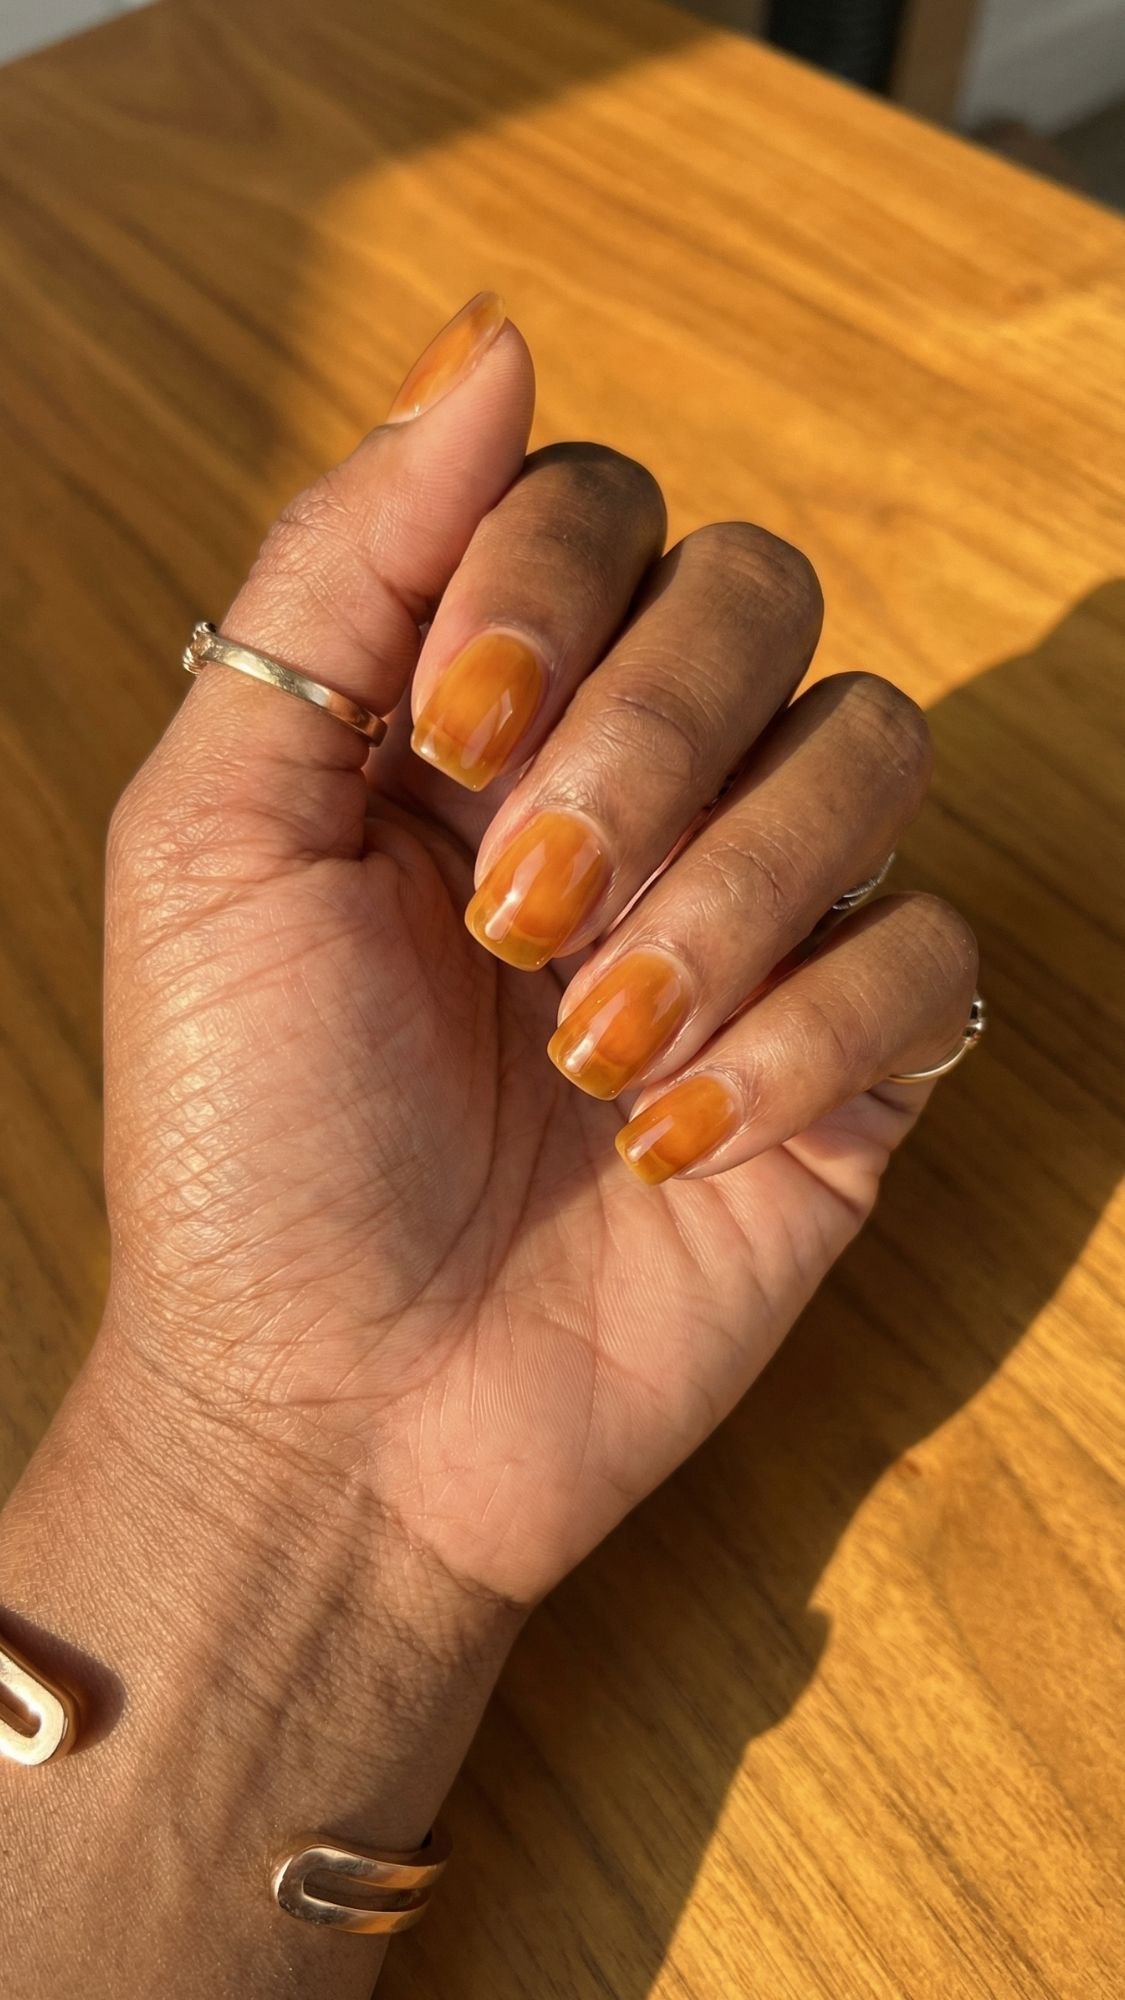
11. The “Honey” Tint
If you have warm or golden undertones, pink can sometimes look a bit “off.” That is where the Honey Tint comes in. It’s a sheer, amber-toned polish that looks like a drop of wildflower honey on each nail. It’s warm, inviting, and looks expensive without trying too hard.
- Application Tip: This look relies on a very smooth surface. If your nails have deep ridges, use a ridge-filling base coat first.
- The Mistake: Don’t go too yellow, or it might look like your nails are stained. Look for a “warm beige” or “amber” label.
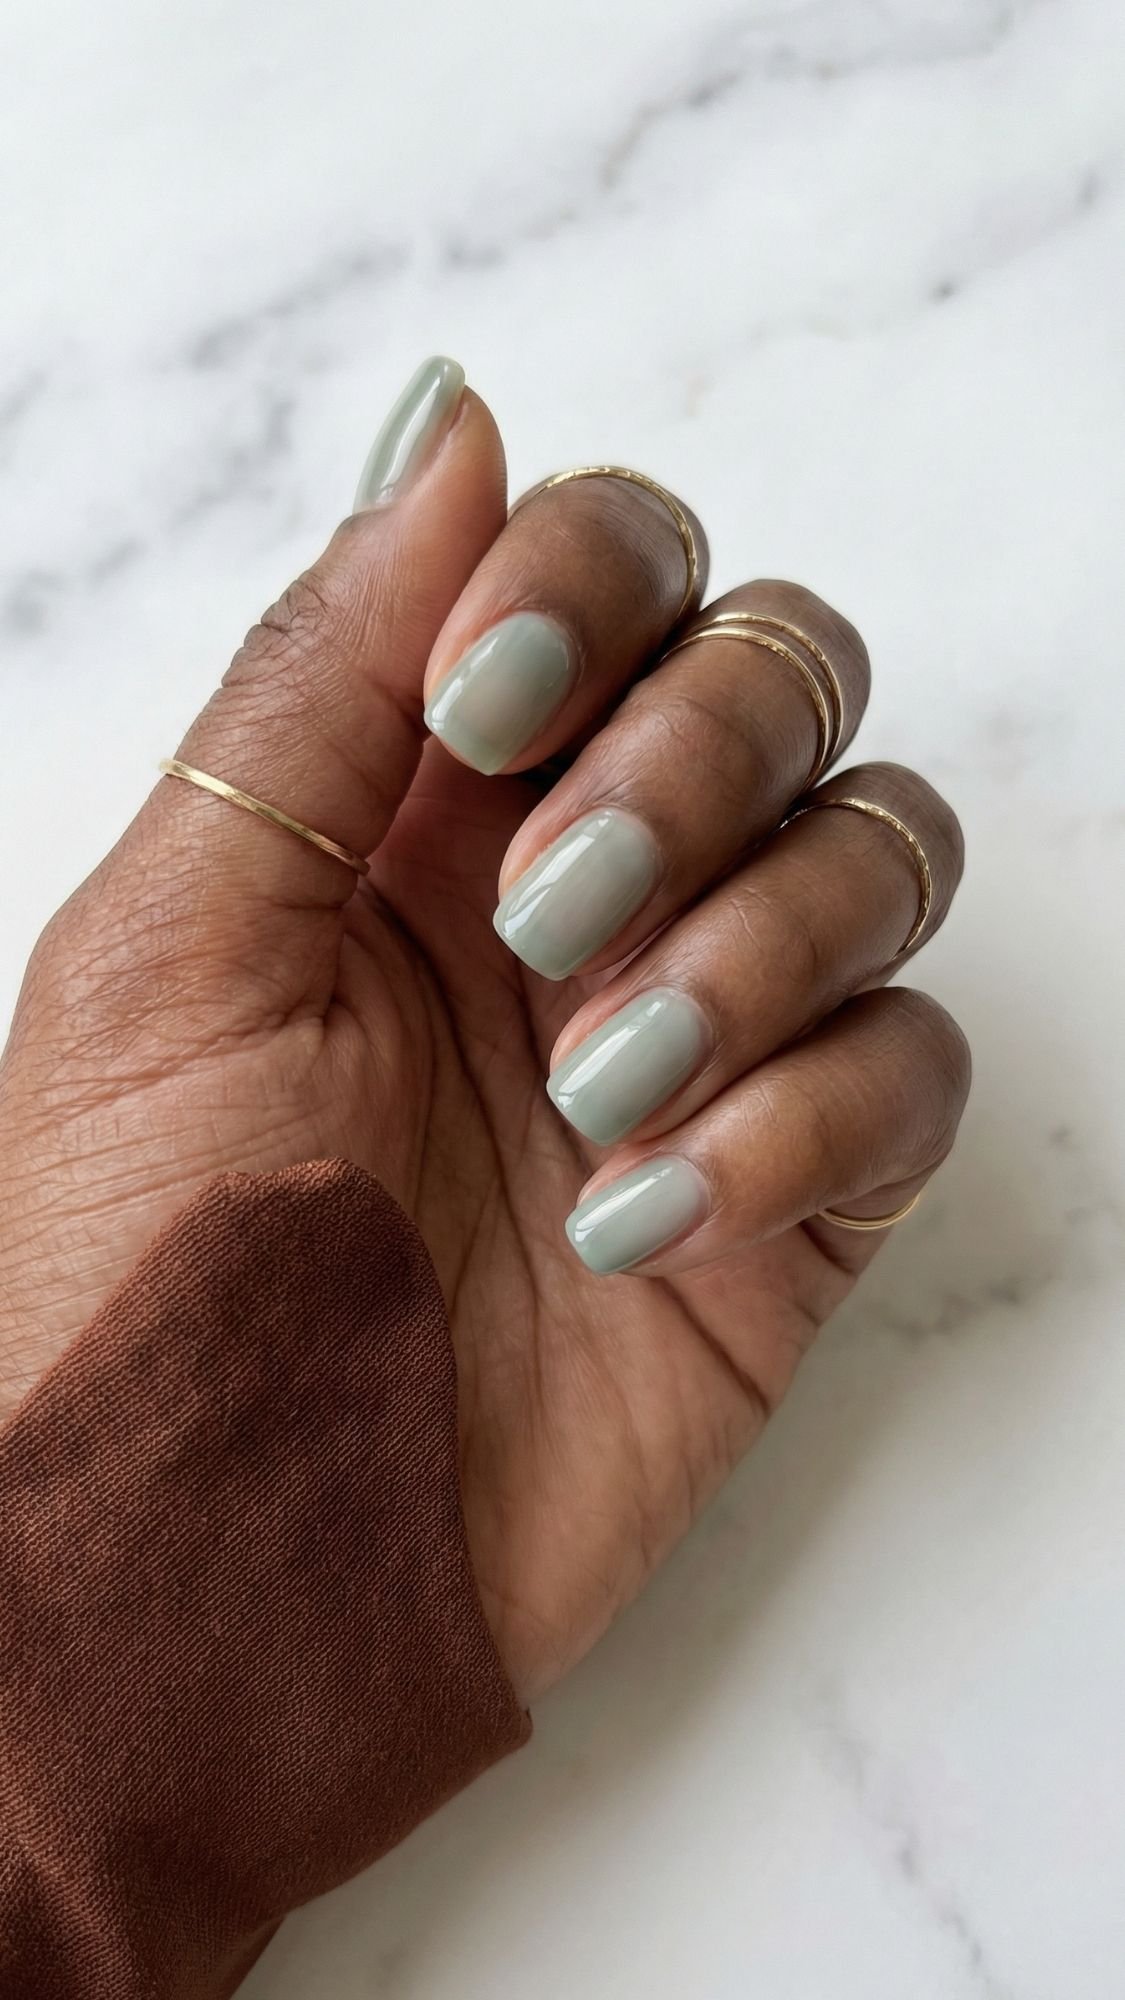
12. Soft Sage (The “Clean” Pop of Color)
I know, I know—green? But hear me out. A Muted, Sheer Sage is the only “color” that truly fits the Clean Girl aesthetic in 2026. It’s an earthy neutral that feels grounded and calm. It’s the color of a luxury spa or a matcha latte.
- The Rule: It must be “dusty.” Avoid anything bright or neon. You want a green that has a lot of gray or beige in it.
- Style Hack: This looks incredible paired with gold jewelry. It makes the gold “pop” while keeping your hands looking clean and minimalist.
We are in the home stretch of the list! To wrap up our 18 looks, we are leaning into the most sophisticated, “hushed” versions of the trend. These are the looks for when you want to look like you own the company, not just work there. Here are the final six looks to complete your “Clean Girl” repertoire.
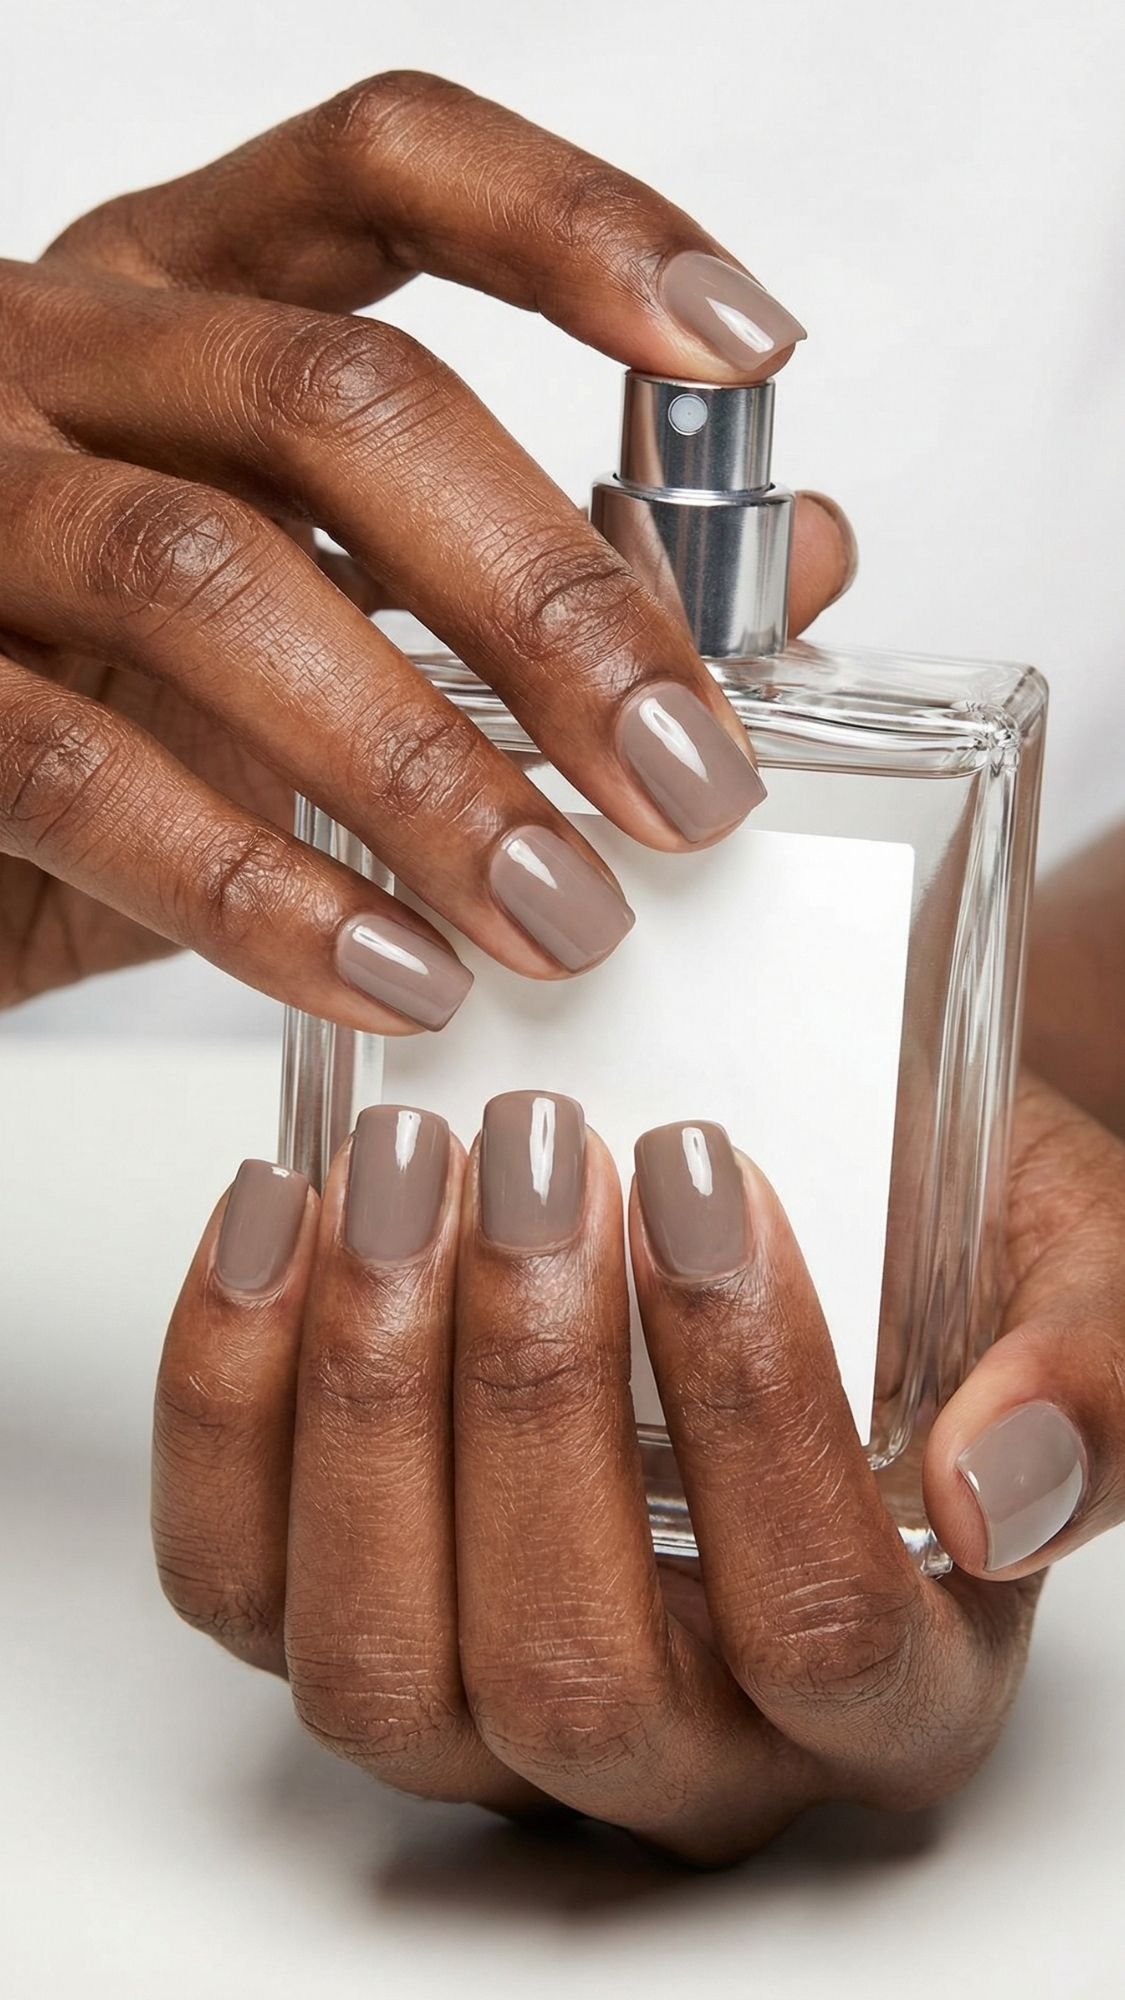
13. The “Quiet Luxury” Taupe
If you want a step up from a sheer but aren’t ready for a full “pop” of color, taupe is your best friend. It is a mix of gray, beige, and a hint of lavender. What I have noticed about this shade over the years is that it is the ultimate chameleon. It looks different in every light, but it always looks expensive.
The mistake most people make is picking a taupe that is too “muddy.” Look for one with a slightly translucent finish rather than a heavy cream. This keeps the look “clean” rather than “heavy.” I love this for short, square nails because it provides a crisp, defined edge that looks incredibly intentional.
14. Jelly Peach (The Fresh Flush)
Think of this as the “blush” of the nail world. While pink is the standard, a sheer peach can actually look more natural on many skin tones, especially those with golden or olive undertones. It gives the nail bed a warm, healthy glow that looks like you just stepped out of a spa.
The secret to this look is the “layering.” Use one coat for a barely-there tint, or two for a bit more “squish.” Since it is a jelly formula, it is very forgiving. If you have a slightly uneven nail surface, the jelly texture “fills in” those gaps much better than a standard polish would. FYI, it also makes your hands look incredibly tan. 🙂
15. The “Frosted” Matte
Wait, I know what you’re thinking—matte nails? Isn’t that so 2016? Not this version. The 2026 “Frosted” look is a sheer, milky base topped with a “satin” or soft-matte top coat. It mimics the look of sea glass. It is incredibly chic because it doesn’t scream for attention with shine; it whispers with texture.
The pro tip here is to keep your cuticles absolutely flawless. Matte finishes draw the eye to the texture of the skin around the nail, so this is the time to go heavy on the cuticle oil after the matte top coat has fully dried. If you skip the oil, the whole look can end up looking a bit “dry” instead of “dreamy.”
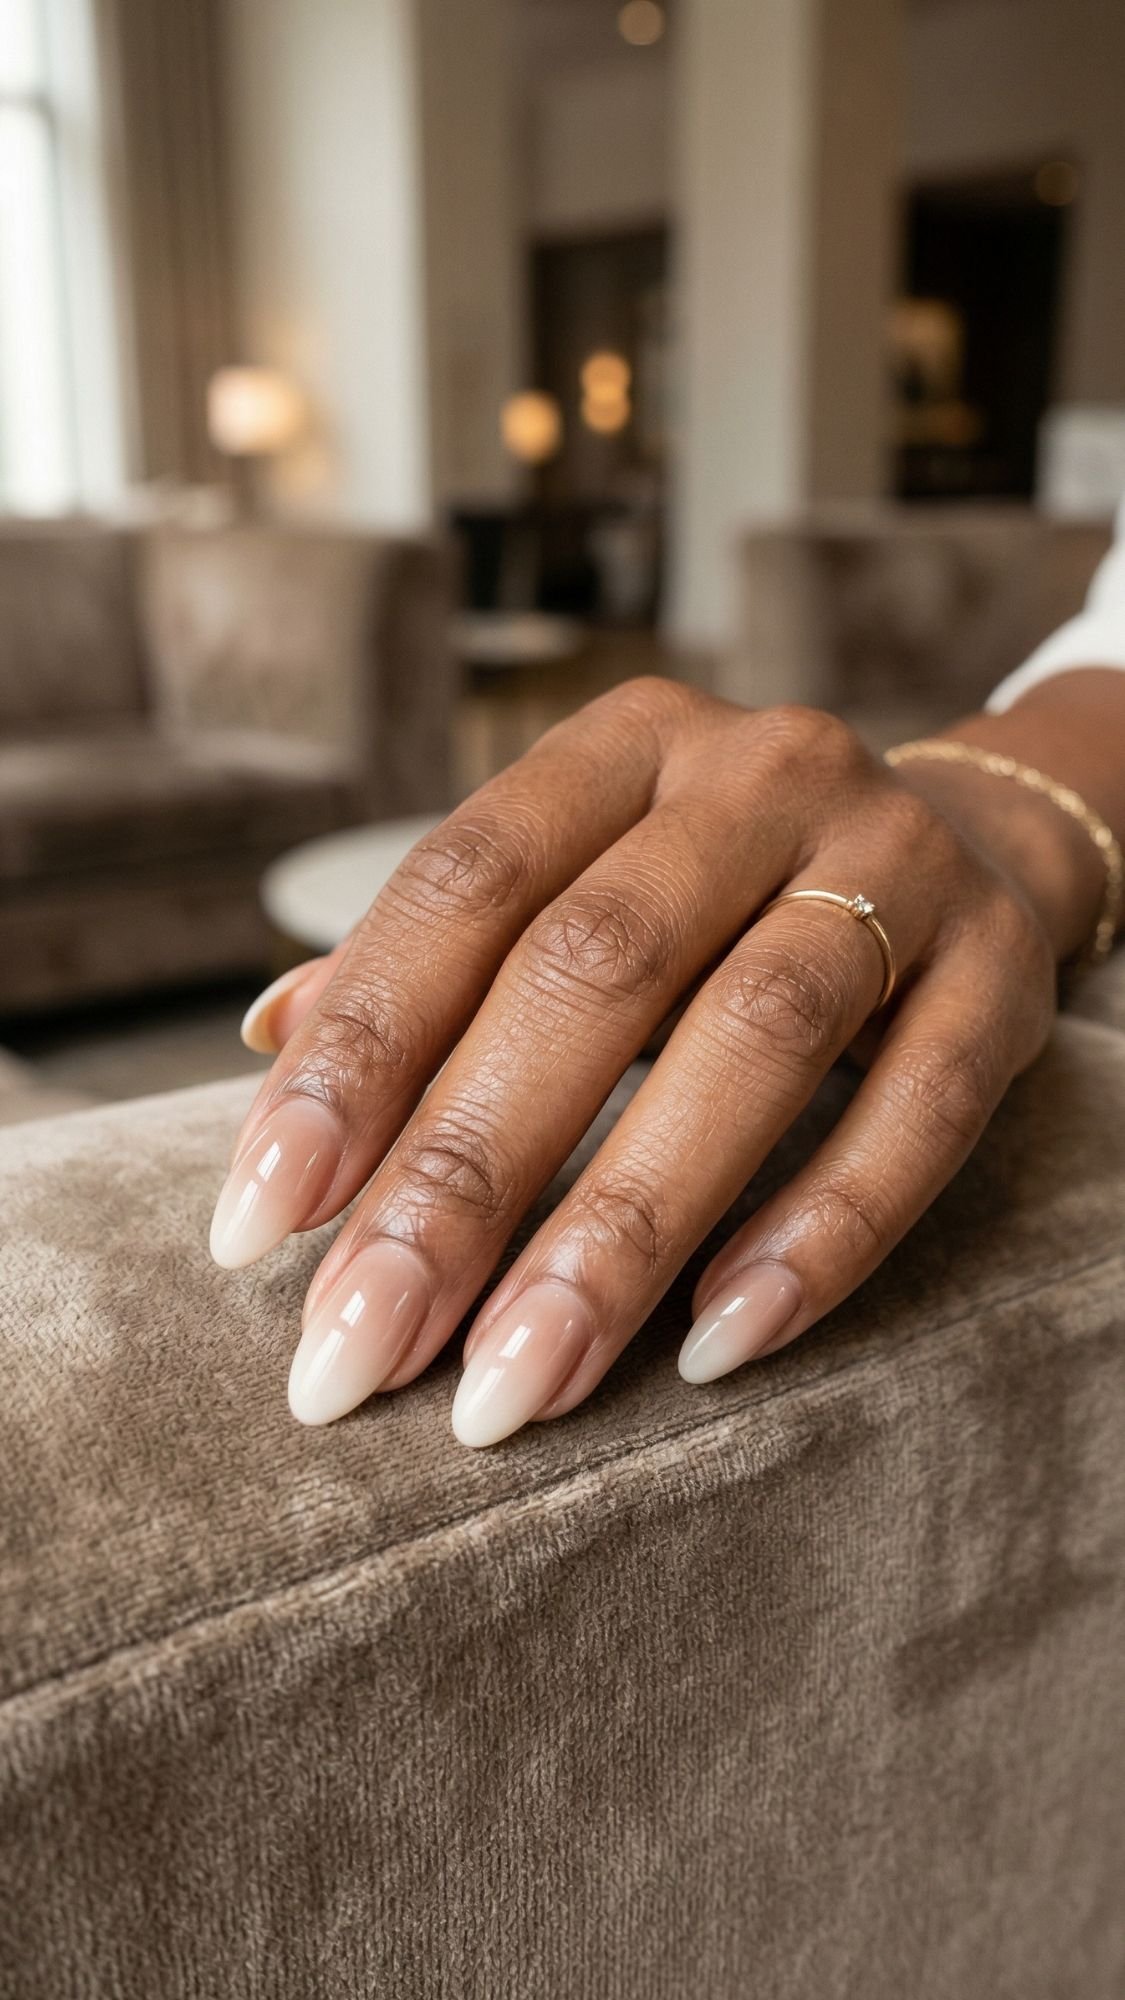
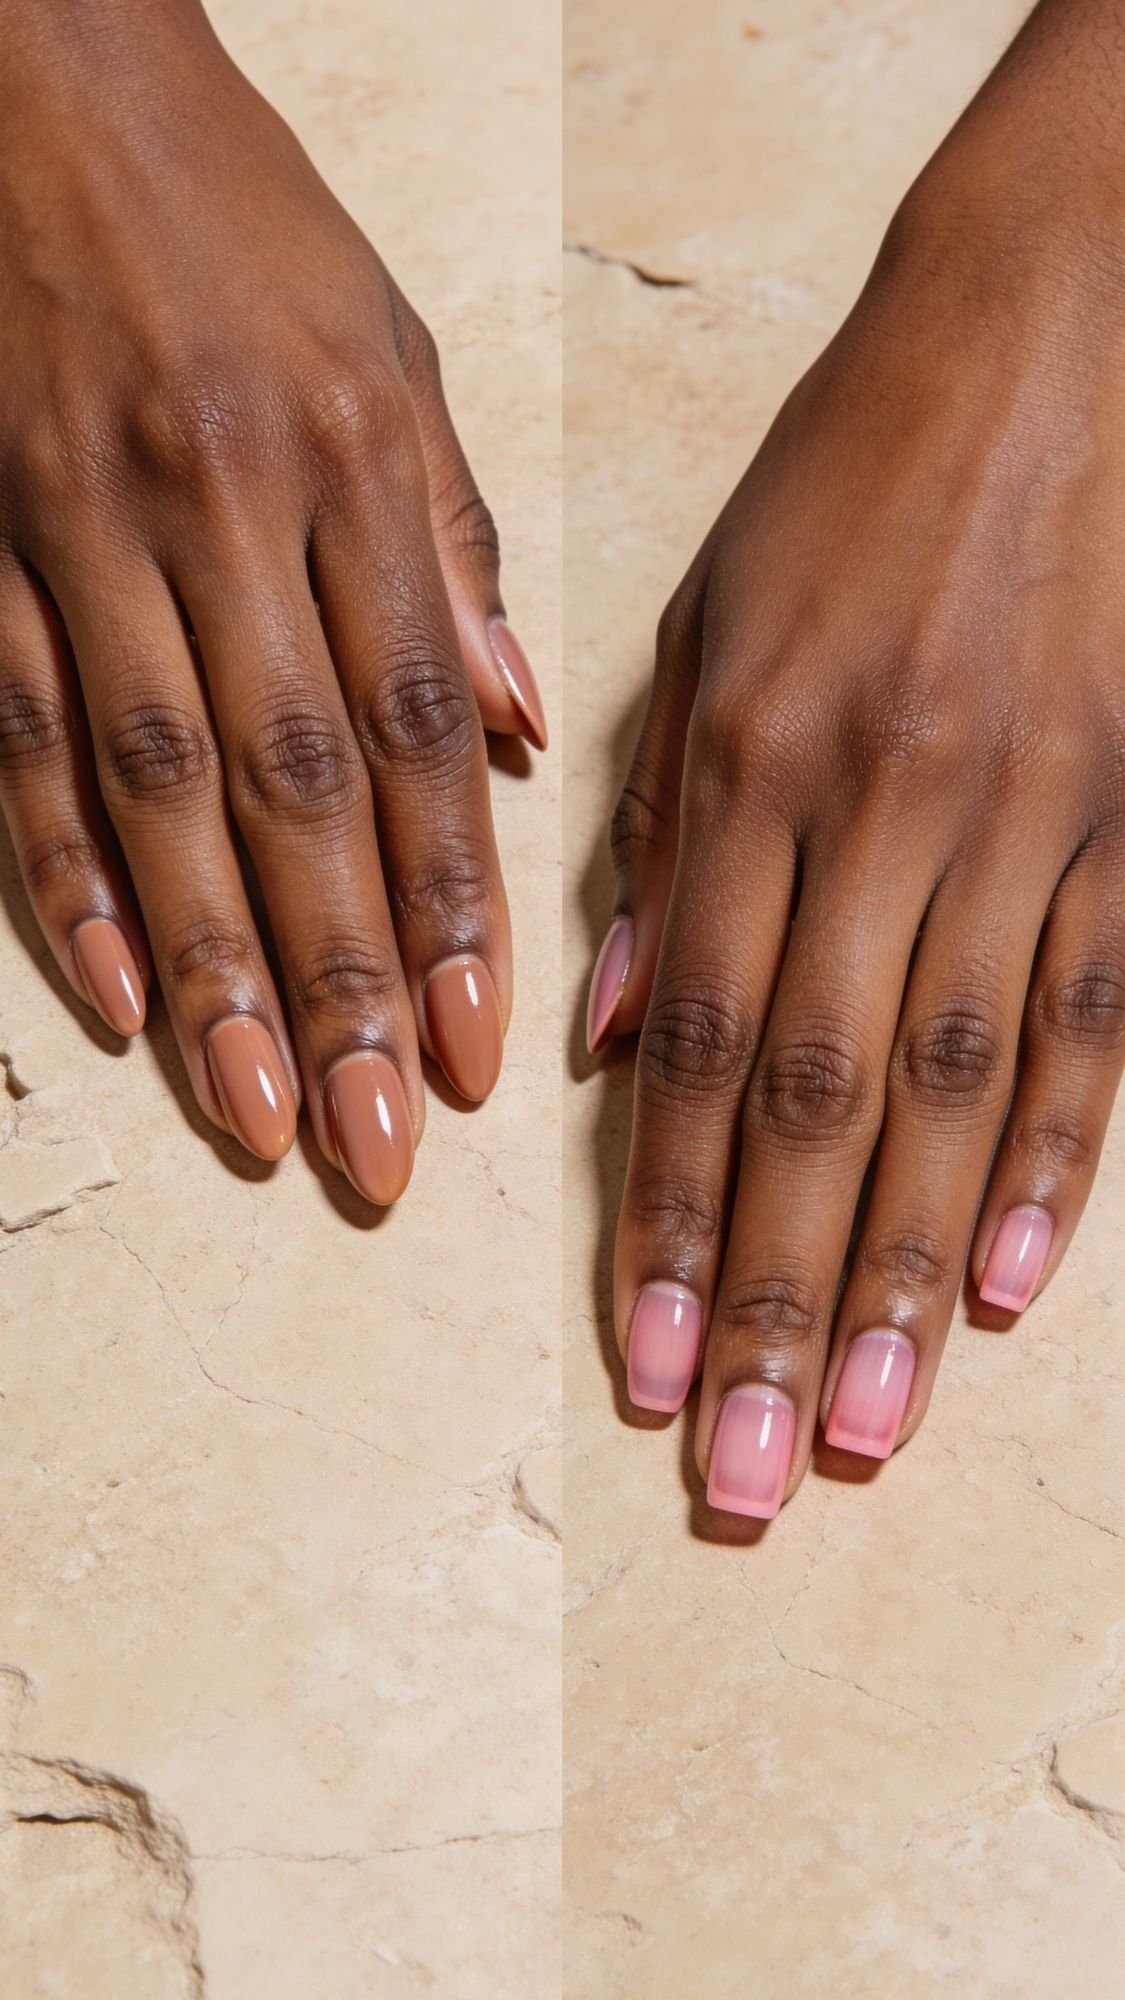
16. The Barely-There Ombré
This is the “Clean Girl” take on the classic baby boomer nail. Instead of a harsh transition from pink to white, we are using a sheer nude and a soft off-white. The transition should be so seamless that you can’t tell where one color ends and the other begins.
The mistake most people make is using a sponge that is too porous. Use a high-density makeup wedge and “tap” the color on in very thin layers. If you see tiny bubbles in the polish, you are tapping too hard. Light as a feather is the goal here. It elongates the nails and looks incredibly elegant for weddings or big meetings.
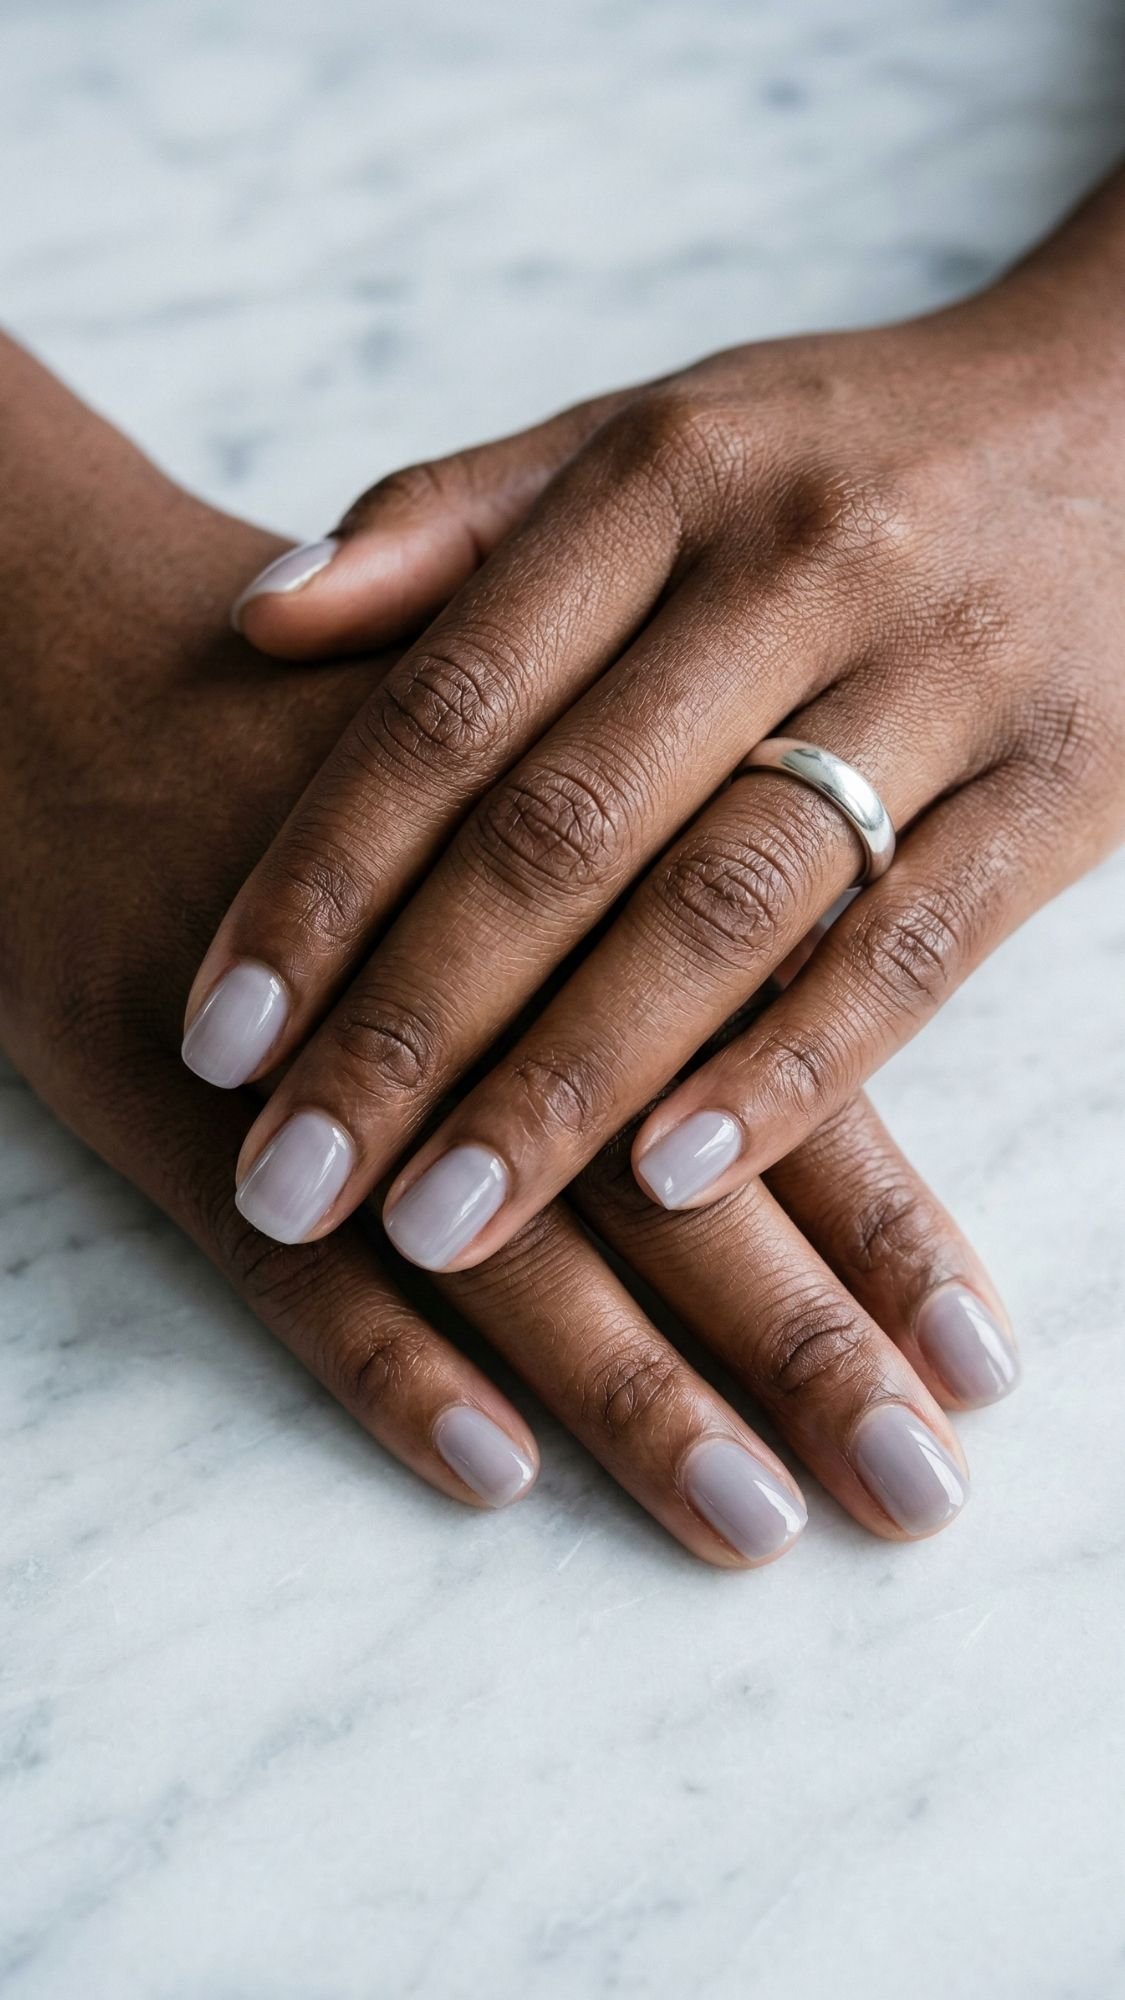
17. Grey-Lavender (The Cool Neutral)
For my girls with cool undertones, a sheer, gray-toned lavender is the ultimate “clean” hack. It cancels out any yellowing in the natural nail and makes your hands look bright and “awake.” It’s the nail equivalent of using a purple shampoo to keep your blonde bright.
What I’ve noticed about this color is that it feels “fresh” without being a “color.” It stays firmly in the neutral family. IMO, it looks best when paired with silver or white gold jewelry. It creates a cool-toned, cohesive look that is perfect for anyone who prefers a “minimalist-chic” wardrobe.
18. The “Natural” Buff (The Purest Version)
We are ending where it all began: the no-polish look. This is for the true minimalist. We are using a high-shine buffing block to bring out the natural luster of the nail plate, followed by a clear, strengthening treatment. No color, just health.
The mistake most people make is buffing too often. I only recommend this once every three to four weeks. If you do it more, you’ll thin out your nail plate. The result should look like you have glass nails naturally. It is the ultimate flex in the “Clean Girl” world because it proves your nail health is the real deal, not just a coat of paint.
We have our 18 core looks, but let’s be real. Even the “cleanest” look can benefit from a tiny bit of personality. This next section is where we elevate the article from a simple list to a high-value resource. We are going to cover the subtle art of minimalist design, how to actually make this look last two weeks, and how to fix the inevitable “oops” moments.
Minimalist Nail Art: The “Quiet” Accents
Clean girl nails don’t have to be boring. The secret to minimalist nail art is keeping the “visual weight” low. What I’ve noticed is that people try to add too many elements and it suddenly looks cluttered. Stick to one accent per hand. Whether it is a single tiny dot at the base of the nail or a ultra-thin vertical line, the goal is to enhance the nail shape, not hide it.
- The “Aurora” Dot: Use a dotting tool (or a toothpick!) to place one tiny dot of gold or white at the center of your cuticle line. It looks like a little piece of jewelry for your nail.
- The Single Stripe: A vertical line down the center of the ring finger elongates the entire hand. The mistake most people make is making the line too thick. Use a long striping brush and barely touch the surface.
- Fixing a “Wobble”: If your line isn’t straight, don’t start over. Take a clean brush dipped in a tiny bit of base coat to gently “nudge” the line into place before it dries.

The 14-Day Maintenance Strategy
You’ve spent 45 minutes on your nails. Don’t let them chip by Tuesday. Longevity isn’t about the polish brand; it is about how you treat your hands. I always tell my clients that your nails are jewels, not tools. Ever wondered why some people’s manicures look fresh for two weeks? They follow the “Re-Top” rule.
- Day 1 to 3: Focus on hydration. Apply cuticle oil twice a day. This keeps the polish flexible so it doesn’t “snap” off.
- Day 4: Apply a fresh, thin layer of top coat. Make sure to “cap the free edge” again. This reseals the tips where most chips start.
- Day 7: If you see any lifting at the base, don’t pick it! Dab a tiny bit of nail glue or base coat under the lift to press it back down.
- The “Glove” Rule: This is non-negotiable. If your hands are going in water (dishes, cleaning, scrubbing), you wear gloves. Water makes your natural nail expand, which causes the polish to crack as it dries and shrinks.
Troubleshooting Like a Pro
Even with ten years of experience, I still get the occasional bubble or streak. The difference between a pro and a beginner is knowing how to fix it without reaching for the acetone. Here are the five most common issues and my “vet” fixes:
- The Polish Pooling: If the polish runs into your side walls, it means you loaded the brush too heavily. Fix: Use an angled “cleanup brush” dipped in remover to carve out the skin before the polish dries.
- The Annoying Bubbles: This happens when you shake the bottle or apply polish too thick in high humidity. Fix: Gently “pop” the bubble with a needle and smooth a tiny drop of top coat over it.
- The “Shrinkage”: If you see a gap between your polish and the tip of your nail, the polish shrank as it dried. Fix: Next time, wait 2 minutes between coats and always cap that edge!
- The Mystery Streak: If your sheer polish looks uneven, you are likely pressing too hard with the brush. Fix: Apply a “ridge filling” top coat. It levels out the surface and hides the streak instantly.
- The Snag: If you chip a corner, don’t file the whole nail down. Use a tiny bit of “patch” glue and a dab of polish to fill the gap, then top coat the whole nail. FYI, no one will notice but you. 🙂
This is where we separate the “trendy” from the “timeless.” For this final stretch, we are focusing on the long-term health of your nails, how to pick the right “nude” for your unique skin tone, and the “cheat sheet” every minimalist needs.
Nail Health + Recovery: The “Skinification” of Nails
What I have noticed over the years is that you can’t fake healthy nails forever. If you are constantly covering up peeling, brittle plates with more product, you are just digging a deeper hole. Clean girl nails are essentially the “no-makeup” look for your hands, and just like your face, the canvas matters. Most people mistake “hard” nails for “healthy” nails. In reality, healthy nails should be flexible. If they are too hard, they snap.
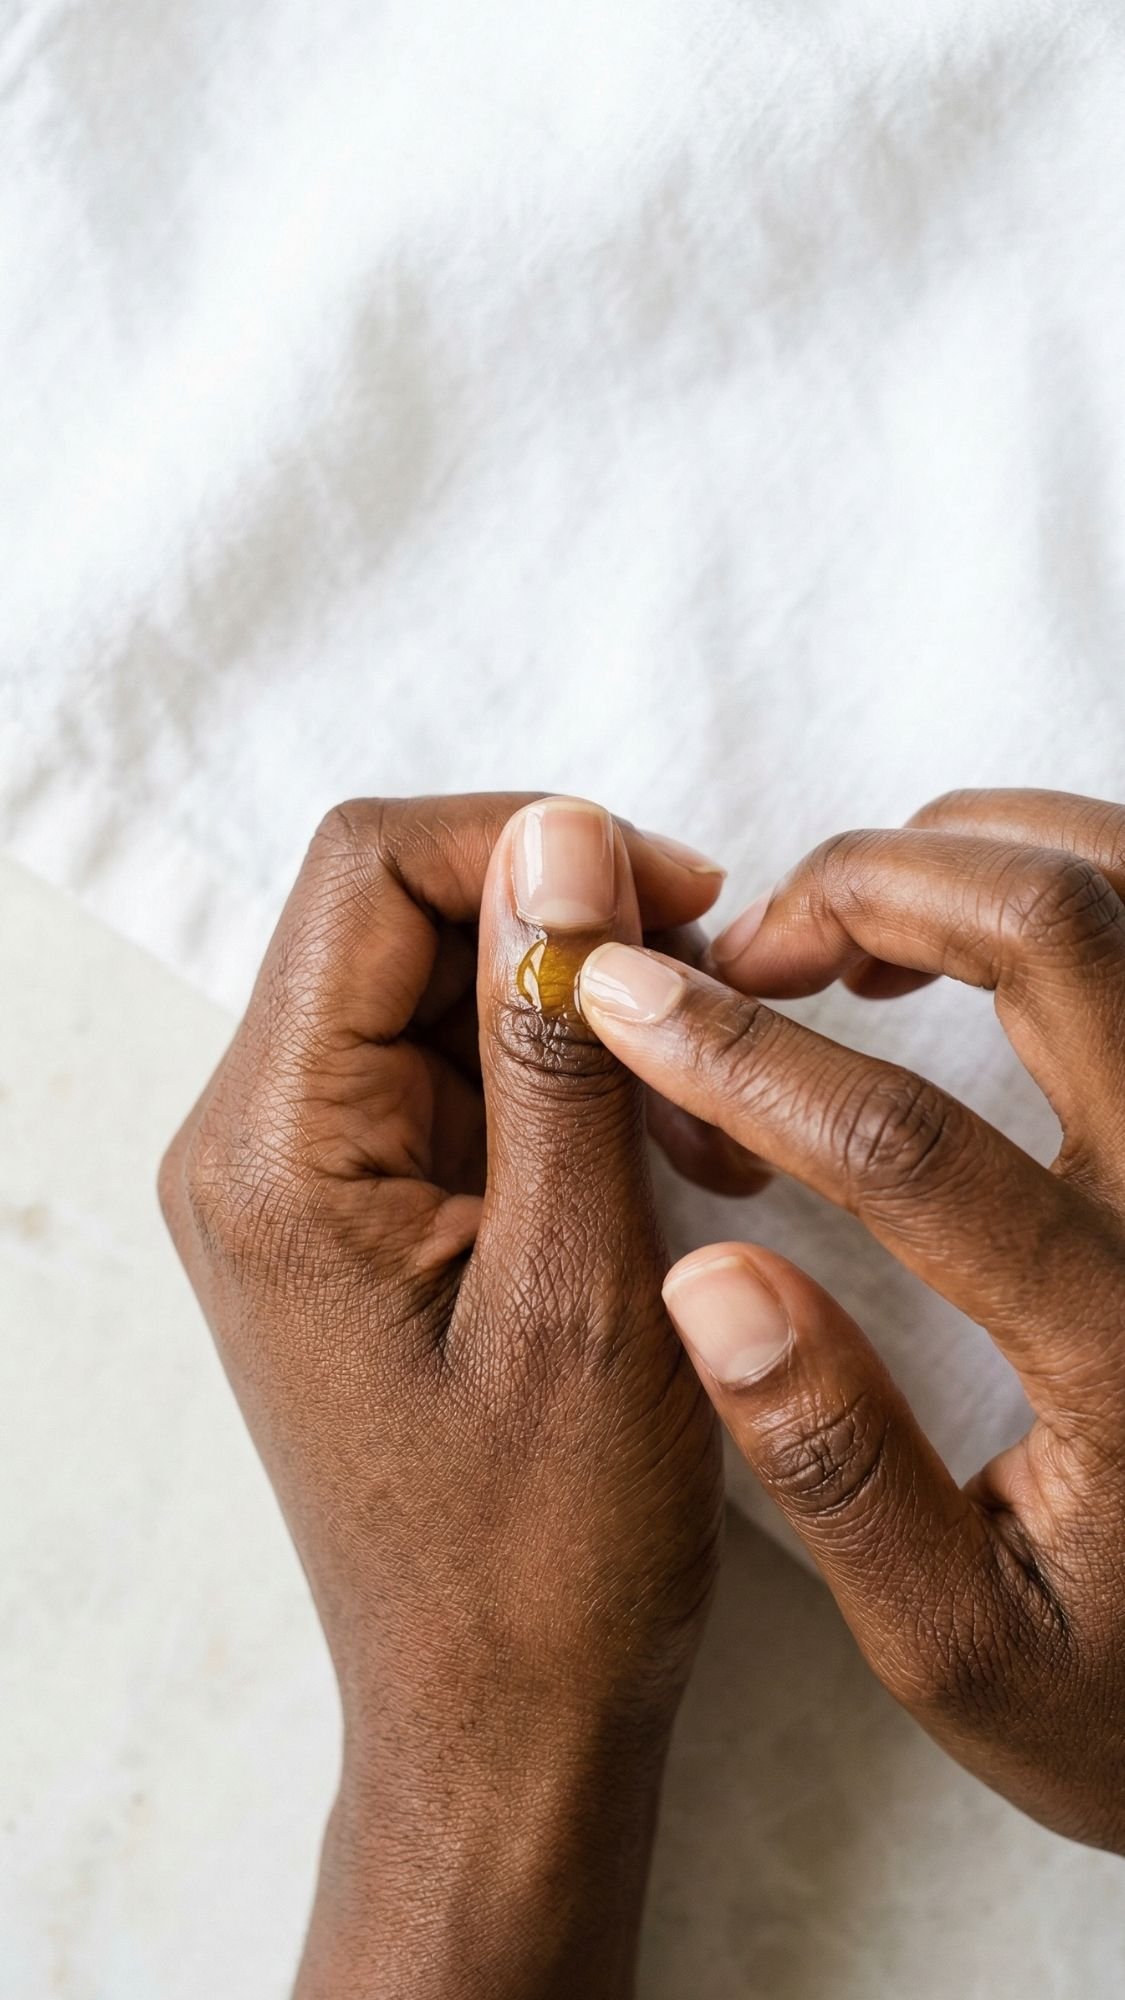
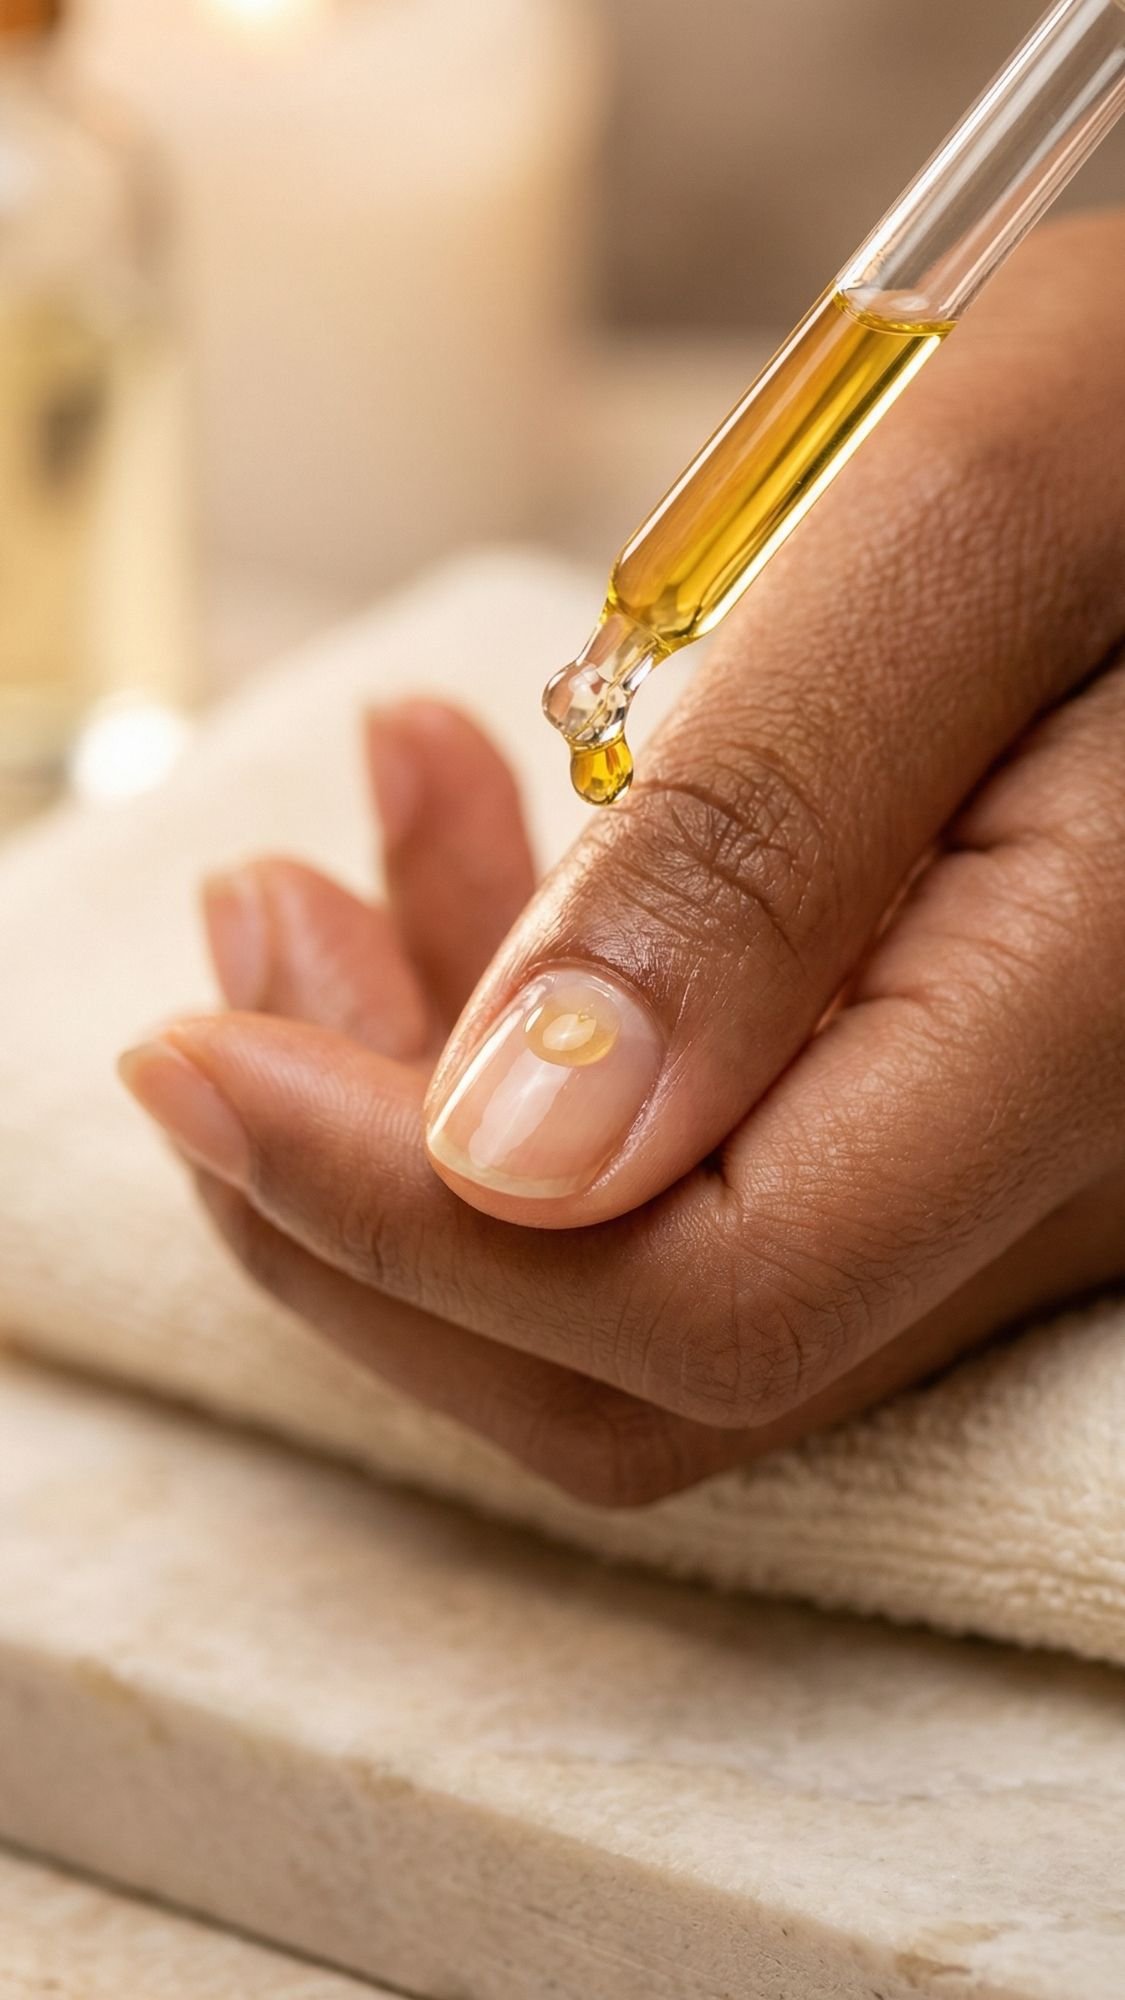
- The Cuticle Oil Routine: Jojoba oil is the MVP because its molecular structure is small enough to actually penetrate the nail. I apply it every single night before bed. It feels slightly greasy for about two minutes, but it absorbs quickly and keeps your “seal” intact.
- The “Breather” Week: Every six weeks, I go completely bare for seven days. During this time, I use a keratin-rich nail strengthener. It looks like a clear coat but it’s actually feeding the nail plate.
- When to See a Pro: If you notice any green or yellow discoloration that doesn’t buff away, or if your nail is lifting away from the bed, put the polish down. Those are signs of infection, and no amount of “Soap Nail” polish will fix that.
Shade + Shape Guidance: How to Elongate Your Hands
Ever wondered why some manicures make your fingers look like stubby carrots while others make them look like a hand model’s? It is all about the geometry. If you have wide nail beds, a Soft Almond shape is your best friend. It draws the eye to a point and slims the finger. If you have very small, petite hands, a Short Square keeps things looking modern and “cool girl” without trying too hard.
When it comes to color, look at your palms. If your palms have a lot of yellow or golden tones, stay away from “baby pinks” as they can look chalky. Go for “honey” or “peachy” nudes instead. If your palms are more reddish or cool, those classic “ballet slippers” pinks will look incredible on you. IMO, the most flattering shade is always one that is half a shade lighter than your actual skin tone.
The 15-Minute Beginner Routine
Not everyone has an hour to spend on their cuticles. If you are in a rush but want to look like you just left a high end salon, follow this “Express” routine:
- Buff for Shine: Use a high-grit buffer for 30 seconds to smooth the surface.
- The Tinted Base: Apply one coat of a “Glow” or “Illuminating” nail tinted base. These are designed to be one-and-done.
- Oil and Go: Apply cuticle oil immediately. It actually helps protect the polish from smudging as it dries by letting objects “slide” off the surface.
Beauty Rules of Thumb (Cheat Sheet)
- The “Two-Minute” Rule: Wait at least two minutes between coats. If you don’t, the bottom layer stays “mushy” and will smudge hours later.
- Cold Water Hack: After 5 minutes of drying, dip your hands in ice-cold water for 60 seconds. It helps set the top layer of polish faster.
- Avoid Heat: Do not take a hot shower right after painting your nails. The steam will cause the polish to lift before it has fully bonded.
- Sunscreen for Hands: If you use a UV lamp for gel, apply SPF 50 to your hands first. Your “Clean Girl” look shouldn’t come with sun damage.
Beginner Shopping List
- The Essentials: Glass nail file, high-quality jojoba cuticle oil, and a sheer “nude” polish.
- The “Upgrade” Items: Liquid cuticle remover, a 4-way buffing block, and a “plumping” top coat.
- Save Your Money On: Expensive “fast dry” drops. A good quick-dry top coat does the same thing for half the price.
FAQ
Q: How do I prevent my sheer polish from looking streaky? A: Use more polish on the brush than you think you need and use a very light touch. Let the polish “float” onto the nail rather than dragging the bristles against the nail plate.
Q: Is the “Russian Manicure” safe to do at home? A: Honestly? No. It involves using an e-file to remove the proximal nail fold. One wrong move can cause permanent nail matrix damage. Stick to the liquid remover and a wooden stick for DIY.
Q: Can I use regular top coat over gel polish? A: You can, but it won’t have the same longevity. It is better to stick to one “system” (all gel or all regular) to ensure the formulas bond correctly.
Q: How long should I wait to get a new manicure? A: If you are doing regular polish, you can change it weekly. For gel or press-ons, give your nails a 48-hour “breather” between sets to let the keratin rehydrate.
Wrapping It All Up
At the end of the day, the “Clean Girl” nail aesthetic isn’t about being perfect. It is about feeling polished and putting your best hand forward (literally). What I have learned over the last decade in the beauty world is that when your nails look good, you just feel more capable. Whether you are typing away at a laptop or holding a glass of wine, there is a certain confidence that comes with a high-shine, healthy-looking manicure.
The mistake most people make is overcomplicating it. You don’t need a hundred bottles of polish or a degree in nail technology. You just need a little bit of prep, a shade that makes your skin glow, and a dedicated cuticle oil routine. Trust me, your future self will thank you when you’re on day ten of a chip-free, “Rich Girl” mani.
So, which look are you trying first? Are you a “Soap Nail” minimalist or are you ready to master that ultra-thin “Micro French”? Whatever you choose, remember that nail care is self-care. Now go grab that glass file and let’s get to work! 🙂