Let’s be real for a second. We all want that “just stepped out of a luxury salon in Buckhead” look, but who actually has three hours and $120 to spare every two weeks? Not you, and definitely not me. FYI, I’ve spent over a decade testing every “miracle” polish and “instant” kit on the market. Most are absolute trash. But a few? They are pure gold.
If you are tired of your DIY mani looking like a toddler’s art project, you are in the right place. I am going to show you how to master 23 Simple Nails You Can Do At Home In Minutes without losing your mind or your patience. We are talking high-shine, chip-resistant, and “how did you do that?” designs that actually work on real hands.
Ever wondered why your home polish always seems to peel by day three? It’s usually not the polish, it’s the prep. I’m about to fix that for you.
Quick Results Snapshot
- What this look solves: Chipped polish, expensive salon bills, and the “boring” bare nail blues.
- Who it’s best for: Busy professionals, beginners, and anyone with short or brittle nails.
- Time required: 15–30 minutes depending on the design.
- Budget range: $10 – $40 for a full kit that lasts months.
- Expected timeline: Instant glam that lasts 7 to 14 days.
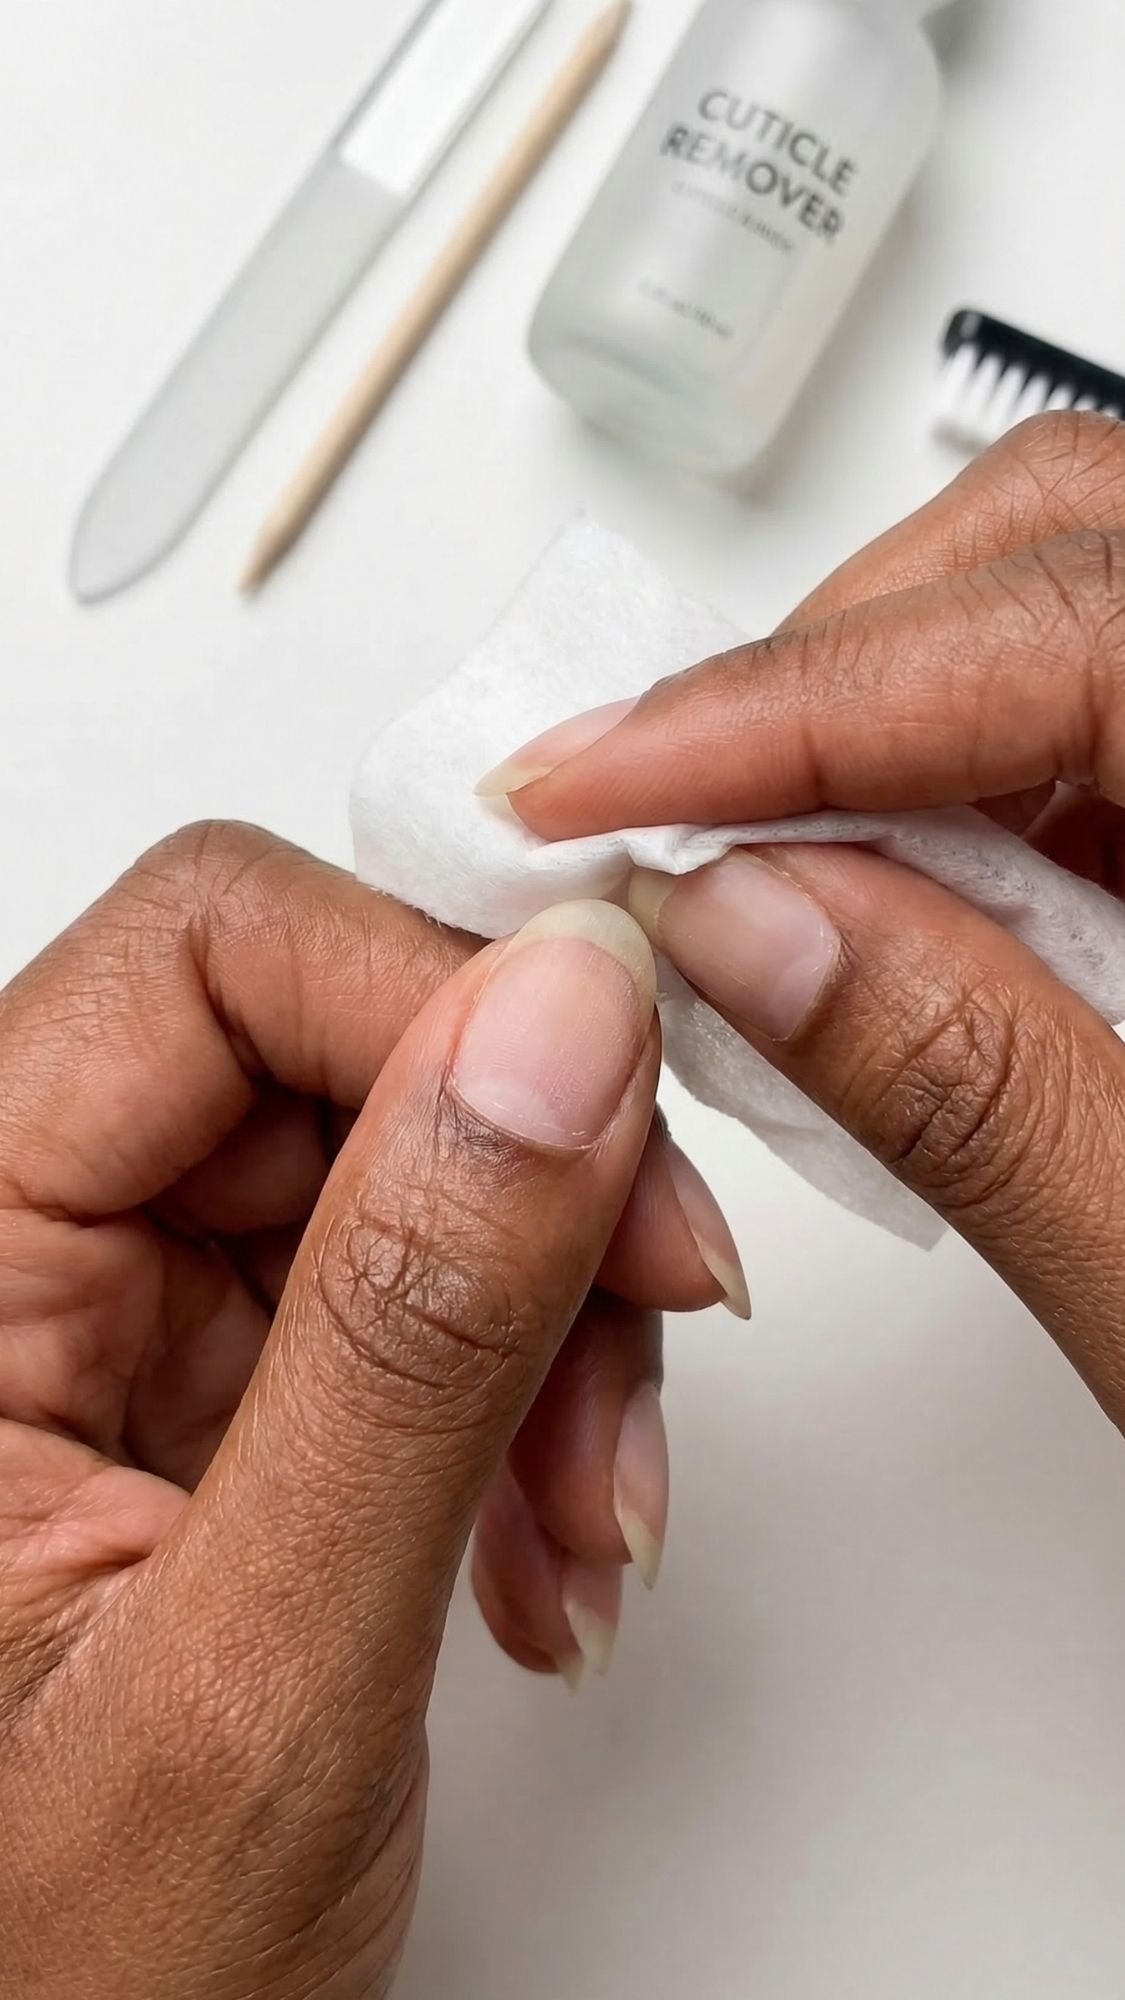
- Biggest mistake people make: Skipping nail dehydration (the alcohol wipe) and flooding the cuticles.
I’m so glad you’re digging the vibe. Let’s get into the part that most people skip, which is exactly why their nails pop off while they’re just trying to live their lives.
The Difference Maker (And Why You’re Failing)
You wouldn’t paint a dirty, oily wall and expect the paint to stick, so why are you doing it to your nails? After a decade in the beauty industry, I’ve noticed the biggest mistake most people make is thinking “prep” is just filing. IMO, prep is 90% of the work. If your nails aren’t prepped properly, your 23 Simple Nails You Can Do At Home In Minutes will be 23 Nails On Your Carpet In Minutes. The “Invisible Cuticle” Problem Most people think they have clean nails, but there is a thin layer of dead skin that grows up the nail plate called the eponychium. If you polish over that, the polish bonds to the skin instead of the nail. As your skin naturally moves and sheds, the polish lifts. What I’ve noticed over the years is that a chemical cuticle remover is far superior to aggressive cutting. It melts that dead skin away so your polish actually has a smooth, solid surface to grab onto.
The Dehydration Phase (No, It’s Not Optional)
This is my “pro” secret that separates the amateurs from the influencers. Your nail beds are naturally oily. You need to scrub your nails with 91% isopropyl alcohol or a dedicated pH bonder until they look chalky and bone-dry. The surface should feel slightly “grabby” to the touch. This ensures a mechanical bond between your nail and the base coat. Skipping this is basically asking for chips.
Shaping and Buffing
Always file in one direction. Sawing back and forth creates micro-tears in the nail plate that lead to peeling and splitting later. Use a high-grit buffer (220 or higher) to very gently remove the shine from the nail surface. You aren’t trying to thin the nail. You are just creating a microscopic “grid” for the product to latch onto.
- Key Takeaways for Prep:
- Remove Old Product: Use 100% pure acetone. Avoid “moisturizing” removers that leave oily residues.
- Cleanse: Use a lint-free wipe. Paper towels leave behind tiny fibers that look like boulders under your polish.
- Common Mistake: Touching your nails with your fingers after you’ve cleaned them. Your skin oils are the enemy.
- The Fix: If you touch your nail, scrub it with alcohol again. No excuses.
I love that you’re ready to keep moving. Now that we’ve prepped the canvas, we need the right gear. Most people buy those “all-in-one” kits from the drugstore and wonder why their nails look like they were painted with house paint. Trust me, a few specific, high-quality tools make all the difference.
Spend Money Where It Matters
If you’re shopping on a budget, I’m going to tell you exactly where to splurge and where to save. You don’t need a $200 setup. You need a few things that actually perform. What I’ve noticed over the years is that a cheap top coat is the fastest way to ruin a beautiful design.
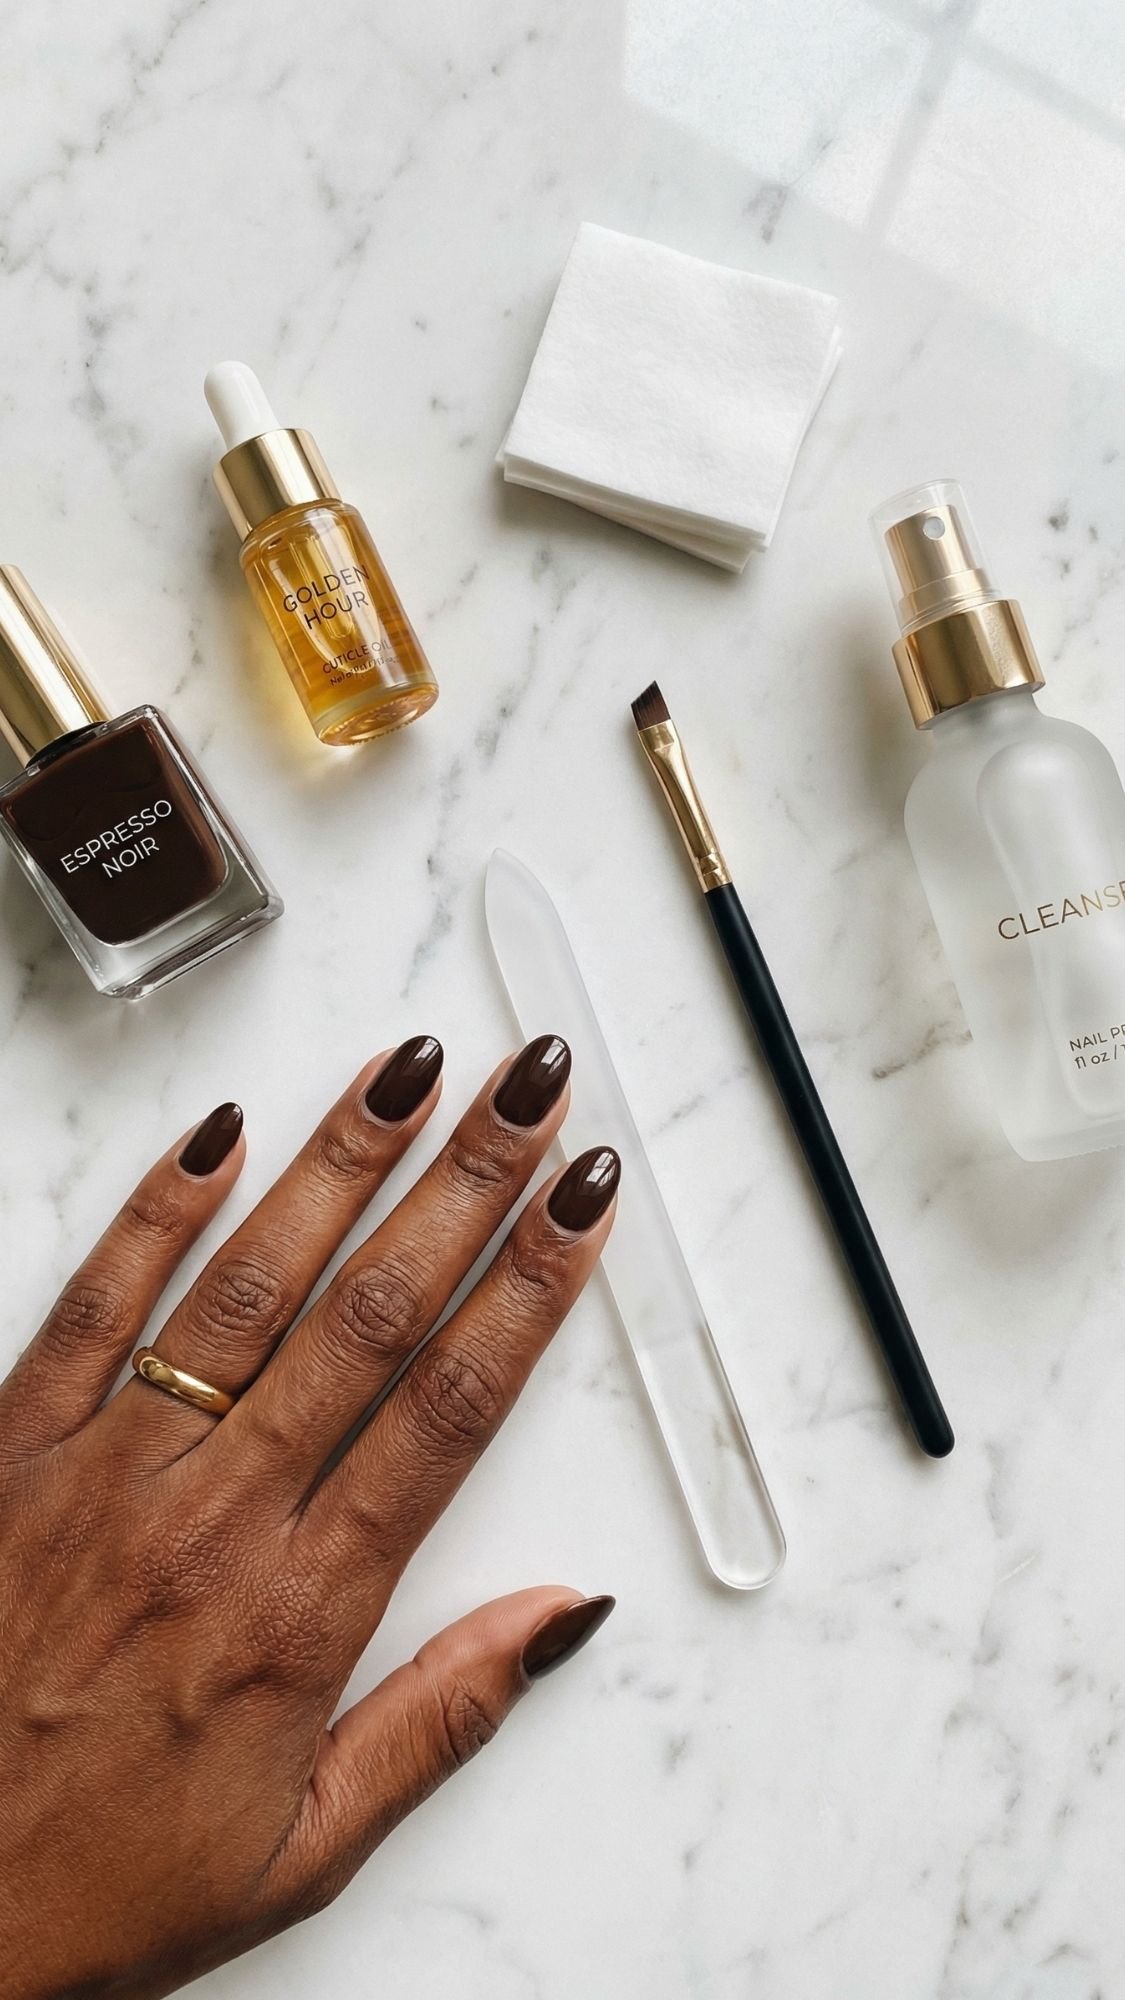
The Must-Haves (The Non-Negotiables):
- A Glass Nail File: Throw those sandpaper emery boards in the trash. Glass files seal the keratin layers of your nail as you file, preventing that annoying peeling at the tips. It feels like a luxury upgrade for less than $10.
- Pure Acetone: Not the “nourishing” kind. You need the strong stuff to get a clean slate.
- A Cleanup Brush: This is the “Influencer Secret.” Get a small, angled synthetic eyeliner brush. Dipping this in acetone to crisp up your edges is the difference between “I did this at home” and “I spent $80 at the salon.”
- High-Quality Top Coat: Look for “Five-Free” or “Long-wear” formulas. Essie Gel Couture or Seche Vite are my ride-or-dies. They have a thick, cushiony texture that hides imperfections.
The Nice-to-Haves (The “Level Up” Gear):
- Nail Art Striper Brush: A long, thin brush for those “Pinterest-worthy” swirls.
- Dotting Tool: You can use a bobby pin, but a real dotting tool gives you perfect circles every time.
- Chrome Powder: A tiny pot goes a long way for that metallic finish.
23 Simple Nails You Can Master Today
We’re starting with the designs that give maximum impact with minimum effort. Ever tried to do a complex design and ended up removing it five minutes later? We aren’t doing that today.
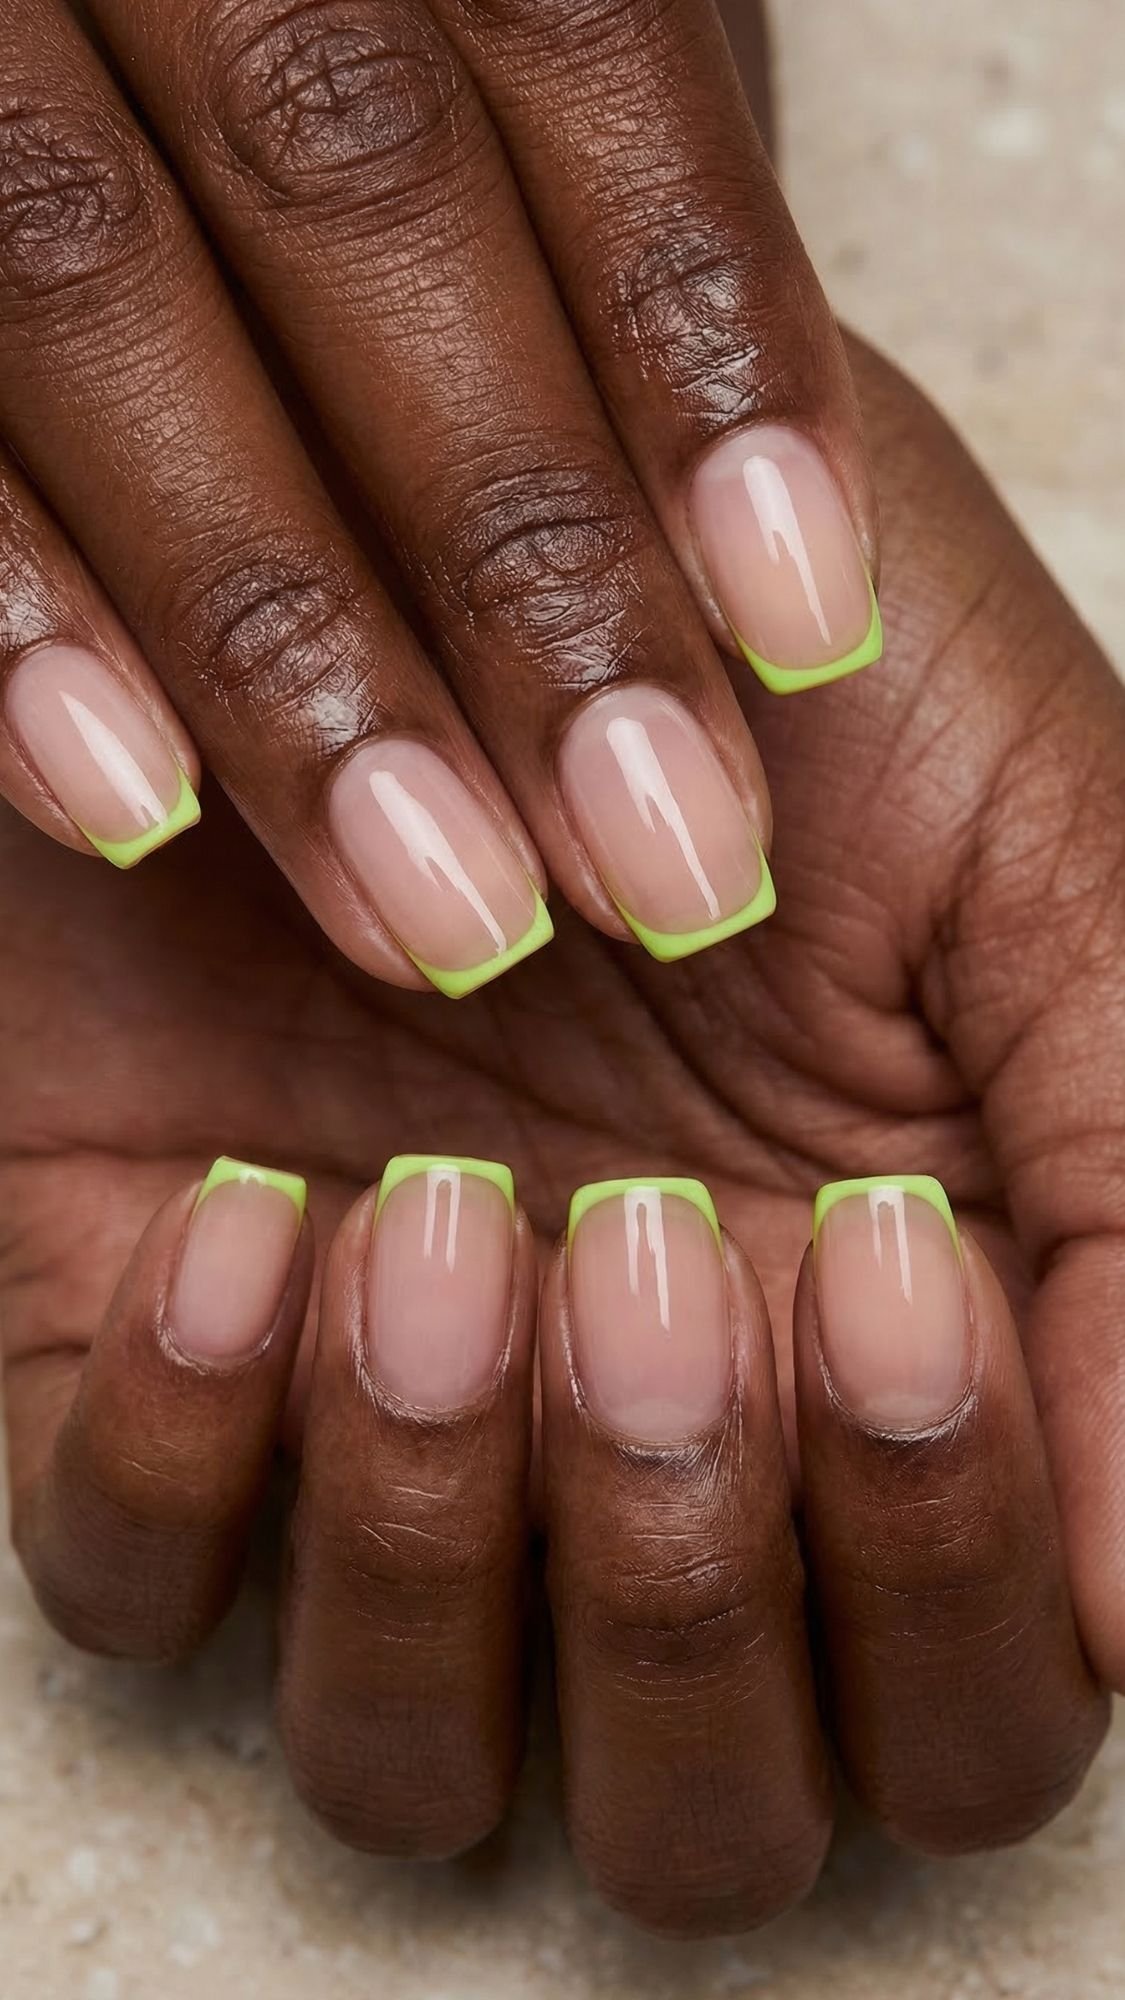
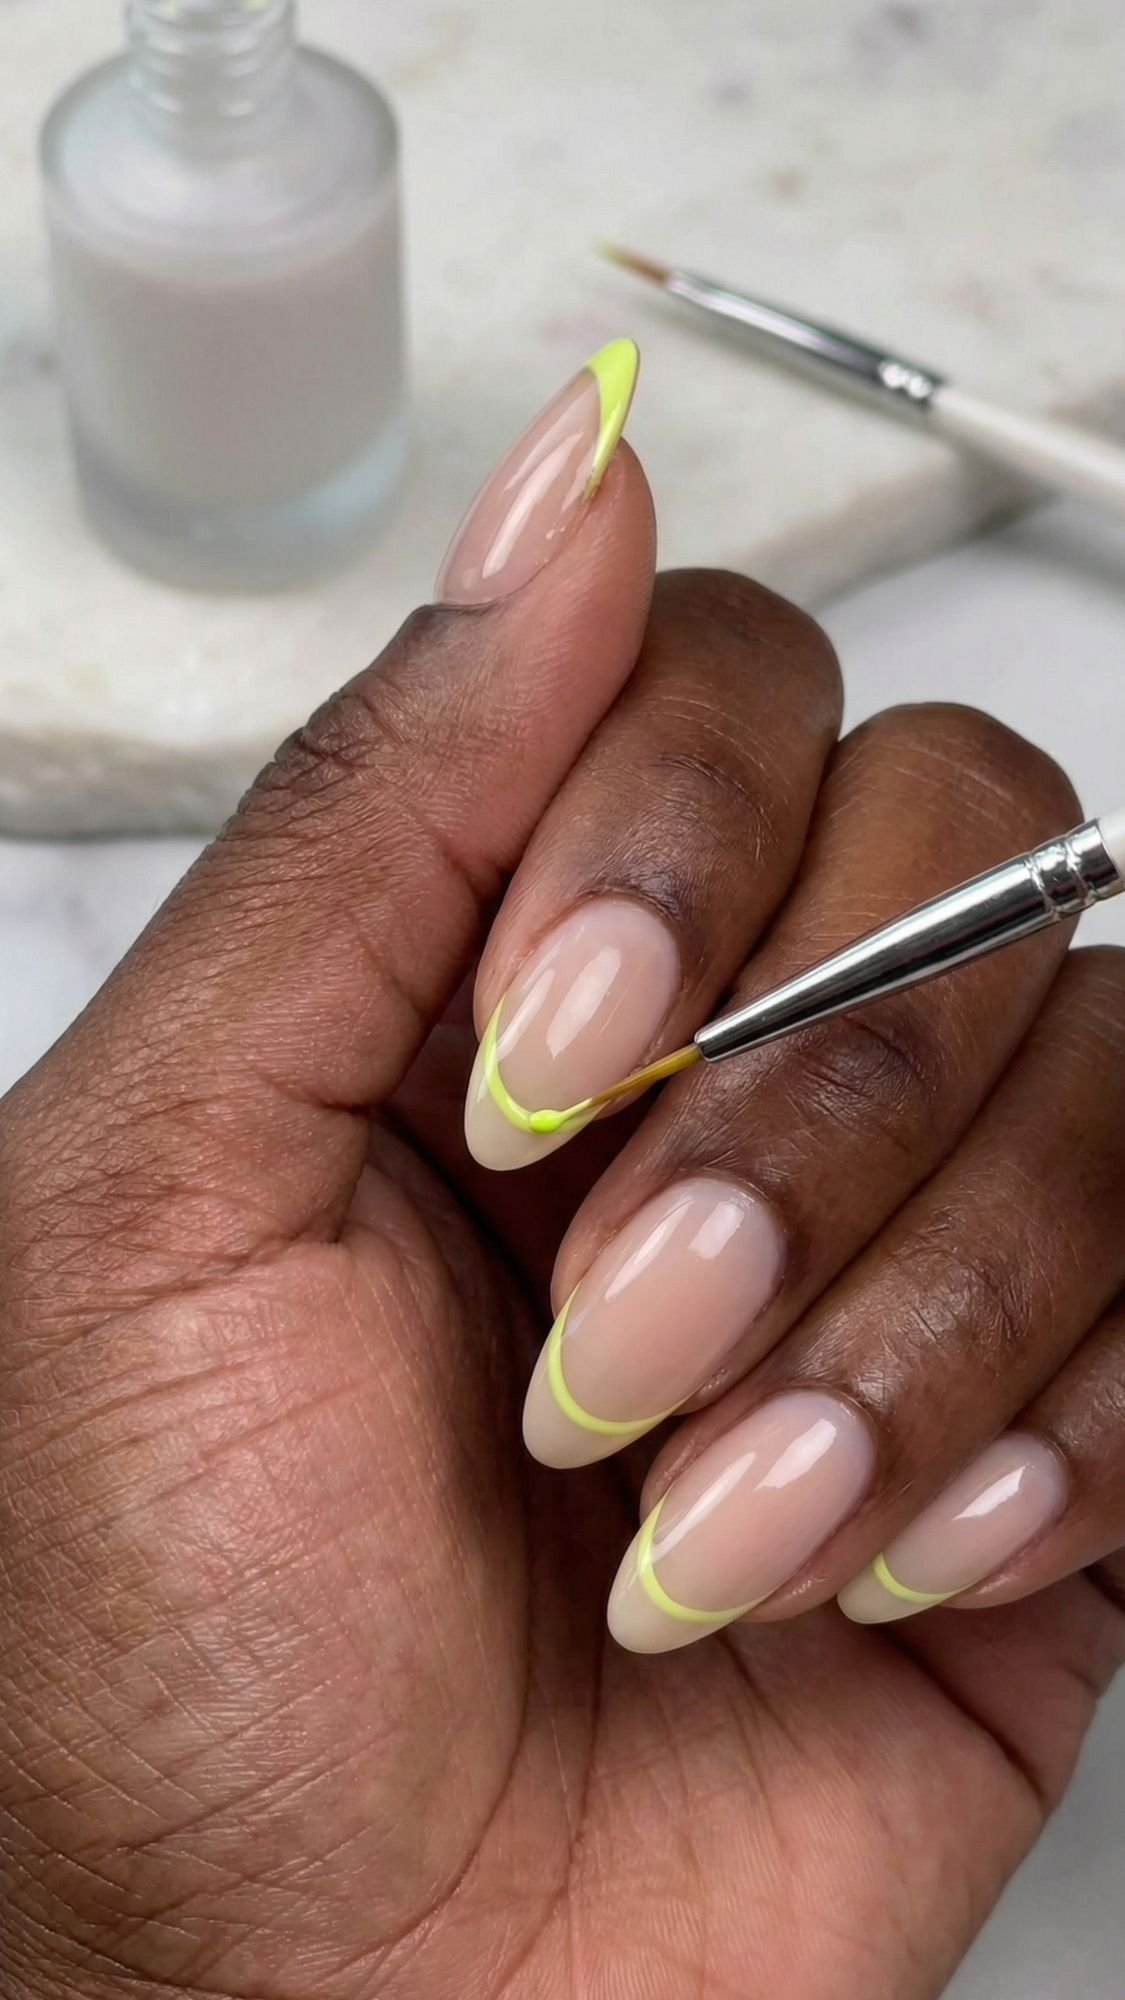
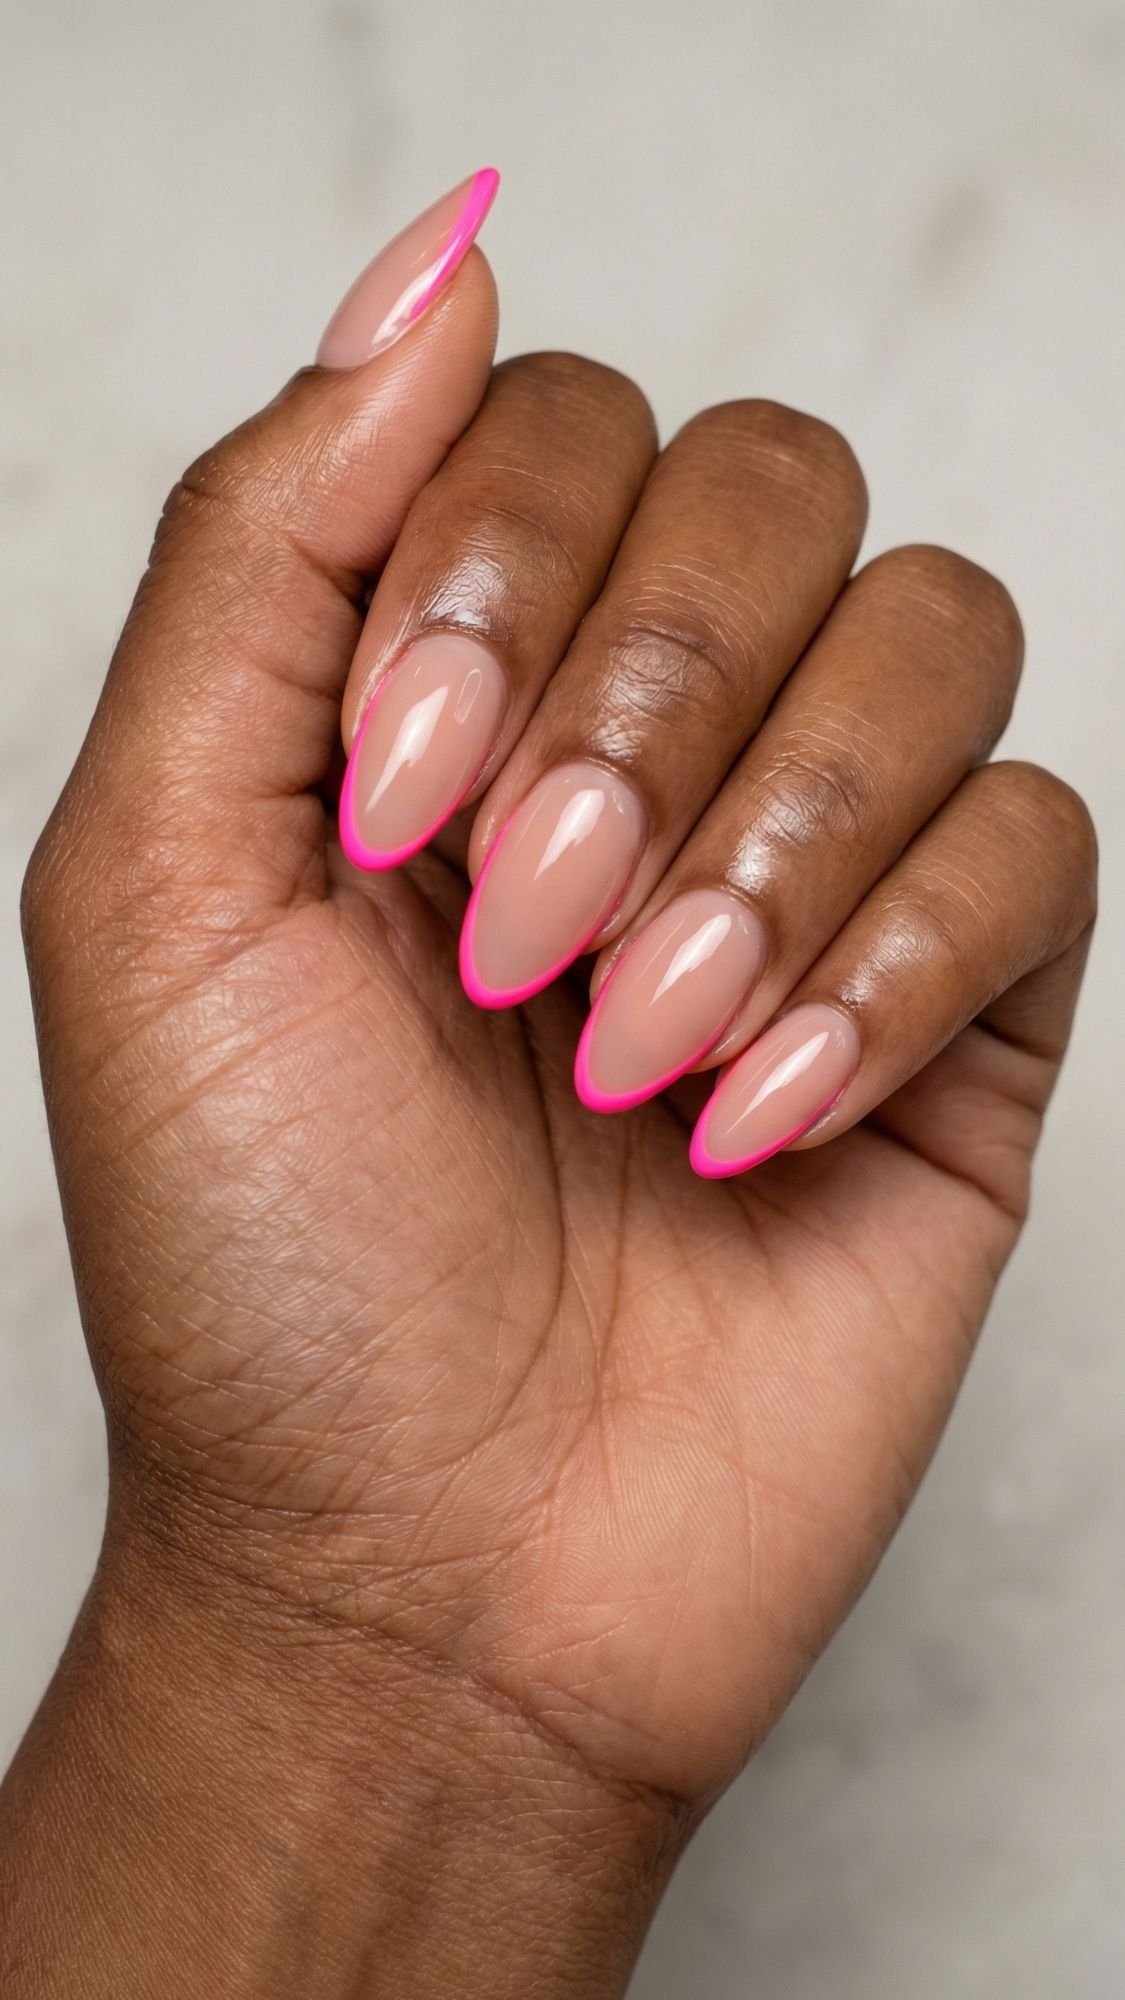
1. The Micro-French Tip
Forget the chunky, dated French manis of the early 2000s. We are going for a “sliver” of color that looks incredibly chic on shorter nails.
- The Technique: Use your fine-liner cleanup brush. Instead of dragging the brush across your nail, hold the brush still and steadily rotate your finger under the bristles. It sounds weird, but it’s the only way to get a perfectly smooth curve without shaky hands ruining it.
- Pro Tip: Try this with a neon shade, like lime green, on a sheer nude base. It’s subtle but high-fashion.
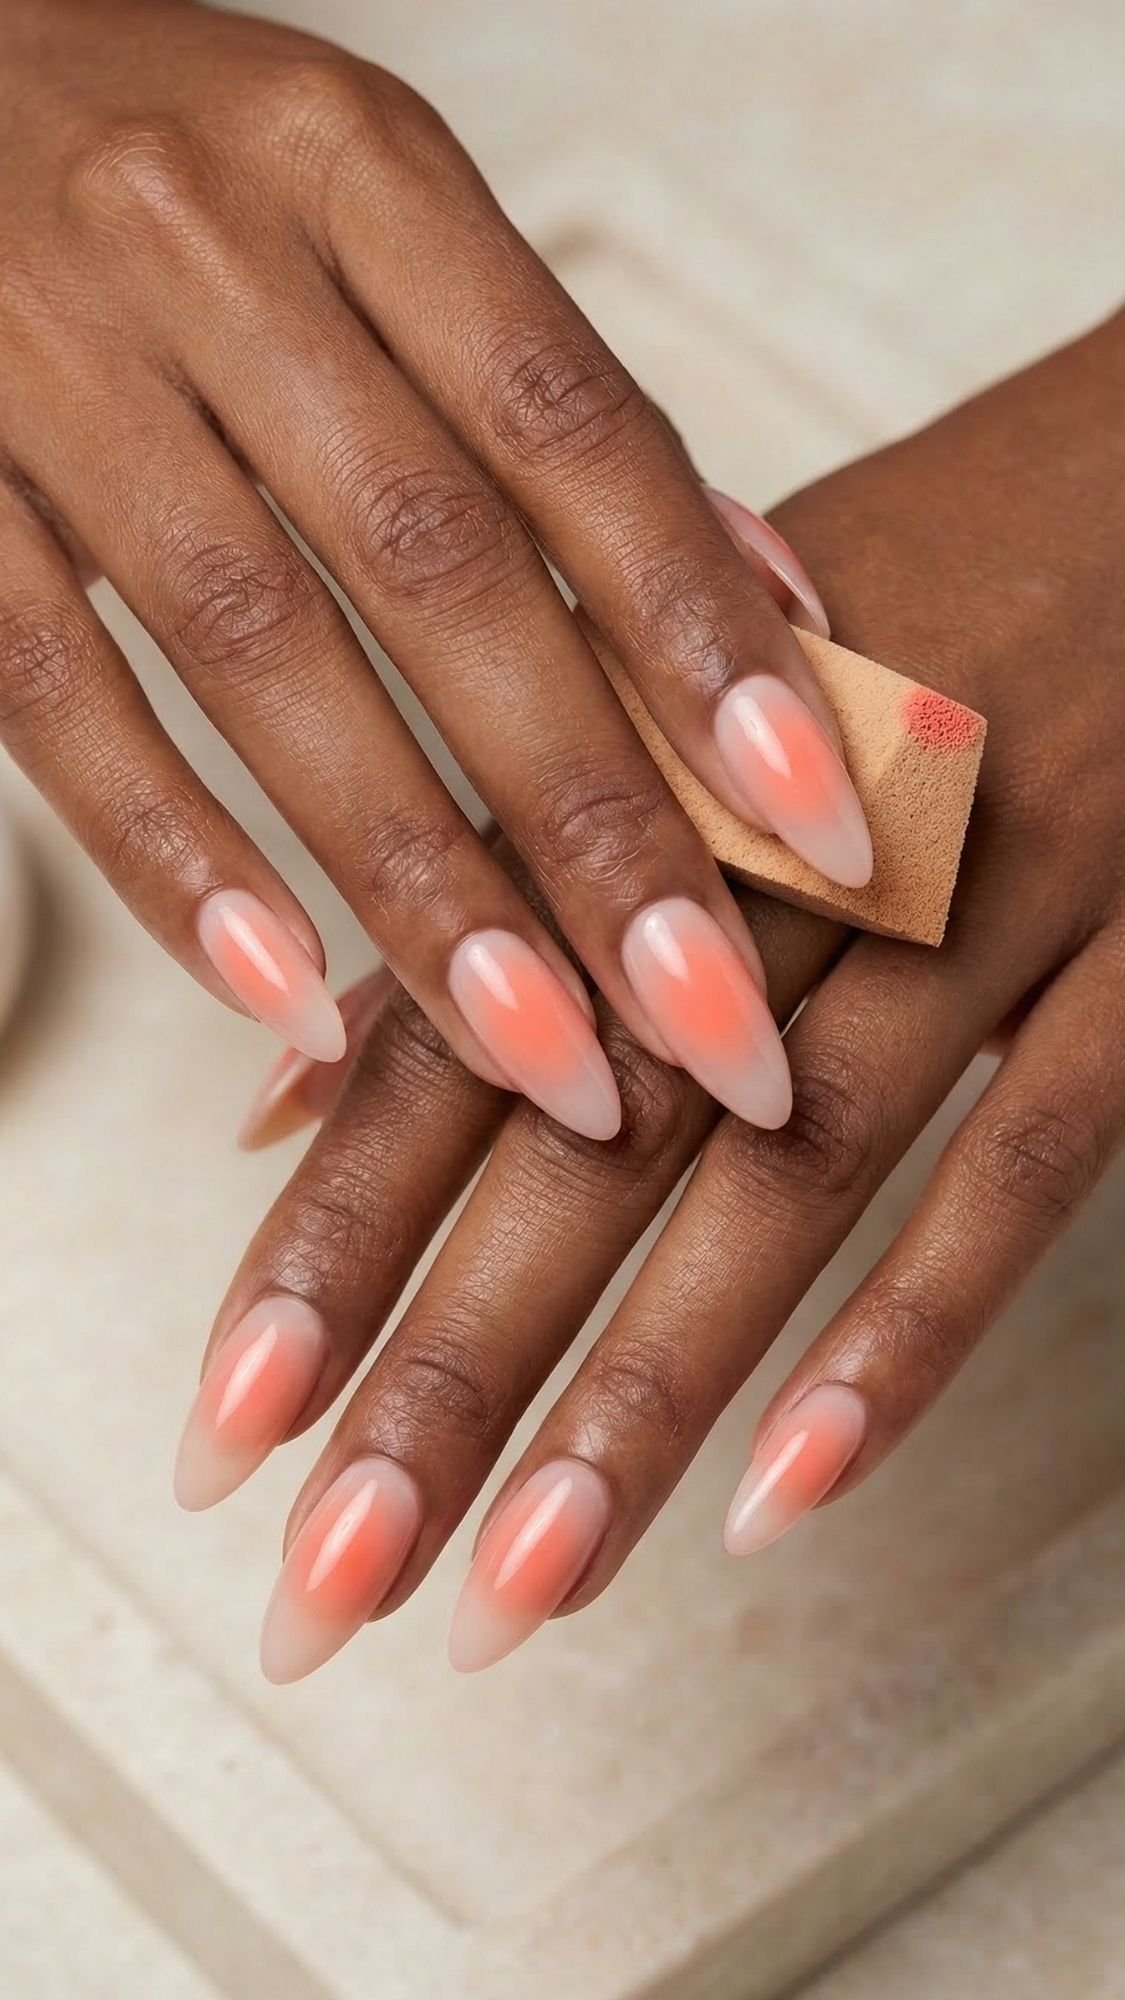
2. The “Aura” Nail (The Makeup Sponge Hack)
This is all over Instagram right now, and guess what? You don’t need an expensive airbrush machine to do it.
- The Technique: Paint your base color (white or pale nude works best) and let it fully dry. Take a damp disposable makeup sponge, put a tiny dot of your “aura” color (like bright orange or pink) on the tip, and gently dab it in the center of the nail.
- Common Mistake: Using a dry sponge. A dry sponge will soak up the polish and leave a chunky, grainy texture. Dampen it first for that smooth airbrushed fade!
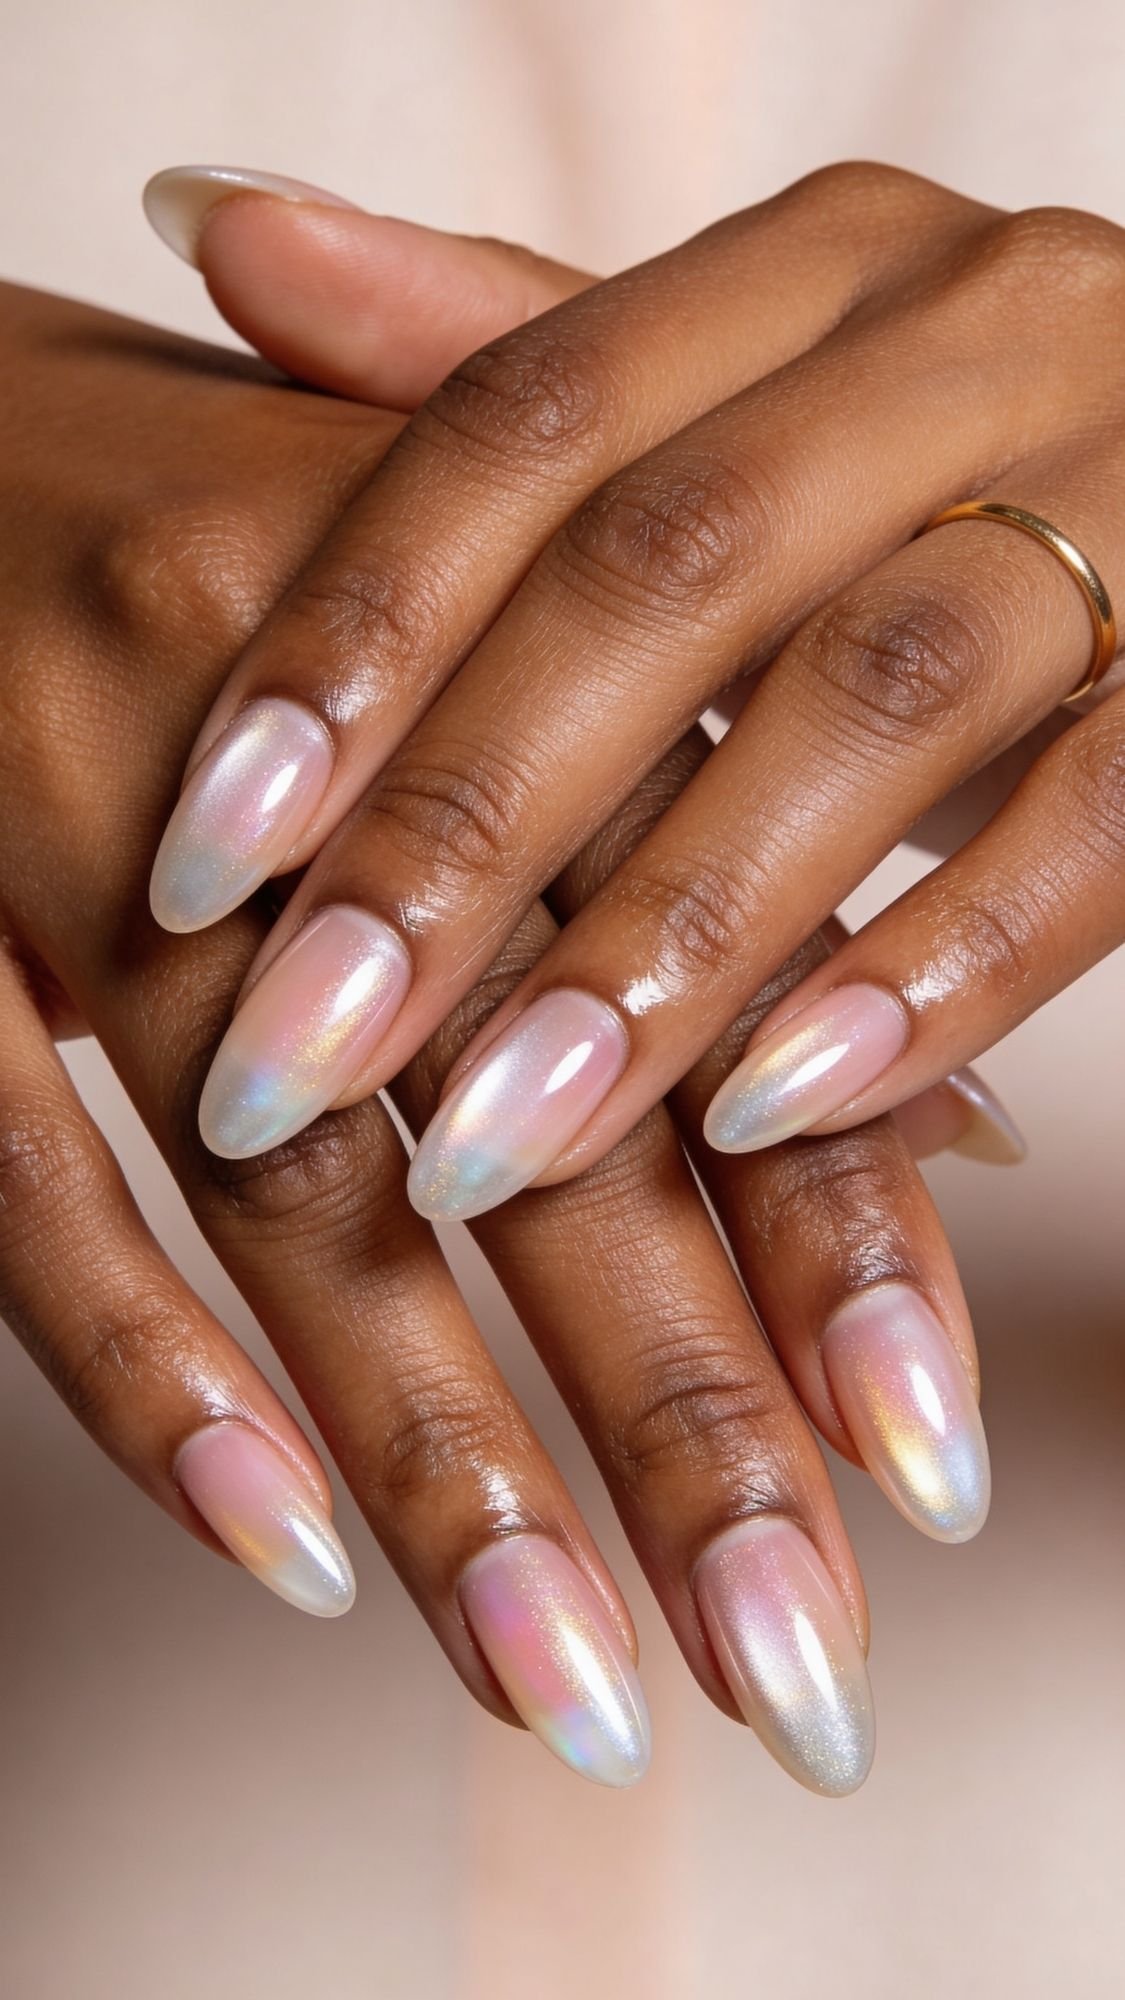
3. Glazed Donut 2.0
Still iconic, still easy, and still the best way to make your hands look expensive.
- The Technique: Apply one coat of a sheer, milky white polish. The key here is timing: while it’s slightly tacky (about 90% dry, not wet), rub on a white chrome powder using an eyeshadow applicator.
- Why it works: The chrome reflects light so intensely that it hides ridges and imperfections in the natural nail plate like a charm.
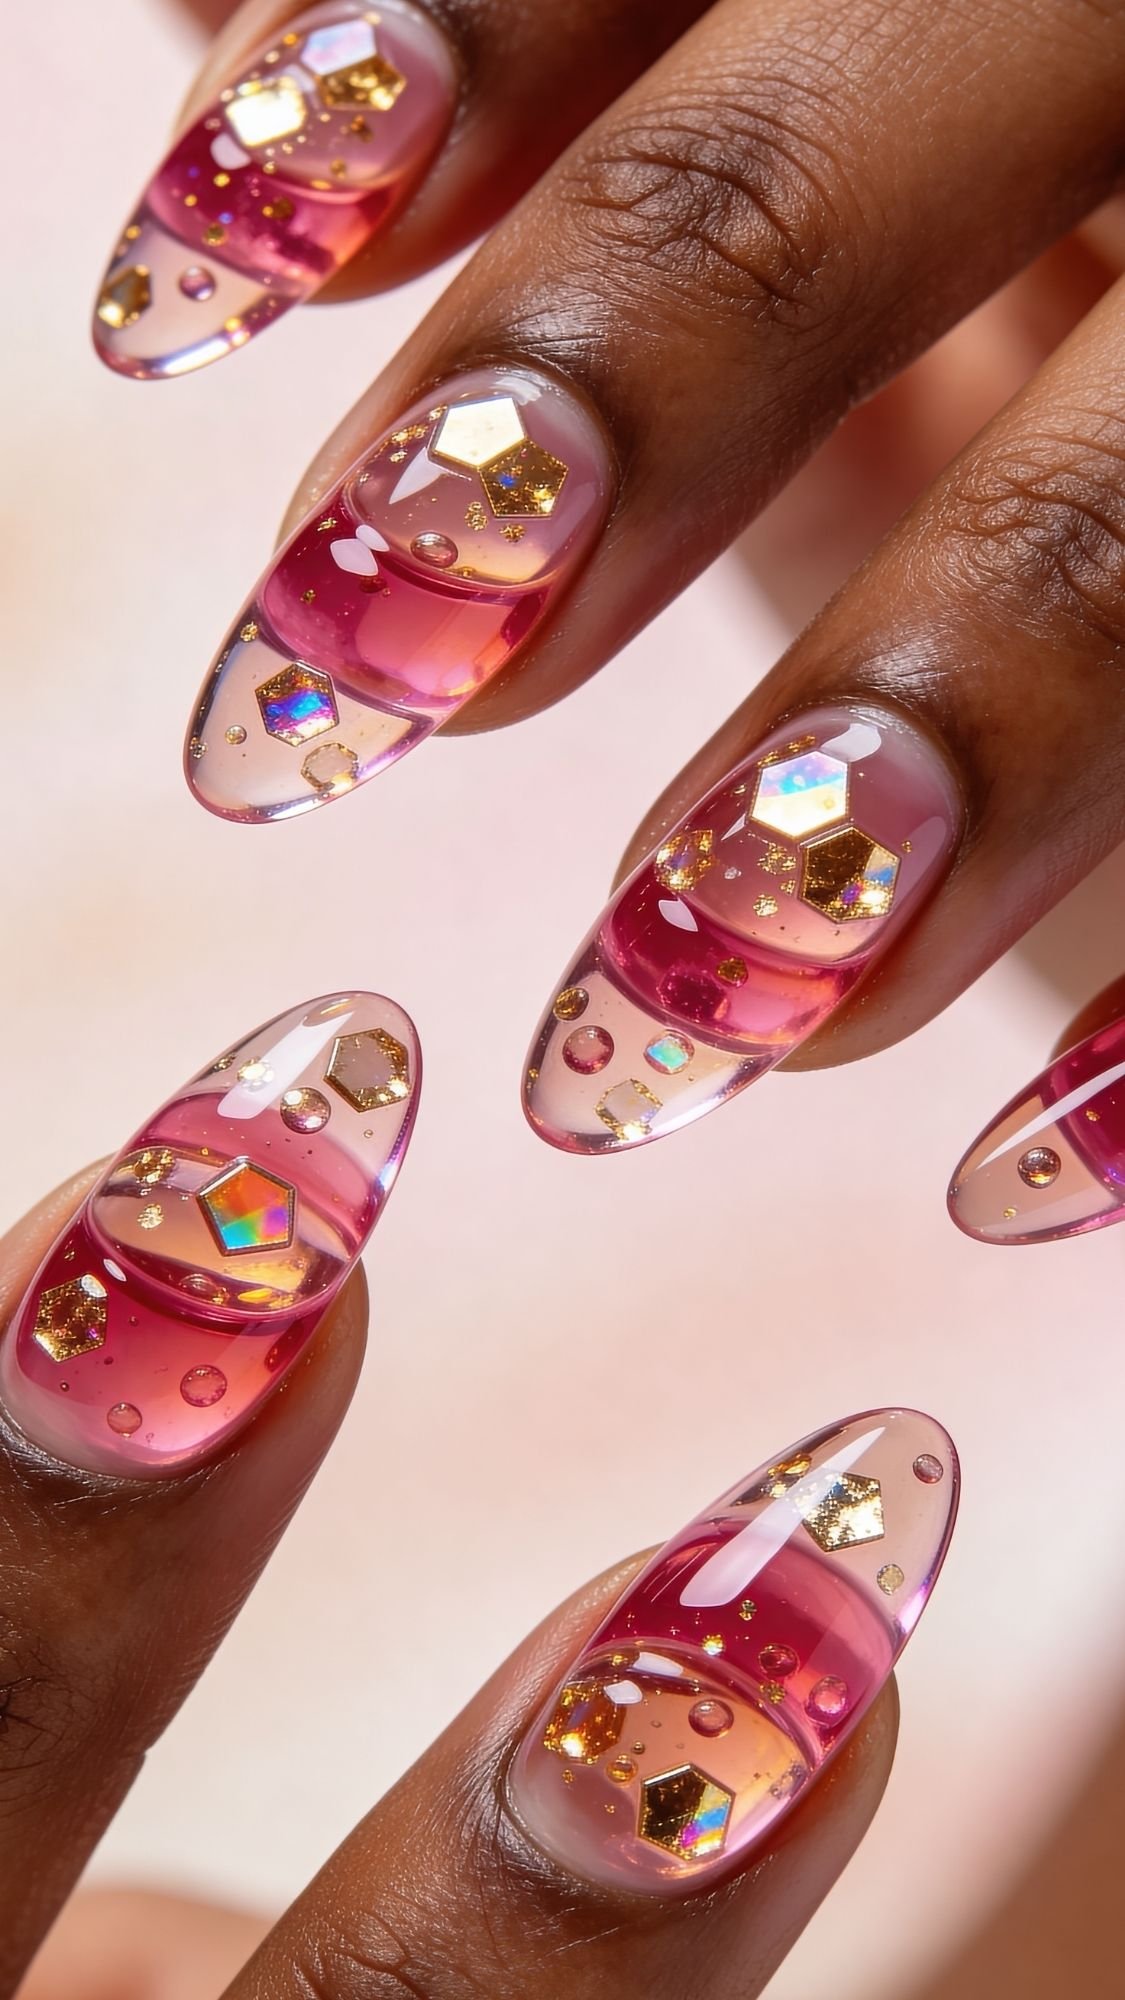
4. The “Jelly Sandwich”
This is my personal favorite for a “squishy,” high-depth look that feels very Y2K nostalgic in the best way.
- The Technique: It’s all about layering. Apply one coat of a translucent “jelly” or sheer polish. While wet, sprinkle a few pieces of chunky hexagonal glitter onto the nail. Seal it with a second coat of the jelly polish.
- Sensory Detail: The final result should look like the glitter is floating suspended in colored syrup. It has incredible depth.
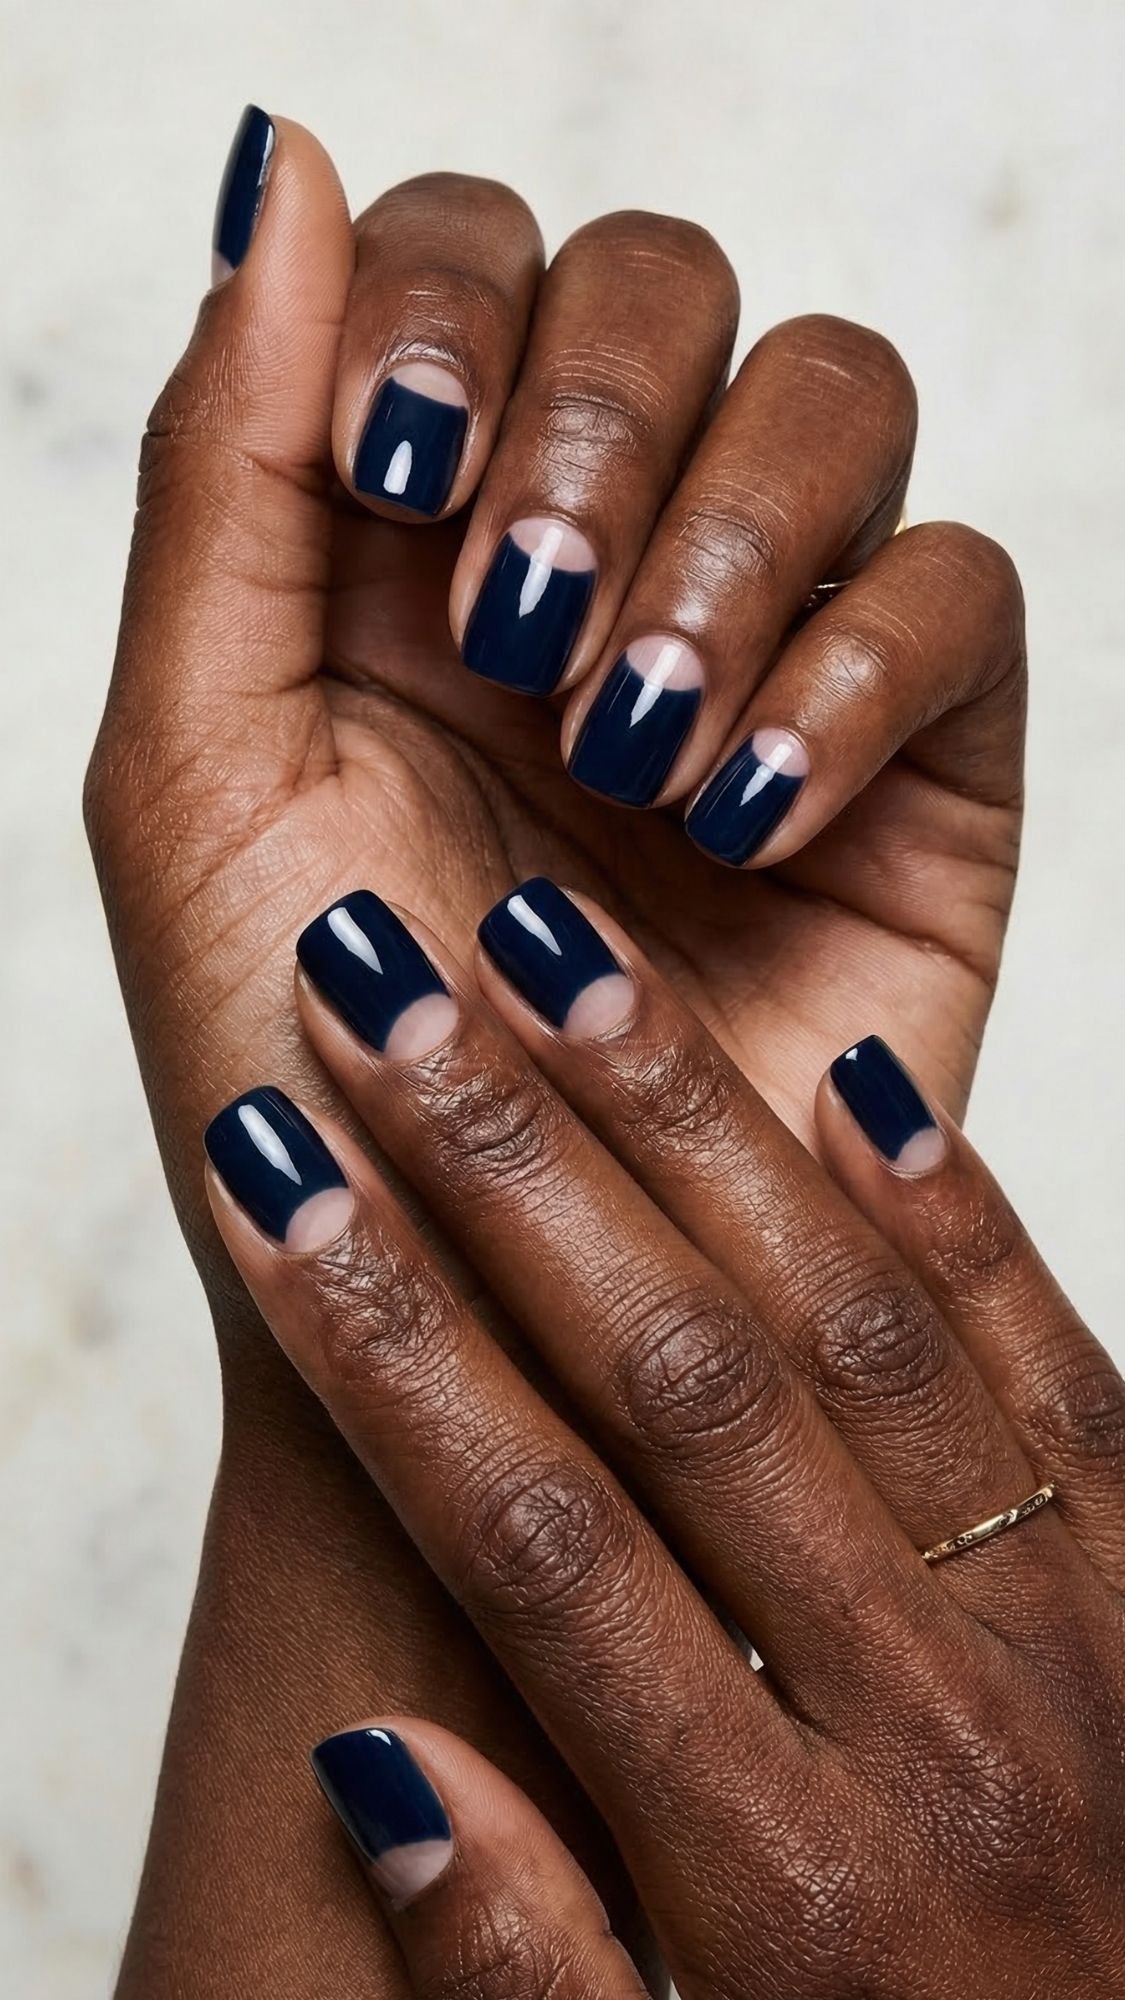
5. Negative Space Half-Moons
The ultimate “lazy girl” hack for long-wear that still looks intentional.
- The Look: You are leaving the “moon” (lunula) at the base of your nail completely bare and painting the rest of the nail a solid color.
- The Benefit: As your nails grow out over the next two weeks, there is no visible line of demarcation. You can rock these for dozens of days, and no one will know your secret. IMO, this is the smartest design on this list for busy people. 🙂
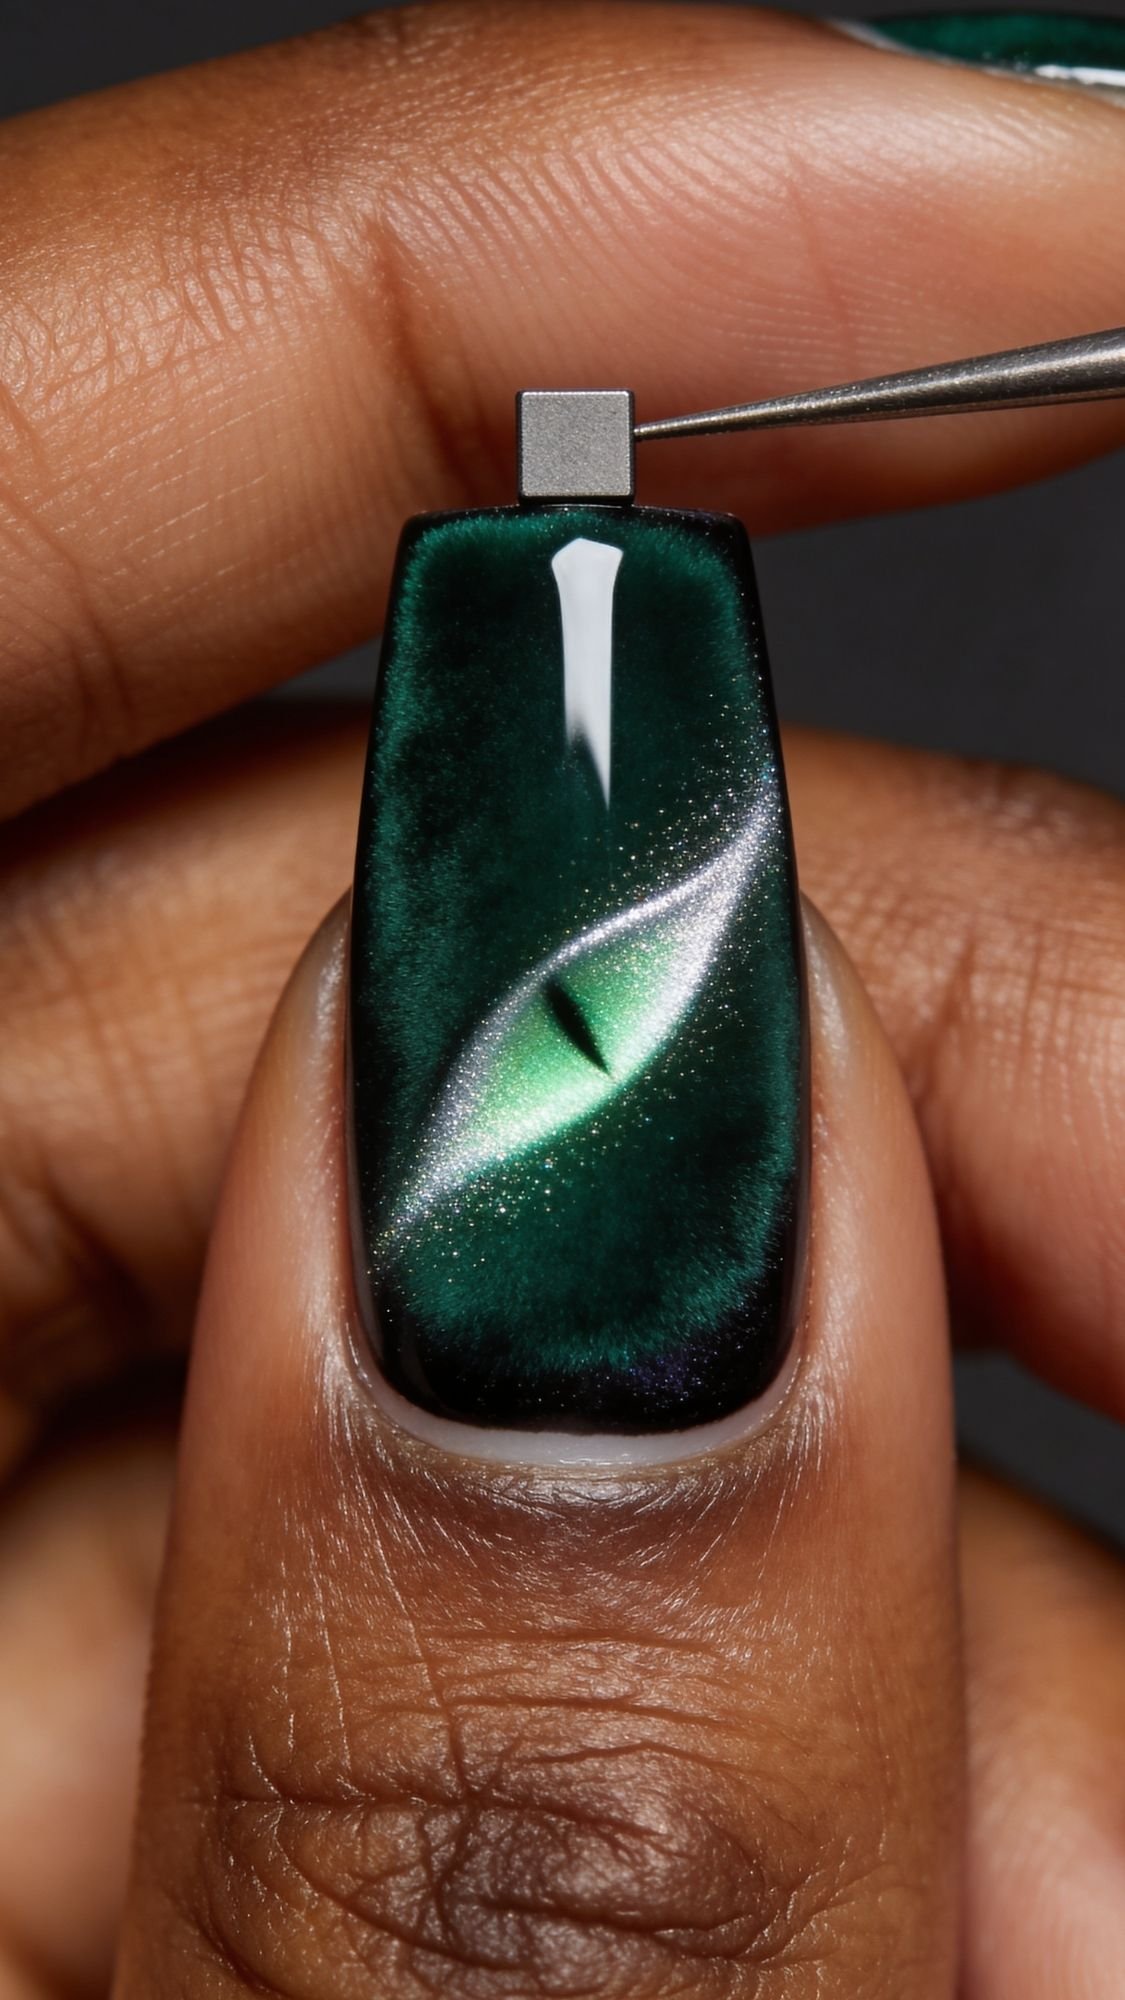
6. Velvet Magnetic Magic
If you haven’t tried magnetic polish yet, you are missing out on the coolest texture trend of the year.
- The Technique: You need a specific “cat-eye” or magnetic polish for this. Paint a thick coat, and immediately hold the little magnet wand (it usually comes with the polish) hovering over the wet nail for 10–15 seconds.
- Why it works: The magnet pulls the metallic iron particles in the polish, creating a shifting, plush effect that looks exactly like crushed velvet fabric on your fingertips.
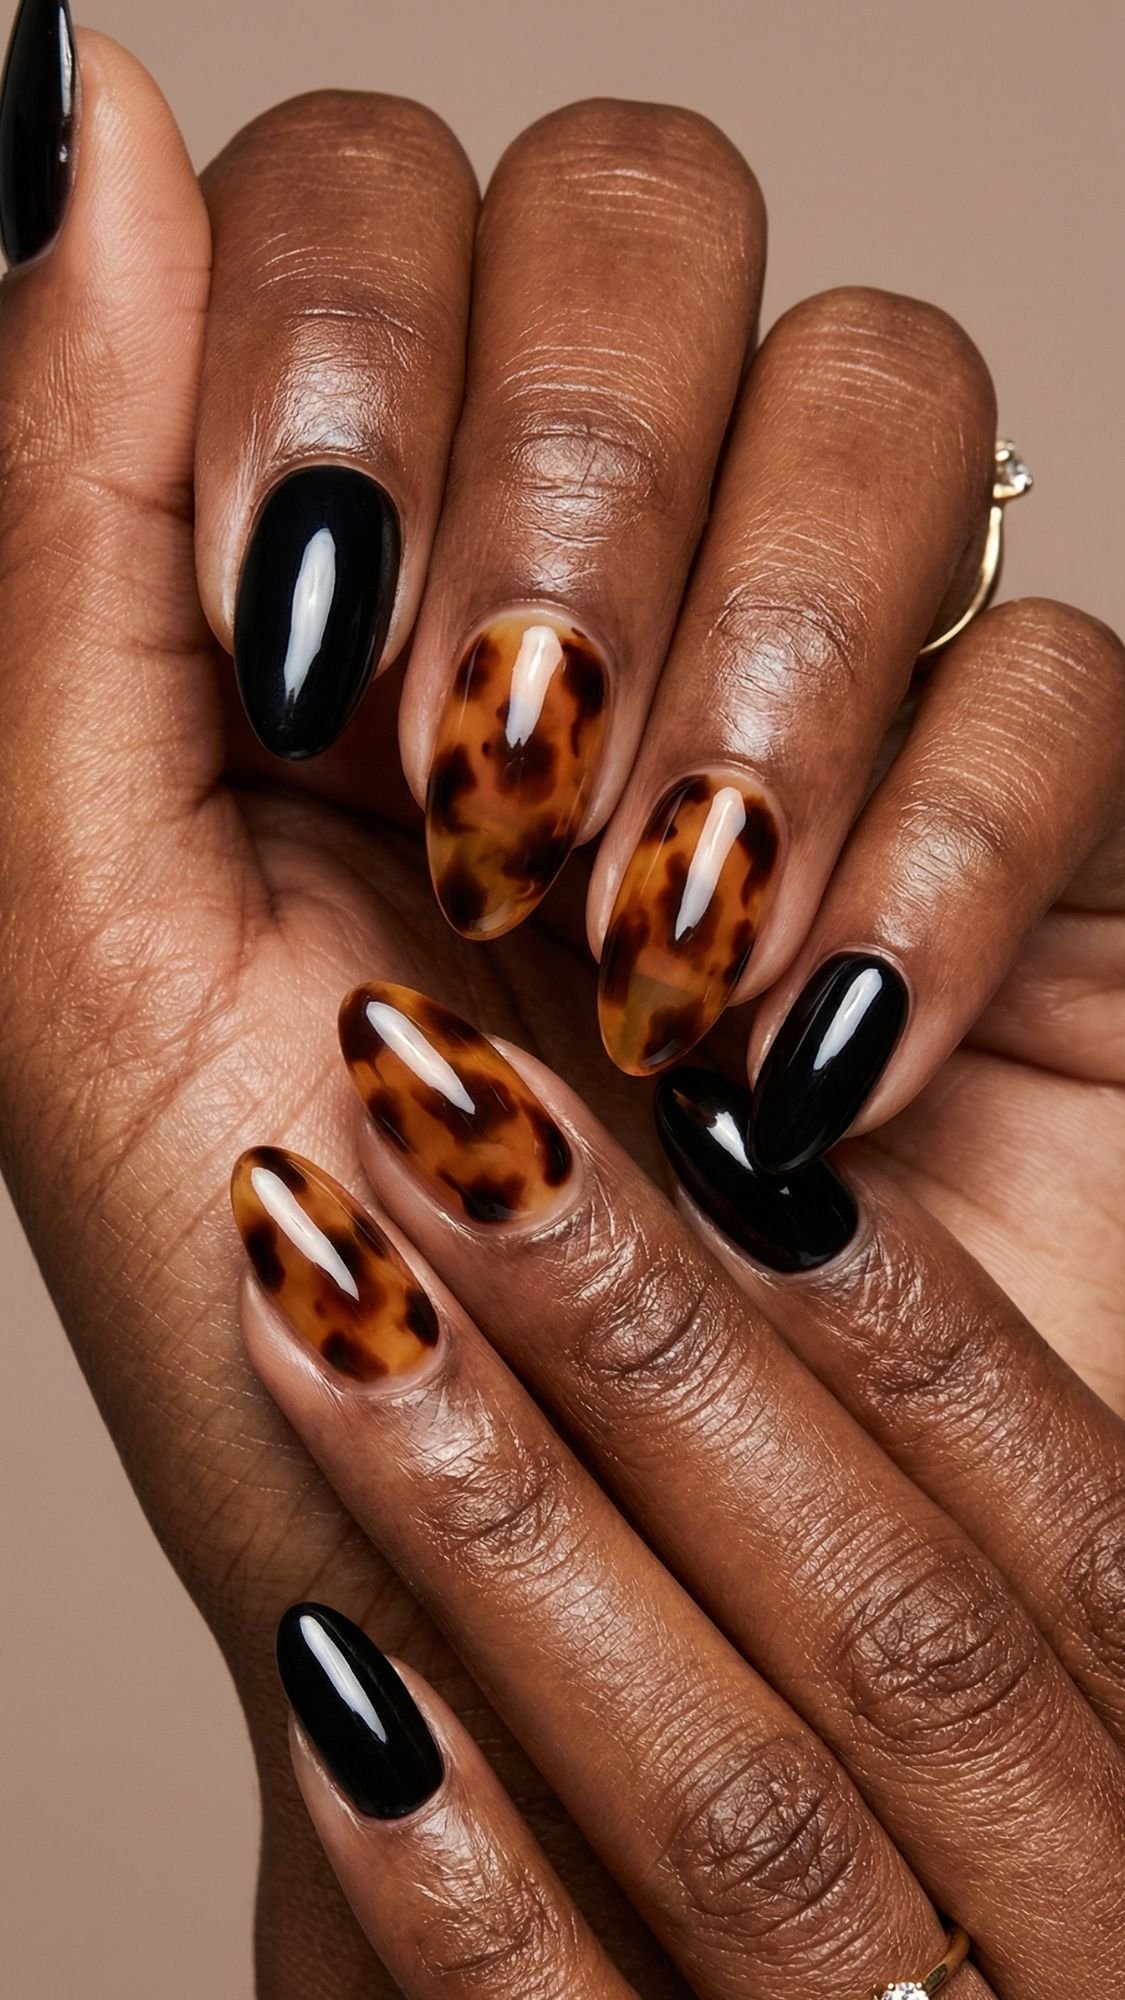
7. Tortoise Shell Accents
This looks incredibly complex, but it’s actually one of the easiest designs because it’s supposed to look messy and organic.
- The Technique: You need a sheer amber “jelly” polish and a dark brown or black opaque polish. Paint the amber base. While it’s wet, drop tiny blobs of the dark polish onto it.
- Pro Tip: Don’t try to be neat! The dark blobs will bleed slightly into the wet amber base, creating that realistic, cloudy tortoise shell pattern. Imperfection makes it look real.
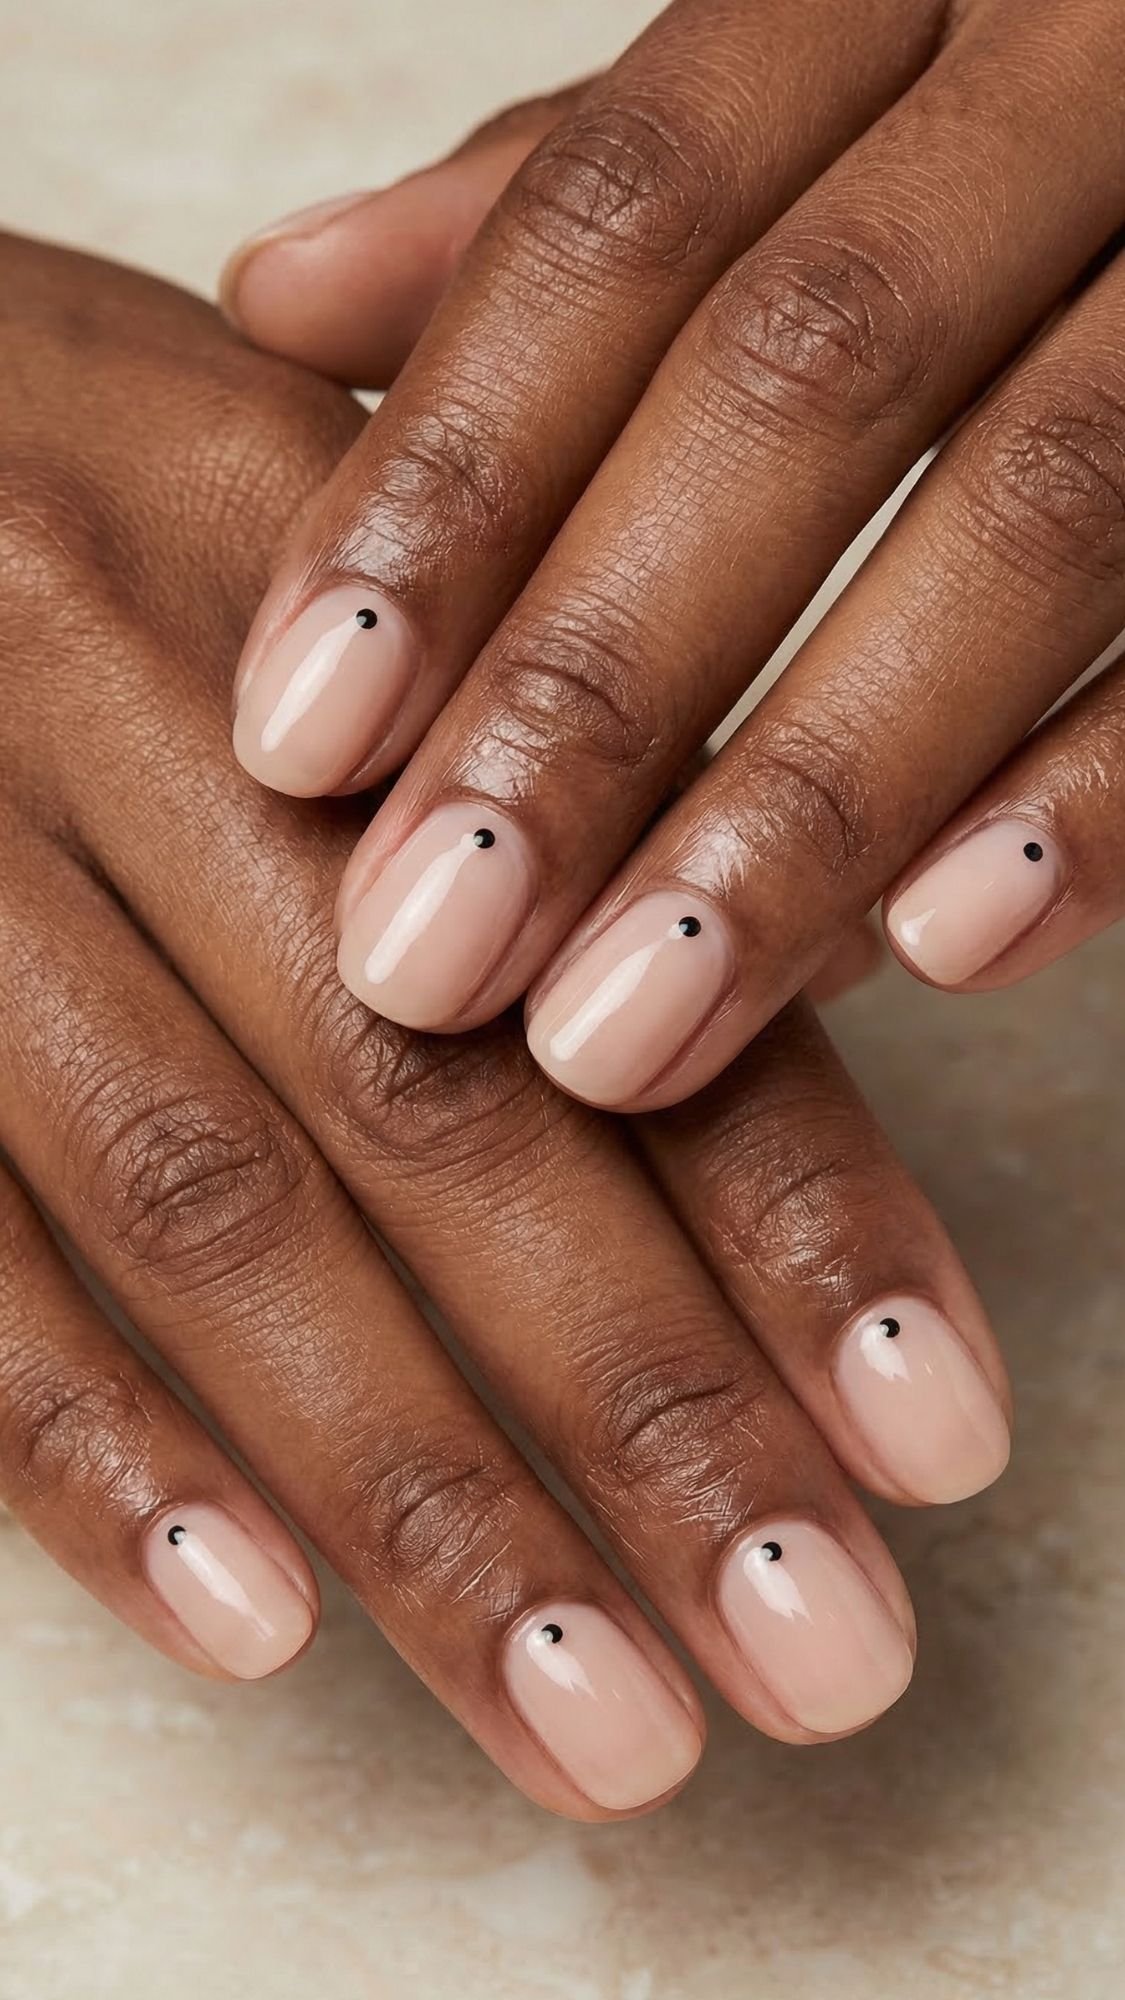
8. Polka Dot Minimalist
Sometimes the most high-fashion look is the simplest. This takes exactly 60 seconds per hand.
- The Technique: Paint your nails a solid sheer nude that matches your undertone. Take a dotting tool (or the round end of a bobby pin), dip it in black polish, and place a single, tiny dot at the very base of each nail, right above the cuticle line.
- Why it works: It draws the eye down, making the nail bed look longer and more elegant. It’s minimalist chic at its finest.
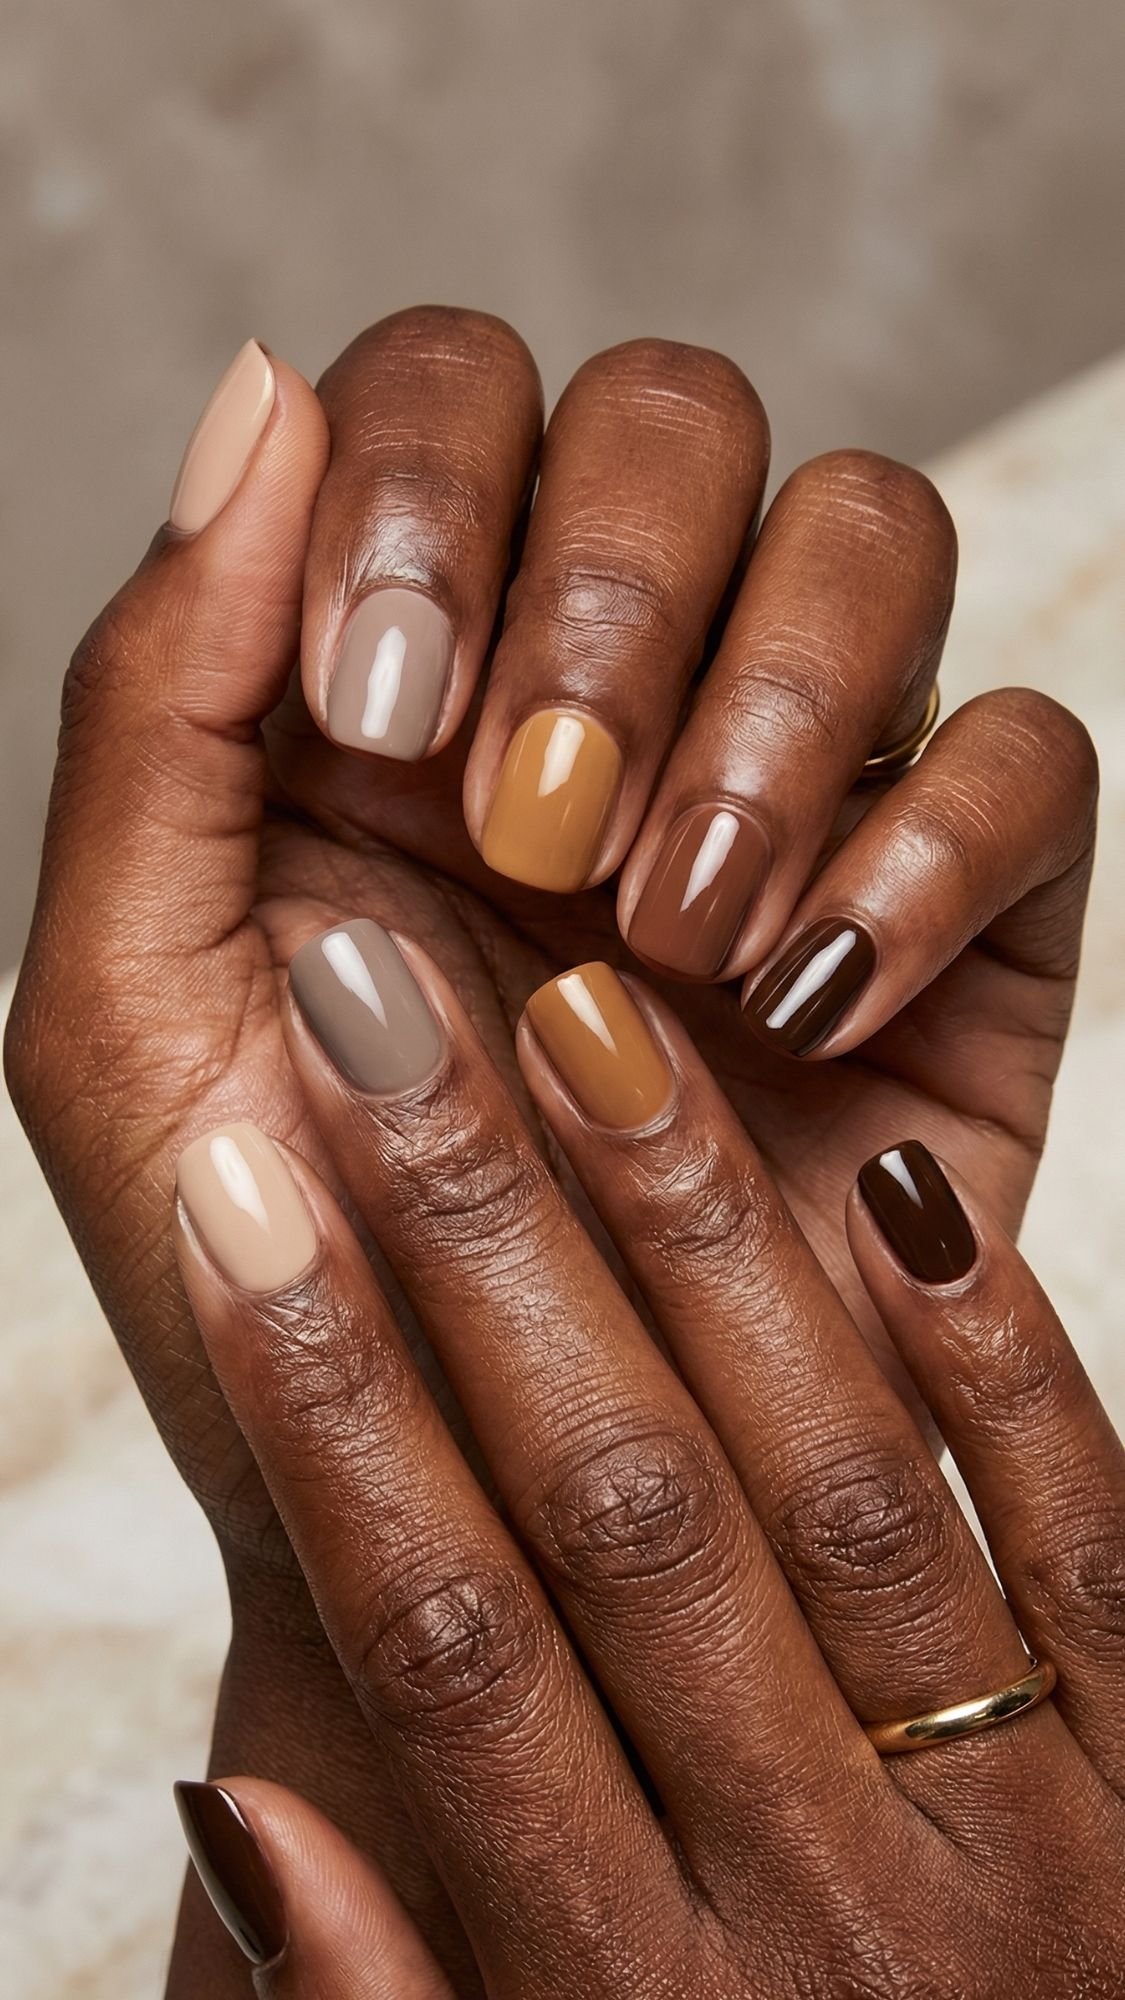
9. The Mismatched Neutral (The “Skittle” Mani)
If you can’t decide on one color, wear five. This is color theory made easy.
- The Technique: Pick five shades in the same color family—like progressively darker shades of coffee, from latte to espresso. Paint each nail on your hand a different shade, going from lightest on the thumb to darkest on the pinky.
- Why it works: It looks intentional and styled, rather than indecisive. It’s a great way to use up those random beige polishes you own.
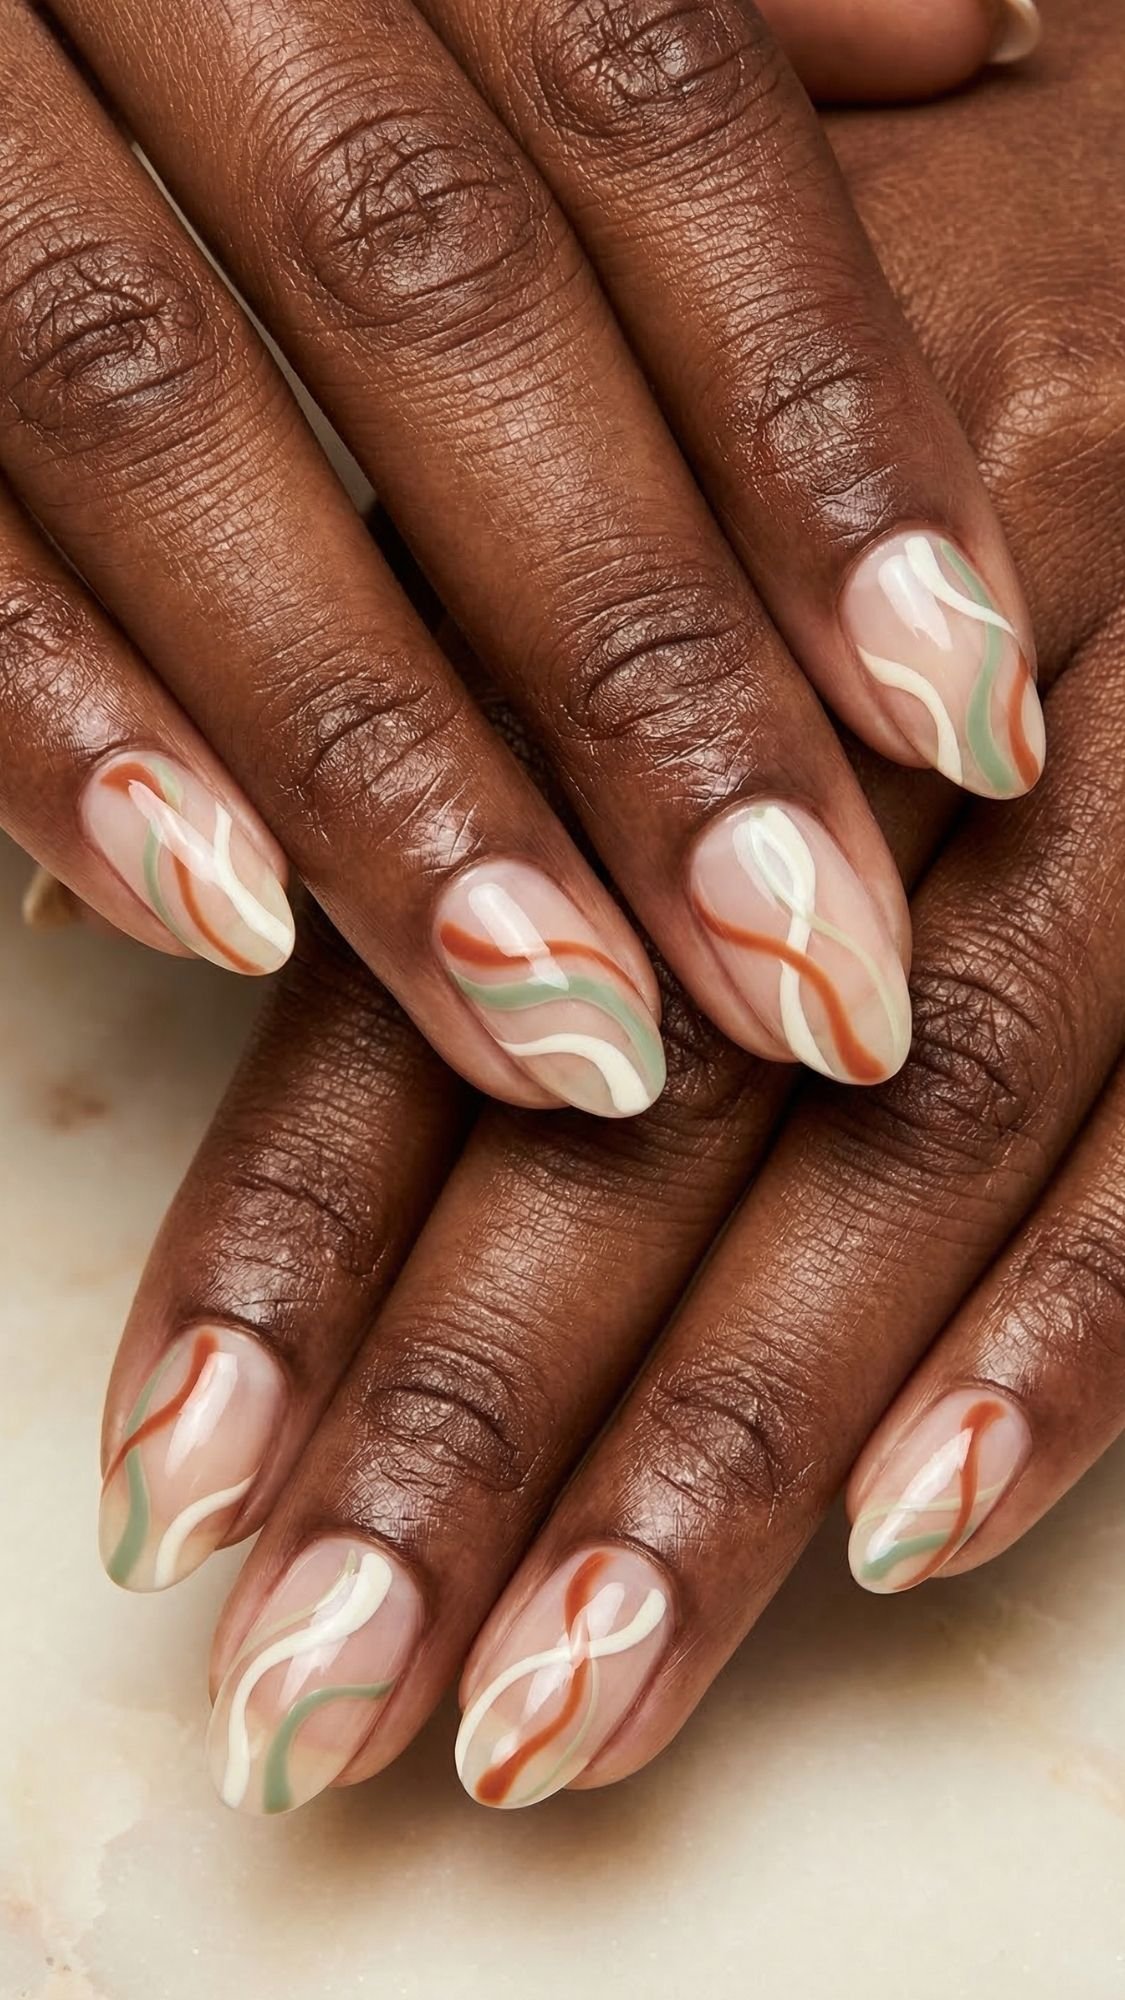
10. Abstract Swirls
This is how you get that “Pinterest girlie” aesthetic without needing steady hands.
- The Technique: Use a long, thin striping brush. Load it with polish. Instead of trying to paint a straight line, let the bristles drag and curve organically across the nail.
- Pro Insight: Don’t overthink the placement. Three random, curvy lines contrasting against a negative space background look like modern art. The less you try, the better it looks.
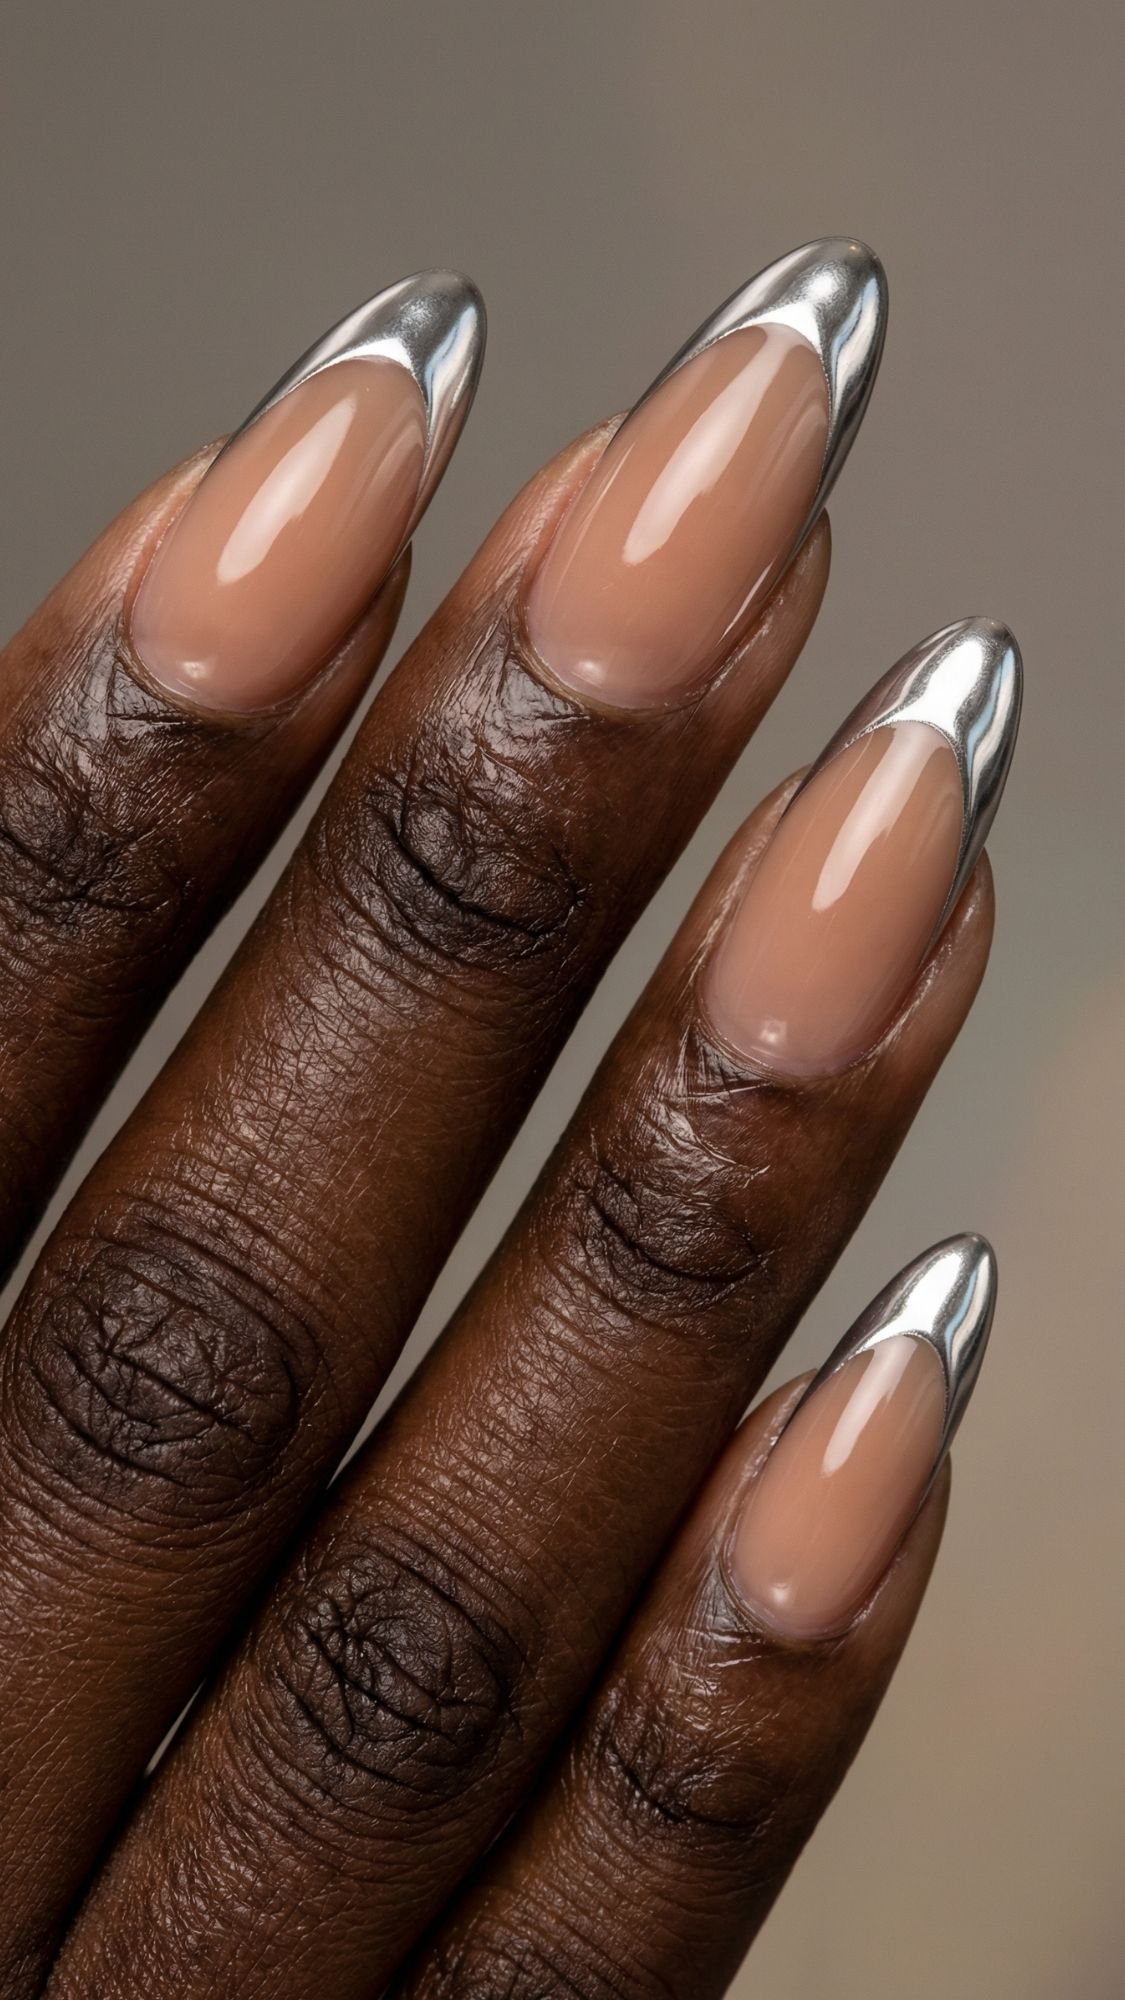
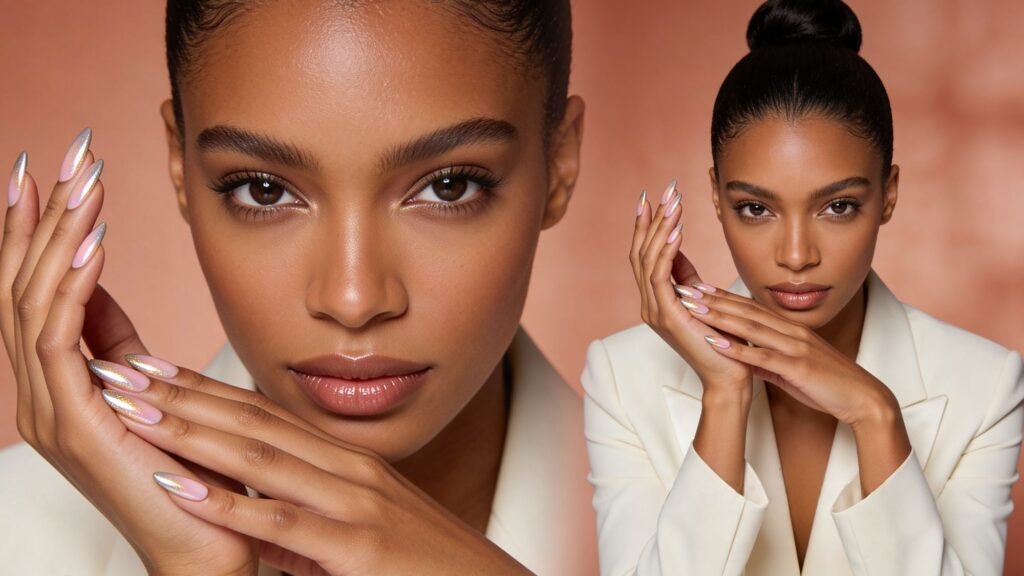
11. The Chrome French
This is the “jewelry” version of a manicure. It takes a classic look and gives it a high-shine, futuristic upgrade that looks incredible against deep skin tones.
- The Technique: Paint a nude base. Once dry, apply a non-wipe top coat and cure (or let a regular top coat get nearly dry). Use a sponge to rub chrome powder only on the tips.
- The Secret: If you get powder where you don’t want it, use a damp lint-free wipe to clean the base before sealing.
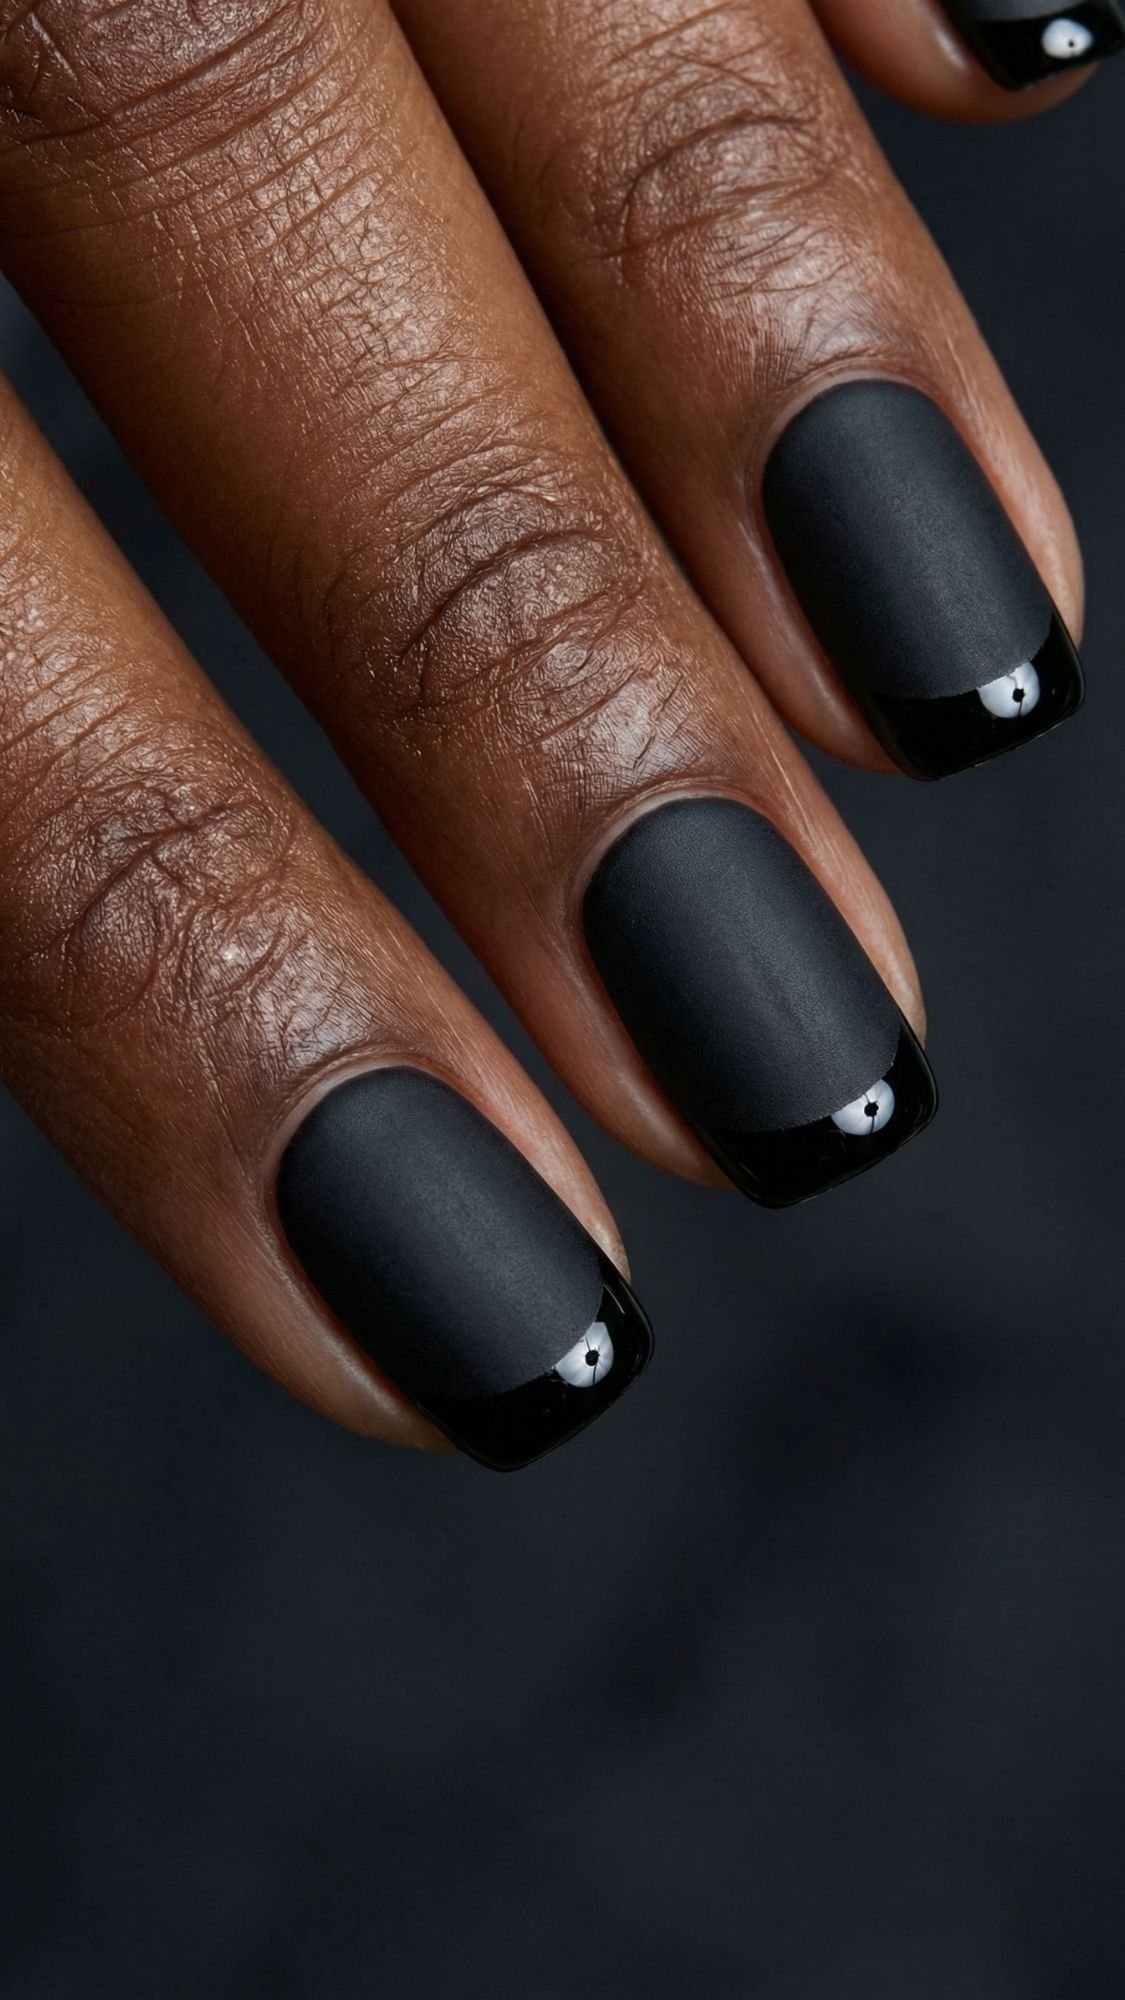
12. Matte vs. Glossy Texture Play
Why choose one finish when you can have both? This “black-on-black” look is the peak of sophistication.
- The Technique: Paint your nails with a solid matte black polish. Once dry, take a glossy top coat and add a single “drip” or a French tip.
- The Sensation: The matte polish should feel like soft chalkboard or velvet, while the glossy part looks like wet ink.
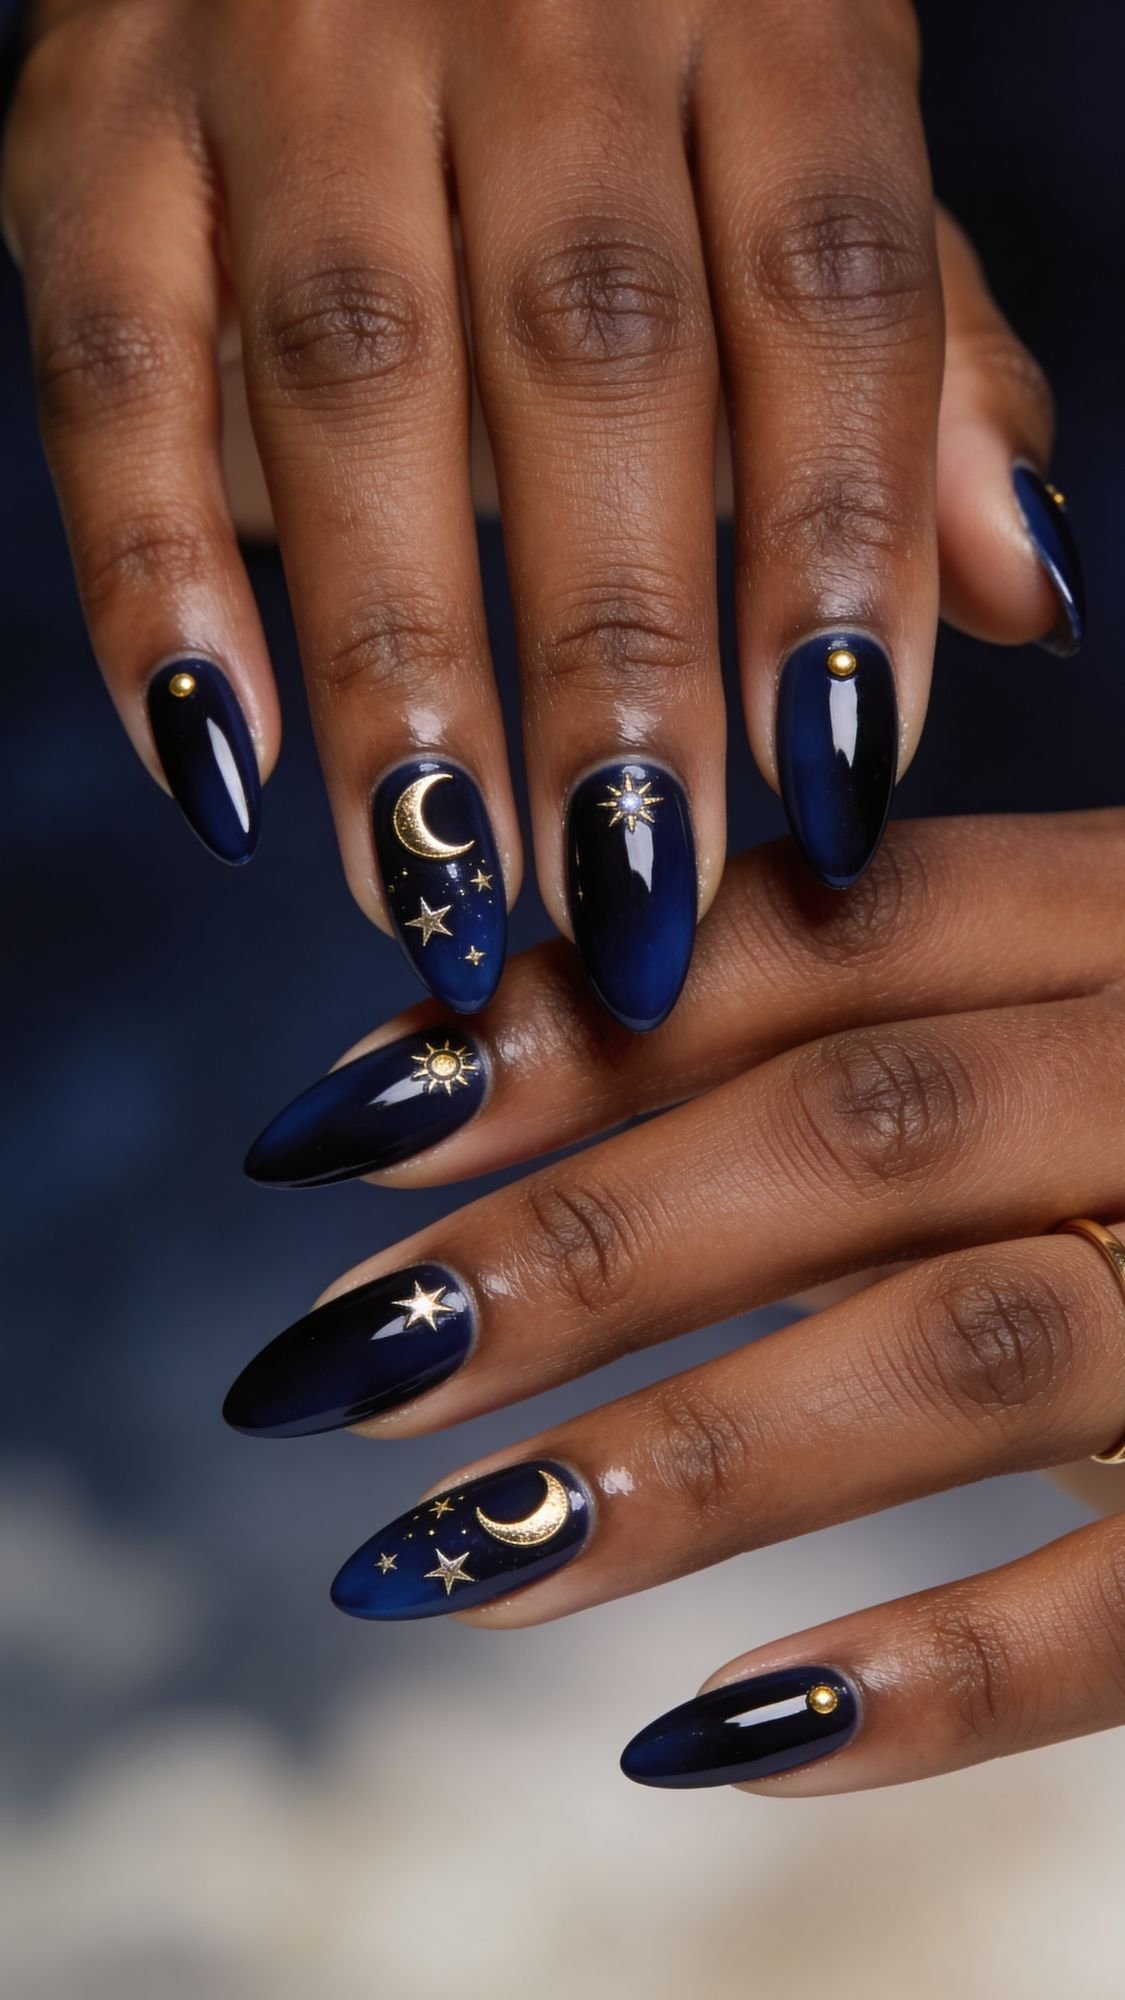
13. Sticker Chic (Celestial Gold)
If you can’t draw a straight line to save your life, stickers are your best friend.
- The Technique: Apply your base color and let it dry completely. Use tweezers to place small, gold celestial stickers (moons, stars).
- Pro Tip: Seal it with two coats of top coat to ensure the edges of the sticker don’t catch on your hair. I’ve noticed the mistake people make is using one thin coat—it will peel by morning.
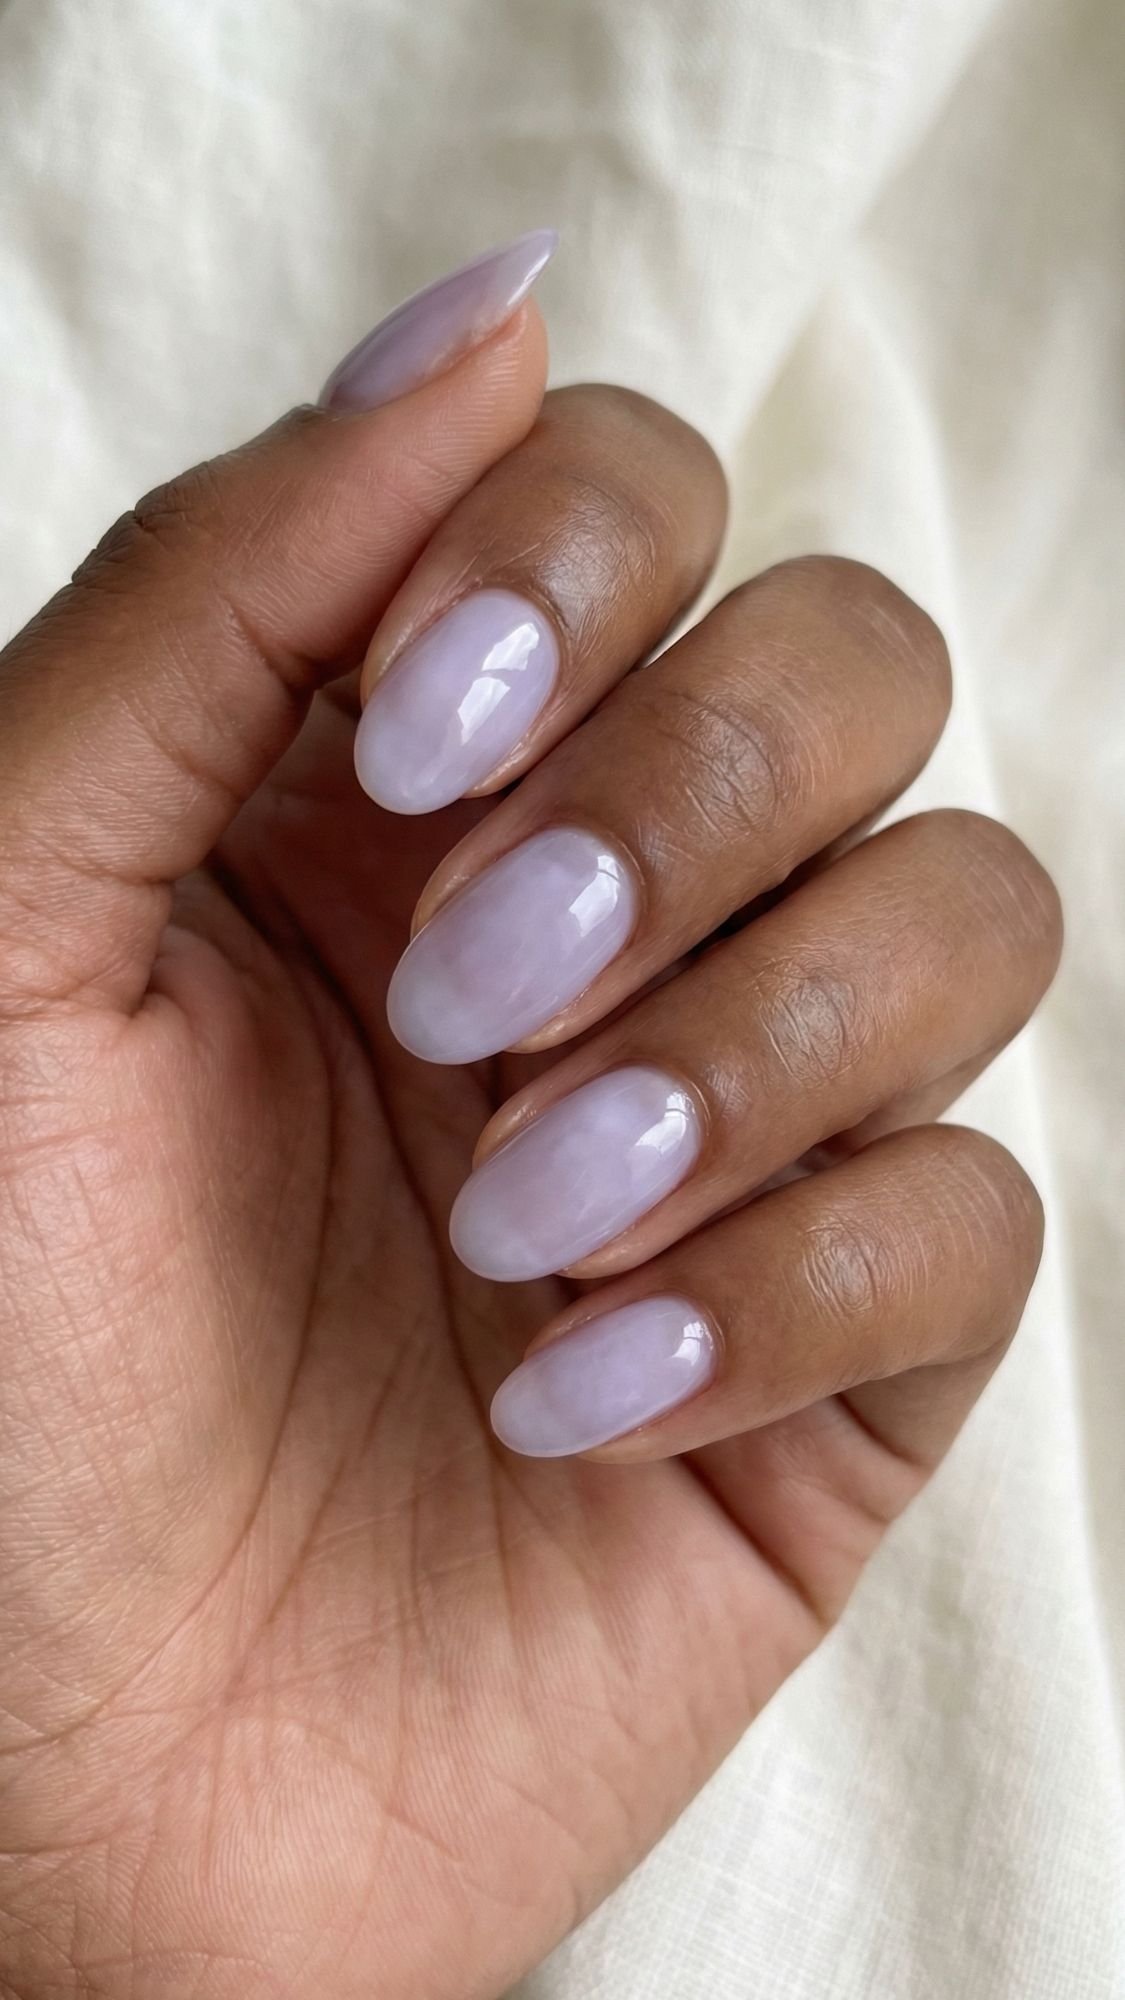
14. Milky Lavender Clouds
Lavender is a “cheat code” for making hands look bright and youthful.
- The Technique: Look for a “milky” or “semi-sheer” lavender. Apply two coats. It should look slightly translucent, like a cloud.
- Why it matters: On deeper skin tones, a stark pastel can look “chalky.” A milky finish allows some of your natural undertone to peek through, making it look much more natural.
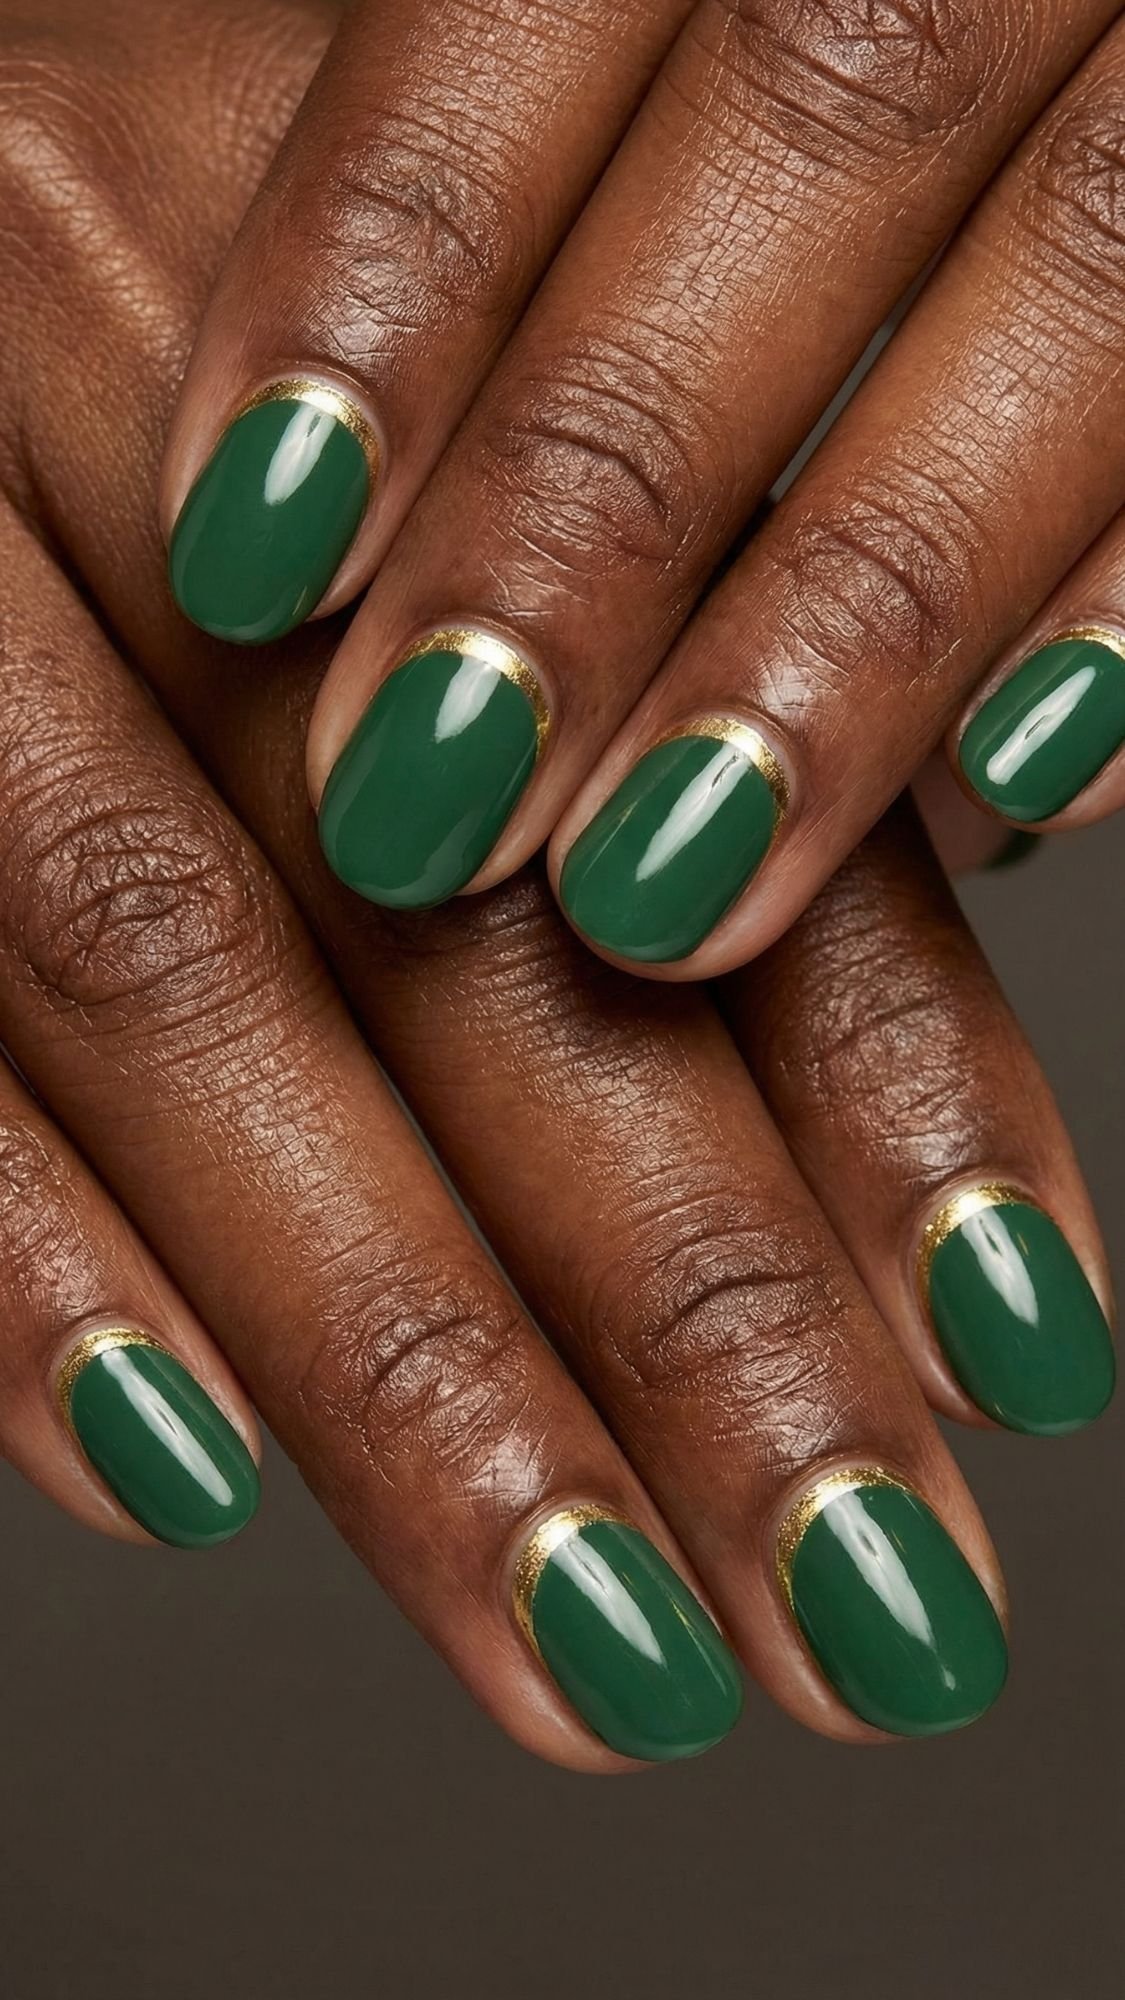
15. The “Reverse” French (The Cuff)
Instead of highlighting the tip, we are highlighting the cuticle. It’s unexpected and very editorial.
- The Technique: Paint your solid color. Take a metallic gold or silver and paint a very thin “C” curve right along the cuticle line.
- The Fix: If you flood the cuticle, wait 30 seconds and use your cleanup brush to “carve” the line back.
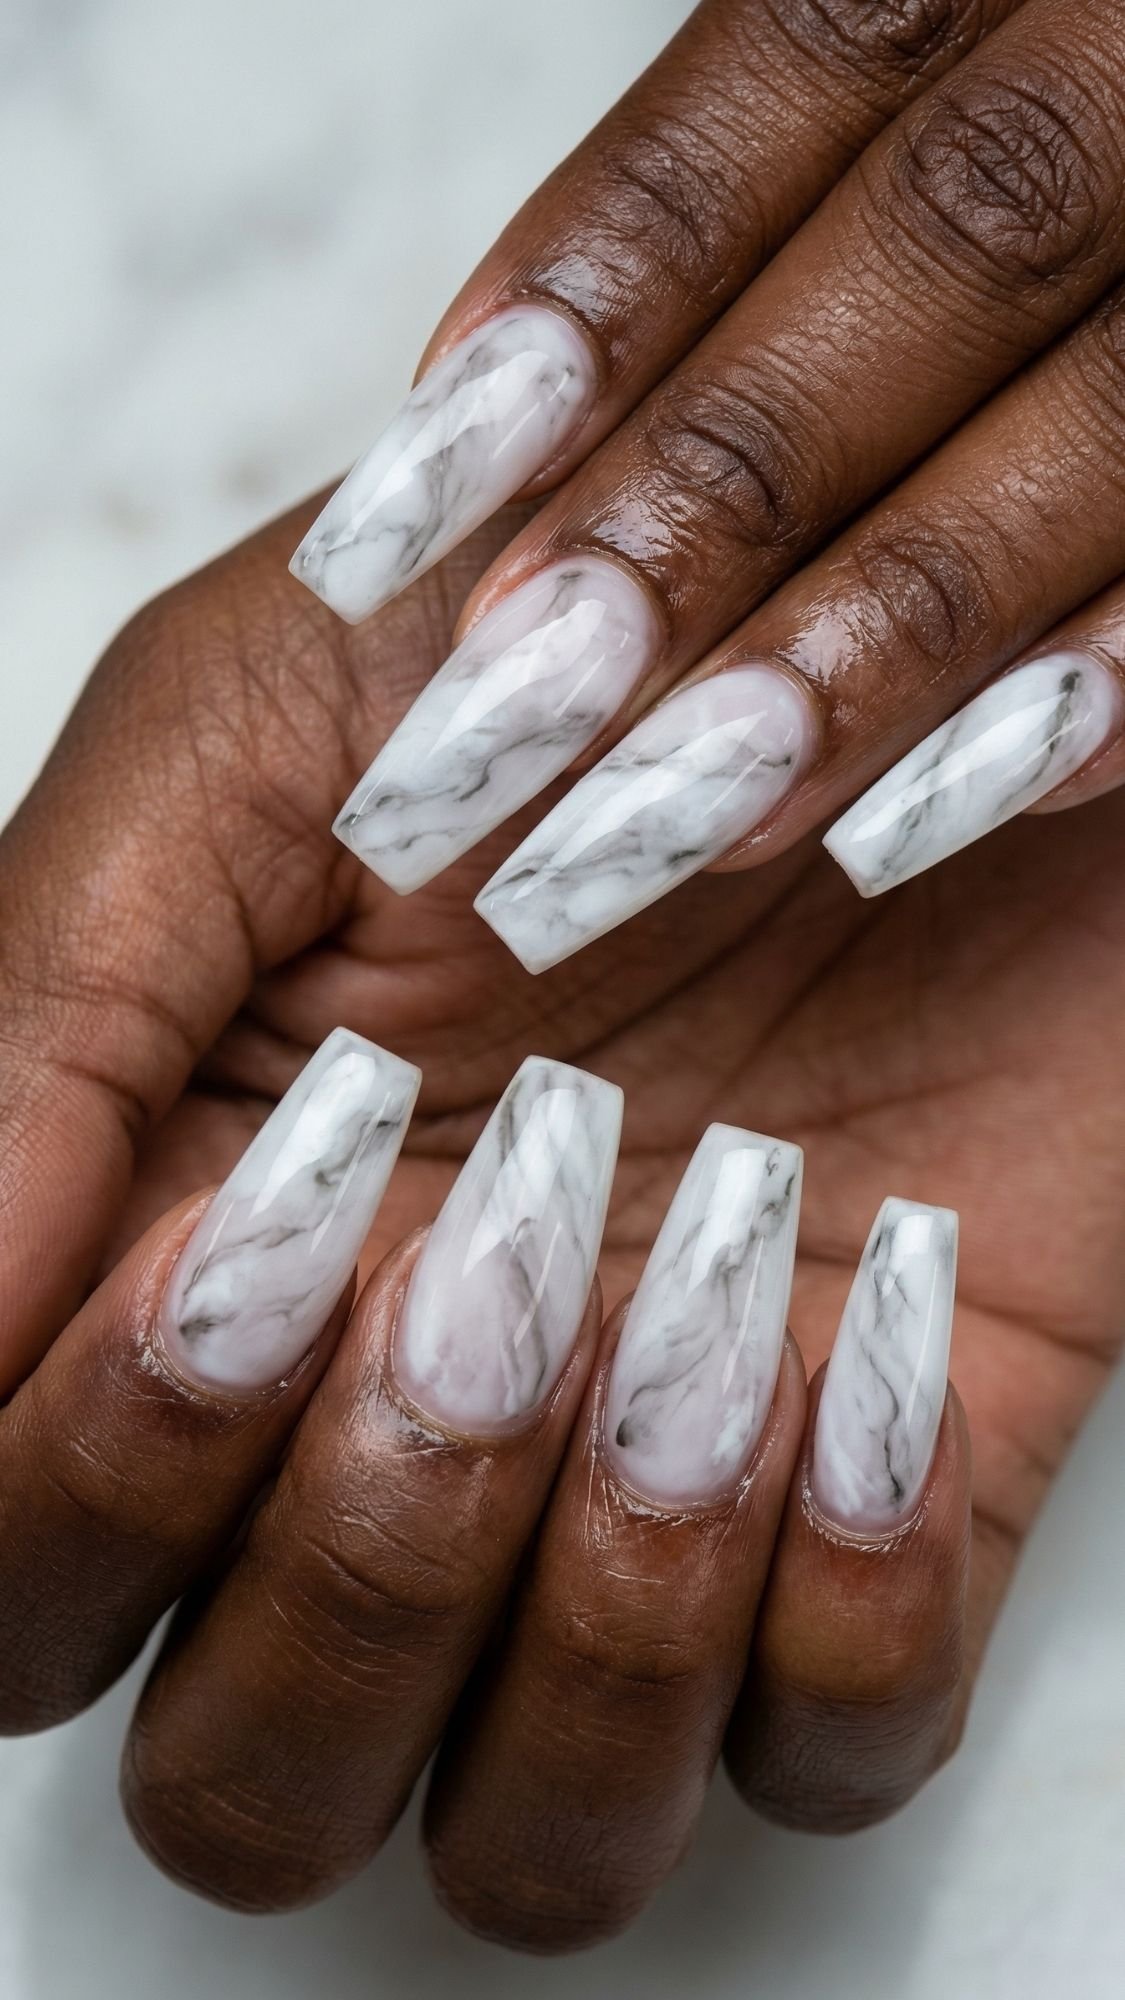
16. Marble Smoke
This looks like you spent hours with a fine brush, but it’s actually a “wet-on-wet” miracle.
- The Technique: Apply a coat of clear polish. While wet, add two drops of white. Use a toothpick to swirl them together.
- The Secret: Don’t over-swirl! Stop before the colors fully mix. You want those “smoke” veins to stay distinct.
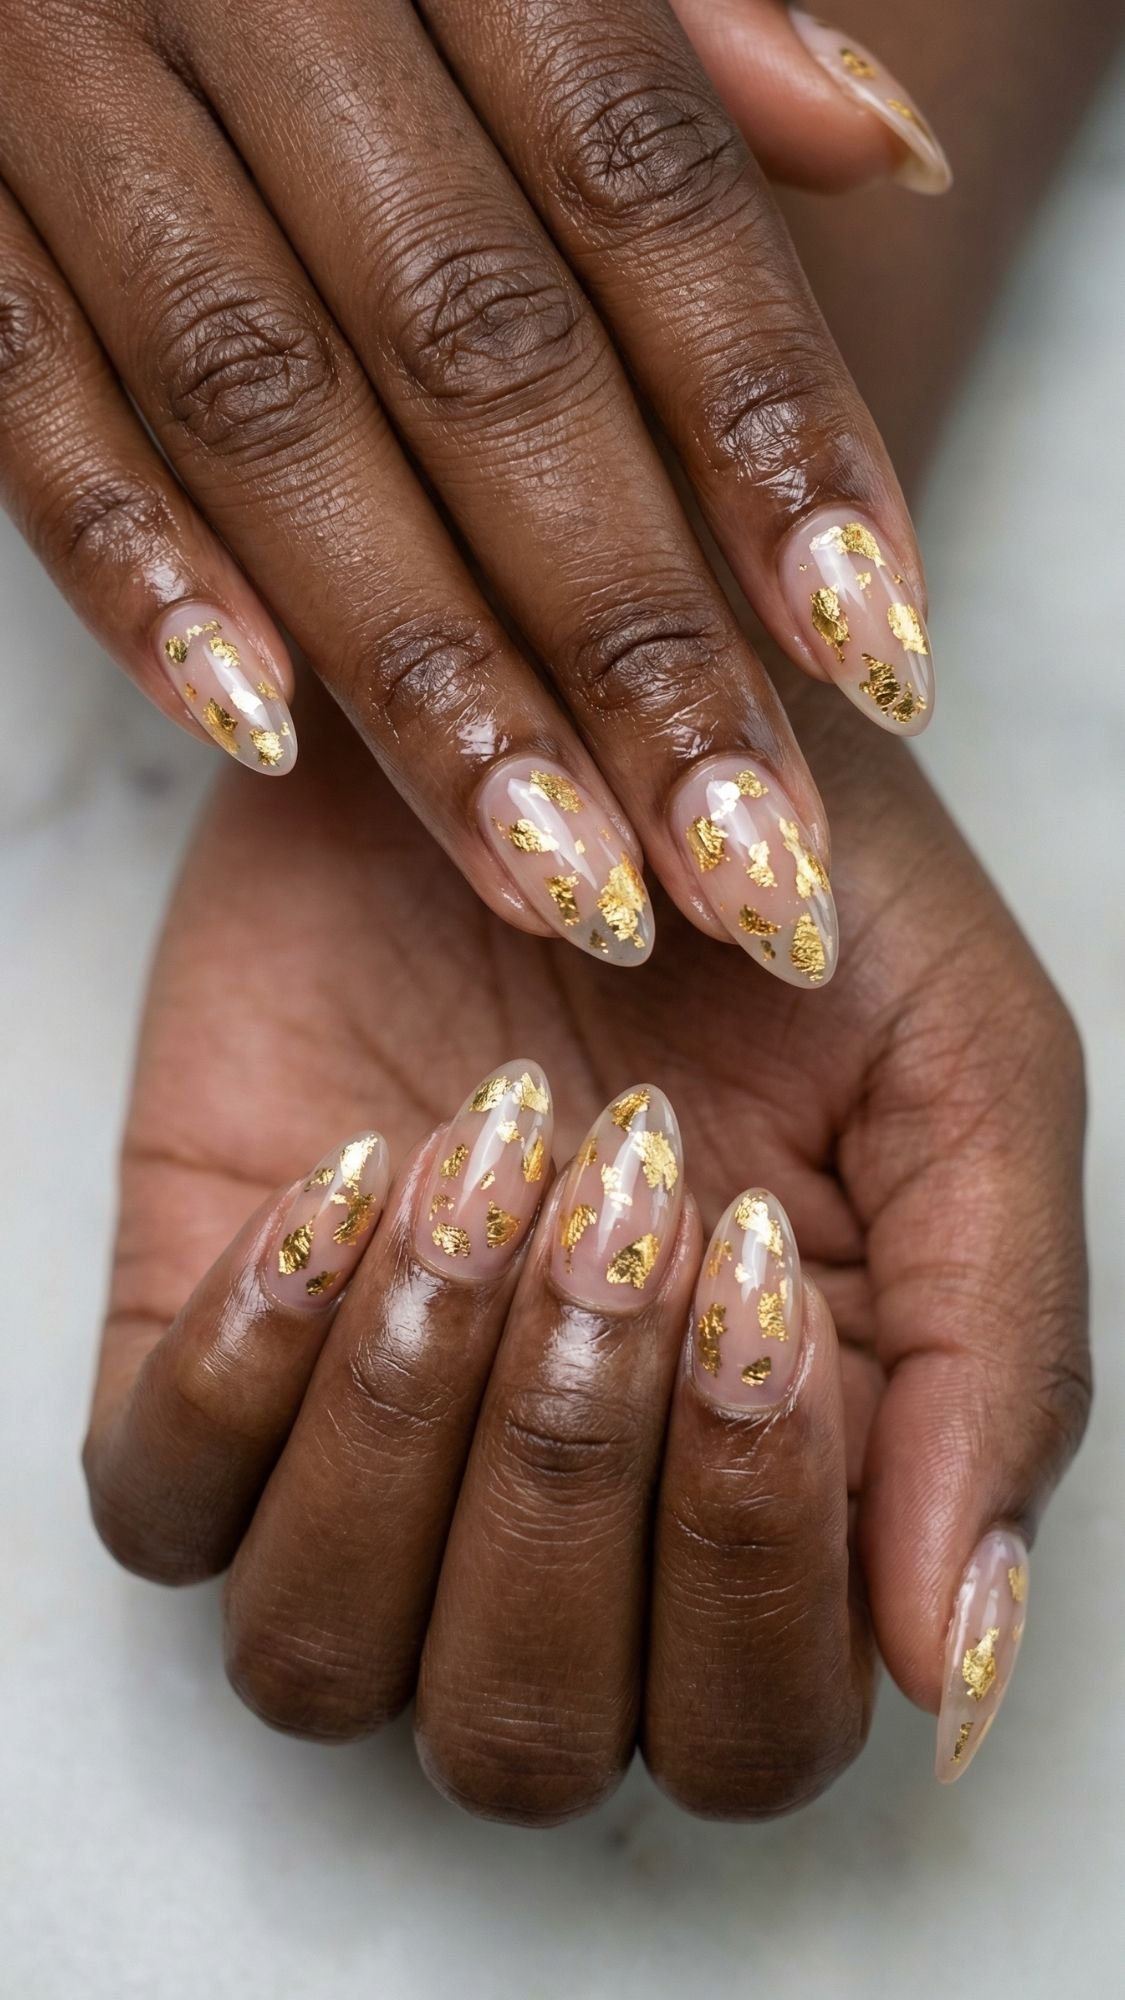
17. Foil Flakes
This is the ultimate “expensive” look for beginners.
- The Technique: Apply a “sticky” base coat. Take gold or copper foil flakes and press them onto the nail randomly.
- Pro Insight: Don’t try to cover the whole nail. Leaving some “negative space” makes it look like intentional art rather than a mistake.
18. Neon Outlines
This is for the girlies who want that “cyberpunk” or “clean girl” edge.
- The Technique: Nude base. Use a very thin striper brush to trace the entire perimeter of the nail in a neon color.
- Common Mistake: Trying to do it in one stroke. Use small, overlapping “micro-strokes” to build the line.
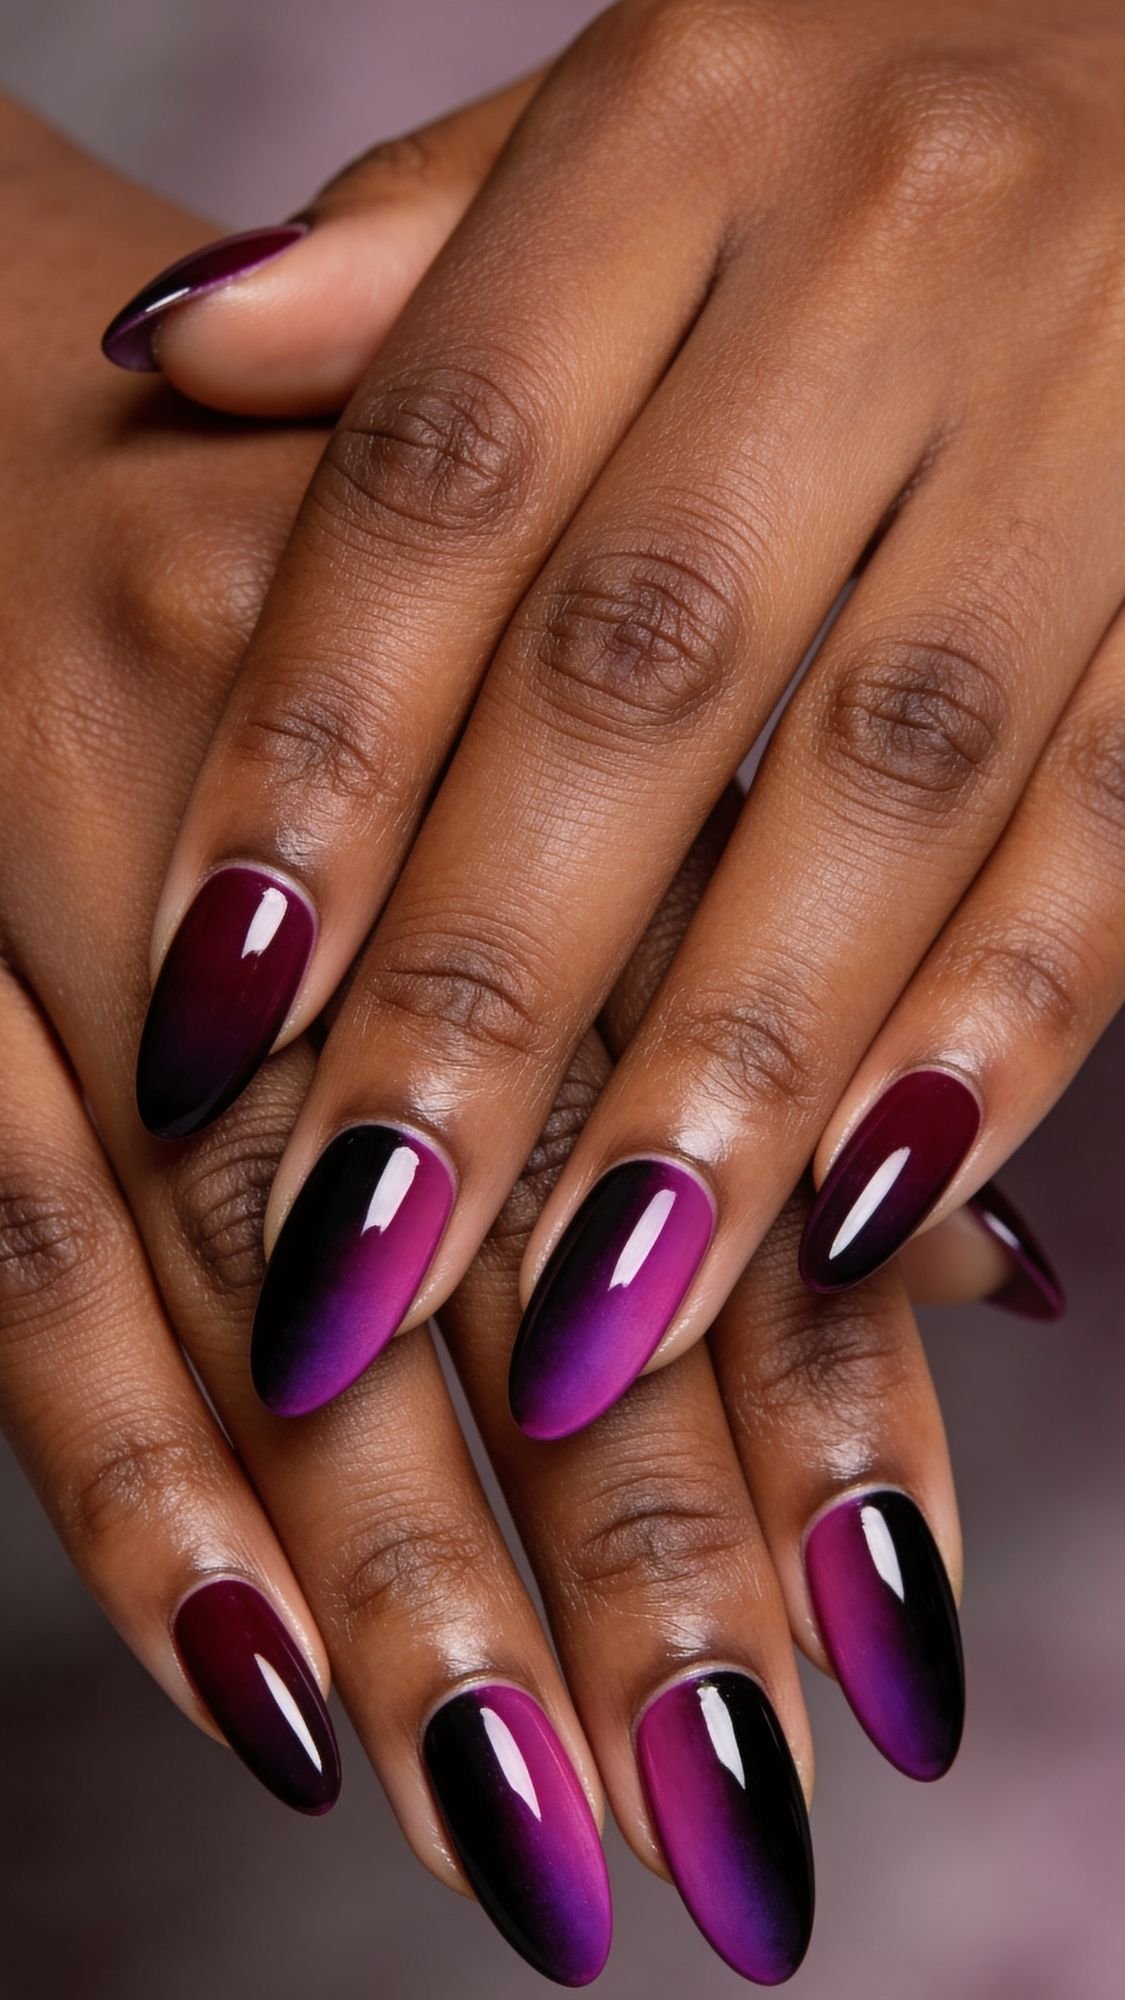
19. Vertical Ombre
This is a visual trick that makes your nails look twice as long.
- The Technique: Paint the left half of the nail one color and the right half another. Use a sponge to blur the line vertically down the center.
- Why it works: The vertical line draws the eye up and down, elongating the nail bed instantly.
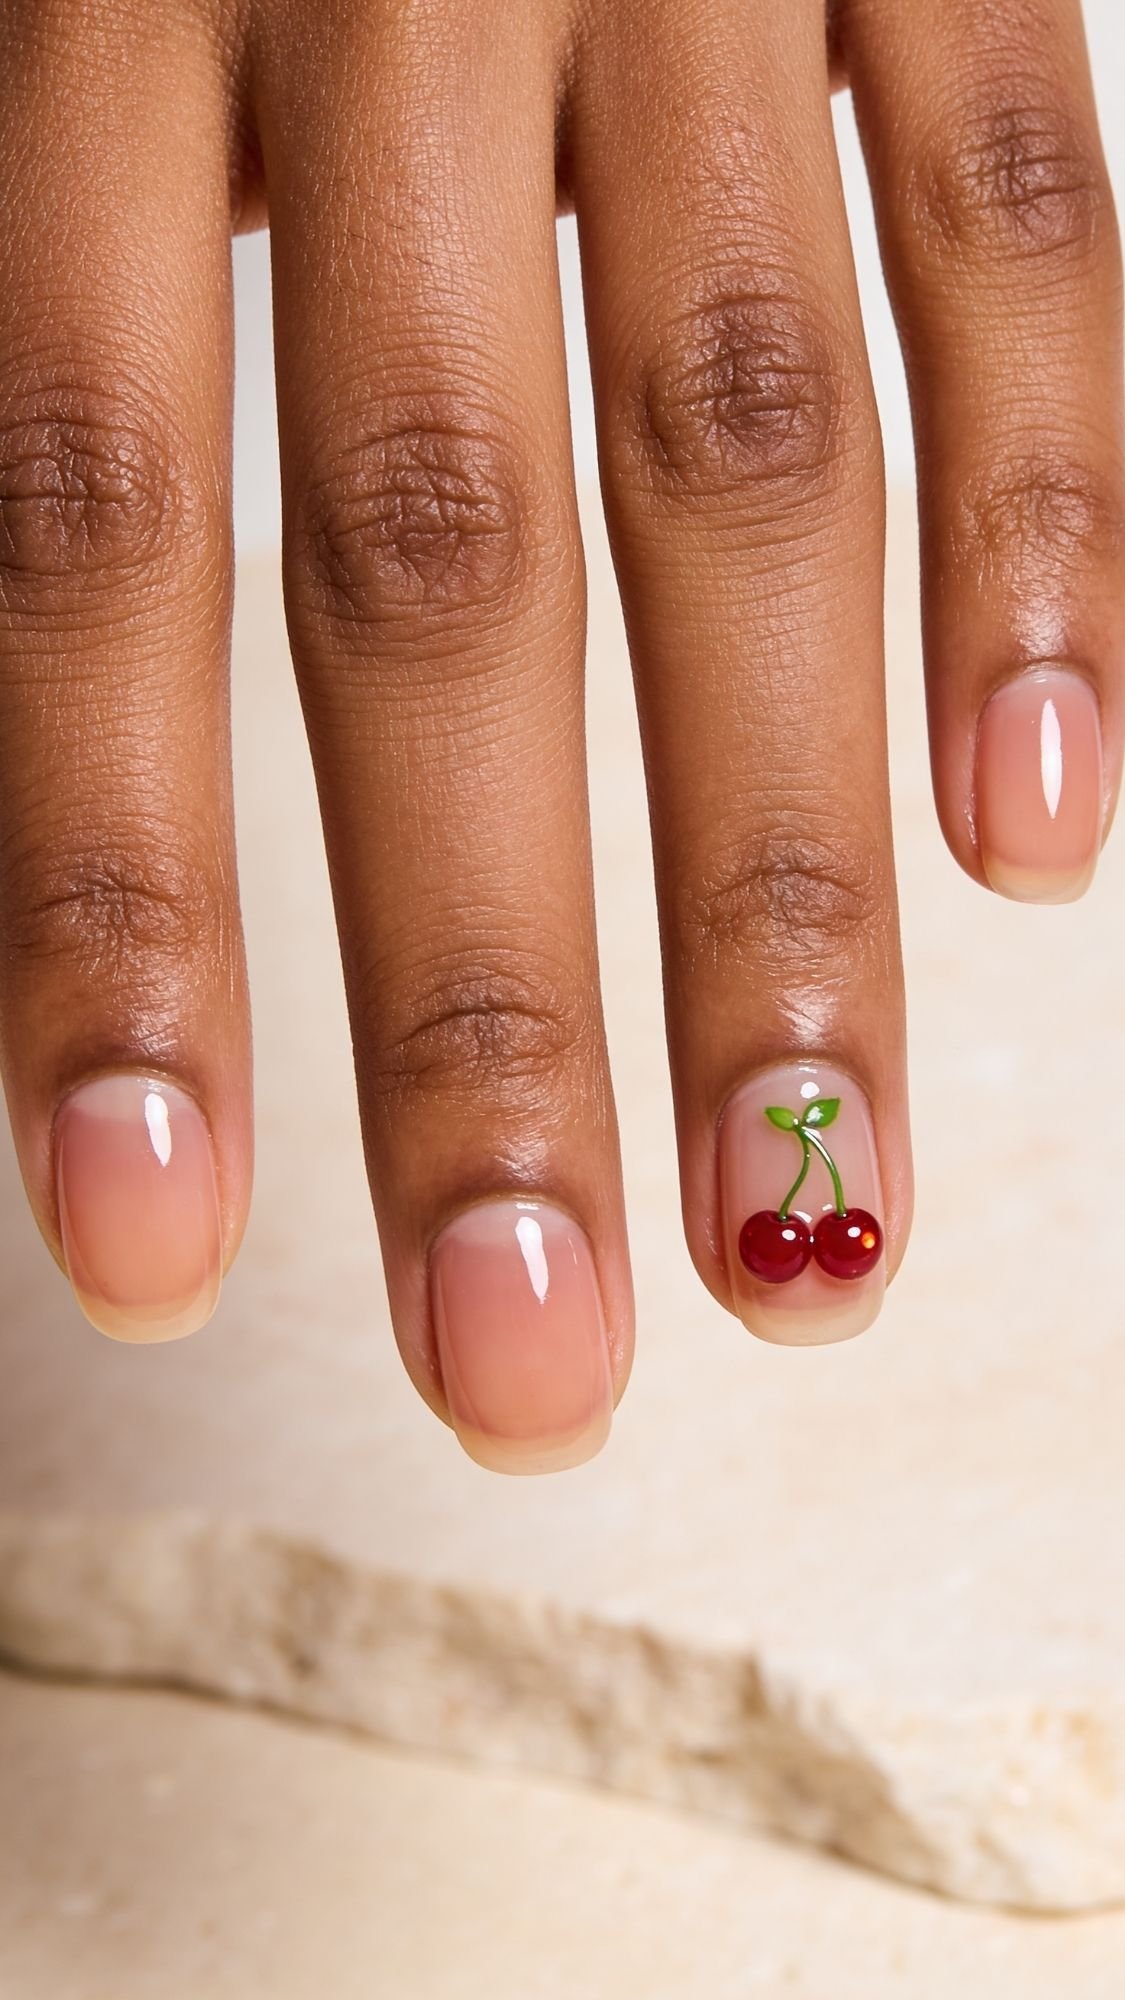
20. Fruit Accents (The Minimalist Cherry)
The only “cute” art that still feels like a Senior Editor would wear it.
- The Technique: Two red dots with a dotting tool, one tiny green line for the stem.
- Pro Tip: Keep the rest of the nails a solid, sheer nude so the cherries really “pop.”
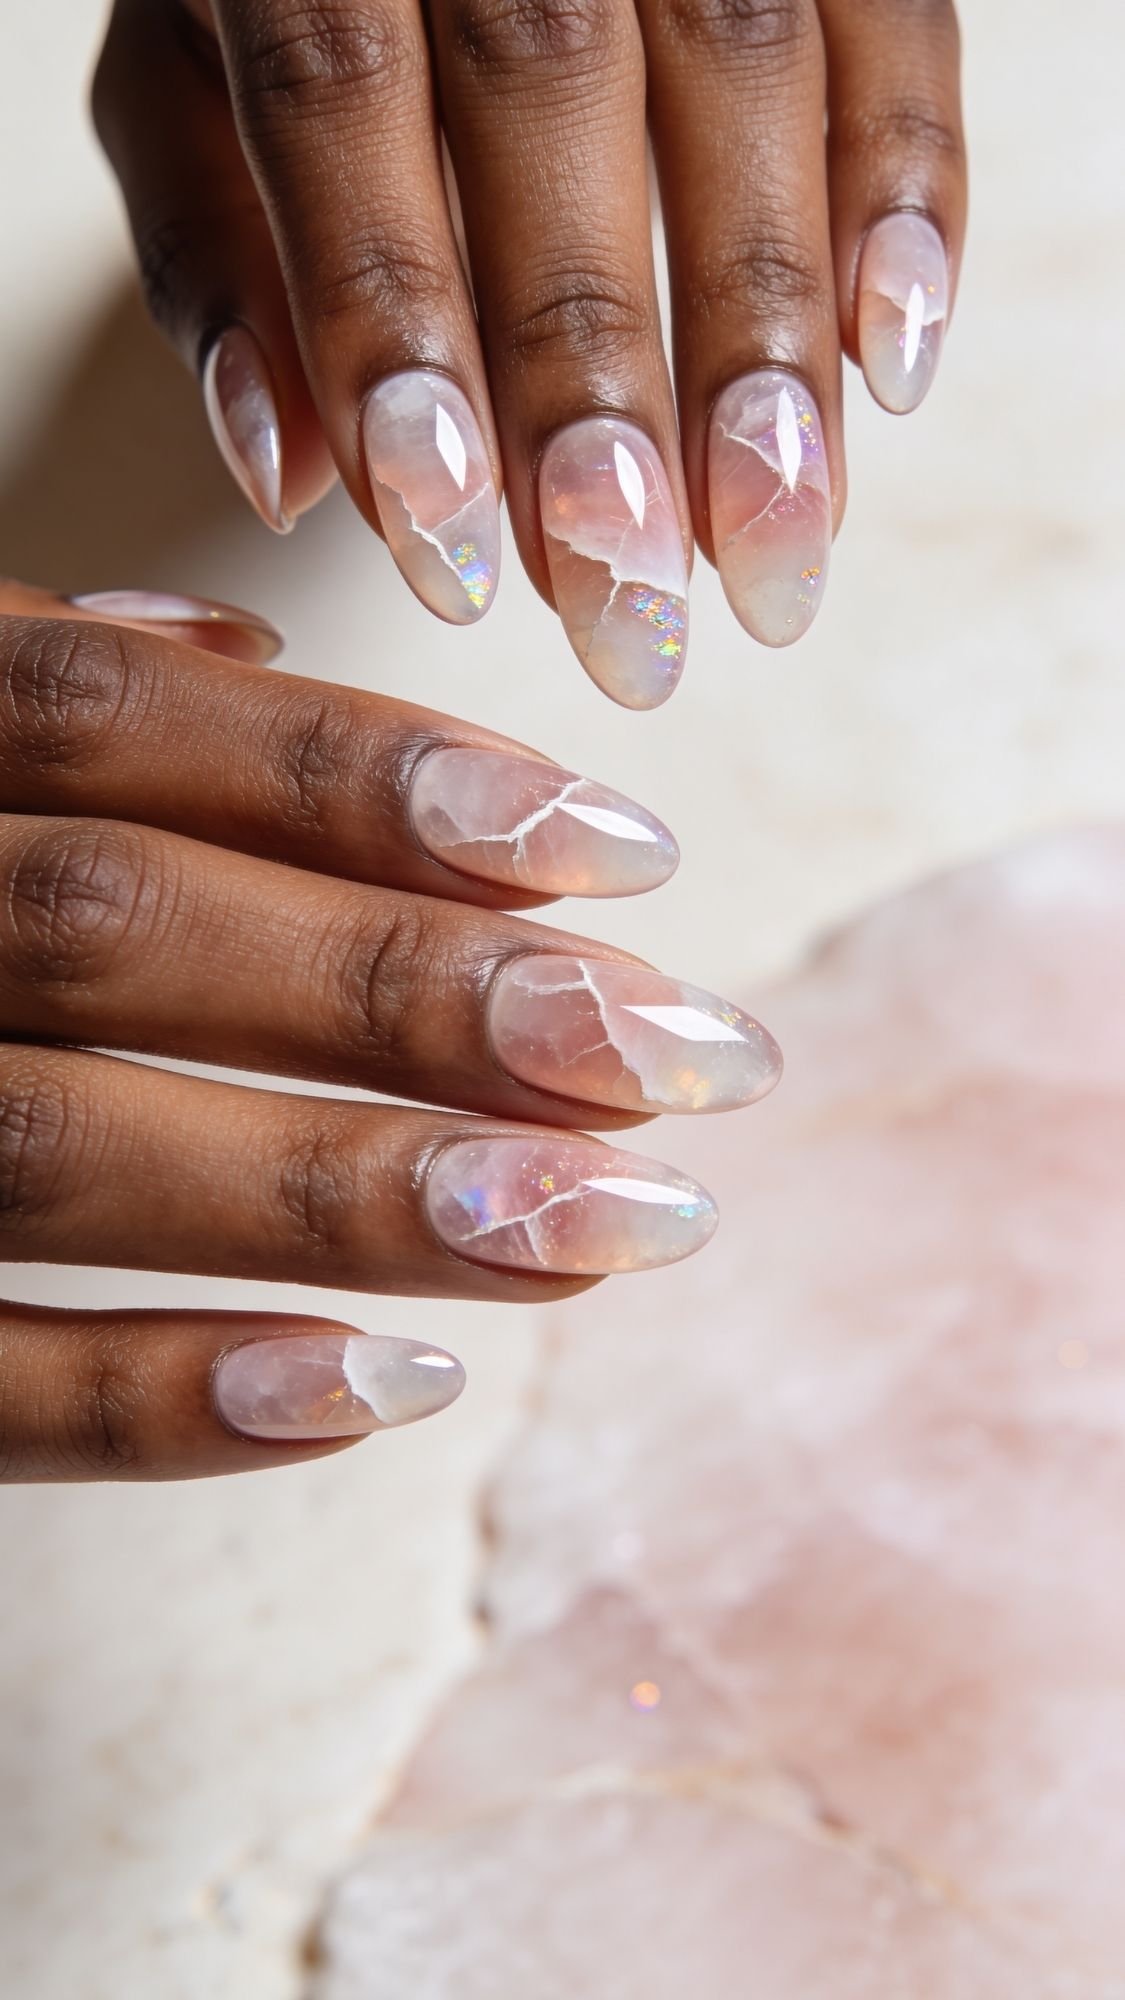
21. Quartz Crystal Nails
Like the marble, but softer and more feminine.
- The Technique: Layer sheer pinks with thin, jagged white lines.
- Sensory Detail: It should look like “Rose Quartz”—cloudy, soft, and glowing from within.
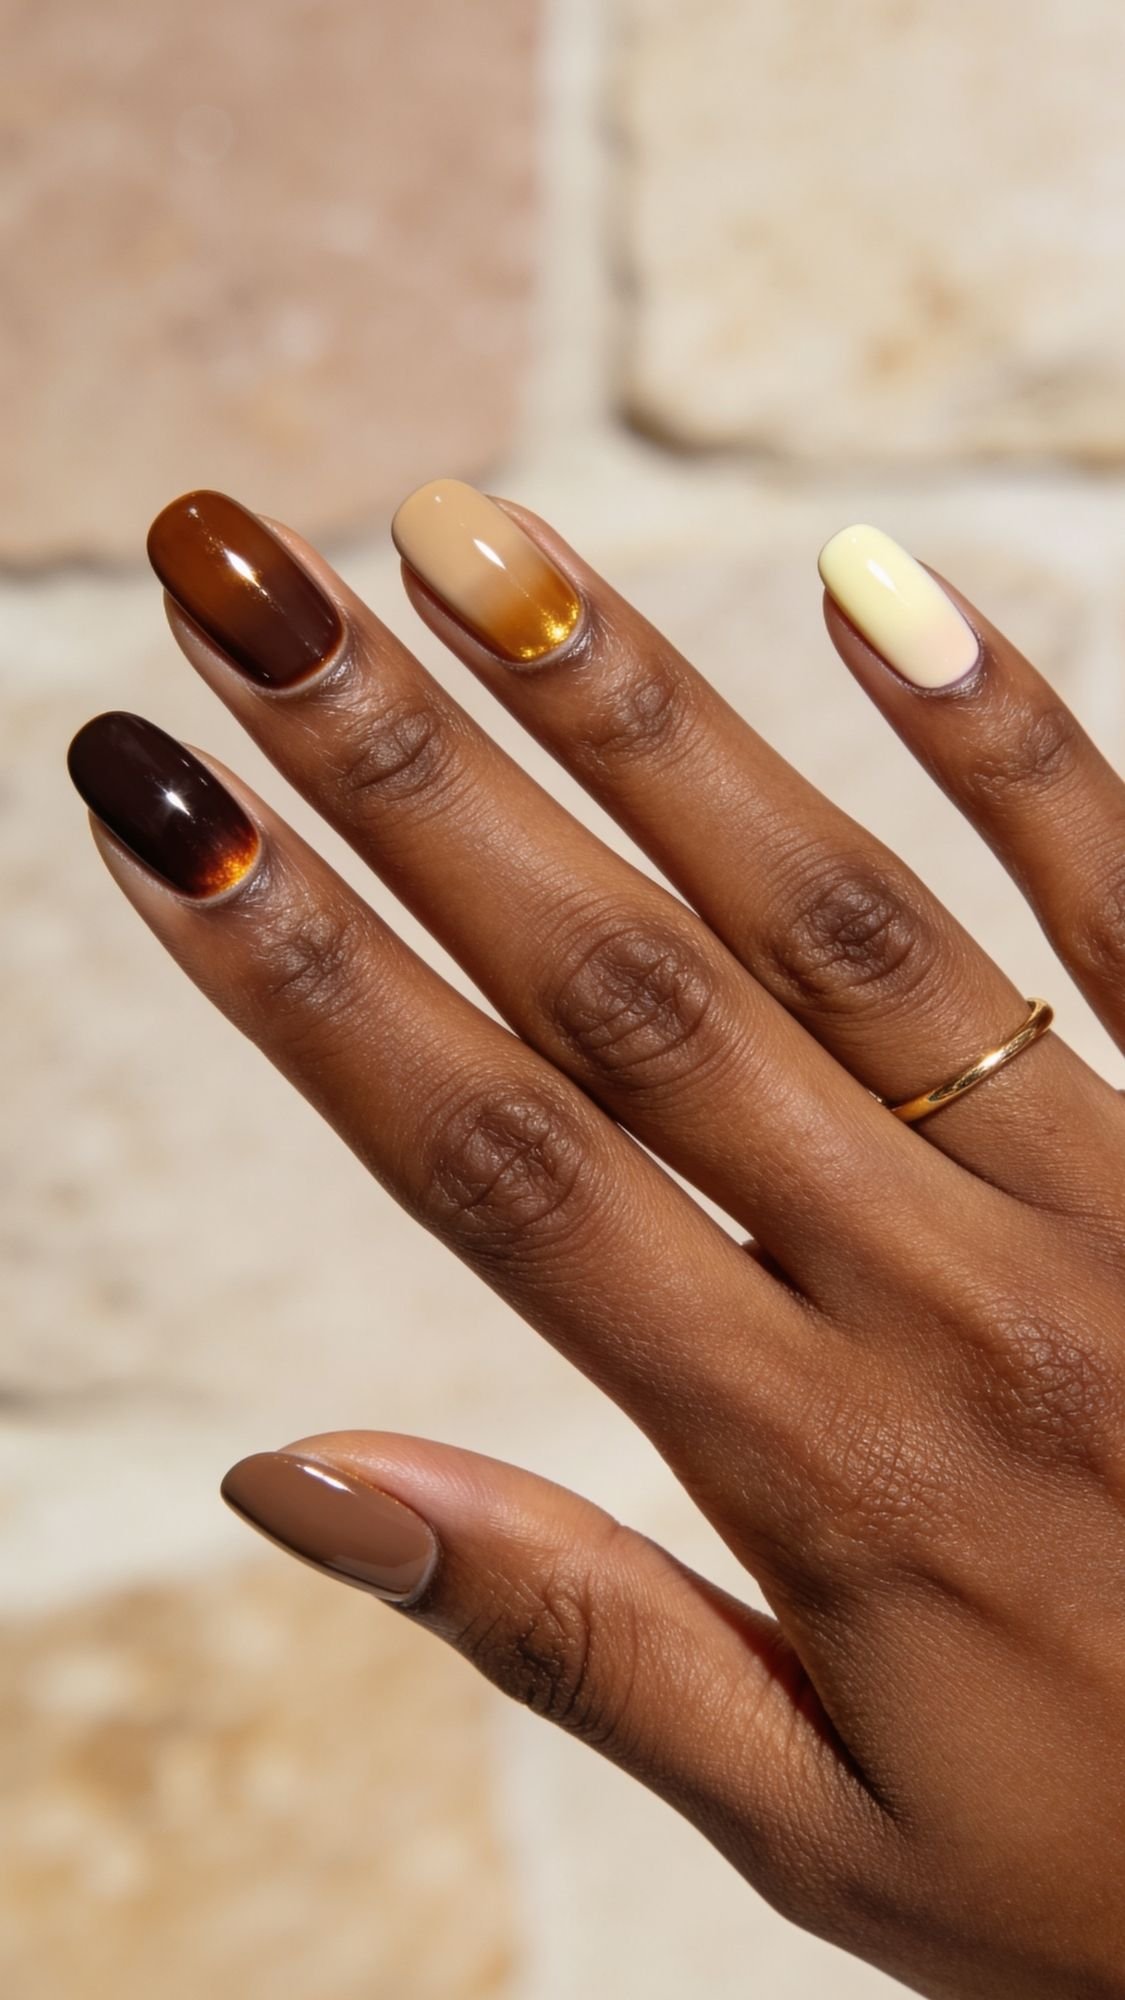
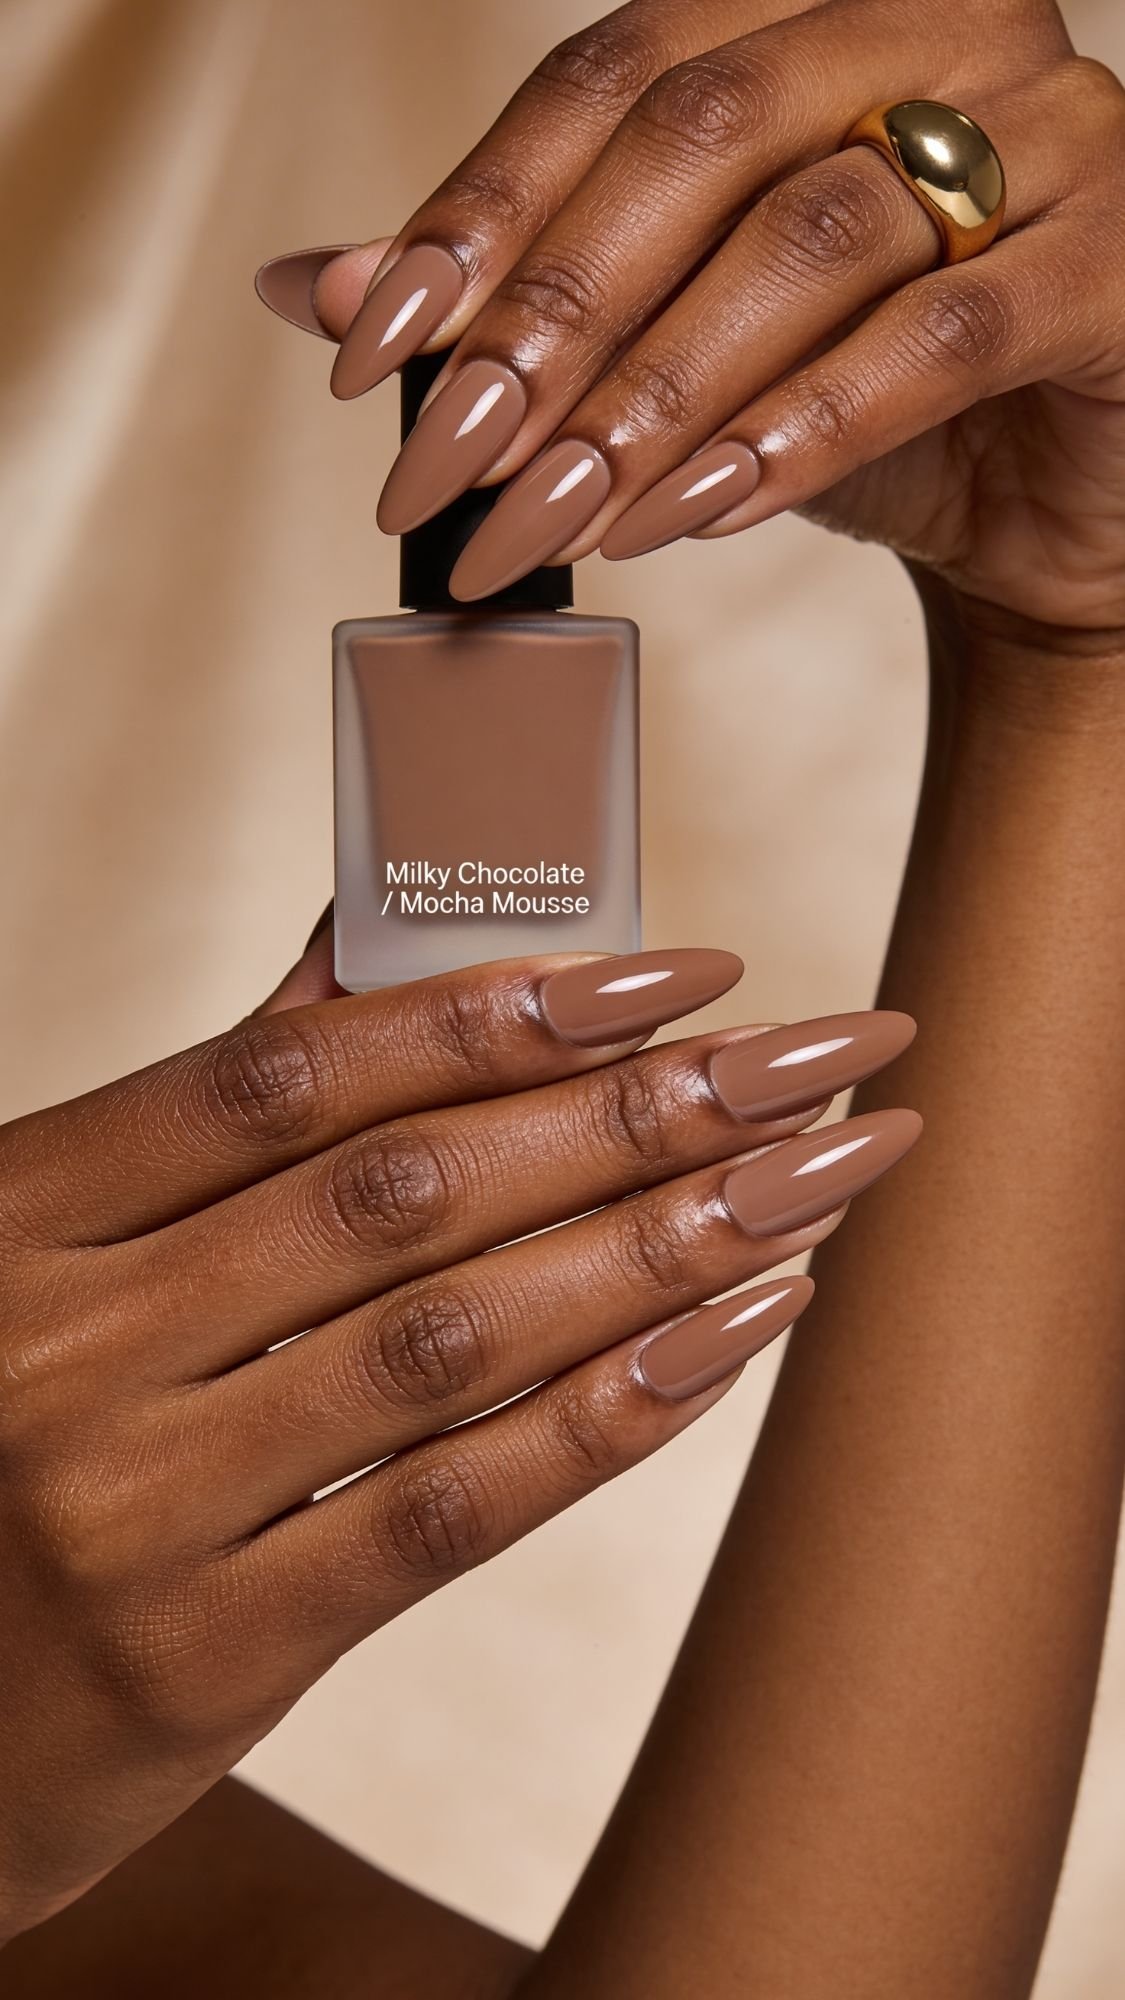
22. The Coffee Bean Gradient
This is the “Skittle” mani’s sophisticated older sister.
- The Technique: Pick five shades of brown. Thumb is Espresso, Pinky is Cream.
- Why it works: It’s cohesive, warm, and looks incredible against any skin tone. It’s the “neutral” that isn’t boring.
23. The “Press-On” Pro (The 5-Minute Miracle)
When you have zero time, a high-quality press-on set is your savior.
- The Technique: Follow the “Double Bond” method I mentioned earlier.
- The Look: Pick a “Short Coffin” or “Medium Almond” in a solid color. It’s the most “salon-believable” shape.
This is where the pros separate themselves from the amateurs. Anyone can make a manicure look good for ten minutes, but making it look fresh after a week of washing dishes and typing? That’s the real challenge.
How to Make Them Last
You’ve put in the work, so let’s make sure it actually sticks around. In my experience, the first 24 hours are the most critical. If you treat your nails like tools, they will break like tools. Treat them like jewels, and they’ll stay shining. FYI, your nails are technically still “curing” or hardening for hours after they feel dry to the touch.
The Day 1 to Day 7 Strategy
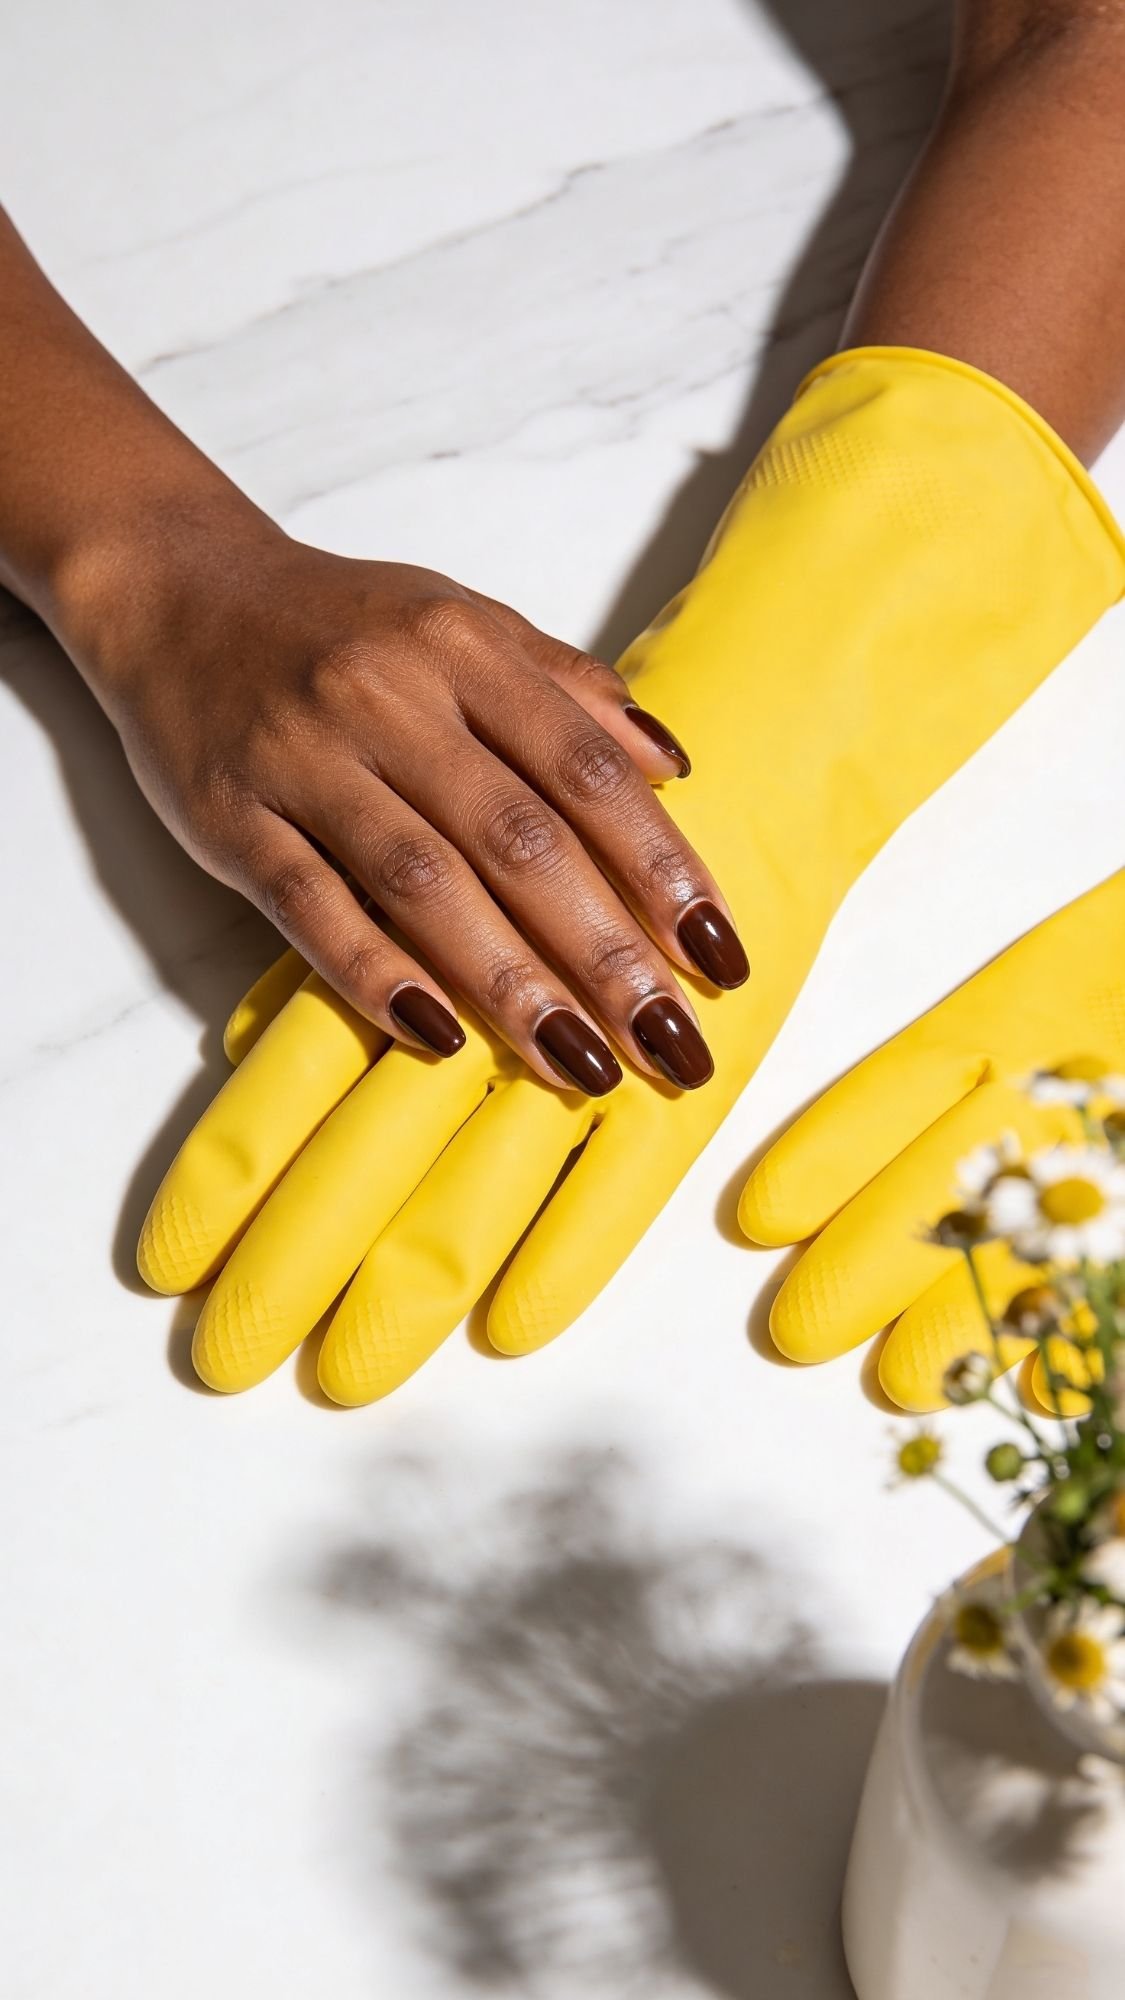
On day one, avoid hot water like it’s your job. No long showers and definitely no doing the dishes without gloves. Hot water causes the natural nail to expand and contract, which is the fastest way to “pop” your polish or press-on glue. By day three, I always recommend applying a fresh, thin layer of top coat. This fills in any microscopic scratches and reseals the “free edge” (the tip) where most chips start.
Quick Fixes for Snags and Chips
If you get a tiny chip, don’t pick at it! Picking is a gateway drug to peeling off the whole manicure. Instead, take your cleanup brush, dip it in a tiny bit of polish, and “dab” the hole. Once dry, seal the entire nail with a top coat. If a press-on starts to lift at the corner, don’t just shove more glue in there. Use a toothpick to slide a tiny drop of glue under the lifting area and press firmly for 30 seconds.
- Key Takeaways for Maintenance:
- Gloves are non-negotiable: Wear them for cleaning or gardening.
- Oil is your friend: Apply cuticle oil twice a day. Hydrated nails are flexible, and flexible nails don’t chip.
- Avoid “Scraping”: Don’t use your nails to open cans or peel off stickers. Use a letter opener or a spoon.
Let’s get into the “Emergency Room” of home manicures. We’ve all been there, hovering over a sink trying to fix a smudge at 11 PM. This section is all about saving the set before you reach for the bottle of acetone in a rage.
The “Oh No” Manual
Even after 10 years, I still occasionally flood a cuticle or get a stray hair caught in my top coat. It happens to the best of us. The difference between a pro and a beginner is knowing how to fix it without starting over. FYI, most “mistakes” are just lack of patience in disguise.
1. Polish Pooling & Flooded Cuticles
If your polish is running into the sides of your fingers, you’ve got too much on the brush.
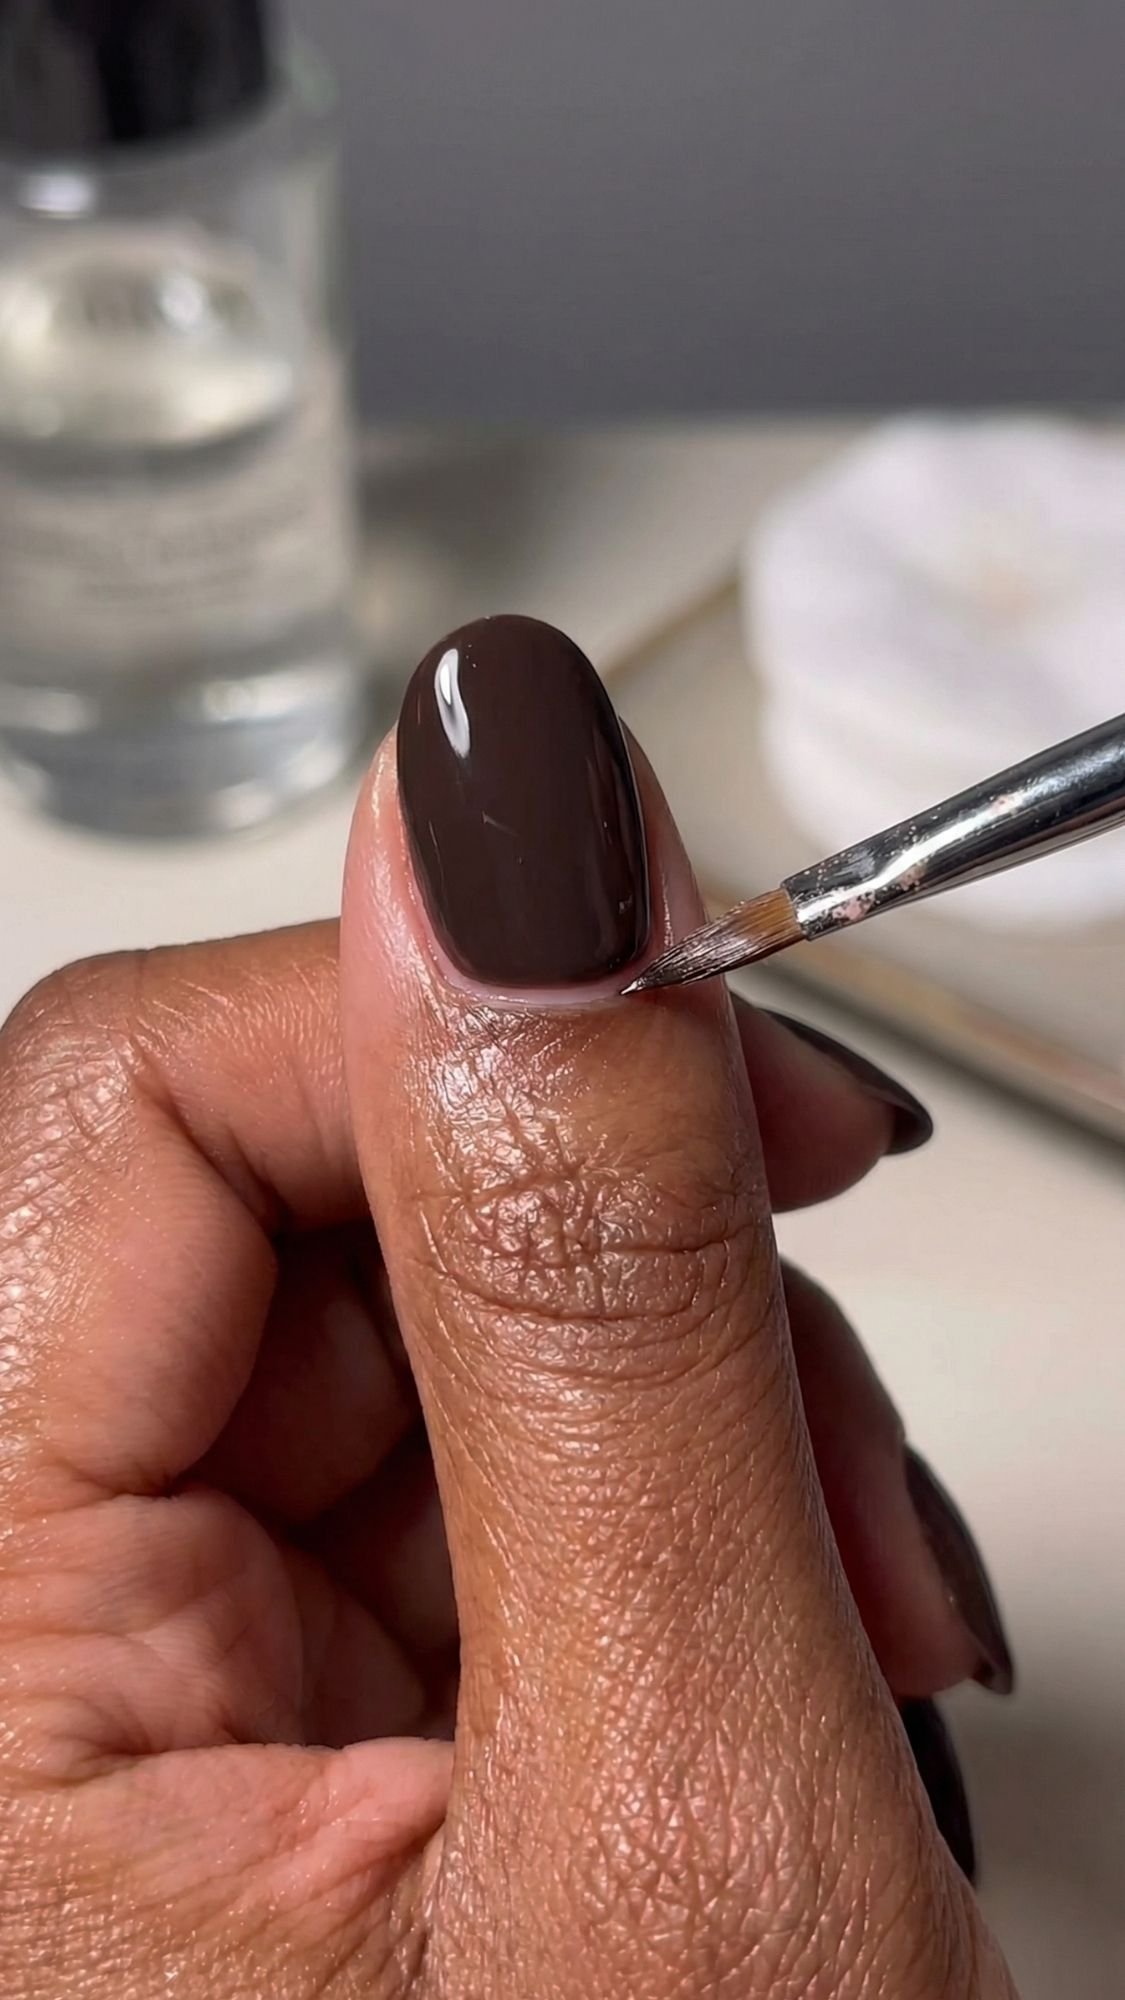
- The Fix: Do not try to wipe it with your other finger. Take your cleanup brush, dip it in acetone, and “carve” a clean line between the polish and the skin. This creates that crisp, salon-quality gap that makes the mani look professional.
2. The Dreaded Bubbling
Tiny bubbles look like a texture nightmare once the polish dries. This usually happens because you shook the bottle (trapping air) or you’re sitting directly under a ceiling fan.
- The Fix: Always roll the bottle between your palms instead of shaking it. If bubbles appear, you can sometimes “pop” them with a thin layer of a high-quality, ridge-filling top coat.
3. Shrinkage at the Tips
Have you ever noticed your polish “pulling back” from the edge of your nail after an hour? That’s shrinkage.
- The Fix: You must “cap the free edge.” Swipe your brush horizontally across the very tip of your nail for every single layer, base coat included. This anchors the polish and prevents it from retreating.
4. Press-Ons Popping Off
If your nail flies off while you’re just typing an email, your prep was likely the issue.
- The Fix: Re-prep the natural nail by buffing away the shine again. Use the “Double Bond” method: apply a drop of glue to your nail and a thin layer to the press-on. Wait 5 seconds for it to get tacky before pressing.
5. Streaky Sheers
Sheer “milky” colors are the hardest to apply.
- The Fix: Use a “floating” technique. Apply almost zero pressure with the brush, letting the bead of polish glide over the nail. If you press too hard, the bristles will leave “tracks” in the paint.
The Editor’s Routine
I’m going to be the “Mean Older Sister” for a second. You cannot have a 10/10 manicure on 2/10 nails. If your nails are peeling like an onion, they need a break. What I’ve noticed over the years is that people blame the “chemicals” in polish, but it’s usually the removal that causes the damage.
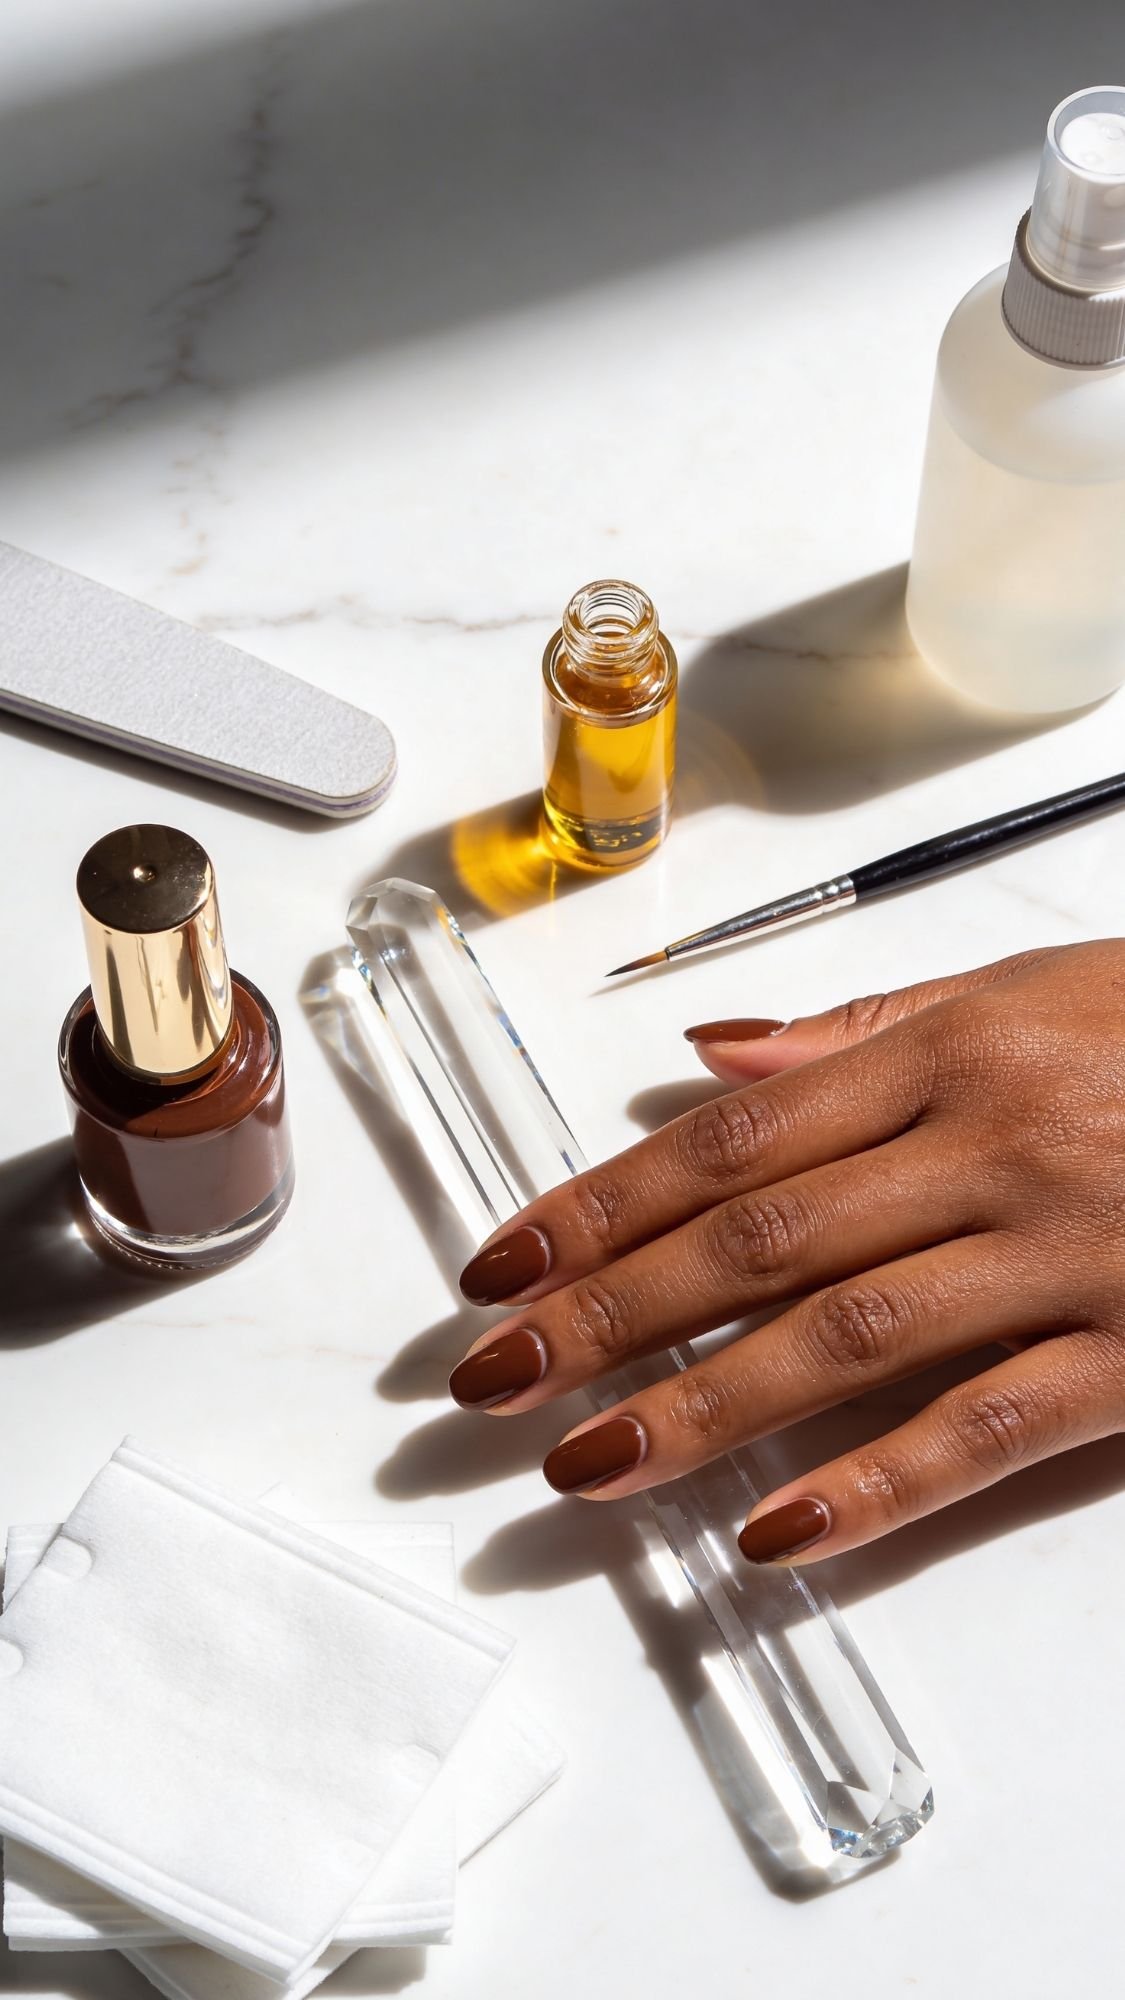
The Cuticle Oil Obsession
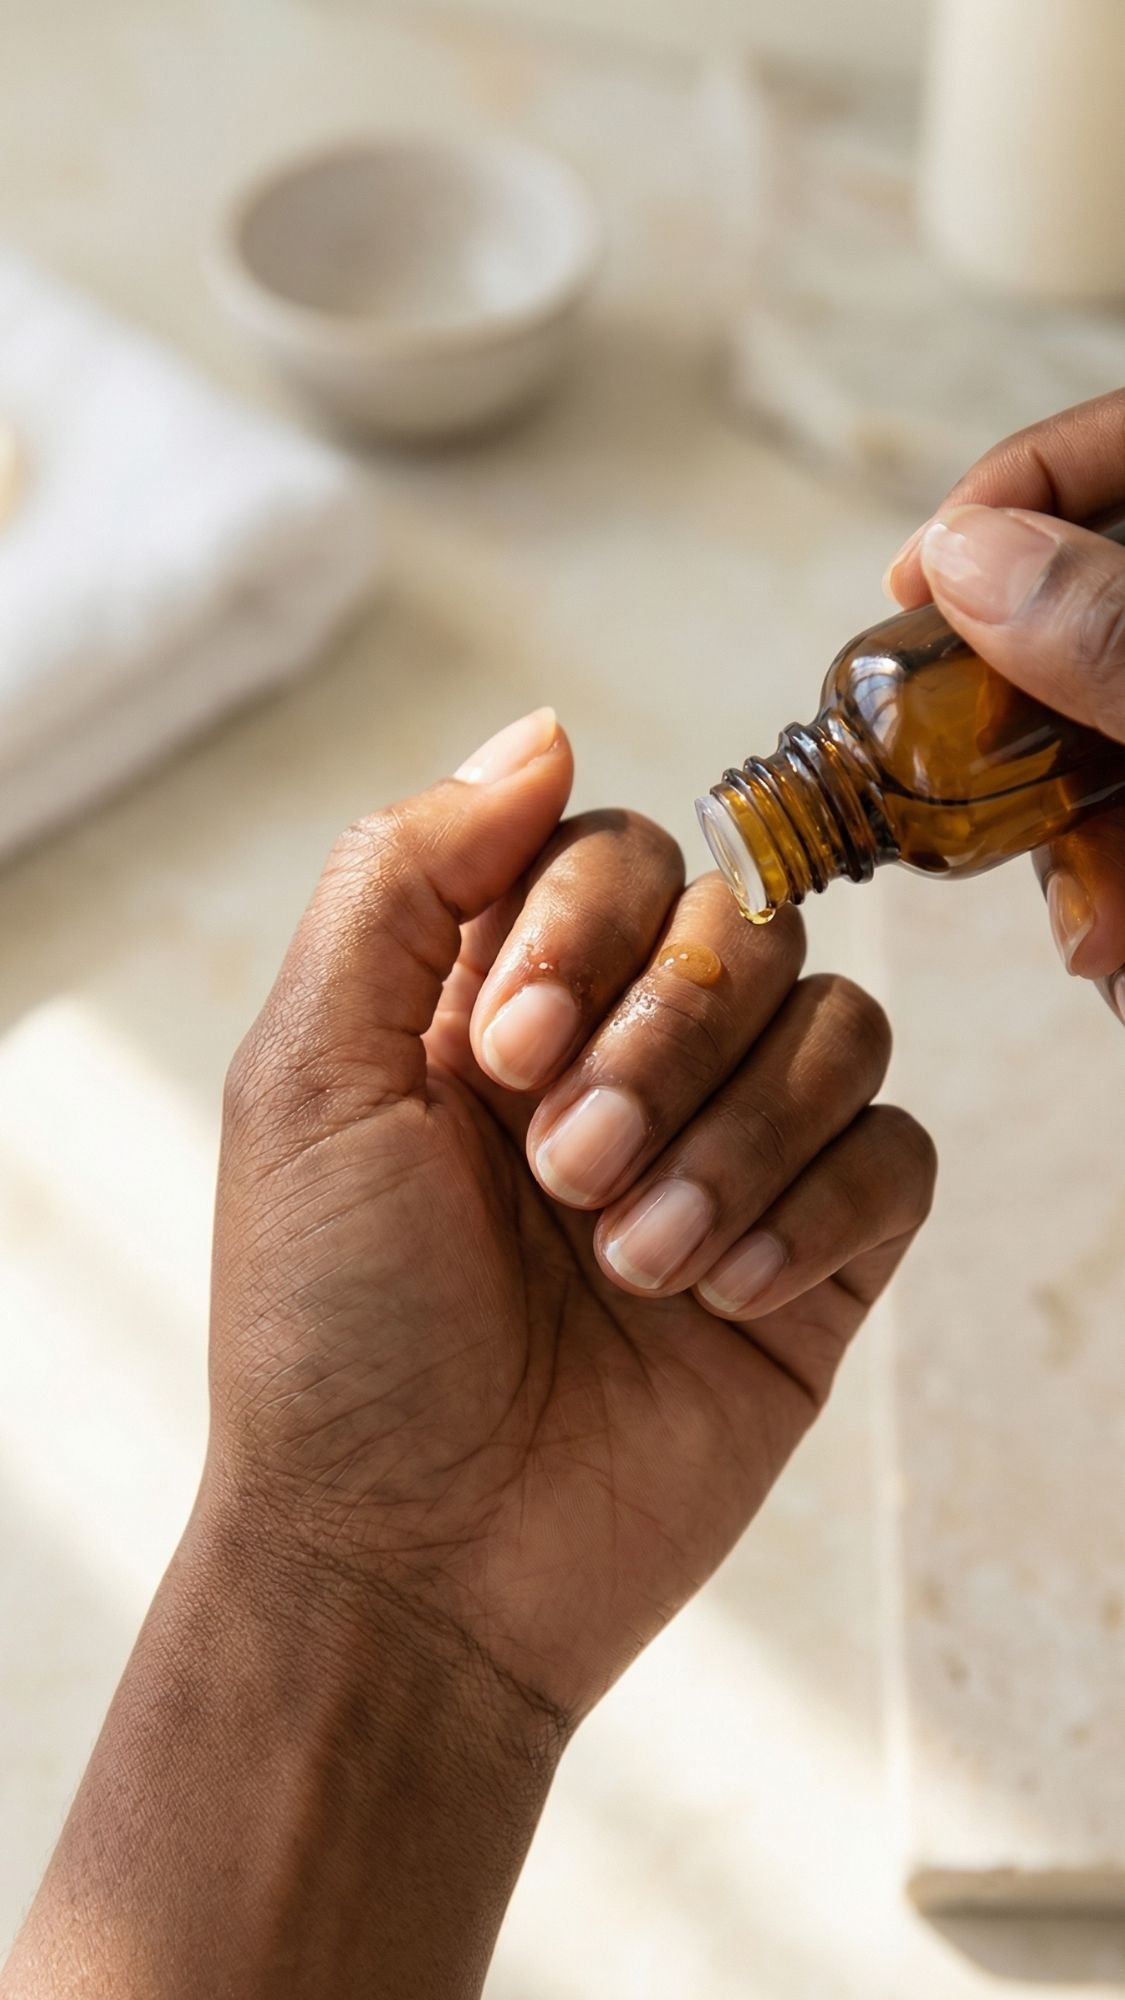
If you aren’t using cuticle oil, you’re doing it wrong. IMO, this is the single most important step for nail growth. Use an oil with Jojoba because its molecular structure is small enough to actually penetrate the nail plate and the skin.
- Pro Tip: Apply it over your polish too. It keeps the polish flexible so it doesn’t crack when your nail bends.
The “Great Break”
Every four weeks, I take a 72-hour break. No polish, no press-ons. I soak my hands in warm olive oil and use a strengthening treatment that contains keratin.
- The Hype vs. Reality: “Nail Hardening” polishes can actually make your nails too brittle, causing them to snap. You want “flexibility,” not just “hardness.”
When to See a Professional
Safety first! If you see any green or yellow discoloration under your nail, or if your cuticle is red, swollen, and throbbing, stop everything. That could be a “greenie” (pseudomonas) or a fungal infection. Don’t try to cover it with more polish. See a dermatologist.
This is where we get into the styling side of the house. You can have the best technique in the world, but if the shape is fighting your hand structure, it’s never going to look quite right.
Finding Your Perfect Match
Ever wonder why some colors look like they were made for you while others make your hands look a bit “off”? It’s all about color theory and geometry. As someone who has looked at thousands of manicures, I can tell you that the right shape is like a facelift for your hands.
The Geometry of the Hand
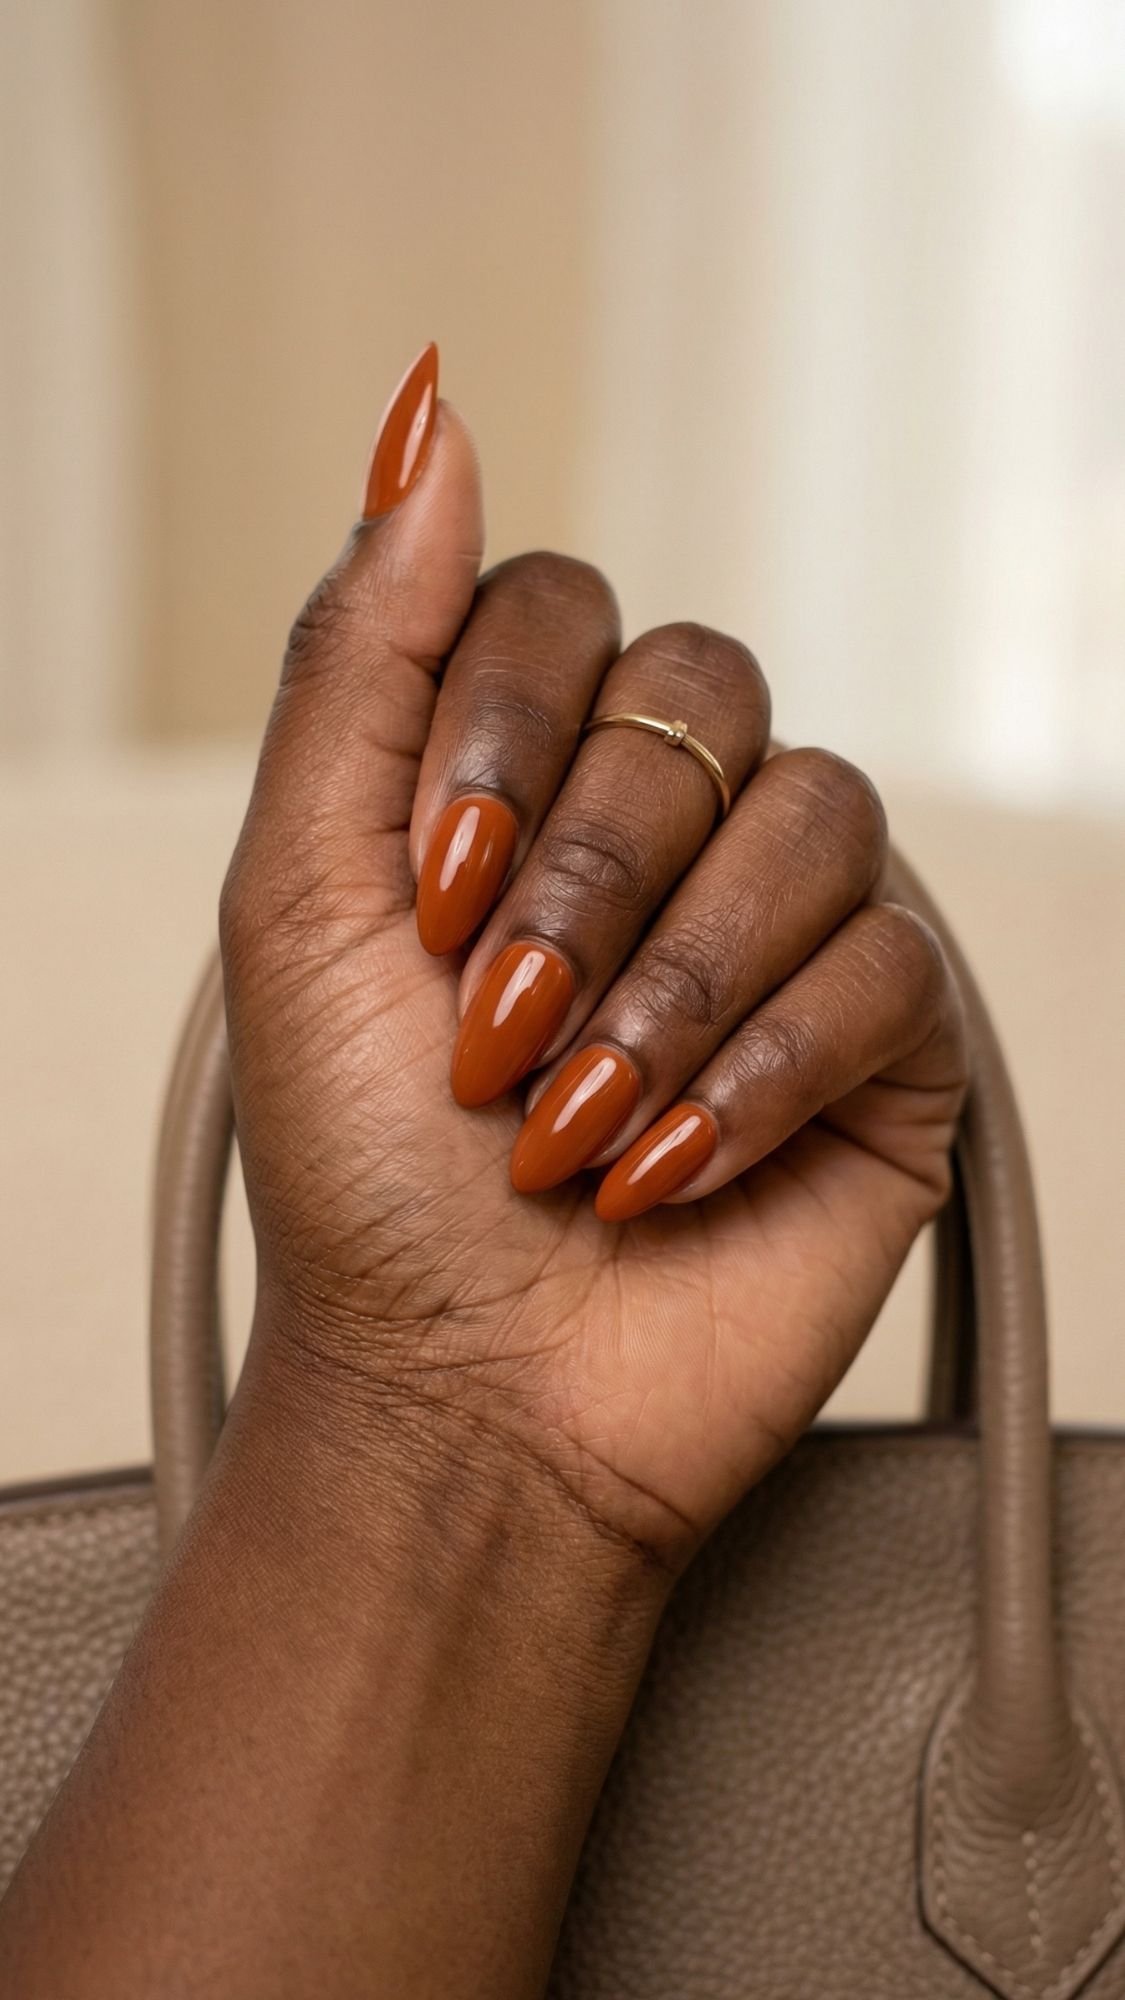
If you want your fingers to look longer and more slender, the Almond or Oval shape is your best friend. The tapered tip draws the eye outward, creating a continuous line. For those of you with very active lifestyles or “shorter” nail beds, a Soft Square (Squoval) provides the most strength. It’s less likely to snag or break because the stress is distributed evenly across the free edge.
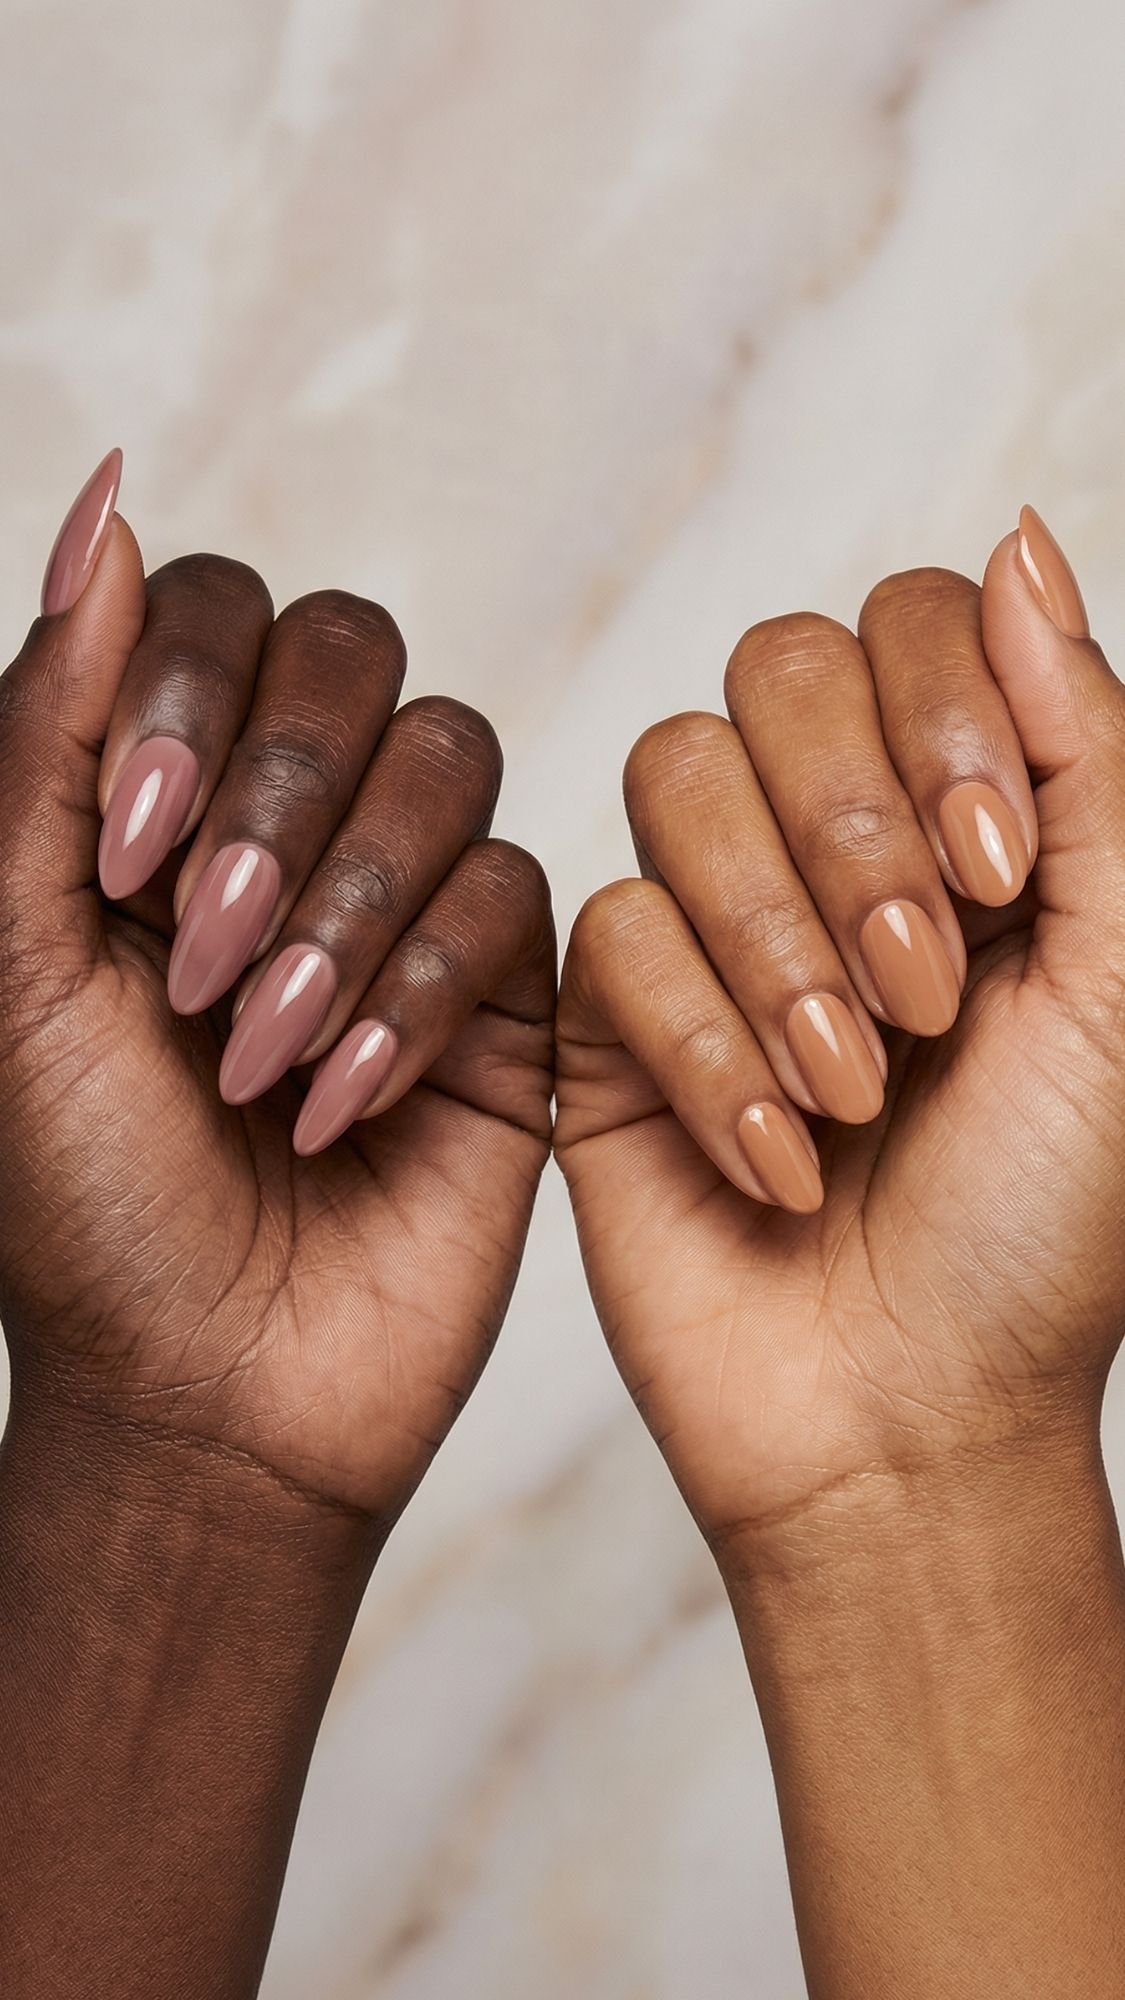
Shade Selection for Melanin-Rich Skin
What I’ve noticed over the years is that “nude” is not a one-size-fits-all category.
- Cool Undertones: Look for nudes with a touch of mauve or grey. A cool-toned lavender or a crisp “Oxford Blue” looks incredible.
- Warm Undertones: Reach for the caramels, toffees, and corals. Gold-flecked polishes or “Burnt Orange” will make your skin look like it’s literally glowing.
- Pro Tip: If you want a “clean girl” aesthetic, find a sheer polish that is exactly half a shade lighter than your skin tone. It creates a brightening effect that looks super high-end.
Beauty Rules & Beginner Lists
I promised you maximum value, so here is your “cheat sheet” to keep on your phone for your next shopping trip or DIY session.
Beauty Rules of Thumb
- The 3-Stroke Rule: One down the middle, one on each side. Stop touching it. The more you brush, the more streaks you create.
- Wait for the Click: Your nails aren’t “dry” until you can gently click them together and they don’t feel “grabby.”
- The “Invisible” Gap: Leave a hair-thin gap between the polish and your cuticle. It makes the grow-out look much cleaner.
- Sunscreen for Lamps: If you eventually move to UV gel, always wear fingerless UPF gloves or apply SPF 50 to your hands. Protect your skin!
- Night Owl Polish: Paint your nails an hour before bed. By the time you wake up, they are fully cured and rock-hard.
Beginner Shopping List
- Glass Nail File: (Splurge here, it’s worth the $10).
- 91% Isopropyl Alcohol: (The best dehydrator you’ll ever own).
- Angled Cleanup Brush: (A cheap synthetic eyeliner brush works perfectly).
- Jojoba-Based Cuticle Oil: (Look for Jojoba as the first ingredient).
- A “Sticky” Base Coat: (Orly Bonder is the gold standard for a reason).
Everything You’re Still Wondering
Q: How long should I wait between coats? Wait exactly two minutes. If you apply the second coat while the first is still “wet,” the solvents get trapped and cause those tiny, annoying bubbles.
Q: My press-ons always pop off. What am I doing wrong? You likely aren’t removing the shine from your natural nail or the back of the press-on. Use a buffer to create a “rough” surface so the glue has something to grab onto.
Q: Can I use regular top coat over chrome powder? No, it will usually “break” the chrome effect and make it look like glitter. Use a water-based top coat first, then your regular top coat for durability.
Q: Is it okay to cut my cuticles? IMO, no. Cutting opens the door for bacteria and infection. Use a chemical remover and a wooden stick to gently push them back instead.
Q: How do I get polish off my skin without ruining the nail? Dip your cleanup brush in acetone, wipe the excess off on a paper towel, and then slowly “erase” the mistake on your skin.

Your Best Nails are a Few Minutes Away
There you have it. Mastering 23 Simple Nails You Can Do At Home In Minutes isn’t about being an artist. It’s about having the right tools, a bit of patience, and the pro-level prep that most people ignore. Remember, your nails are an accessory, but they are also a part of your self-care routine. Take the time to oil those cuticles and treat your hands with a bit of love.
Whether you’re rocking the “Glazed Donut” or a simple “Micro-French,” the confidence of a fresh mani is unmatched. So, grab your glass file, put on your favorite podcast, and let’s get those tips looking like a million bucks. You’ve got this! 🙂