Disclosure: this post contains affiliate links. If you buy through one, it costs you nothing extra and it helps keep the lights on here.
Halloween Nails You Can Wear To Work And Still Wear To The Party
The best Halloween nail design is the one you can actually do and still wear on Monday. Everything below is sorted by how much you feel like committing, from a single accent nail to full horror glam, so you can find your level instead of scrolling past thirty sets you will never attempt.
Halloween nails have a range problem. The whole category got handed over to neon cauldrons and airbrushed spiders somewhere along the way, so if you want your hands to look expensive in October you were left choosing between boring and Party City. The range is the entire point of this post. The subtle end is a real choice, not a warm-up for the good stuff.
Ever seen a set with a ghost, a bat, a spiderweb and a pumpkin across five fingers? That is not a manicure, that is a haunted scrapbook. Restraint is the difference between looking styled and looking like you lost a bet, and almost every design below runs on the same quiet formula underneath.
Quick Snapshot Before You Scroll
What this solves: seasonal nails that feel like October without committing you to a costume.
Best for: short nails, work-friendly hands, and anyone who needs one manicure to cover an office and a party in the same week.
Time required: about 10 minutes for a single accent nail, up to roughly 90 minutes for freehand fine line work.
Budget: drugstore polish covers every design here. The technique is the expensive part. Eight of the thirty need a tool you may not own. The other twenty-two use polish most people already have.
Salon versus home: a seasonal set at a salon costs meaningfully more than doing it yourself, and prices swing hard by region, so call before you assume.
The three mistakes that ruin most of them, TBH the same three every year:
- treating Halloween as permission to put five colors on one hand
- painting detail work over a base that has not fully dried, which drags the design into a smear
- reaching for a true orange when a burnt or rust orange flatters far more skin tones
Before You Pick Anything, The Prep That Decides All Thirty
Roundups skip prep, and that is exactly why the designs fail. This section is short and it matters more than any single design below.
Dehydrate the nail plate before anything else. Rubbing alcohol on a lint-free wipe, then do not touch the nail again with bare fingers. Almost every early chip traces straight back to skipping this one step, because the oil your skin leaves behind stops polish bonding properly.
Use thin coats and cap the free edge every single time. Two thin coats beat one thick coat on every measure that matters, and the free edge is where Halloween polish fails first because darker pigments are heavier and drag on the tip.
Here is the sentence worth remembering: most Halloween manicures do not chip, they lift, and lifting starts at the cuticle line on day one. If you can see a hairline gap at the base by the second morning, the set is already on borrowed time.
Let detail work dry properly before the top coat goes on. Black bleeds into a wet top coat and turns a crisp bat into a gray smudge, and ten minutes of patience saves the whole hand. Matte top coat is less forgiving than gloss too, so buff first if matte is the plan.
One tool is worth buying if you are doing anything with a line in it. A fine detail brush is the difference between a clean edge and a shaky one, and it costs less than a single salon visit.
Subtle Enough For The Office: Short And Almond Halloween Nails
Eight designs for when you want the season without the announcement. These pass in almost any workplace, and they suit short and almond shapes best. If your office runs strict, these are the same territory as work friendly nails that still feel chic, just tilted toward October.
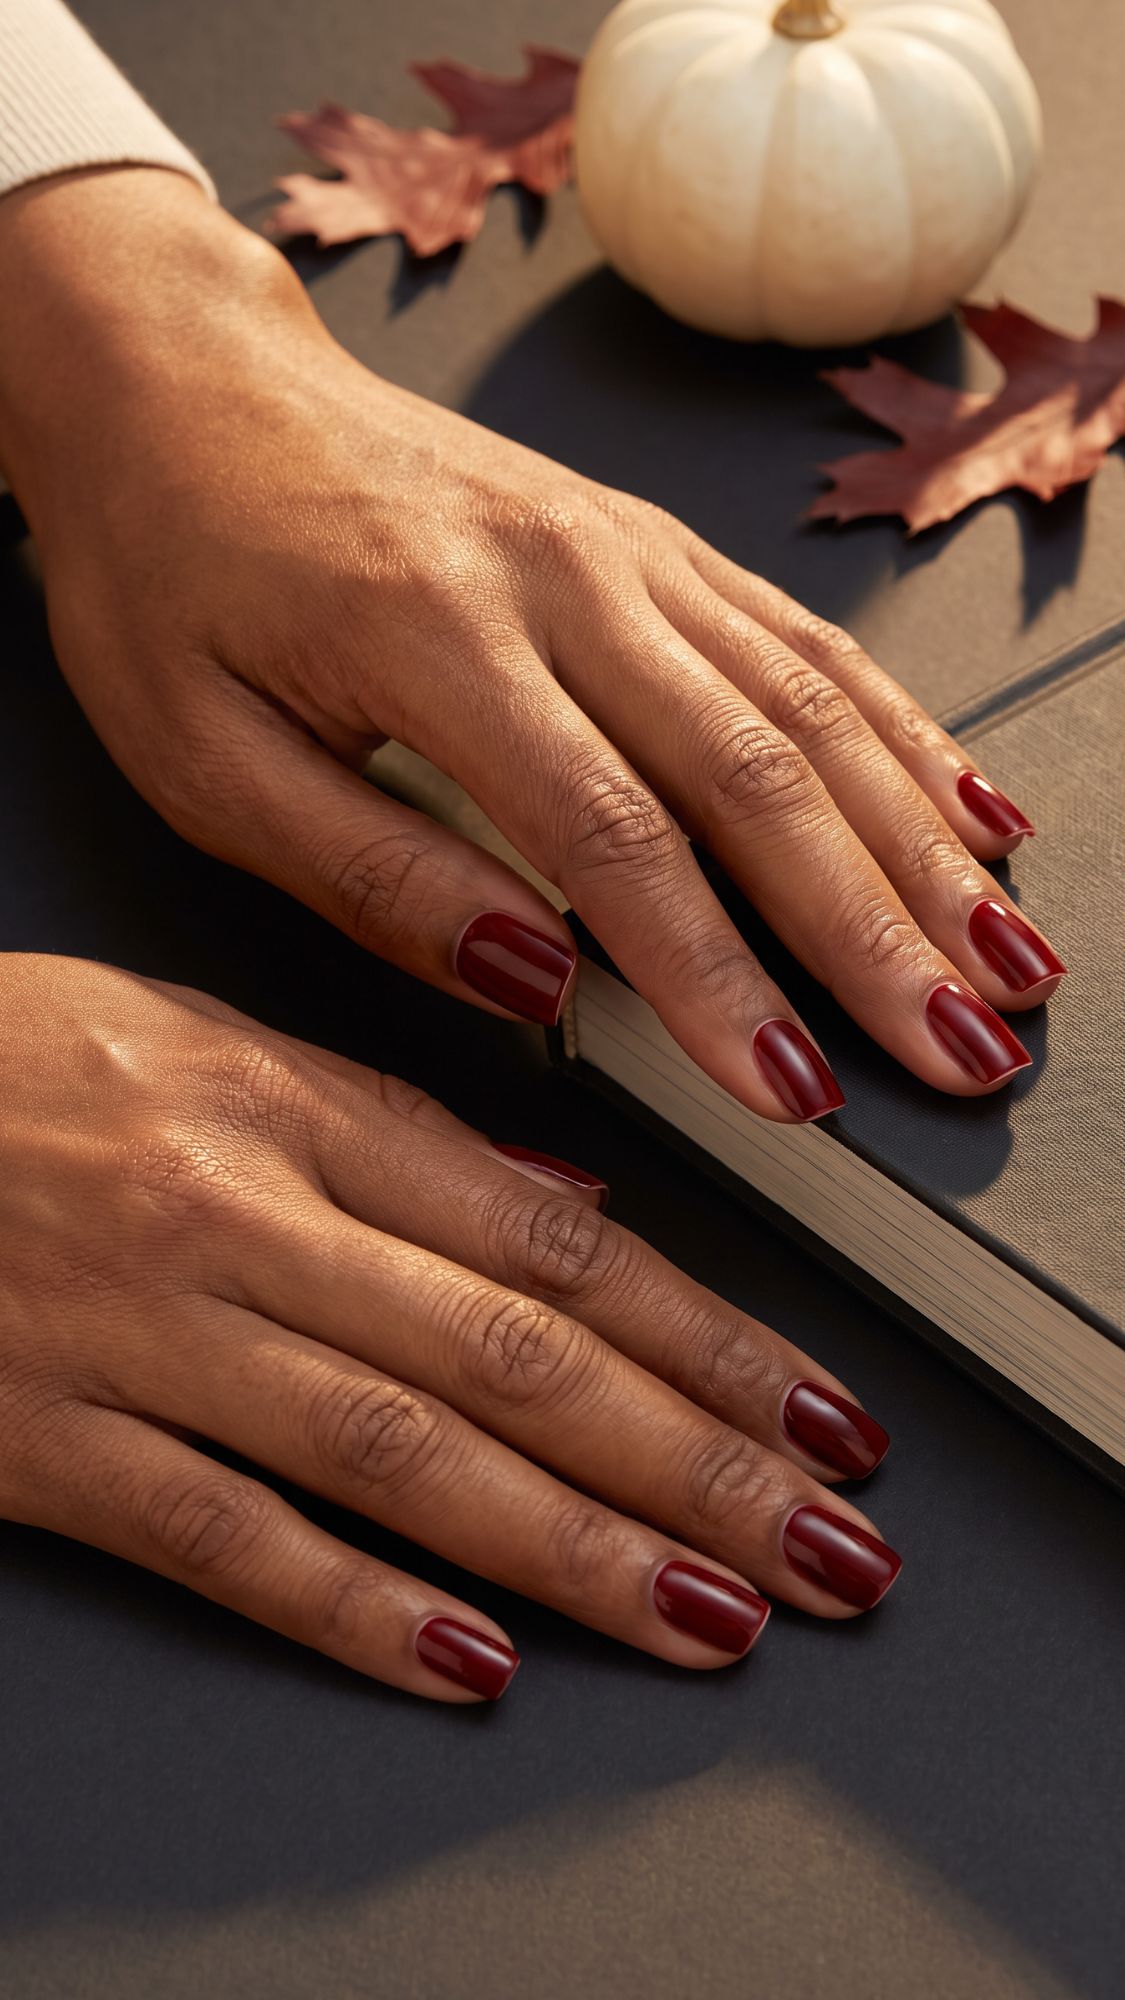
1. Oxblood on short square nails. No art at all, just deep wine red across all ten. Best for: anyone, any nail bed width. Technique note: two thin coats, never one thick, because oxblood streaks badly when it goes on heavy.
2. Sheer milky base with one matte black tip. A French manicure that went to a funeral, in the best possible way. Best for: short square. Technique note: use a French guide sticker, freehand tips on short nails are brutally unforgiving.
3. Taupe base with one nail in matte espresso. Reads autumnal rather than costume, and it carries you from October straight through Thanksgiving. Best for: short to medium. Technique note: matte top coat on the accent only, leave the other nine glossy so the contrast reads.
4. Clear base with a thin black outline at the tip. A negative-space French that takes about two minutes and looks intentional for a fortnight. Best for: short almond. Technique note: this is where the fine detail brush earns its money.
5. Cream base with a single gold foil fleck on the ring finger. Catches light like candlelight with no orange anywhere in sight. Best for: any length. Technique note: apply foil onto a tacky top coat, not a dry one, or it will not grab.

6. Soft dove gray almond with a shallow charcoal tip. Tonal, quiet and genuinely elegant, and it is the closest thing here to a neutral. Best for: almond specifically, the shape is doing the work. Technique note: keep the tip shallow at around 3mm, deep tips visually shorten the nail.
7. Deep plum, glossy, nothing else. The shade everybody forgets, and it flatters an enormous range of skin tones. Best for: short almond. Technique note: plum usually needs three coats to reach true depth, so budget the drying time.
8. Short square in warm chrome pewter. No motif, just a finish that looks like October light on metal. Best for: short square. Technique note: chrome powder needs a gel base and a no-wipe top coat, so this one is not a regular-polish design.
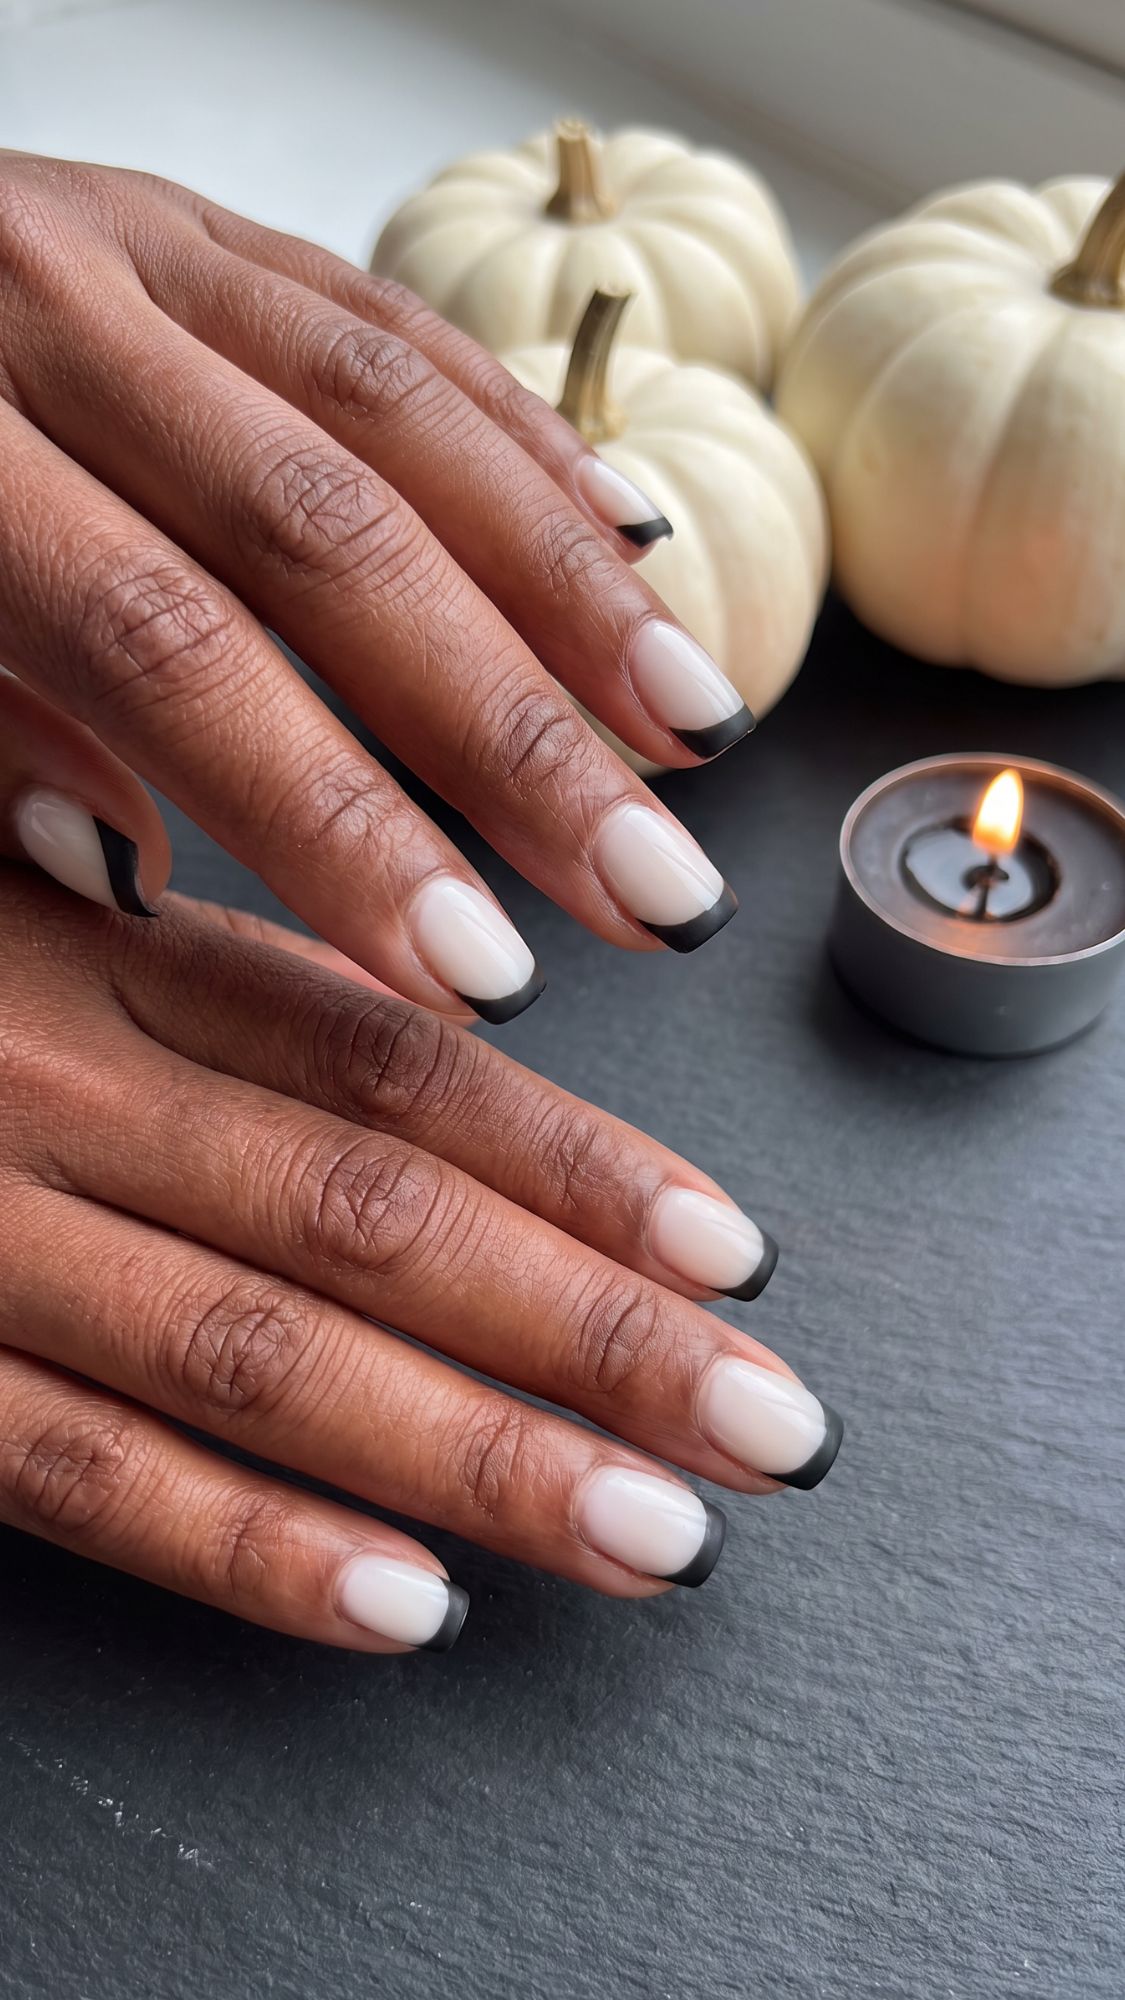
FYI, if you like this whole register, it is the same restraint that runs through French tip nails for quiet luxury fall vibes, just with the season turned up a notch.
Clearly Halloween, Still Elegant: Black And Orange And Black Nails
Nine designs in the two most-searched Halloween nail colorways, done so they do not look like bunting. This is the sweet spot most people actually want, festive enough that somebody comments, controlled enough that you are not explaining yourself.
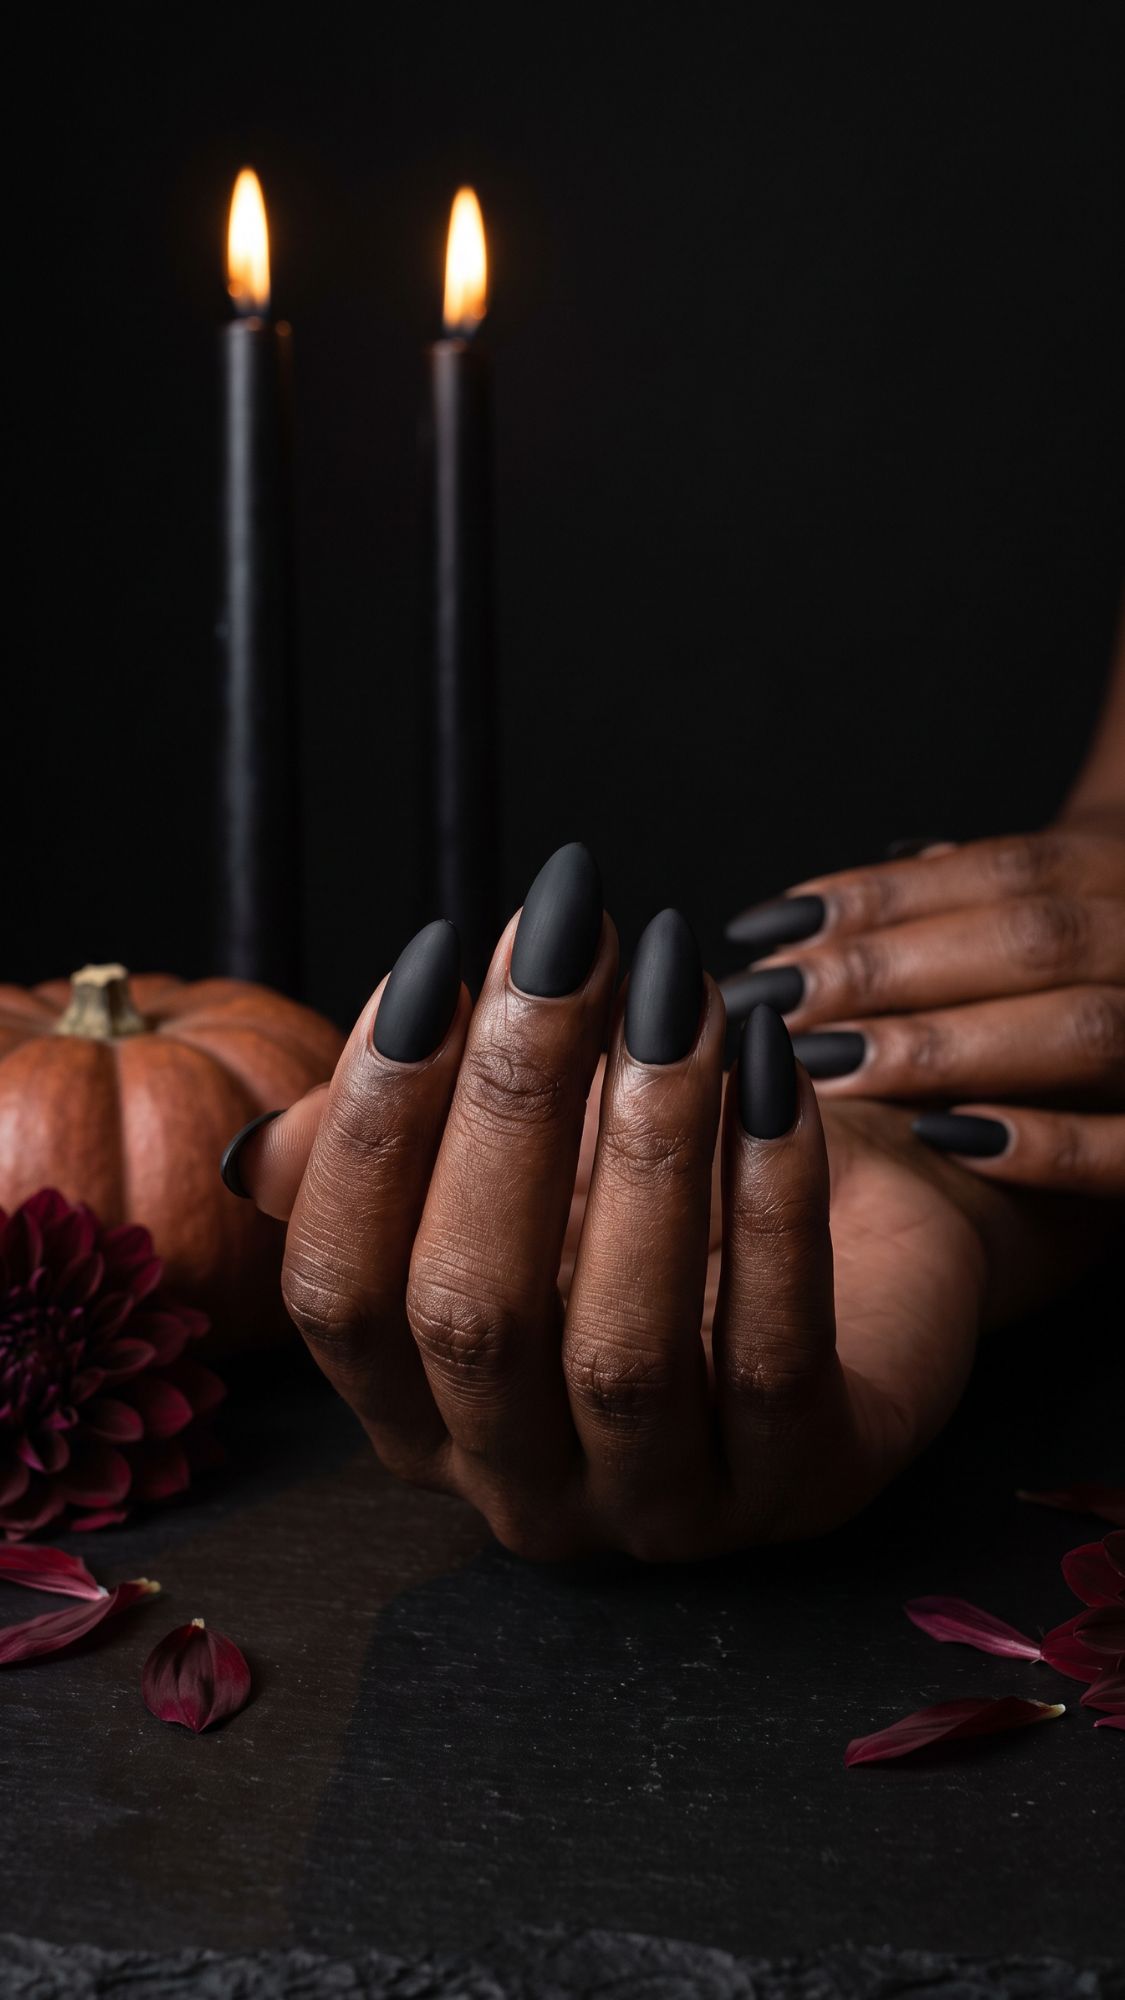
9. Matte black on almond nails. The most searched Halloween nail there is, and it works because the shape carries the whole look. Best for: almond, any length. Technique note: buff the surface before the matte top coat, matte shows every single ridge.
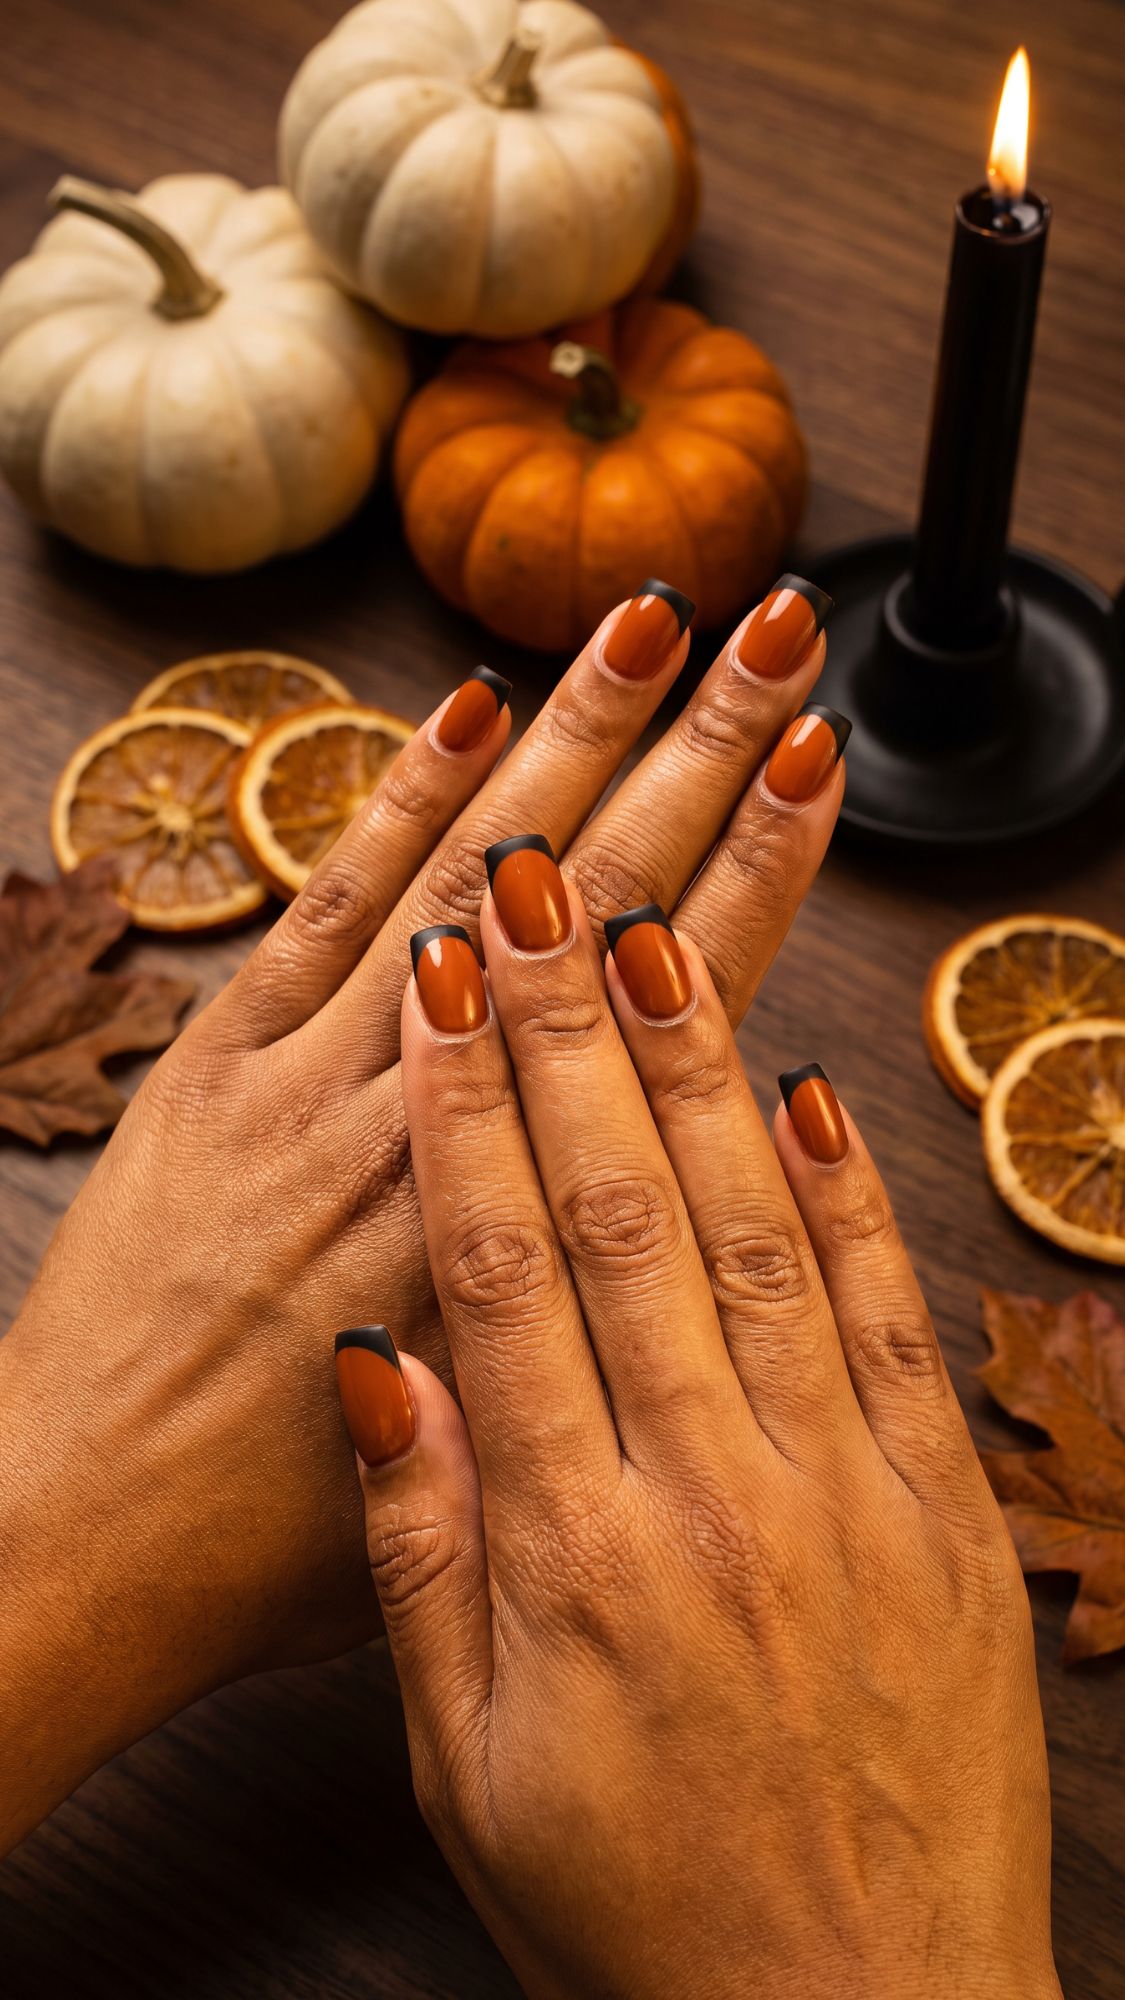
10. Burnt orange base with matte black tips. Swap true orange for burnt and the entire thing grows up about ten years. Best for: medium square. Technique note: burnt orange needs a white base coat underneath to stay true instead of going muddy.
11. Black base with a thin burnt orange stripe down the center. One line per nail, nothing else. Best for: any shape. Technique note: striping tape if your hand is not steady, and pull it off while the polish is still tacky.
12. Rust orange with a single matte black accent nail. The rust is the reason this reads wearable instead of costume. Best for: any. Technique note: rust reads warmer and richer on deeper skin, and that is a feature worth leaning into.
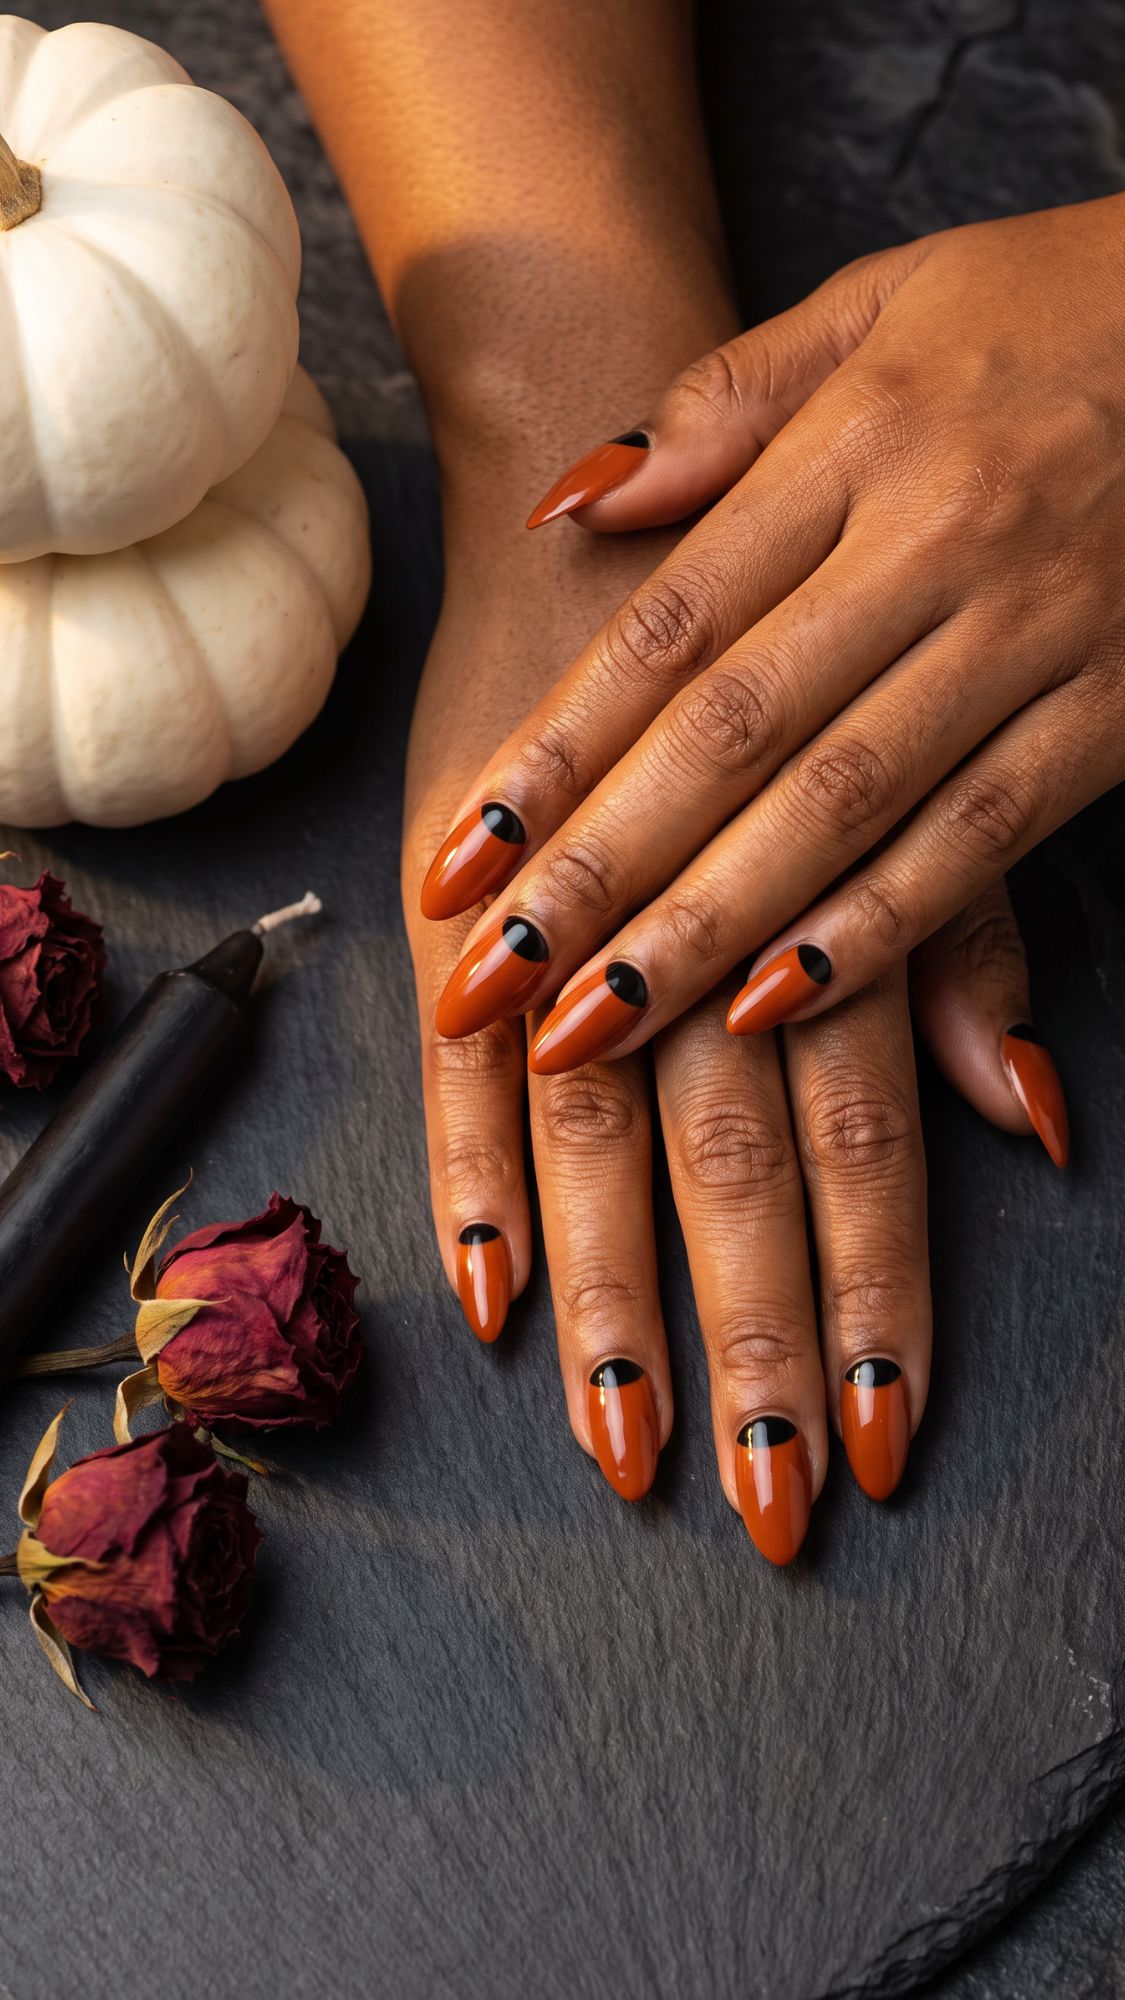
13. Half-moon black over a rust base. A vintage shape doing seasonal work, with the black crescent sitting at the cuticle rather than the tip. Best for: medium to long. Technique note: hole reinforcement stickers make that curve clean without any skill at all.
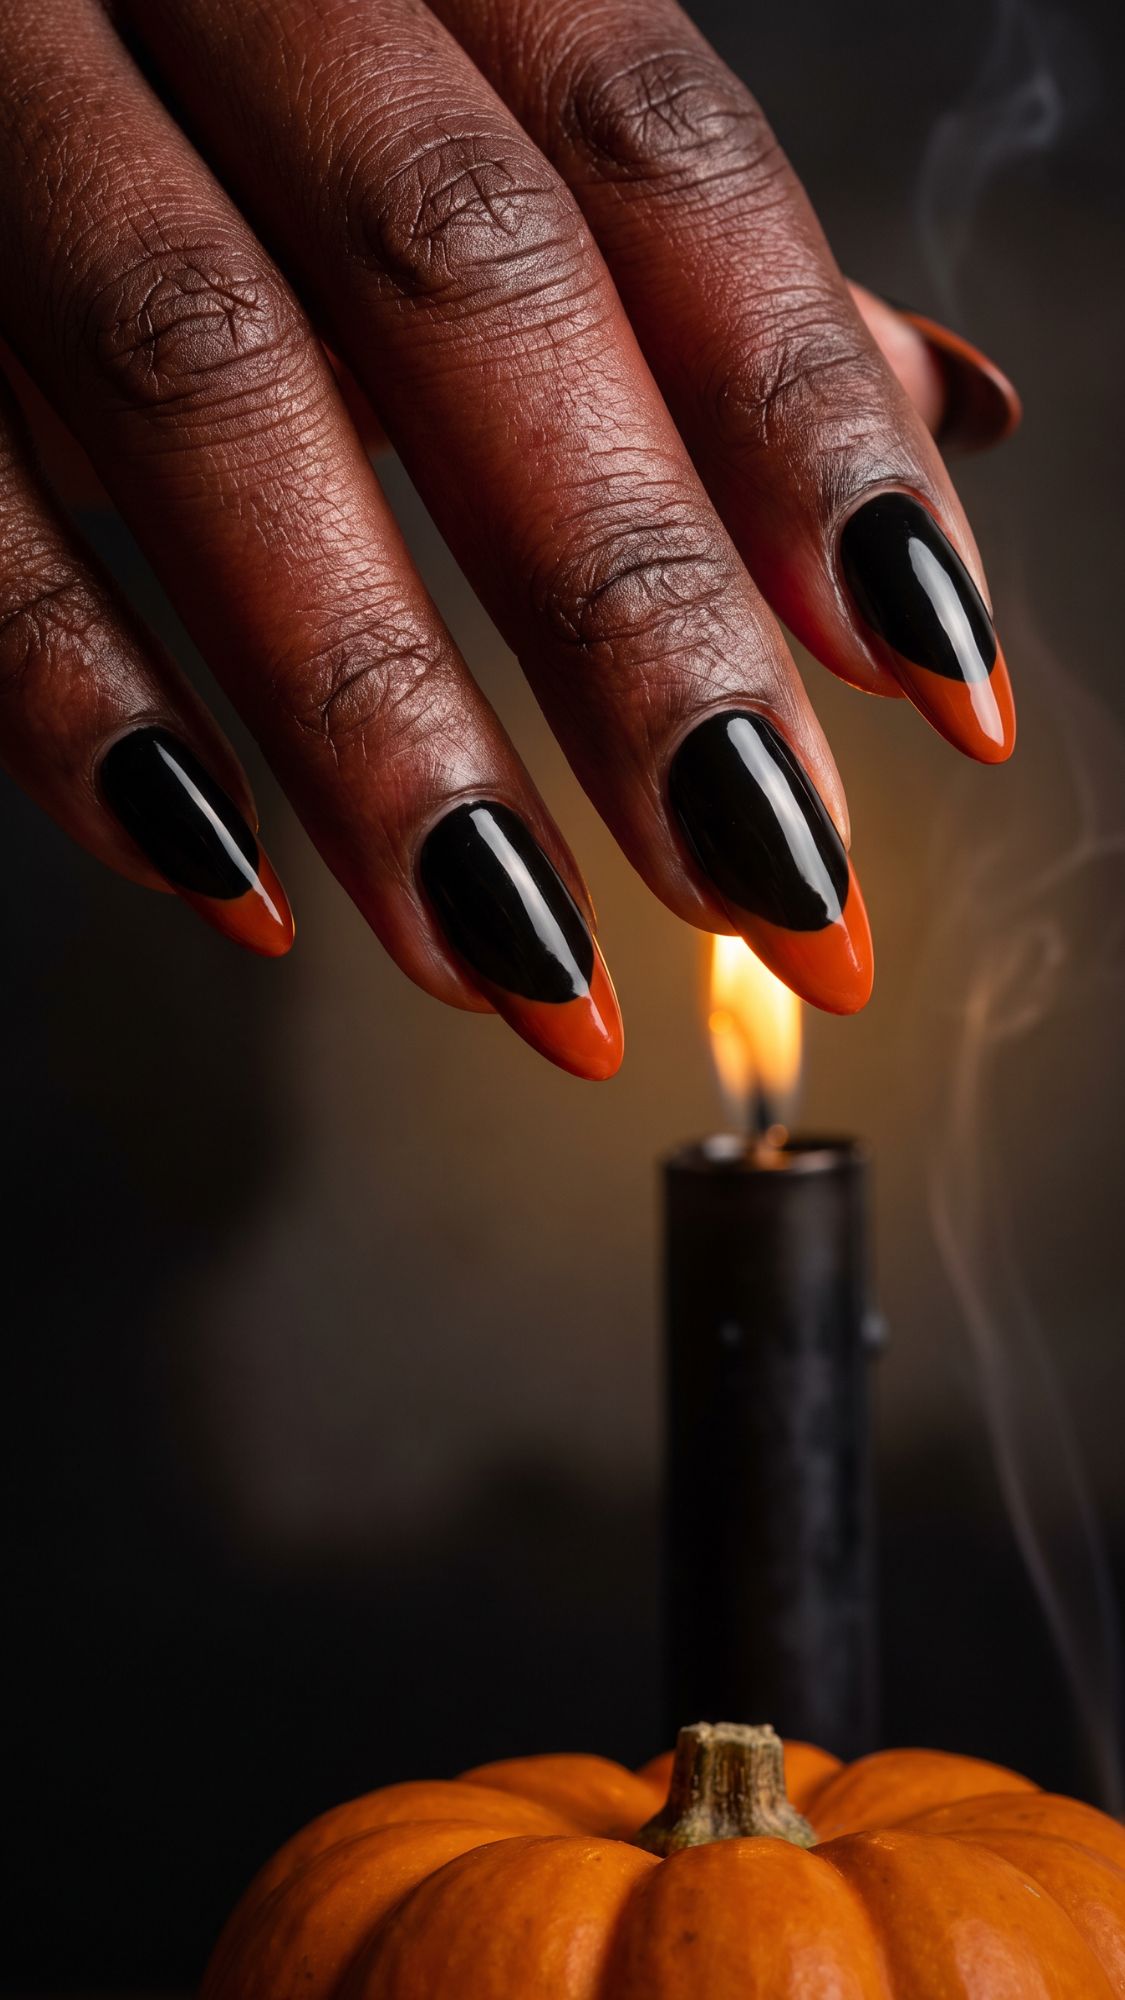
14. Black nails with an orange under-tip. The color only shows from underneath, so it reveals itself when you move your hands. Best for: medium to long, you need free edge to paint. Technique note: paint the underside first and let it cure fully before you touch the top.
15. Alternating matte and gloss black with one rust nail. The finish contrast is the entire design, no art required. Best for: any. Technique note: matte top coat on alternating nails only, nothing else changes.
16. Glossy black with a tone-on-tone black spiderweb. You only catch it when the light hits, which is the whole charm. Best for: medium. Technique note: the web goes on matte over gloss, not the other way round.
17. Sheer black over almond nails. Reads like tinted glass rather than a solid, and it is softer than full black on pale and deep skin alike. Best for: almond. Technique note: one coat only, a second kills the sheer effect completely.
Full Glam, Full Commitment: Acrylic And Horror Nails
Eight designs for when you do want people to notice. This is where acrylic and extended lengths belong, and where the genuinely spooky ideas live without tipping into cheap.
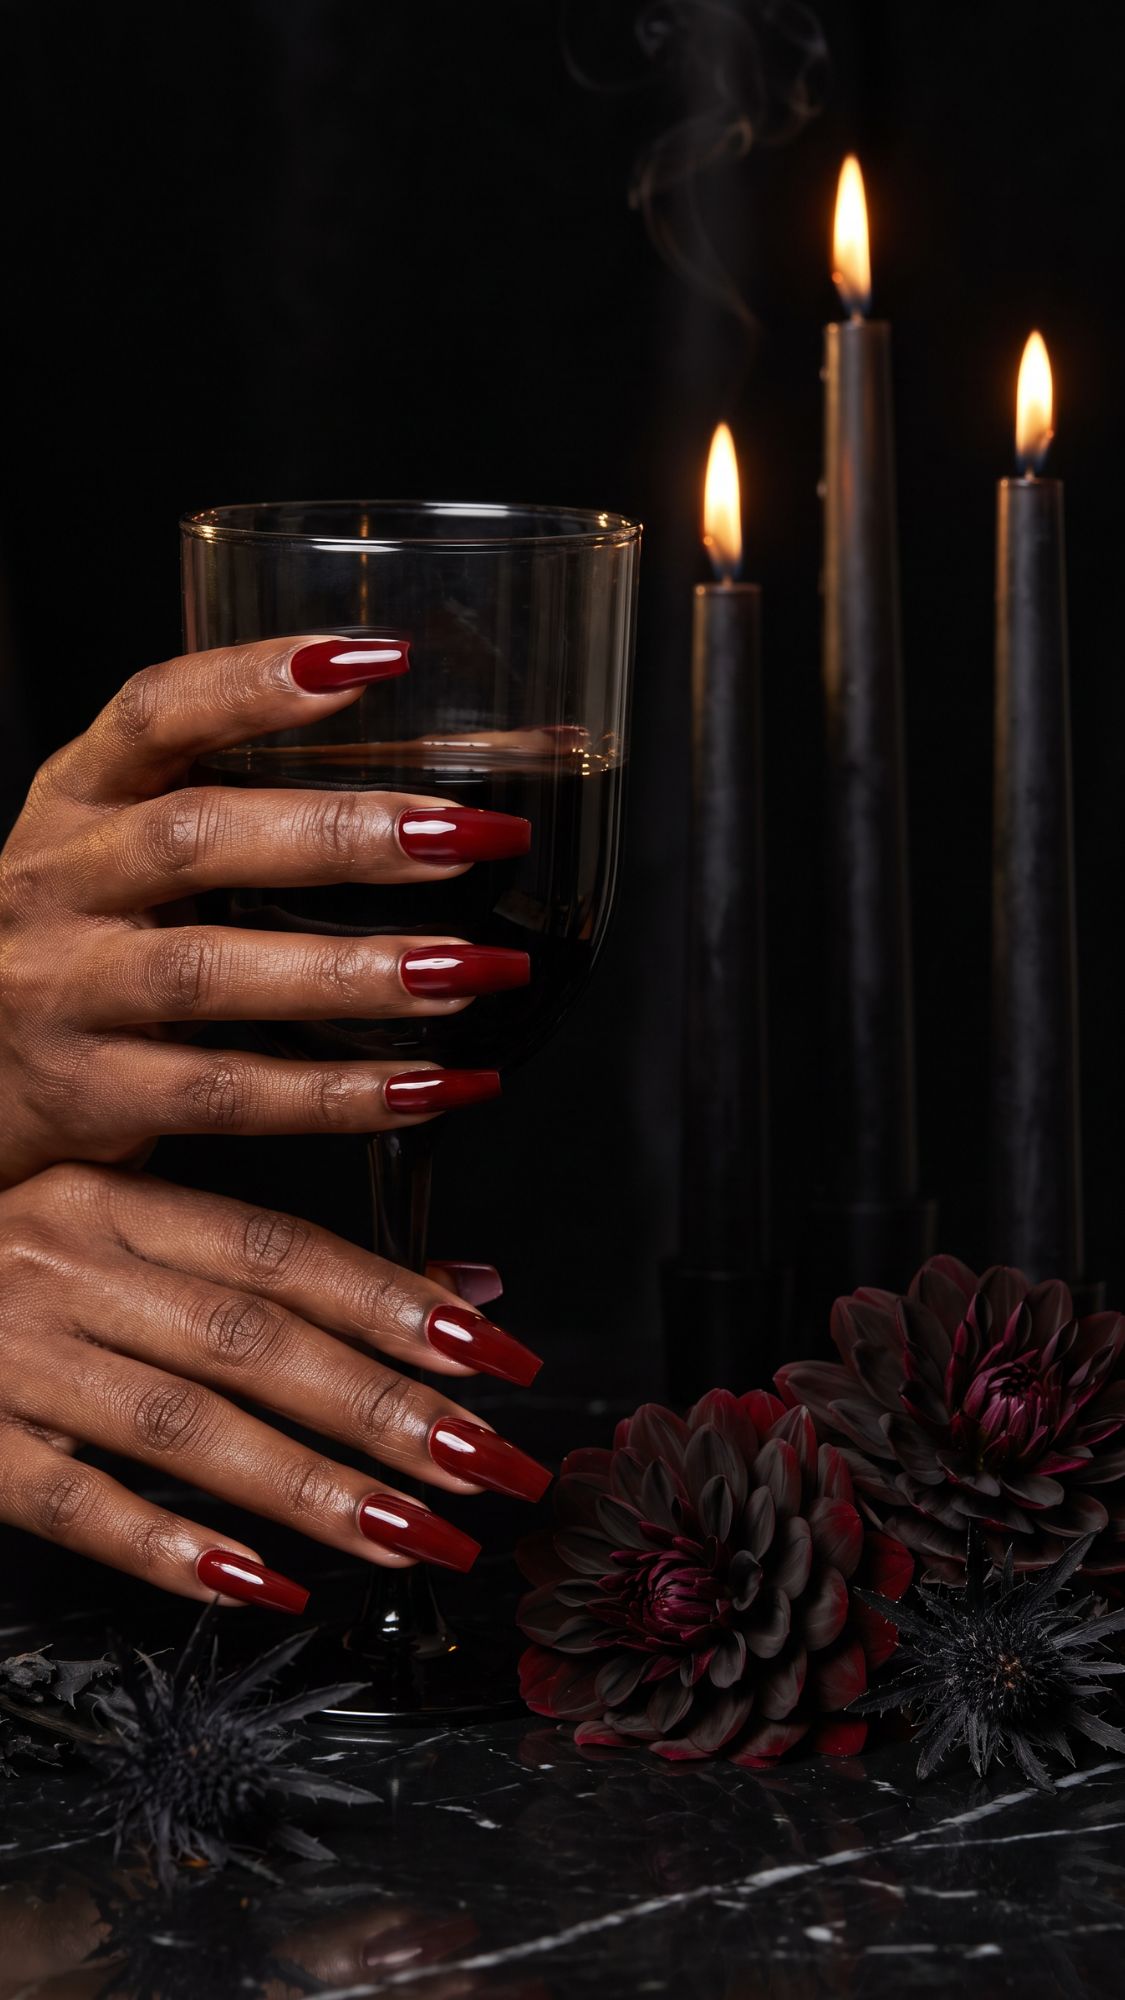
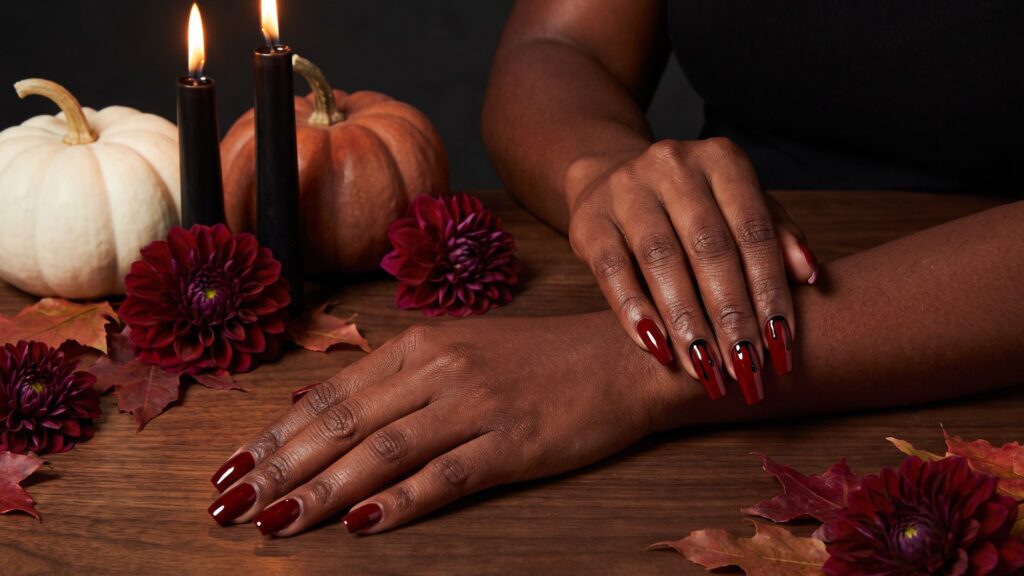
18. Long coffin acrylics in blood red. The classic horror shape, glassy and unapologetic. Best for: acrylic or a long press-on set. Technique note: this length is not achievable on most natural nails, and pretending otherwise wastes your evening.
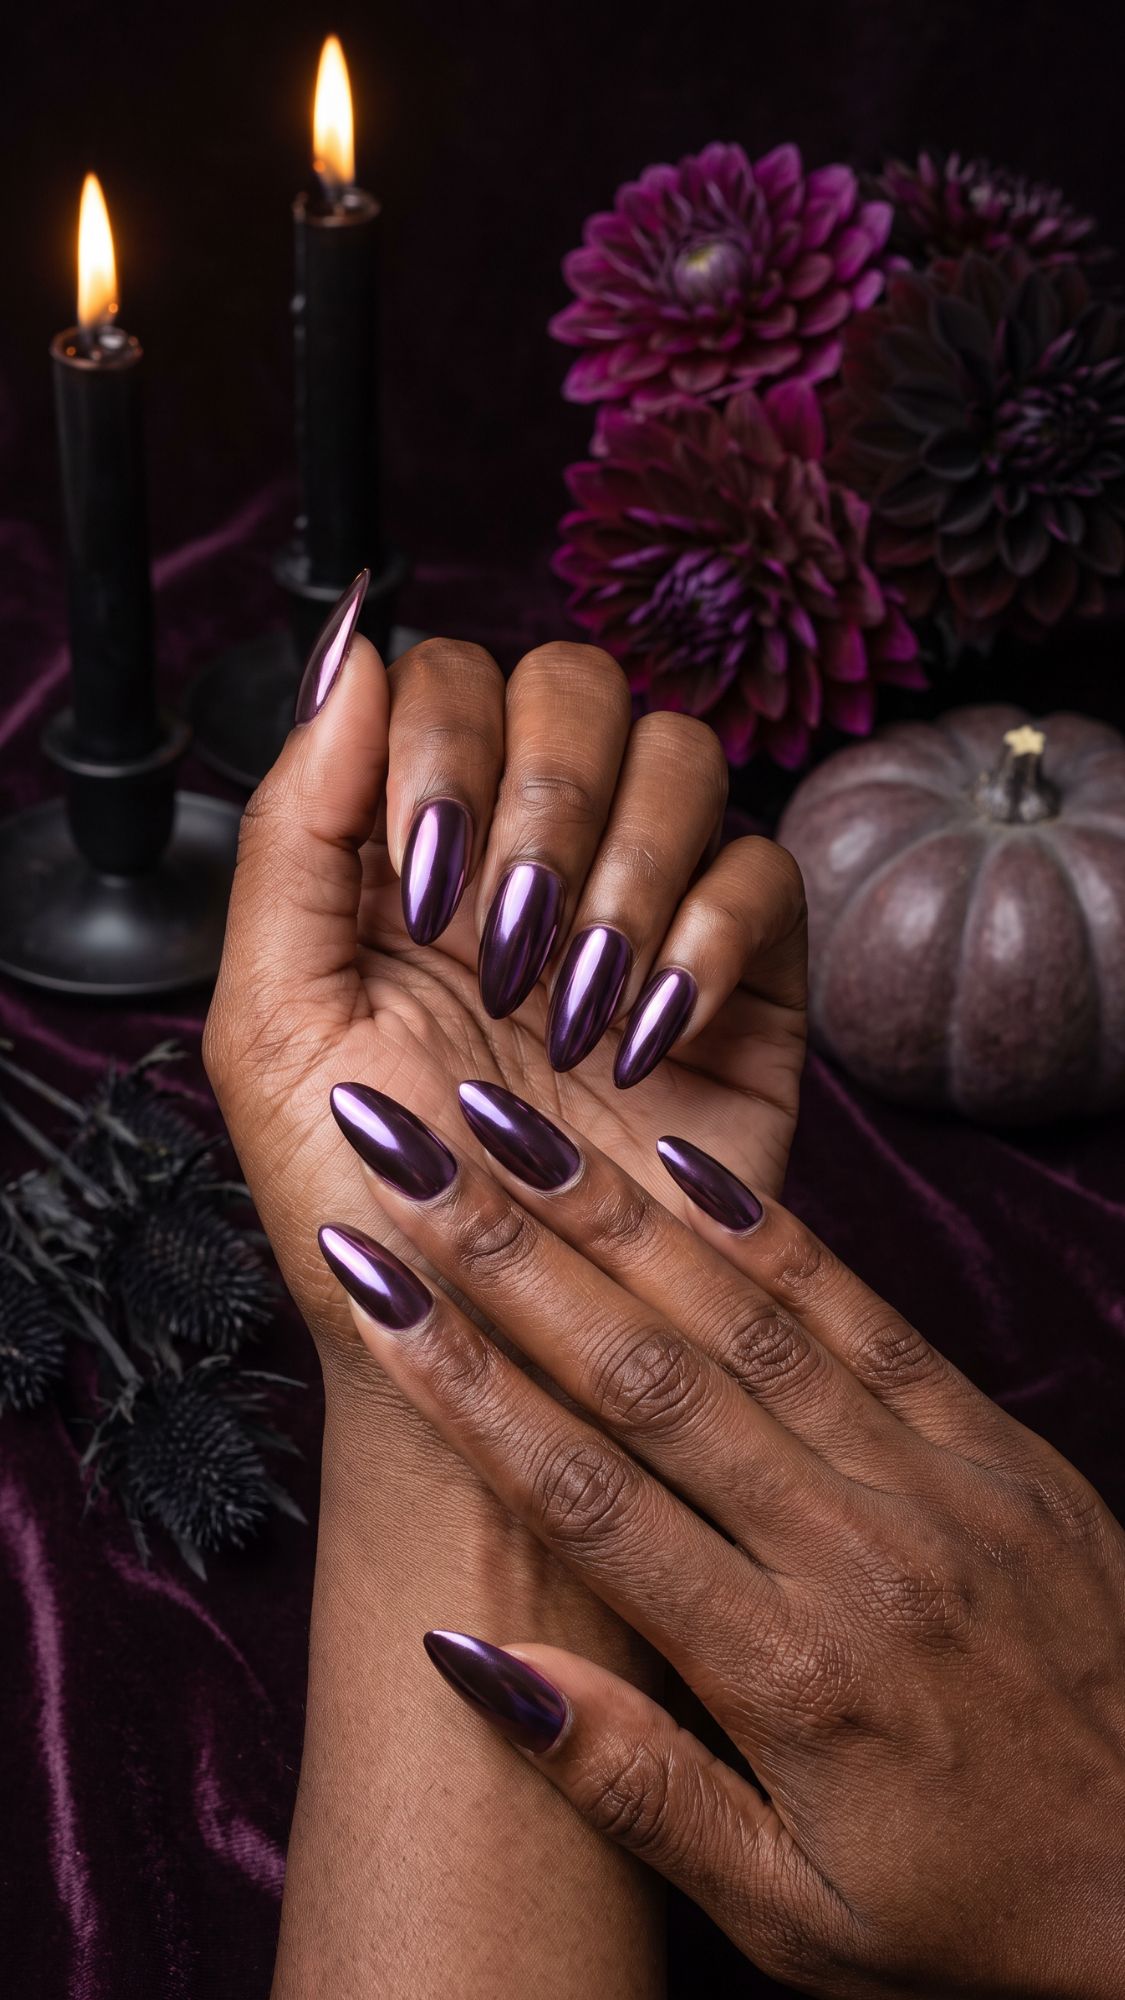
19. Almond acrylics in deep chrome plum. Shape plus finish, no motif needed. Best for: acrylic. Technique note: chrome over a dark base reads completely differently to chrome over nude, so do not swap the base and expect the same result.
20. Long almond in matte black with glossy tips. Two finishes, one color, and it looks far more expensive than it is. Best for: long almond. Technique note: tape off the tips before the matte coat goes on.
21. Smoky ombre from cream at the cuticle to black at the tip. A slow blend that rewards patience. Best for: any length. Technique note: a makeup sponge, dabbed rather than dragged, and expect three passes before it looks right.
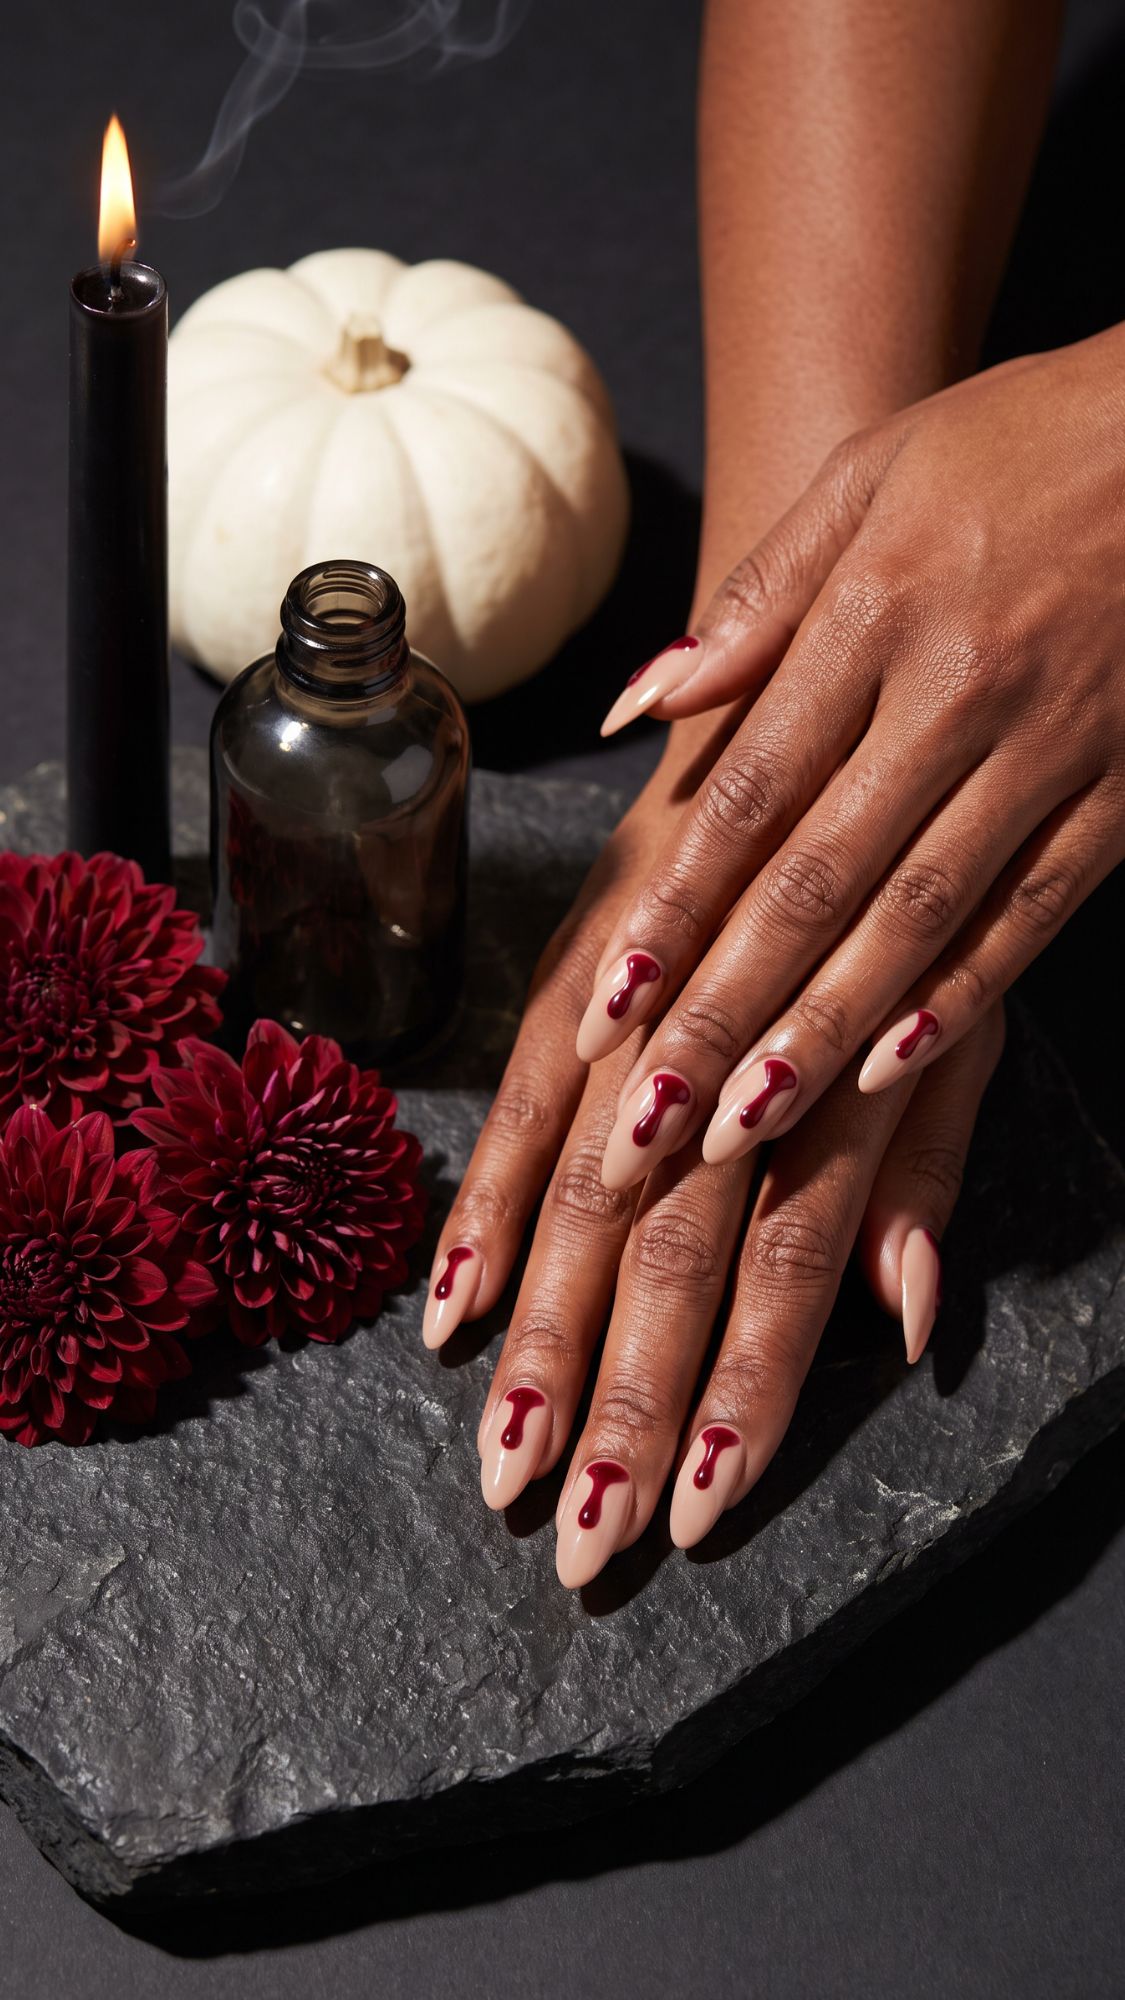
22. Blood-drip tips over a nude base. The horror-nails signature, and the one design here that genuinely reads scary. Best for: medium to long. Technique note: vary the drip lengths, because matching drips look fake immediately.
23. Oxblood almond with a nude cuticle gap. That gap is what makes it look like a salon did it. Best for: almond. Technique note: the gap should follow the cuticle curve, not sit straight across.
24. Checkerboard in rust and cream on two accent nails. Retro, graphic, and it photographs beautifully. Best for: square. Technique note: thin striping tape laid in a grid, two passes, and only on two nails or it gets loud.
25. Cream base with a single hand-painted black cat silhouette. Sitting, not arched, because the arched cat is where this tips into clip art. Best for: medium square, you need the surface area. Technique note: hardest design in this post, IMO. Practise on a nail wheel before you touch your actual hand.
Twenty Minutes Or Less: Easy Halloween Nails
Five designs for the night-before reader who has already decided she is not doing anything complicated.
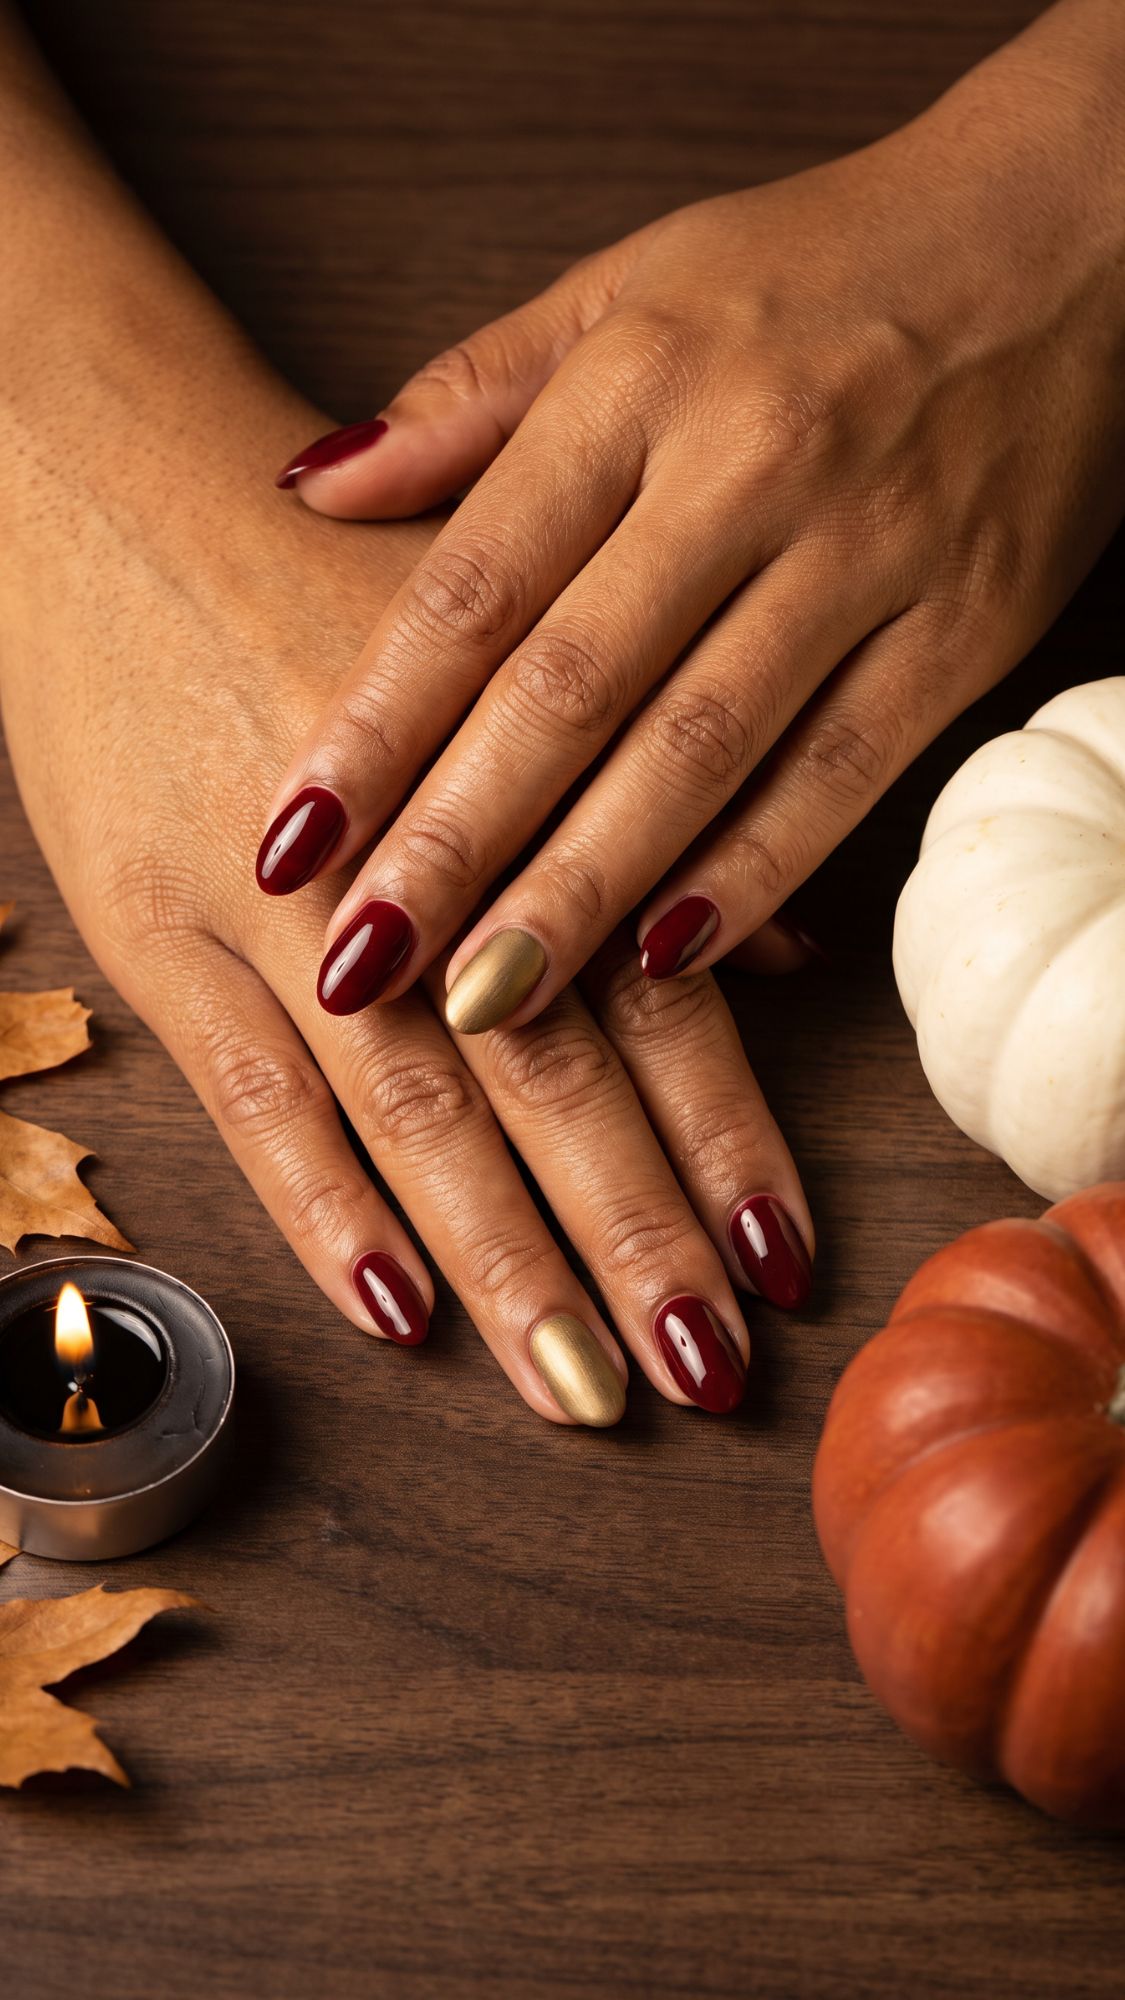
26. Oxblood set with one matte gold accent nail. No motif, just a metal break on the ring finger. Best for: short almond. Technique note: fastest design in the whole post, and it still looks deliberate.
27. Nude set with a tiny hand-painted crescent moon on one nail. Not spooky, just unmistakably October. Technique note: one confident brush stroke, and stop there.
28. Cream set with a small black bat silhouette near the cuticle. Placed off-center, low on the nail. Technique note: the off-center placement is the only reason this reads elegant instead of novelty.
29. Taupe set with a thin spiderweb in one corner only. Technique note: corner placement means three lines total, not a full web, which is why it takes two minutes.
30. Cream base with small scattered black stars across three nails. Playful and still tidy. Technique note: a dotting tool, or honestly the rounded end of a bobby pin.
Not gonna lie, if none of these appeal and you have twenty minutes, a good press-on set gets you a full-glam look with no skill required and there is zero shame in it.
Shade Guidance Across Skin Tones
This is the section most Halloween roundups skip entirely, and it is written as fact about how color behaves rather than as a list of things anybody should avoid.
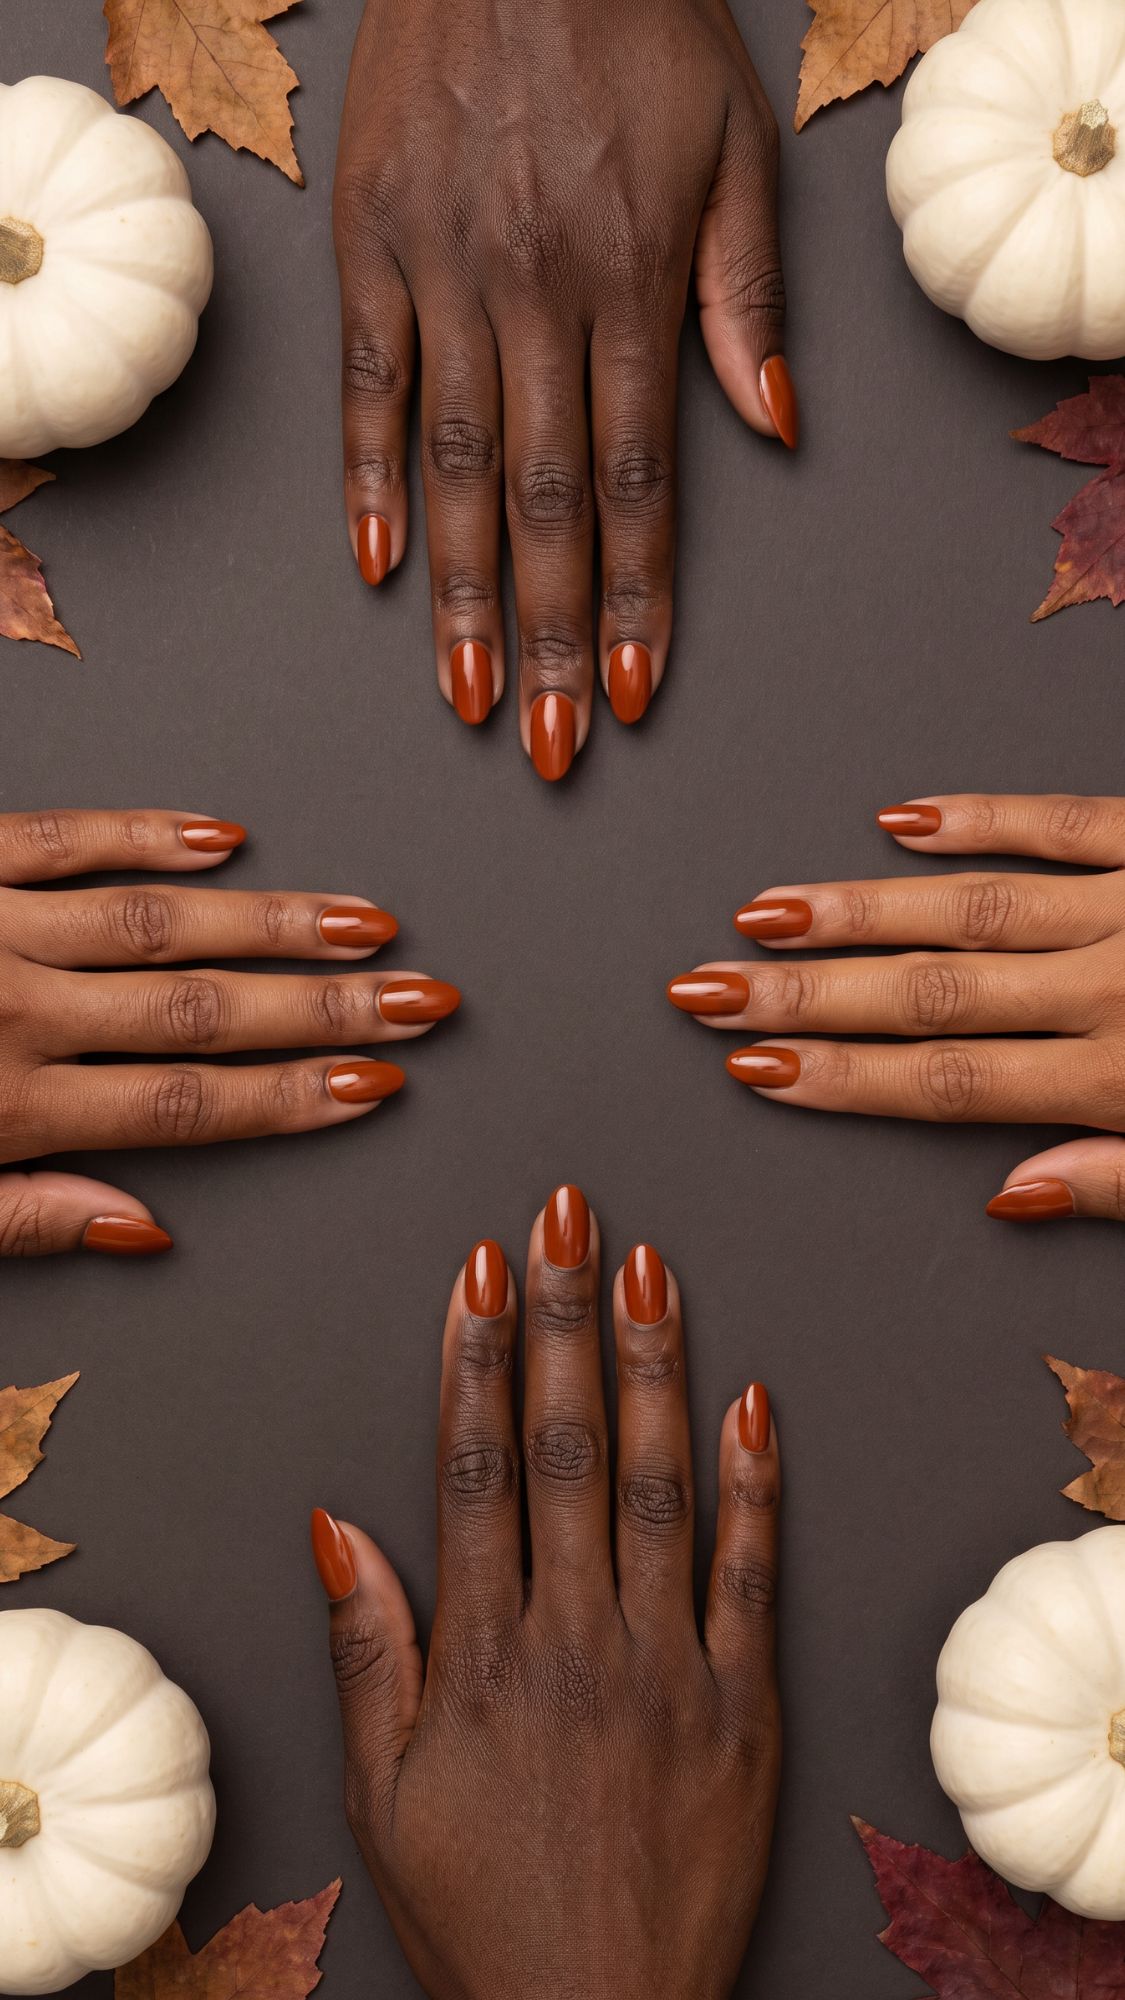
True orange goes muddy on deeper skin and reads flat on very fair skin. Burnt orange, rust and terracotta hold their saturation across the entire range, which is exactly why every orange in this post is a burnt or a rust orange. That is not a compromise, it is simply the better pigment.
True black flatters universally. Off-black does not. Charcoal and very dark gray pick up whatever undertone sits beside them, and against warm brown skin they can go slightly muddy. If you want a softer black, reach for deep plum or oxblood rather than a gray-black.
Chrome and metallics shift the most across undertones, which is why two people can wear the same bottle and get different results. Warm chromes in copper, bronze and gold read rich against golden and red undertones. Cool chromes in silver and pewter read sharper against neutral and cool undertones, and they can go slightly gray against deep warm skin. Copper chrome is the safest metallic across the widest range of tones, so start there if you are guessing.
Sheers are the highest-risk finish in the whole category. A milky sheer that looks soft and expensive on fair skin can disappear completely on deeper skin, or read ashy. Tinted sheers work far better than milky ones on deeper tones, so a sheer plum or a sheer black over almond gives you the effect without the wash-out.
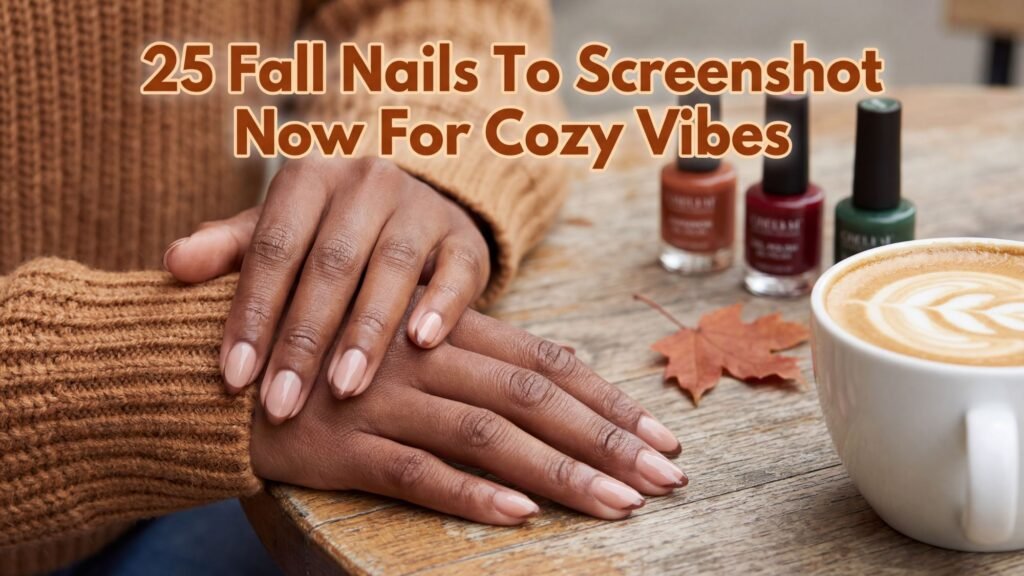
The shades that consistently do the most work on deeper skin: rust, oxblood, deep plum, copper chrome and pewter. The two that most often fall flat: true orange and pastel purple. If you want more of this thinking applied to a whole season, fall nails to screenshot now for cozy vibes runs on the same logic.
Pick By The Time You Actually Have
Twenty minutes: anything from the easy group, or a single accent nail borrowed from the office group. Designs 26 through 30 all land here comfortably.
An hour: the office and elegant groups in full. Designs 1 through 17 fit without rushing, assuming you prepped properly.
An afternoon: the full glam group, or a salon appointment if you are going the acrylic route. Designs 18 through 25.
No time and no steady hand: press-ons, and this is the honest answer for a lot of people. A good press-on set at full glam length genuinely looks better than a rushed freehand attempt at midnight.
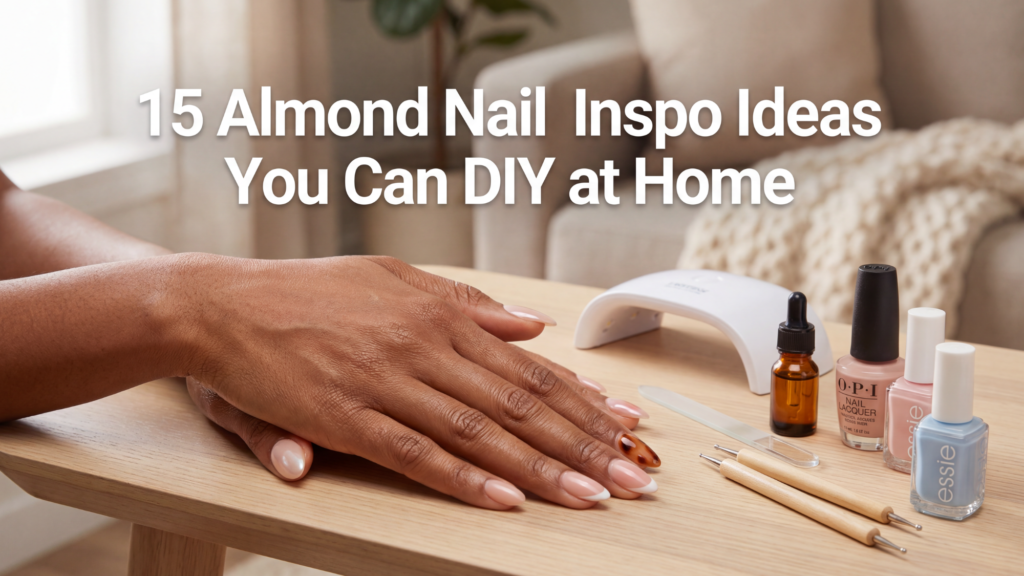
If short is your default rather than your compromise, short nails that look effortlessly elegant covers the shapes that flatter, and almond nails that flatter every hand does the same for almond.
The Ones That Photograph Better Than They Wear
Three designs here look extraordinary in a close-up and behave differently at conversational distance. Worth knowing before you commit an afternoon to one.
The tone-on-tone spiderweb, design 16. Genuinely stunning in macro. From two feet away it reads as a plain black nail, which might be exactly what you want at work, but it is not what the photo promised you.
The checkerboard, design 24. Photographs beautifully flat-on. In motion the small squares blur into a texture rather than a pattern, so it loses its graphic punch the second your hand moves.
The blood-drip tips, design 22. Striking in a photo, and heavily dependent on lighting in person. Under office fluorescents the drips can read as a chip rather than a design, which is a very different look.
Removal, Especially Glitter And Chrome
Scraping is what damages the nail, not the polish. The foil method is the only removal worth using: acetone on a cotton pad, wrapped in foil, ten minutes, then the product should slide off under gentle pressure. If it resists, wrap it again rather than forcing it.
Chrome and glitter need longer than most people expect, usually closer to fifteen minutes, because the top coat sealing them is the layer actually resisting the acetone. Rushing that is how you take a layer of nail plate with it.
Give your nails about a week afterwards, low-key the most skipped step in the whole process. Cuticle oil daily, a strengthener if the nail feels thin or bendy, and skip the next set entirely if you see any lifting at the base. If a nail stays painful, discolored or separated from the bed after a set, that is a nail technician or a doctor question, not a polish question.
Frequently Asked
Will Halloween nail designs work on short nails? Most of them are better on short nails. The office group and the easy group were both chosen with short and square shapes in mind, and only the acrylic designs genuinely need length.
Do I need a UV lamp for these? Only for the chrome designs and the acrylic sets. Every other design in this post works with regular polish and a good top coat.
What if my workplace has a strict dress code? Take any nude, taupe or oxblood base from the office group and skip the accent nail entirely. Designs 1 and 3 pass in almost any professional setting.
Which Halloween nail colors work best on deeper skin tones? Rust, oxblood, deep plum, copper chrome and pewter all hold their richness on deeper skin. True orange and pastel purple are the two shades that most often fall flat.
What if I have no steady hand for nail art? Striping tape, French guide stickers and a dotting tool cover most of it. Between those three tools, only designs 22 and 25 genuinely require freehand control.
How early can I wear Halloween nails? Late September onward. The neutral, oxblood and rust sets carry through November without looking out of season, which is more than you can say for a full ghost manicure.
Will dark polish stain my nails? It can, particularly oxblood and true black. A base coat prevents staining entirely, and it is worth the extra two minutes every single time.
The Range Is The Whole Point
Halloween nails are not one look, and treating them as one is why most people end up with either nothing or a full costume. Somewhere between a single matte black accent and a set of blood-drip acrylics is the version that actually fits your week.
Start at whichever end of the range you can genuinely commit to tonight. You can always add an accent nail later. Taking one back off on a Monday morning is the harder direction.