Ever wondered how to give your handmade creations that smooth, ceramic-like finish without expensive supplies? You’re holding the key to elevating your craft game using items already in your toolkit. Let’s explore how simple household materials can unlock professional results.
Imagine sealing your artistic visions with a customizable solution that guards against wear while adding depth to colors. We’ll show you how to mix accessible ingredients into protective coatings that make pieces look polished and gallery-ready. No kiln required—just creativity and everyday basics.
This guide reveals multiple methods to suit different skill levels and project needs. You’ll discover how to:
– Choose between quick-drying options or layered effects
– Adjust transparency and sheen for varied aesthetics
– Troubleshoot common issues like cloudiness or brush marks
Whether you’re preserving delicate details or aiming for that handmade-meets-luxury vibe, these techniques adapt to your vision. Ready to turn every creation into a conversation starter? Let’s make magic happen—one brushstroke at a time.
Introduction to DIY Glaze for Air Dry Clay
Discover how everyday materials can transform humble creations into polished treasures. This versatile medium lets you craft jewelry dishes, wall hangings, or miniature sculptures—all hardening naturally without specialized tools. What truly elevates these pieces? A protective coating you mix yourself, tailored to your artistic vision.
Overview of Air Dry Clay Projects
This material’s magic lies in its simplicity. You can shape delicate leaves one day and chunky coasters the next. Unlike traditional ceramics, there’s no waiting weeks for kiln firing—your kitchen counter becomes the studio. Finished pieces become canvases for metallic accents, matte finishes, or translucent layers that catch the light.
Purpose and Benefits of a DIY Glaze
Homemade coatings solve three common struggles: fragility, dull surfaces, and color fading. By blending accessible ingredients, you create:
- A shield against scratches and moisture
- Custom opacity levels from whisper-thin to richly saturated
- Texture options like glossy slickness or subtle grip
Imagine adjusting a recipe’s sheen while sipping morning coffee. That’s the joy of personalized protection—your hands shape both the art and its armor. Plus, you avoid commercial products’ chemical smells and limited color ranges. Your signature style stays front and center, from first mold to final touch-up.
Understanding Air Dry Clay: Properties and Potential
Unlocking the secrets of this material starts with its porous personality—that’s where the magic happens. Unlike oven-baked ceramics, your creations harden through evaporation, leaving microscopic tunnels in their structure. These tiny pathways become your best ally when applying protective coatings.
That initial glaze layer? It’s not sitting on the surface—it’s diving deep. The material drinks up your first application like thirsty soil, creating a bonded base for future coats. This absorption means quicker drying times and fewer brushstroke ghosts haunting your finish.
Here’s the beautiful twist: imperfections become opportunities. Uneven coverage? The texture helps blend inconsistencies into organic variations. Missed a spot? Subsequent layers fill gaps while maintaining adhesion. You’re working with a medium that collaborates with your creative process rather than fighting it.
While water resistance has limits, the trade-offs empower experimentation. Apply sealants over days as inspiration strikes—no kiln deadlines looming. Those same pores that prevent complete waterproofing allow customized opacity levels. Build up translucent washes or go bold with saturated hues that grip the surface like velvet.
Remember: every fingerprint and tool mark tells your story. The material’s natural grip captures these details while your homemade coatings preserve them. It’s not about replicating factory perfection—it’s about celebrating the handcrafted charm that makes each piece uniquely yours.
Why Varnish Air Dry Clay? Benefits and Necessity
Your creations deserve more than temporary admiration—they need armor against daily wear. A quality varnish does more than shine; it becomes your artwork’s invisible guardian. Let’s explore how this simple step transforms fragile items into heirloom-worthy treasures.
Protecting Your Finished Piece from Chipping
Every fingerprint left in raw material tells a story—until chips erase chapters. Varnish fills microscopic pores, creating a flexible shield that absorbs knocks instead of cracking. Think of it as bubble wrap you can’t see but always feel.
Unprotected surfaces develop weak points where handles meet cups or edges brush against shelves. Your coating bonds these stress zones, distributing pressure evenly. Those coffee table bookends? They’ll survive enthusiastic pet tails and toddler hands.
Enhancing Color and Texture
Watch acrylics sing under light as varnish intensifies their depth. What was flat becomes dimensional—like switching from matte to high-definition. Uneven brushstrokes? They melt into smooth gradients under strategic layering.
| Aspect | Unvarnished | Varnished |
|---|---|---|
| Color Depth | Muted | Vibrant |
| Surface Feel | Chalky | Silken |
| UV Resistance | Fades in 6 months | Lasts 3+ years |
| Scratch Resistance | Easily marked | Requires sharp force |
Sunlight becomes an ally instead of a foe. Pigments stay true beside windows where unsealed pieces yellow. The transformation? It’s like discovering your art through new eyes—every time you glance at it.
DIY Glaze for Air Dry Clay Recipe
What if your kitchen cupboard held everything needed for gallery-worthy finishes? This three-ingredient formula turns basic supplies into a protective coating that outshines store-bought options. You’ll create pieces that feel expensive—without the boutique price tag.
- 1 bottle clear nail polish (entire contents)
- 2 tbsp clear craft glue
- 3 tbsp bottled water
Combine them in a glass jar—plastic might warp from the polish’s chemicals. Stir slowly with a popsicle stick until the mixture transforms from cloudy to translucent. Patience pays off here; those initial clumps vanish around the 90-second mark.
Double the batch for large sculptures? Absolutely. The 1:2:3 ratio scales perfectly—just maintain proportions. Color enthusiasts, stir in acrylic paint one drop at a time. Achieve soft watercolor washes with a quarter teaspoon, or go bold with two full squeezes from the tube.
Test your blend on clay scraps first. Thin layers dry in 20 minutes, letting you build depth without stickiness. Notice tiny bubbles? They pop naturally as the coating levels itself—no frantic brushing required. Your finished pieces will gleam like they’ve been dipped in liquid glass.
Essential Ingredients and Supplies for Your Glaze
Transform ordinary household items into professional-grade sealants with these must-have components. You’ll be surprised how basic supplies create finishes rivaling art-store products—no specialty shopping required.
List of Required Materials
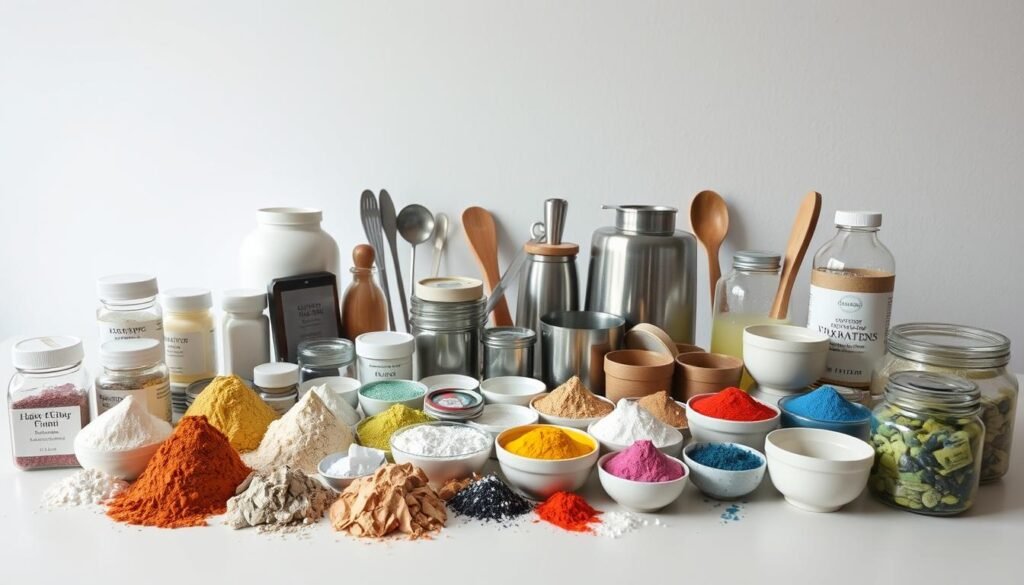
Your toolkit starts with three heroes: clear nail polish for shine, craft glue for adhesion, and filtered water for consistency. Add acrylic paint if you crave color depth. Grab a glass bowl (plastic warps!) and wooden craft sticks—they’re mixology wizards for blending without clumps.
Brand loyalty pays off here. Elmer’s Clear School Glue resists yellowing, while AmazonBasics Liquid Glue offers budget-friendly performance. Both play nice with nail polish chemicals. Keep cotton swabs nearby for quick cleanups—dried glaze becomes stubborn fast.
Tool Recommendations for Smooth Application
Your brush choice determines finish quality. Foam options glide like silk over curved surfaces, eliminating streaks. Detail work? Reach for angled acrylic brushes—their precision tips navigate crevices better than GPS.
Pro tip: Dedicate specific brushes to clear vs. tinted mixtures. Cross-contamination clouds transparent finishes. Store them bristle-up in mason jars between coats to maintain shape. Suddenly, achieving glass-like surfaces feels less like magic and more like smart prep.
Step-by-Step Preparation and Mixing Techniques
Mixing magic happens when three simple liquids unite in your workspace. The right sequence turns basic components into a flexible coating that preserves your art’s personality while adding professional polish.
Combining Glue, Clear Nail Polish, and Water
Start by emptying a full bottle of clear nail varnish into a glass container—its chemical base creates the perfect foundation. Add two tablespoons of craft glue next, letting it mingle with the polish before introducing water. This order prevents separation issues later.
Here’s why technique matters:
| Stage | Visual Clue | Action Required |
|---|---|---|
| Initial Mix | Cloudy with lumps | Stir slowly for 2 minutes |
| Mid-Process | Streaky texture | Scrape bowl sides |
| Final Blend | Silky flow | Test on scrap clay |
Add water one tablespoon at a time—it transforms thickness without diluting strength. Those first clumps? They vanish around the 90-second mark if you keep swirling. Your patience rewards you with a self-leveling solution that glides onto surfaces like liquid confidence.
Pro tip: Use bottled water to avoid mineral deposits. Tap water’s additives can create unexpected textures in your homemade protective coating. When the mixture drips smoothly off your stir stick, you’ve achieved the Goldilocks zone—not too thick, not too runny.
Layering Techniques for a Durable Glaze
The secret to museum-quality finishes lies in your layering strategy. Unlike painting walls, this process demands precision and restraint—every stroke determines whether your piece becomes a masterpiece or a sticky mess. Let’s break down the science of smart coating.
First Coat Fundamentals
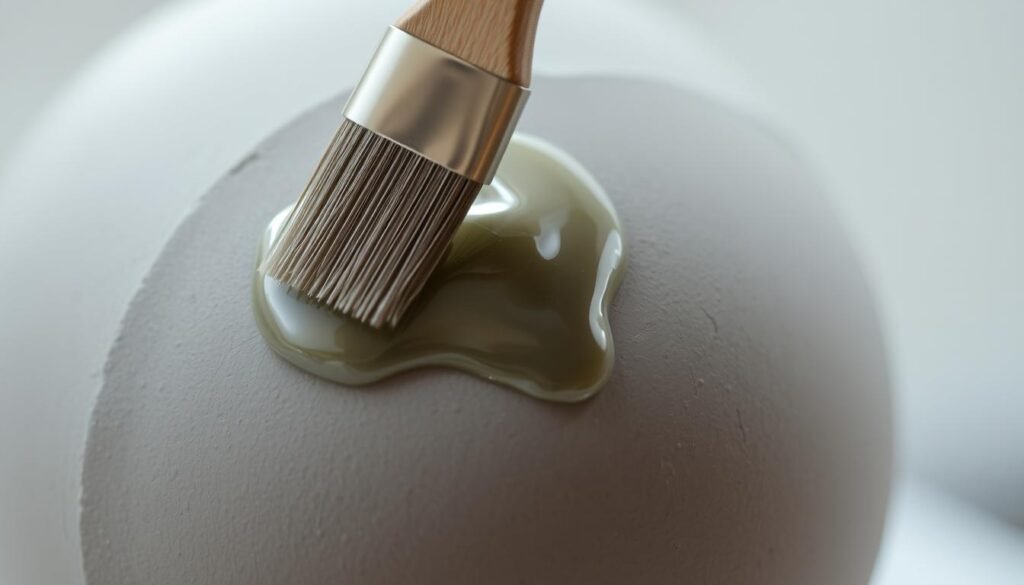
Your initial application acts like liquid archaeology—it preserves every fingerprint and texture. The porous surface drinks this thin layer instantly, locking in details while creating a stable base. Watch as brushstrokes vanish into the material’s thirsty embrace.
Crafting Depth Without Drama
Three coats deliver the sweet spot between protection and practicality. Each addition should feel like adding polish to nails—thin, even, and fully dried between rounds. Exceed this limit, and you’ll battle tackiness that laughs at hair dryers.
| Technique | Purpose | Result |
|---|---|---|
| Thin Application | Prevents pooling | Even drying |
| Cross-Direction Brushing | Eliminates streaks | Professional smoothness |
| 90-Minute Intervals | Ensures curing | No cloudiness |
Timing transforms amateurs into experts. Wait until surfaces lose their cool-to-the-touch feel—about 20-30 minutes in average humidity. Rushed layers trap moisture, creating foggy patches that mock your haste.
Pro tip: Rotate your piece between coats. This ensures edges and curves get equal love, preventing thick buildups in crevices. Your final glossy finish will reflect light like still water, hiding all evidence of your strategic patience.
Adding Color and Customization to Your Glaze
Your glaze becomes a storyteller when pigments join the mix—transforming protection into personal expression. This stage lets you whisper pastel secrets or shout bold declarations through tinted layers. Mastery comes through playful experimentation and strategic adjustments.
Tips for Tinting with Acrylic Paint
Start with less than you think—pigment strength varies wildly across colors. Yellow often dominates with just half a teaspoon, while pinks play coy until you triple the amount. Use an eyedropper for surgical precision, building intensity drop by drop.
Acrylic paint behaves like a moody collaborator. Warm tones tend to overpower, while cool shades blend seamlessly. Always mix in a separate container first—your main batch stays pure for clear coatings.
Testing for Desired Opacity and Effects
Scrap clay pieces become your laboratory. Apply test swatches in daylight to see true color relationships. Thin washes create stained-glass translucency; thicker applications offer velvet-like coverage.
Notice how some hues reach full opacity in two coats? Others demand four layers to hide brushstrokes. Adjust ratios based on these trials—your perfect formula lives between patience and persistence. Every tweak inches you closer to that “yes, that’s exactly it” moment.

