Let’s talk about unleashing your inner artist—no experience required. Imagine transforming blank canvases into vibrant expressions of your unique perspective. That’s exactly what we’re diving into today.
Acrylics are a beginner’s best friend. They dry quickly, mix effortlessly, and let you layer colors without frustration. You’ll love how forgiving this medium is when experimenting with textures or fixing “happy accidents.”
This guide isn’t about replicating museum masterpieces. It’s about finding joy in swirling pigments and discovering how you see the world. We’ll walk through techniques that feel more like play than work, helping you create pieces that spark conversation in your home studio or office.
Here’s the secret: Every pro artist started right where you are. What matters isn’t perfection—it’s showing up, brush in hand, ready to explore. By the end of our time together, you’ll have a toolkit of approaches that make creating feel natural (and downright fun).
Ready to turn “I can’t draw a stick figure” into “Look what I made!”? Let’s begin.
Introduction: Unleash Your Creativity with Easy Acrylic Painting Ideas
Ever felt that spark to create something beautiful but didn’t know where to begin? That’s the magic of picking up a brush—it turns “I can’t” into “What if I tried?” faster than you’d expect.
This art form thrives on curiosity, not expertise. Forget complex rules or pricey tools. A basic set of supplies—brushes, canvas, and pigments—is all you need to make marks that feel authentically yours. The real secret? Those smudges and drips you might stress over often become your work’s most memorable details.
Why does this medium click for newcomers? Three reasons:
- Colors blend like whispers, letting you adjust as you go
- Quick-drying layers mean instant gratification
- Vibrant results pop even with simple techniques
I’ve seen corporate execs and busy moms alike light up when their first sunset sketch comes alive. It’s not about replicating Van Gogh—it’s about that moment when you step back and think “I made this exist.”
Your kitchen table can become a studio today. Your “mistakes” will teach you more than any tutorial. And that blank canvas? It’s not judging—it’s waiting.
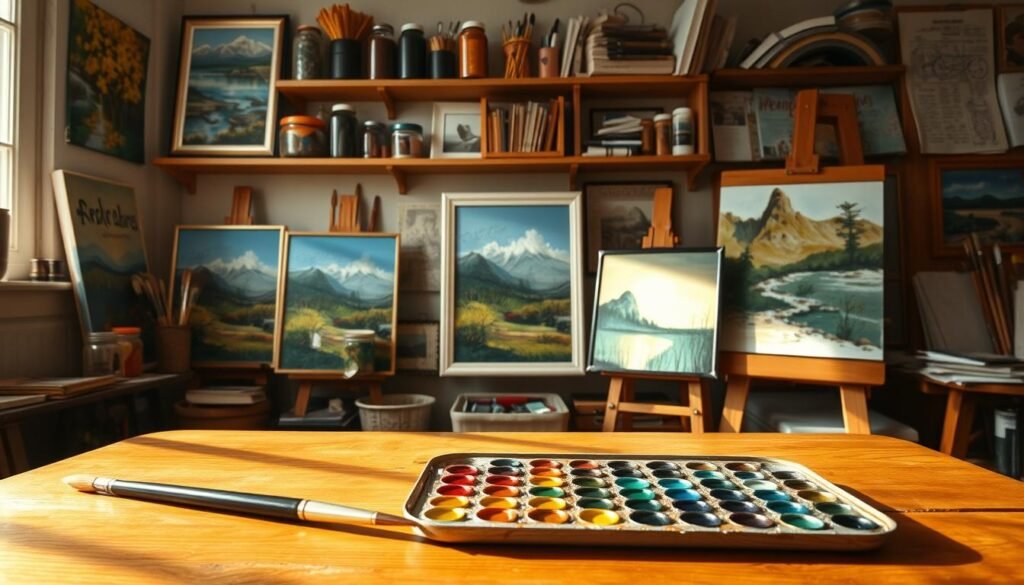
Gathering Your Materials for Acrylic Painting
Picture this: your first brushstroke gliding across a fresh surface—no art degree required. Building your toolkit feels exciting, not intimidating, when you focus on purpose over perfection. You’ll be surprised how few items unlock endless creative possibilities.
Essential Supplies
Start with these workhorses that handle 90% of artistic needs. Quality here matters more than quantity—think reliable basics rather than overflowing shelves.
| Item | Purpose | Pro Tip |
|---|---|---|
| Canvas boards | Sturdy, warp-resistant surface | 9×12″ size offers flexibility |
| Primary-color paints | Mix any hue imaginable | Add titanium white for opacity |
| Round & flat brushes | Versatile stroke creation | Size 6 & 8 cover most needs |
| Plastic palette | Color mixing hub | Use parchment paper for easy cleanup |
Optional Tools for Enhanced Creativity
These extras add flair once you’ve mastered fundamentals. Treat them like spices—a little goes a long way.
| Tool | Creative Boost | Budget Swap |
|---|---|---|
| Fan brush | Soft cloud effects | Flick a dry toothbrush |
| Palette knife | Bold texture layers | Old credit card edge |
| Retarder medium | Slows drying time | Spritz water lightly |
Remember: Your local dollar store often carries suitable jars, plates, and cloths. The magic happens when your hands meet the materials—not from having every gadget.
Choosing the Perfect Acrylic Painting Idea
What if your first brushstroke could spark a creative breakthrough? Your initial concept acts as both compass and cheerleader—guiding your hands while celebrating small wins. Let’s find your ideal launchpad.
Geometric Patterns vs. Detailed Subjects
Geometric patterns let you focus on clean lines and bold shapes. You’ll master brush control without stressing over tiny details. Detailed scenes? Save those for when you’re craving complexity.
| Feature | Geometric Patterns | Detailed Subjects |
|---|---|---|
| Focus | Brush precision | Observation skills |
| Time Investment | 1-2 hours | 3+ hours |
| Skill Level | Confidence builder | Advanced practice |
Why Go Big With Your First Subjects
Large-scale elements like sunflowers or mountain ranges give your arm room to dance. You’ll learn color relationships faster when working with generous spaces. Bonus? Mistakes blend into the background effortlessly.
Stick to 3 core colors—maybe ultramarine blue, cadmium yellow, and quinacridone magenta. These mix into vibrant secondaries without turning muddy. Pro tip: Paint your favorite coffee mug. Familiar shapes become forgiving teachers.
Abstract interpretations trump realism for new creators. A stylized ocean wave teaches layering techniques better than photorealistic water. Remember—your enthusiasm fuels progress more than any technical perfection ever could.
Techniques to Build Your Confidence in Acrylic Painting
Mastering core skills turns uncertainty into artistic flow. Start by visualizing your canvas as a layered story—sky peeks through trees, mountains anchor the horizon, details pop in front. This background-to-foreground approach gives every stroke purpose.
Ever painted a wobbly line? Good. Those “flaws” become texture when you layer colors. Apply thin coats first—they dry fast and let you adjust. Build opacity gradually instead of wrestling with thick globs. Three thin layers beat one messy attempt every time.
Try these brush moves to level up:
- Drag flat bristles sideways for smooth skies
- Tap rounded tips to suggest leafy clusters
- Scrape a dry brush edge for bark textures
Wet pigment blends like sunset hues. Dry paint creates crisp outlines. Alternate between both to control your effects. Made a mark you hate? Let it dry. Paint over it tomorrow—no witness, no crime.
Confidence grows when you focus on progress over polish. Each session teaches color relationships and composition tricks. Your fifth piece will surprise you more than your first. That’s how skill works—quietly, steadily, one step at a time.
Creating Impactful Backgrounds with Blending Techniques
Your canvas becomes a stage when backgrounds steal the show. Think of them as the supporting actor that makes your main elements shine brighter. The magic happens when pigments dance together—soft edges merging, hues whispering secrets.
Layering Colors for Depth and Opacity
Start with lighter tones—like lemon yellow or sky blue—applied in feathery strokes. These base layers act as your canvas’s heartbeat. Add richer shades gradually, letting each coat dry just enough to hold its shape. Three thin layers beat one thick glob for luminous results.
Work quickly while pigments stay wet. Horizontal strokes create serene skies, while diagonal swipes suggest breezy meadows. Clean brushes between hues—this simple act keeps your mixtures crisp. For atmospheric effects, try the wet-on-wet method: dab fresh paint over damp areas for seamless transitions.
Struggling with muddy colors? Rinse tools thoroughly and blot excess water. Pro tip: Keep a spare brush for dark tones to avoid accidental mixing. If gradients feel rough, let them dry completely before glazing over with translucent washes.
Discover how acrylic background approaches transform ordinary scenes into emotional landscapes. Even uneven blends add character—what looks imperfect up close often mesmerizes from three feet away. Your background isn’t just a setting—it’s the story before the story.
Incorporating Easy Acrylic Painting Ideas into Your Home Decor
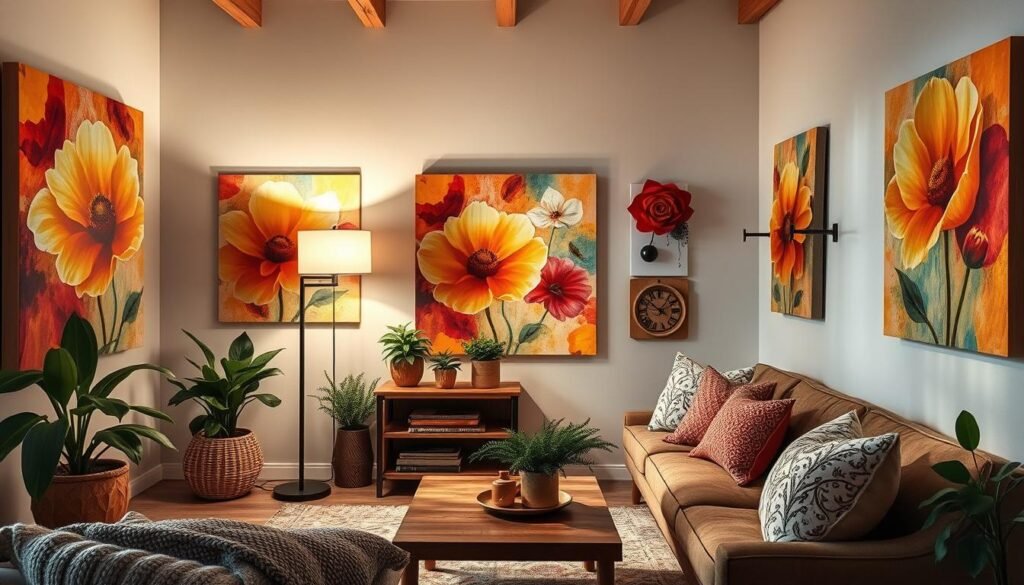
Your walls crave stories only you can tell. Those colorful strokes you create? They’re not just pigment on fabric—they’re personality-infused statements ready to elevate your space.
Handmade pieces become conversation starters. A trio of abstract canvases above your desk radiates creativity. Oversized botanical studies in the entryway whisper “welcome” to guests. Every brushmark carries intention, turning blank walls into visual autobiographies.
Try these placement strategies:
- Cluster 5-7 small works for dynamic gallery walls
- Float one bold statement piece above mantels
- Lean framed studies on bookshelves for casual charm
Match colors to room moods. Soft sage and lavender in bedrooms create sanctuaries. Kitchens pop with citrus tones and herb-green accents. Pro tip: Snap phone pics of your room’s color palette before mixing paints.
Custom sizes solve design dilemmas. Can’t find art for that awkward nook? Stretch a 14×18″ canvas exactly where light hits your favorite chair. Your original creations fill spaces mass-produced prints never could—with heart-shaped imperfections and joy-filled textures.
The beauty? When your style evolves, so can your walls. Swap coastal scenes for geometric abstracts as seasons change. Each new piece reflects your growth—a living portfolio that makes your house undeniably yours.
Drawing Inspiration from Past Painting Projects
Your creative evolution lives in the brushstrokes you’ve already made. That half-finished landscape from last summer? It holds clues to your emerging style. Revisiting older works helps you spot patterns—like how you instinctively layer cerulean over burnt sienna or favor organic shapes.
Learning From Unexpected Teachers
That “failed” floral study taught you more than any tutorial. Maybe the petals bled into strange new forms—forms you now intentionally recreate. Mishaps become mentors when you approach them with curiosity. Keep a digital gallery of your pieces to track breakthroughs.
| Old Approach | New Insight | Creative Impact |
|---|---|---|
| Strict color matching | Mood-driven palettes | Emotional resonance |
| Precise outlines | Expressive brushwork | Dynamic energy |
| Single sessions | Layered revisions | Rich textures |
Color & Shape Experiments That Spark Joy
Try this: Repaint a familiar subject using only three hues. Notice how limitations fuel innovation. Circular compositions might suddenly feel “right,” while angular designs energize your workspace. Your hands remember what your mind forgets—trust those instincts.
Artists grow through repetition with variation. That rubber duck sketch transformed into a vibrant canvas? That’s inspiration in action. Each piece feeds the next, creating a visual diary of your journey. What whispers from your past projects deserve amplification today?
Step-by-Step Painting Techniques for Realistic Effects
What if every brushstroke could build toward gallery-worthy results? Tutorials act as your trusted roadmap—they break intimidating processes into bite-sized victories. Think of them as having a patient mentor whispering “Try this next” over your shoulder.
Start with foundational steps: sketch lightly, block in base colors, then refine details. Many artists swear by the “fat over lean” rule—thicker layers atop thinner ones prevent cracking. This methodical way of working lets you correct course without panic.
Discover how household items unlock textures. A crumpled paper towel dabbed in burnt umber creates rustic stone effects. Dry brushing with an old makeup sponge adds weathered wood grain. These clever workarounds make professional techniques feel accessible.
Struggling with depth? Build translucent glazes. Mix a drop of water with pigment and layer like stained glass. Each coat intensifies hues while preserving underlying details—a game-changer for luminous skin tones or misty horizons.
Your way forward? Embrace the learning spiral. Revisit favorite guides with fresh eyes. Celebrate small victories when that tricky leaf shape finally clicks. Remember—every master was once mesmerized by their own first convincing shadow.

