You’ve got that spark of inspiration – that urge to make your space feel uniquely magical this season. Let’s turn everyday materials into conversation-starting decor that radiates warmth and personality. No fancy tools or expensive supplies needed.
This guide reveals clever ways to design eye-catching pieces even if you’ve never held a glue gun. We’ll explore elegant ribbon techniques, rustic wood accents, and modern tablescapes that adapt to your style. Each idea includes stress-free steps and pro shortcuts learned from years of trial-and-error.
Picture transforming dollar store finds into heirloom-quality ornaments. Imagine guests admiring your handmade centerpiece while cocoa warms their hands. These activities aren’t just about decorations – they’re memory-making sessions wrapped in glitter and laughter.
You’ll find options matching different skill levels, all designed to fit busy schedules. We prioritize repurposing items you already own, keeping costs low without sacrificing charm. Ready to create something that outshines store-bought decor?
Introduction: Celebrating the Joy of DIY Holiday Crafts
There’s something special about filling your home with decorations that carry your creative fingerprint. When you make seasonal pieces yourself, you’re not just designing decor – you’re weaving memories into every stitch and brushstroke. This year, let your space radiate the warmth of hands-on creativity.
Handmade creations connect us to traditions older than glittered store-bought ornaments. Your grandmother’s cookie tin recipes, your uncle’s woodshop innovations – these projects continue that legacy. You’ll find rhythm in repetitive tasks like tying bows or arranging pinecones, creating moments of calm during the bustling season.
Why choose DIY? Three reasons stand out:
- Personalized style: Match decorations to your existing color scheme or theme
- Mindful moments: Transform stress into focus while painting or assembling
- Shared laughter: Turn crafting nights into memory-making with friends
That ornament you nearly dropped in the glue? It becomes next year’s funny story. The mismatched garland? A beloved quirk that makes your home distinctly yours. These creations evolve into living albums of your growth – each piece marking time through changing techniques and tastes.
Essential Tools and Materials for Holiday DIY Projects
The right toolkit transforms random supplies into cohesive designs that reflect your style. Whether you’re following a detailed tutorial or experimenting with new ideas, quality materials elevate every creation.
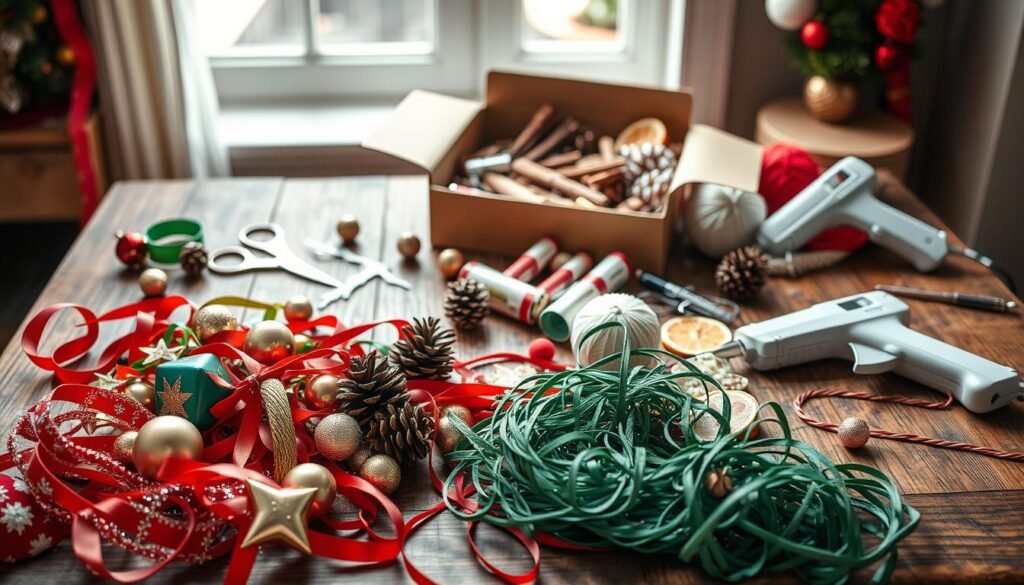
Must-Have Tools and Supplies
Start with these versatile basics:
- Adhesive MVP: Low-temp glue guns prevent burns while securing ribbons
- Precision cutters: Fabric scissors + craft knives handle delicate materials
- Textured surfaces: Mix matte and metallic paints for dimensional effects
Stock up on neutral bases like muslin fabric and untreated wood slices. They adapt to any color scheme through simple painting techniques.
Budget-Friendly Options and Sourcing Tips
Build your stash smartly with these strategies:
| Store Type | Best For | Pro Tip |
|---|---|---|
| Dollar Stores | Ribbon spools | Check wedding aisles for metallic varieties |
| Thrift Shops | Unique frames | Spray paint unifies mismatched pieces |
| Online Groups | Bulk materials | Search “destash craft supplies” locally |
Repurpose household items creatively. Old baking sheets become magnetic display boards, while mismatched buttons transform into whimsical garland accents. Remember: The best way to shop is with intention – buy neutral bases first, then add seasonal flair through removable elements.
christmas crafts adults diy projects
Elevate your seasonal styling with designs that balance sophistication and approachability. Discover pieces that transition effortlessly from mantel displays to thoughtful hostess gifts – each carrying your distinctive touch without shouting “holiday” year-round.
Mercury glass votives crafted from thrifted jars offer timeless elegance, while hand-stitched leather ornaments add organic texture. These home accents blend modern lines with nostalgic elements – think geometric wire trees adorned with vintage button “snow”.
Material choices matter. Combine linen ribbons with metallic-edged greenery for subtle shimmer. Repurpose old sweaters into textured stockings using our no-sew tutorial. The magic lies in intentional contrasts:
| Style | Material Pairing | Technique |
|---|---|---|
| Farmhouse | Burlap + Copper | Stenciled numbers |
| Minimalist | Felt + Brass | Asymmetric shapes |
| Traditional | Velvet + Birch | Embossed details |
Time-sensitive? Try our 15-minute napkin ring project using repurposed belt buckles. For weekend warriors, layered resin coasters capture winter botanicals in glossy perfection. As one maker notes: “The pieces you create become extensions of your aesthetic voice.”
These durable designs withstand seasons while evolving with your taste. Start with simpler patterns to build muscle memory, then experiment with mixed-media approaches. Before long, you’ll develop signature techniques that friends beg you to teach at next year’s gathering.
Ribbon Wreath and Tinsel Techniques for a Sparkling Decor
Your front door deserves a welcoming statement that reflects your style. Discover how simple materials like satin ribbon and tinsel can transform ordinary wreaths into dazzling focal points – no advanced skills required.
Step-by-Step Ribbon Wreath Tutorial
Start with a 12-inch wood form and gold satin ribbon (1.5 inches wide works best). Cut 40-50 strips at 8 inches each using sharp fabric scissors. Pro tip: “Angle your cuts to prevent fraying,” advises designer Mike Garten.
Knot each strip tightly around the form, spacing them ½ inch apart. Rotate the wreath as you work to maintain even tension. Leave the final strip loose to create an instant hanger. The result? A luxe textured piece that withstands wind and rain.
Tinsel Application and Maintenance Tips
Add sparkle without clutter using these techniques:
- Hold tinsel strands 6 inches above the wreath
- Drape gently rather than wrapping tightly
- Secure ends with clear fishing line knots
Store your creation in a breathable garment bag post-season. This prevents tinsel compression while keeping dust away. Want to continue reading about advanced embellishments? Our seasonal guide reveals how to layer metallic accents for year-round versatility.
Cupcake Liner Ornaments and Poinsettia Projects
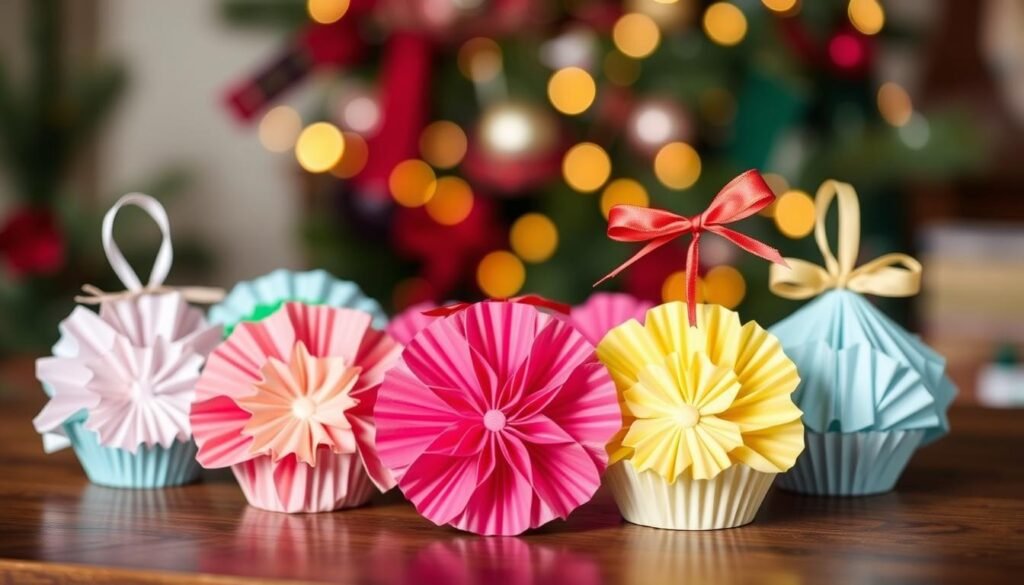
Who knew humble baking supplies could become showstopping seasonal accents? Those fluted paper circles hiding in your pantry hold untapped potential for creating elegant ornaments and botanical-inspired decor. Let’s reimagine their purpose.
Sphere Ornaments Made Simple
Transform basic liners into dimensional treasures with this technique from designer Mike Garten:
- Flatten 10 liners – colored side inward
- Fold each in half, securing centers with adhesive dots
- Layer pieces radially, connecting edges precisely
The magic happens when you connect the final layers. Suddenly, flat circles become lush spheres perfect for your tree. Pro tip: Use metallic liners for instant glamour or patterned ones for playful charm.
These lightweight creations withstand years of use. Hang them individually as focal points or cluster several for dramatic impact. “The secret lies in the glue placement,” Garten notes. “Strategic dots maintain structure without bulk.”
Poinsettia Possibilities
Take your liners beyond the tree with these floral adaptations:
- Fold red liners into quarters – snip petal shapes
- Layer four cut pieces for full blooms
- Affix to gifts, garlands, or napkin holders
Experiment with liner sizes and hues. Mini liners create delicate buds for place cards, while jumbo versions make bold mantel displays. Try ombre effects by graduating pink to crimson layers.
Best part? These projects require zero special tools. That stash of liners you’ve been saving finally has its moment. Ready to continue reading about coordinating garlands?
Innovative Paper Chain Garlands and Creative Wire Options
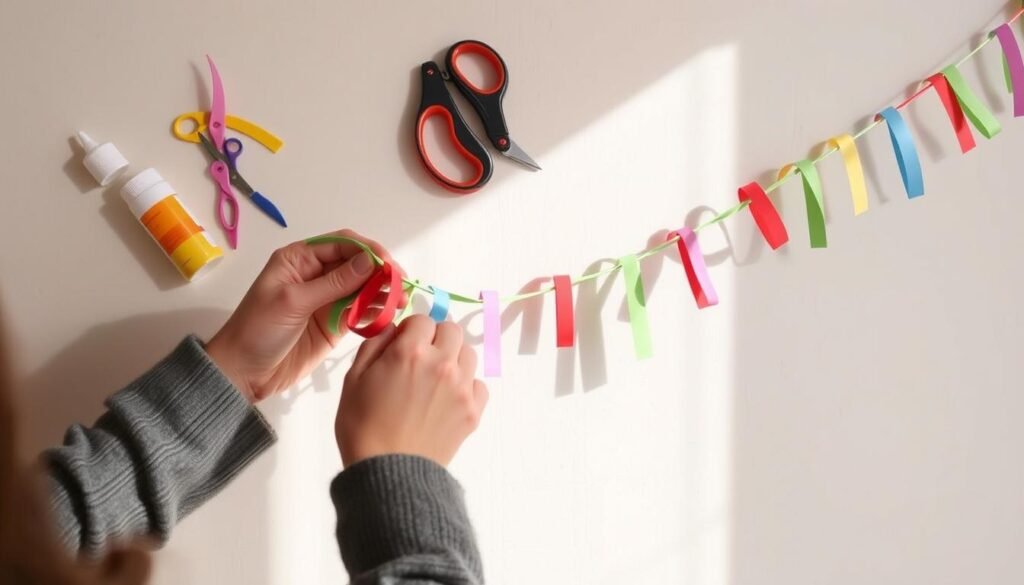
Reinvent a childhood favorite with grown-up flair. Paper chains evolve from simple classroom decorations to sophisticated seasonal accents when you combine intentional design with quality materials. The secret? Strategic variations in loop sizes and paper textures create visual depth that elevates this classic concept.
Start with three essential supplies: wrapping paper rolls, sharp scissors, and a mini stapler. Designer Mike Garten recommends cutting strips in alternating 3×6″ and 3×4.5″ sizes. This design secret breaks monotony while maintaining structural integrity. Glossy metallics catch light beautifully, while textured craft paper adds organic warmth.
Using Craft Paper and Staples for Dynamic Garlands
Master the art of tension control for professional results. Hold strips taut without stretching as you staple ends – this prevents sagging over time. Thread each new loop through the previous one at a 45-degree angle for better drape. Pro tip: “Rotate patterned papers every fifth link to create intentional rhythm,” suggests Garten.
| Paper Type | Best For | Durability |
|---|---|---|
| Glossy Wrapping | Formal Spaces | High |
| Textured Craft | Rustic Themes | Medium |
| Tissue | Delicate Accents | Low |
Mix materials for unexpected contrast. Try layering translucent vellum over bold magazine pages. These personalized touches transform basic chains into conversation-starting displays. Drape them along bookshelves or spiral around stair banisters for maximum impact.
Your holiday decor gains depth when you cluster multiple garlands in coordinating hues. Start with neutral bases, then add metallic strands for shimmer. Remember – imperfect spacing adds handmade charm. These creations prove simple techniques yield stunning results when executed with care.
Citrus-Inspired Orange Clove Pomanders and Natural Scents
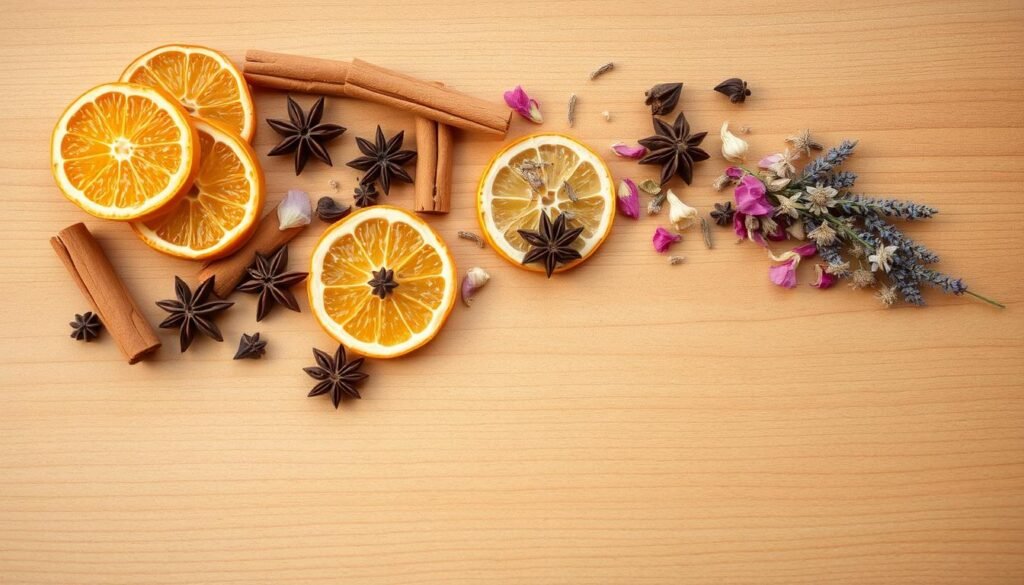
Your home deserves decorations that delight multiple senses—starting with fragrance. These aromatic pomanders blend visual charm with spicy-sweet aromas, creating instant warmth in any space. Best part? You likely have everything needed in your kitchen right now.
Choose firm citrus fruits like navel oranges or grapefruits for lasting results. Designer Mike Garten recommends: “Use a toothpick to create starter holes—prevents clove stems from snapping while pushing through thick rinds.” Arrange cloves in spirals, stars, or freeform patterns—each design becomes a temporary tattoo of scent.
Different citrus varieties offer unique benefits:
| Citrus Type | Scent Profile | Best Use |
|---|---|---|
| Oranges | Sweet + Spicy | Entryway bowls |
| Lemons | Bright + Zesty | Kitchen counters |
| Grapefruits | Earthy + Rich | Living room displays |
Preserve your creations by rolling them in cinnamon or orris root powder. This traditional method extends their life through the season. Cluster several pomanders in a wooden bowl for holiday gatherings—they’ll perfume your home while sparking conversations about ancient customs.
Want to continue reading about advanced techniques? Our tutorial reveals how to dry these natural air fresheners for year-round use. Simply hang them in cool, dark areas until hardened—they’ll retain 80% of their original fragrance when stored properly.
Modern Decor: Starburst Tree Toppers and Mason Jar Crafts
Your seasonal displays deserve that final touch of brilliance – let’s create it together. These two designs blend nostalgic charm with contemporary simplicity, proving stunning results require minimal effort. Perfect for last-minute upgrades or intentional weekend projects.
DIY Starburst Tree Topper Tutorial
Transform a basic styrofoam ball into a retro masterpiece using toothpicks and glitter. Designer Mike Garten’s method ensures uniform spikes: “Mark quadrants with pencil first – like sectioning an orange.” Dip picks in adhesive before inserting them at ½-inch intervals. Finish with a gold spray mist for subtle shimmer.
Snowy Mason Jar Centerpieces with Mod Podge and Salt
Turn empty jars into frosty vignettes in minutes. Brush Mod Podge onto glass surfaces, then roll in kosher salt for realistic snow texture. Add pinecones or berries for pops of color. This blogger’s step-by-step tutorial reveals how to secure delicate twigs without drooping.
Pro tip: Cluster multiple jars at varying heights for dynamic tablescapes. Use battery-operated tea lights to illuminate your creations safely. These pieces transition seamlessly from holiday gatherings to winter-long displays – simply swap seasonal accents monthly.

