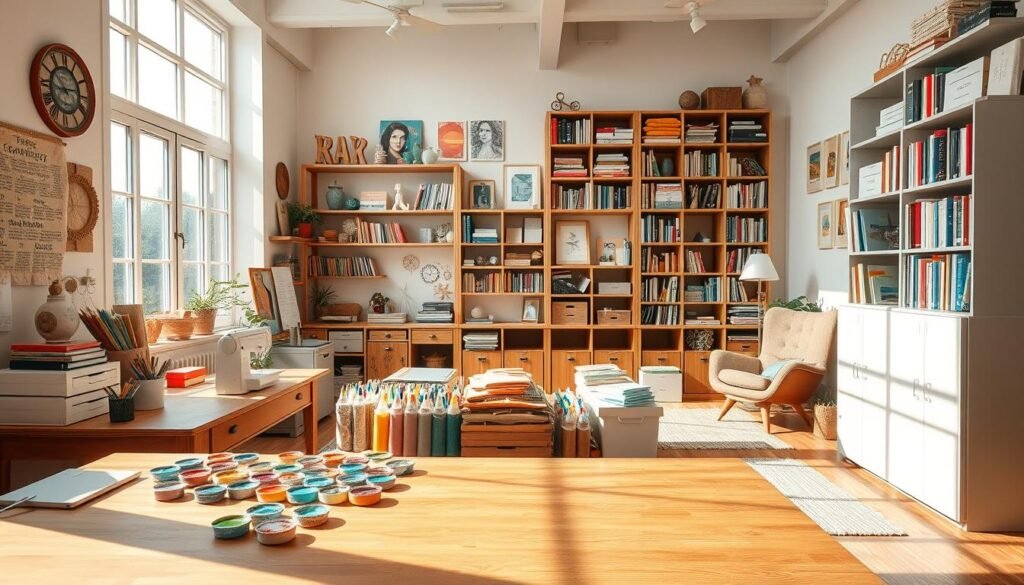
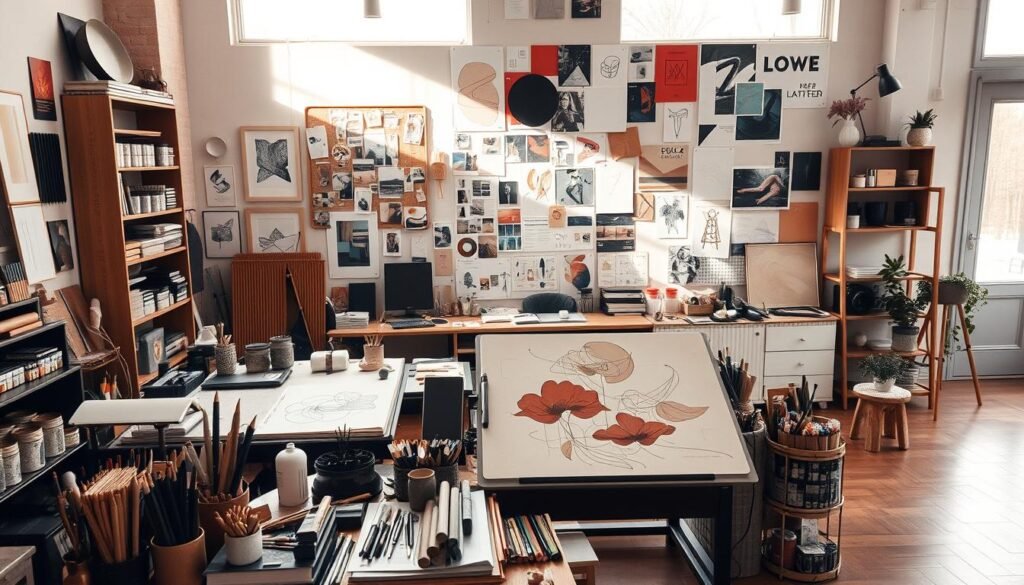
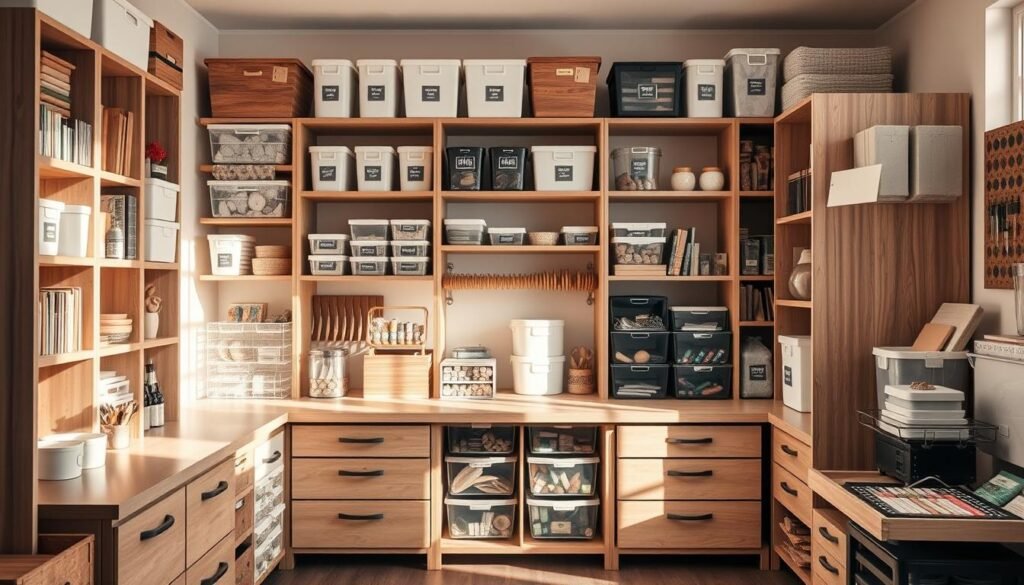
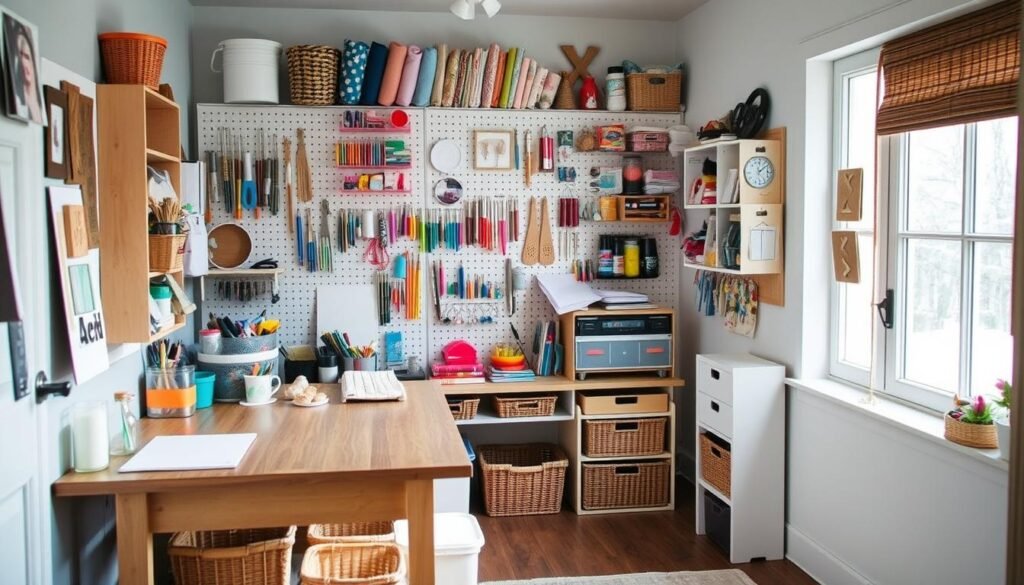
Ever dreamed of a spot where your DIY projects come alive without tripping over supplies? A dedicated creative zone isn’t just about glue guns and fabric scraps—it’s where your imagination gets its own VIP lounge. Whether you’re painting mugs or designing holiday cards, this space becomes your personal playground for turning “what ifs” into “look what I made!”
You don’t need a magazine-worthy studio to start. That awkward nook under the stairs? Perfect. A repurposed closet? Even better. What matters is creating an area that feels like yours—where every organizer bin and pegboard whispers, “Let’s make something amazing today.”
We’ll show you how smart storage solutions and clever layouts can transform even the tiniest corner. Imagine having everything within reach yet still looking Instagram-ready when you step back to admire your work. Bonus? These hubs double as homework stations or gift-wrapping headquarters when life gets busy.
Ready to build your creative command center? From budget-friendly hacks to multipurpose setups, you’ll discover how to design a space that grows with your skills—no fancy tools or endless square footage required. Let’s turn that “someday” vision into your new favorite room.
Introduction: Embracing Craft Room Ideas
What if your creative sessions didn’t start with a 20-minute scavenger hunt for supplies? A designated work zone transforms scattered efforts into focused flow. Imagine scissors that stay sharp because they’re not doubling as kitchen shears, or paints that don’t mysteriously vanish from your dining table.
The Power of Creative Territory
Your brain lights up differently when you enter an area designed solely for making. Like putting on noise-canceling headphones for your thoughts, this separation helps you dive deeper into projects. No more explaining glue gun drips on the coffee table to guests!
Where Efficiency Meets Joy
Ever abandoned a half-finished mosaic because tidying up felt overwhelming? Permanent setups let ideas simmer between sessions. That intricate embroidery stays stretched on its hoop, and your Cricut remains plugged in – ready for whenever inspiration strikes.
These environments become mental greenhouses where skills blossom. You’ll spend less time hunting for tape rolls and more time watching Pinterest dreams become reality. Plus, leaving projects undisturbed means tackling ambitious designs without the Sunday night pack-up rush.
Inspiring Design Concepts for Your Craft Space
What if your workspace could spark joy before you even pick up a brush? Design magic happens when contrasting styles collide. Let’s explore how to blend textures and tones that fuel your imagination while keeping supplies within arm’s reach.
Modern Meets Farmhouse Charm
Pair industrial metal carts with weathered wood shelves for that lived-in studio vibe. Sliding barn doors save space while adding rustic character—perfect for hiding messy projects when guests arrive. Try floating acrylic organizers against reclaimed worktables. They keep tools visible without cluttering your view.
Color Alchemy for Creative Flow
Soft sage greens promote focus during detailed work, while coral accents spark energy for brainstorming sessions. Test bold patterns on one wall using removable wallpaper—it’s commitment-free drama. For functional flair, try chalkboard paint on cabinet fronts. Jot down measurements or doodle quick ideas without hunting for paper.
Your Story on Display
Turn finished projects into rotating gallery displays. Mount embroidery hoops above your desk or hang macramé planters holding scissors and rulers. Vintage thread spools from Grandma’s sewing box make charming pen holders. These personal touches transform sterile areas into spaces that whisper, “This is where magic happens.”
Lighting seals the deal. Mix adjustable task lamps with string lights in glass jars. When your favorite playlist hums through wireless speakers and sunlight dances across organized supplies? That’s when creative sparks turn into roaring fires.
Maximizing Storage and Organization Strategies
Imagine opening a drawer to find exactly what you need—no digging required. Smart storage turns chaotic spaces into productivity powerhouses. Let’s explore systems that grow with your creative journey while keeping essentials at your fingertips.
Utilizing Adjustable Shelving and Cabinets
Adjustable shelves adapt faster than your project moods. Start with metal tracks and movable brackets—they let you reconfigure heights for tall paint bottles or bulky fabric bolts. Built-in cabinets with glass fronts showcase colorful supplies while hiding less photogenic tools.
Vertical units save floor space without sacrificing capacity. Try stacking shallow cabinets above work surfaces. They’re perfect for storing small items like embroidery floss or jewelry findings. Label each shelf’s edge with removable vinyl strips for quick identification.
Innovative Storage Solutions for Small Items
Clear compartment boxes reveal contents at a glance—no more shaking containers to guess what’s inside. Use them for beads sorted by color or buttons arranged by size. Magnetic strips transform knife holders into scissor displays. Bonus? They keep sharp blades safely out of reach.
| Solution | Best For | Pro Tip |
|---|---|---|
| Adjustable Shelves | Changing project needs | Leave 2″ between shelves for flexibility |
| Clear Bins | Visible organization | Group by project type |
| Vertical Cabinets | Wall space optimization | Install near work zones |
| Drawer Dividers | Small item containment | Use foam inserts for custom shapes |
Repurpose old filing cabinets for flat supplies. Legal-size drawers hold 12×12 scrapbook paper vertically—finally, a system where you can see every pattern. Zone-based storage keeps glitter far from glue guns, preventing accidental sparkle explosions during serious projects.
Essential craft room ideas for a Creative Hub
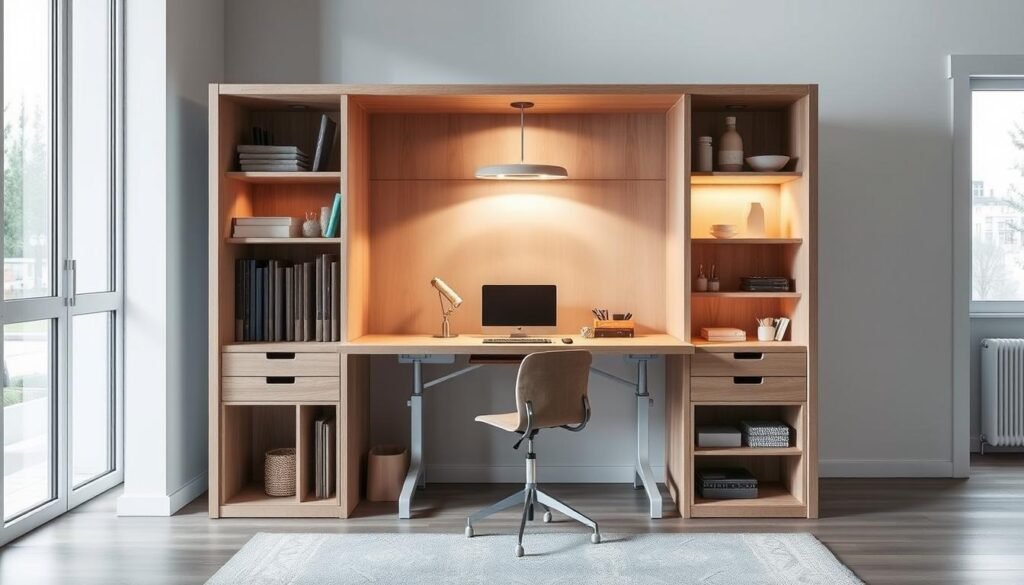
Picture this: Your scissors stay sharp in their designated spot, and that half-finished quilt isn’t competing with dinner plates. The right worktable becomes your creative command center—think 36” depth for spreading fabric or laying out scrapbook pages. L-shaped configurations maximize corner space while leaving room for rolling carts that glide supplies to your side mid-project.
Task lighting matters more than you’d think. An adjustable arm lamp eliminates eye strain during intricate beadwork or late-night calligraphy sessions. Pair it with an ergonomic stool—something that supports your back without sacrificing style. As one DIY enthusiast put it: “Comfort isn’t a luxury when you’re crafting memories.”
Don’t overlook these essentials:
- Mobile drawers that tuck under tables yet roll out for paint station setups
- Power strips mounted beneath work surfaces for instant gadget access
- Mix of clear jars (for inspiration) and labeled bins (for sanity)
IKEA’s discontinued Galant system remains a Craigslist treasure—its modular legs and tops adapt to any skill level. Pro tip: Add non-slip shelf liner to keep rulers and cutting mats from sliding during enthusiastic crafting moments. Your future self will thank you when every supply has a home—and your creativity has room to roam.
Budget-Friendly Craft Room Ideas
Who says stylish storage requires a designer budget? Your creative zone can shine without draining your wallet—it’s all about strategic sourcing and clever upcycling. That chipped dresser from a garage sale? Perfect for storing yarn skeins. Those mismatched kitchen jars? Instant bead organizers.
Transform outdated furniture into functional gems. Sand and paint a $20 thrift store cabinet to house sewing supplies—add chicken wire panels for farmhouse charm. Use tension rods inside cabinet doors to hang ribbons or measuring tapes. One maker shared: “My grandmother’s silverware tray now organizes my embroidery needles by size—sentimental and practical.”
Skip pricey store-bought systems. Hardware store brackets paired with sanded plywood create custom shelving for half the cost. Clear shoe organizers become wall-mounted supply caddies—see every marker color at a glance. For small items, repurpose ice cube trays or egg cartons as sorting trays.
Build your space gradually. Invest first in sturdy work surfaces and lighting, then add storage as needs arise. Splurge on a comfy chair, but use painted crates for side tables. When you spot clearance paint samples or discounted fabric remnants, snag them for future projects.
This approach lets you curate a personalized area that evolves with your skills. With patience and creativity, you’ll craft a space that feels luxe—even if the price tags whisper “bargain bin special.”
Innovative Wall Solutions and Displays
Ever wished your walls could work as hard as you do? Vertical surfaces hold untapped potential for organizing tools and sparking creativity. Let’s transform blank expanses into dynamic helpers that store supplies and fuel your projects.
Pegboard and Chalkboard Wall Inspirations
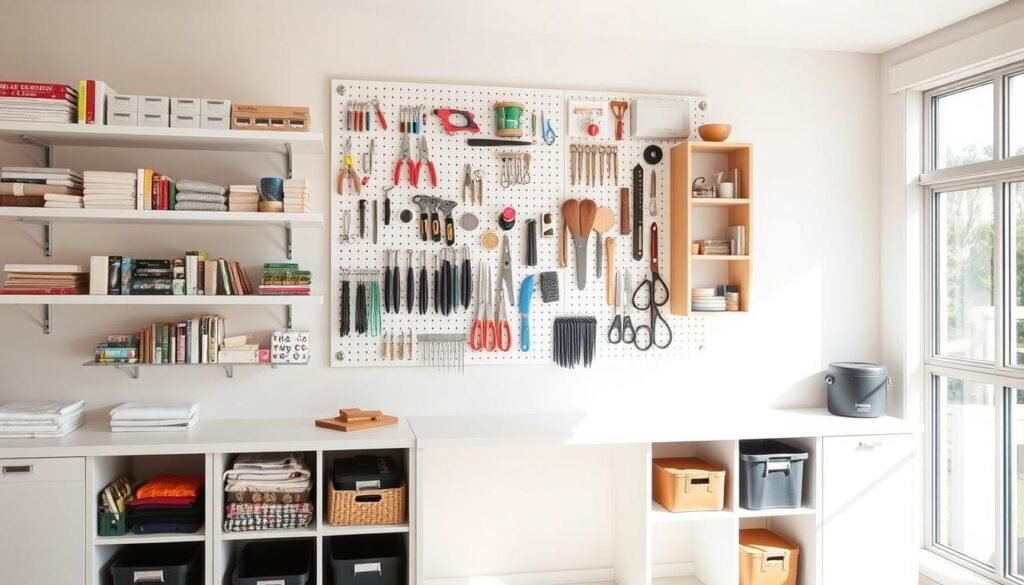
Pegboards turn chaotic collections into curated displays. The secret? Install spacer frames behind them using 1×2 lumber. This creates breathing room for hooks to latch securely. Paint boards in bold hues to match your style—teal for energy or soft gray for calm focus.
Chalkboard walls do double duty. Use them to sketch quilt patterns or jot down thread counts mid-project. Try framing sections with trim for polished look. One maker shared: “My chalkboard wall became our family’s favorite brainstorming spot—kids leave doodles while I plan fabric layouts.”
| Wall Solution | Best Use | Pro Tip |
|---|---|---|
| Pegboard | Tool-heavy projects | Prime before painting |
| Chalkboard | Creative planning | Season with chalk first |
| Magnetic Strips | Metal tools | Install at eye level |
Floating Shelves and Vertical Storage Techniques
Floating shelves keep essentials accessible without clutter. Stagger depths—8” for thread spools, 12” for paint cans. Use L-brackets hidden behind decorative fronts for seamless looks. Pair with innovative wall storage solutions like magnetic spice jars holding pins or nails.
Create zones using different wall treatments. A pegboard area for daily tools, chalkboard section for planning, and gallery wall for inspiration. This visual separation helps transition between tasks while keeping your space organized. Bonus? You’ll never lose the scissors under paper piles again.
Functional Furniture and Portable Stations
Your creative space deserves furniture that works smarter—not harder. Foldable tables disappear like magic when projects wrap up, while expandable surfaces accommodate sprawling fabric cuts or intricate jewelry designs. One artist shared: “My collapsible desk folds against the wall, leaving space for yoga mats by morning and watercolor sessions by night.”
Wheeled carts become mobile command centers—roll paints to natural light or transport sewing kits to comfy chairs. Modular systems adapt as your skills grow: swap out thread organizers for paintbrush holders without rebuilding your entire setup. Popular options include:
- Nesting tables that stack vertically but spread horizontally for group projects
- Ottomans with hidden compartments for yarn storage or gift wrap
- Adjustable-height desks that transition from standing work to seated detail tasks
Ergonomics matter when you’re lost in creative flow. Look for work surfaces at elbow height when seated, and chairs supporting your natural spine curve. A woodworker advised: “Invest in casters that lock—your back will thank you during marathon crafting sessions.” Dual-purpose pieces like benches with built-in tool trays keep supplies handy without clutter.
For shared spaces, consider fold-and-go stations. A vintage suitcase transforms into a portable beadwork kit, while wall-mounted drop-leaf tables create instant work zones. These solutions let you pivot from family dinners to creative bursts faster than you can say “glitter emergency.”
Lighting and Ambience That Inspire Creativity
What if your lighting could boost both focus and imagination? The right blend of illumination transforms your creative zone from functional to magical. Think of it as setting the stage—task lights spotlight your masterpiece-in-progress while ambient glows keep energy flowing.
Balancing Precision and Atmosphere
LED desk lamps with adjustable arms become your detail-work allies. Position them at 10 o’clock (for right-handers) to banish shadows from cutting mats or embroidery hoops. One quilter swears by her setup: “Cool 5000K bulbs make thread matching foolproof during midnight sewing marathons.”
Warm 2700K lighting takes over during brainstorming. Dimmable floor lamps or smart bulbs let you shift from “laser-focused” to “relaxed muse” with a voice command. String lights woven through pegboards add whimsy while highlighting tools.
| Light Type | Best For | Pro Tip |
|---|---|---|
| Task Lighting | Detailed work | Angle at 45° to surface |
| Ambient | Mood setting | Use dimmers for control |
| Decorative | Inspiration boost | Layer multiple sources |
Maximize natural light with sheer curtains, but pair with blackout shades for glare-prone projects. Under-cabinet LED strips illuminate workspaces without cluttering surfaces. A stained-glass lamp owner shared: “Colored light patterns spark new ideas when I’m stuck.”
Smart investments here pay off in eye comfort and creative stamina. You’ll spend less time squinting at stitch counts and more time watching ideas shine—literally.
DIY Projects and Upcycled Craft Elements
What if your creative space could tell its own story through repurposed treasures? Transforming forgotten items into functional craft room essentials adds personality while saving money. Let’s explore how to breathe new life into old materials—your projects deserve character as unique as your ideas.
Repurposing Furniture for a Unique Look
That scratched dresser collecting dust? Prime candidate for conversion. Start by assessing drawers for smooth operation—sanding tracks often fixes sticking issues. Remove a center drawer to create open shelving for paint jars or fabric bolts. One maker transformed a 1970s stereo cabinet into a sewing station by adding pull-out thread racks to its formerly useless vertical slots.
Chalk paint hides imperfections while letting wood grain whisper through. Try ombré techniques on table legs or distress edges for vintage charm. Pro tip: Replace standard knobs with industrial pipes or colorful ceramic pulls. These small changes turn outdated pieces into conversation-starting work surfaces.
Using Reclaimed Wood and Vintage Accents
Barn wood shelves add rustic warmth without the splinters—simply sand lightly and seal with matte polyurethane. Nail crates to walls as cubbies for ongoing projects. For a nostalgic touch, hinge old window frames to cabinet doors, creating see-through panels that showcase organized supplies.
Mason jars get fresh purpose when mounted under shelves with pipe clamps. Fill them with buttons or brushes for instant farmhouse flair. One creative used vintage lunchboxes as portable bead organizers—their divided trays keep colors separated during on-the-go crafting sessions.
Your space becomes richer when elements have history. That chipped door becomes a pegboard. Faded quilts line drawer bottoms. Every scratch tells a story—now they’ll fuel yours.

