Remember the pure satisfaction of creating something with your hands? That magic isn’t reserved for childhood. Modern DIY culture proves hands-on projects offer grown-ups far more than nostalgia—they’re a gateway to mental clarity and personalized style.
Science backs what crafters already know: Engaging in tactile activities lowers cortisol levels by 30% according to recent studies. But here’s the twist—today’s makers blend finger-paint freedom with sophisticated results. Imagine transforming dollar-store supplies into gallery-worthy wall art between Zoom meetings.
You’ll soon discover how simple materials become stress-relieving tools that double as home upgrades. Those origami skills from third grade? They’re now geometric shelf displays holding your succulents. The repetitive motion of knitting becomes meditation with a scarf-shaped payoff.
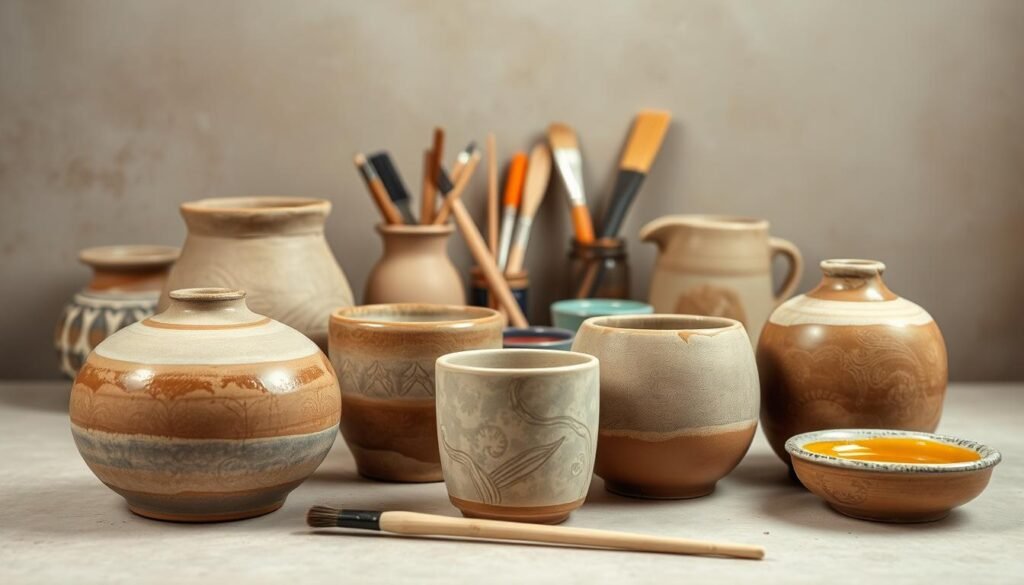
This isn’t about perfection—it’s permission to play while solving real-life needs. Curate a bookshelf with handmade ceramic bookends. Design statement jewelry that sparks conversations at networking events. Every snip of scissors or brushstroke becomes self-care with visible results.
Ready to turn creative sparks into meaningful moments? Let’s explore how intentional making fuels both your space and spirit.
Welcome to Creative Crafting
There’s a special kind of magic in shaping raw materials into something uniquely yours—no permission slip required. Modern makers blend childhood curiosity with grown-up sophistication, turning simple supplies into functional art. This isn’t about recapturing youth, but harnessing its fearless energy in fresh ways.
Rediscover Your Inner Child
Remember how cardboard boxes became castles? That same inventive spark still lives in you—it just needs space to breathe. Adult crafting sessions become playgrounds where perfection takes a backseat to exploration. The clay vase that wobbles? It tells your story better than mass-produced decor ever could.
Why DIY Projects Are Essential for Adults
Tactile creation acts as an antidote to digital overload. Neuroscientists confirm that handling physical materials lowers stress hormones by 30%. Unlike childhood paste-and-glue activities, your current projects solve real needs: handmade organizers tame desk chaos, while woven wall hangings soften sterile spaces.
What makes these endeavors vital? They prove creativity isn’t frivolous—it’s survival. Those “failed” experiments? They’re stepping stones to signature styles that no Pinterest board can replicate.
The Benefits of Crafting for Adults
There’s science behind why your hands crave creative work. Engaging in tactile projects activates neural pathways that screen time can’t replicate—transforming simple materials into both mental wellness tools and personalized home upgrades. Let’s explore how intentional making nourishes your mind and space.
Stress Relief and Mental Health Boost
Your brain gets a double reward during creative sessions. Repetitive motions like knitting or brushstrokes trigger a meditative state, lowering cortisol by 30% according to UCLA research. Simultaneously, dopamine floods your system—nature’s applause for completing tasks. This biochemical combo explains why 68% of makers report improved mood stability after regular sessions.
Enhancing Home Decor on a Budget
Why settle for generic store displays when you can design statement pieces? Hand-painted ceramic vases or macramé plant hangers cost 80% less than boutique items. A recent survey showed DIYers save $412 annually on decor while achieving better style alignment with their spaces.
| Aspect | Store-Bought | Handmade |
|---|---|---|
| Cost | $50+ | $5-15 |
| Personalization | Limited options | Full creative control |
| Therapeutic Value | None | Stress-reducing |
Whether you’re molding clay or arranging dried florals, each project becomes self-care with visible results. The key? Treat these sessions as non-negotiable wellness appointments—your mind and living room will thank you.
Fun Craft Ideas For Adults: Getting Started
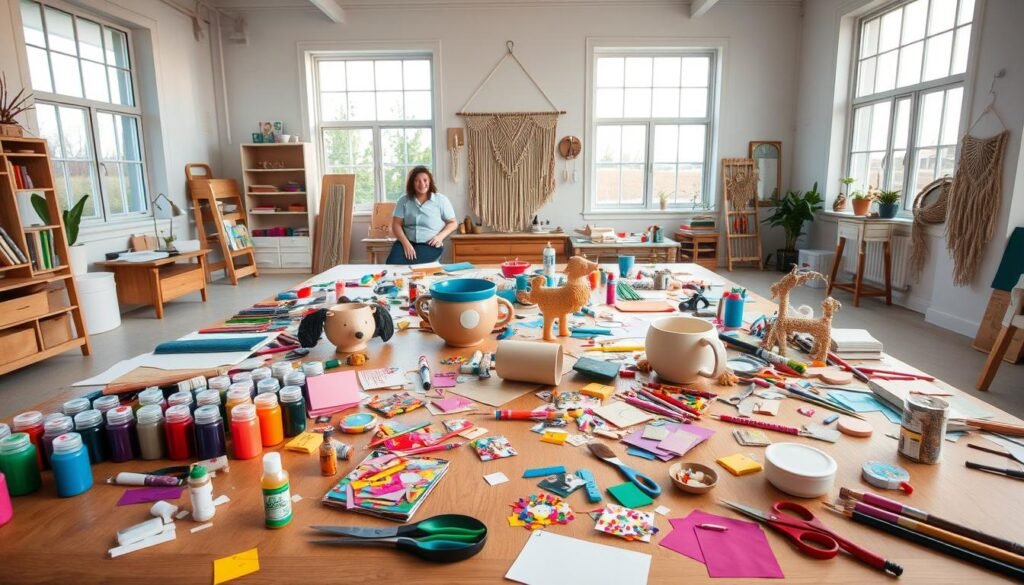
Every masterpiece begins with the right toolkit—yours doesn’t require a fortune, just strategic choices. Start by curating a core set of multi-purpose materials that adapt to various projects. A well-stocked workspace becomes your launchpad for experimentation, not a clutter trap.
Essential Supplies You Need
Build your starter kit around these versatile basics:
- Precision scissors & self-healing cutting mat
- Acid-free glue sticks & double-sided tape
- Mixed-media sketchbook for brainstorming
When investing in tools, follow the 80/20 rule: Splurge on items that impact durability and precision. Save on consumables you’ll replace often. Compare these common choices:
| Worth Extra $$ | Budget-Friendly |
|---|---|
| Ergonomic paintbrushes | Acrylic paint sets |
| Rotary paper cutter | Construction paper packs |
| Adjustable hot glue gun | Basic embroidery floss |
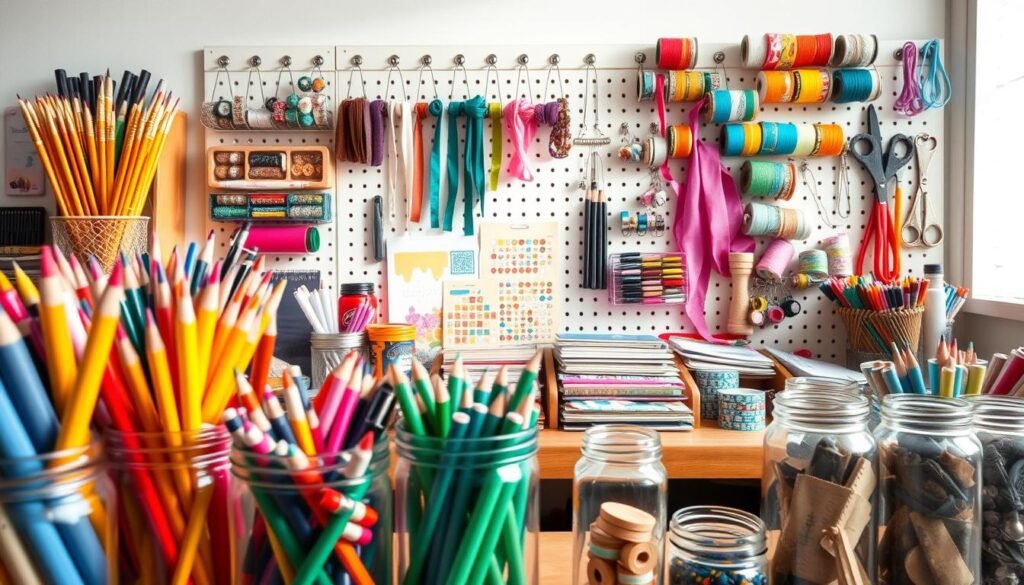
Store your growing collection in clear bins with labels—visibility prevents duplicate purchases. Repurpose household items like ice cube trays for bead sorting or muffin tins as paint palettes.
Choose initial ideas that match your natural rhythms. Night owl? Opt for meditative knitting. Morning person? Try quick collage sessions with coffee. Hit local craft stores during seasonal clearance sales for discounted specialty papers and fabrics.
DIY Fun with Hot Glue Gun and Acrylic Paint
Discover how two versatile tools can elevate your projects from basic to brilliant. The hot glue gun and acrylic paint form a dynamic duo—one bonds materials in seconds, the other adds gallery-ready finishes. Together, they turn thrift store finds into conversation pieces that look anything but homemade.
Using the Hot Glue Gun Effectively
Your glue gun isn’t just for attaching sequins. Use low-temperature settings to create raised patterns on photo frames—let cool completely before painting. For heavy-duty bonds, apply dots rather than lines. This technique prevents sagging on vertical surfaces like fabric wall hangings.
Safety first: Always unplug the gun when changing sticks. Keep a silicone mat nearby to catch drips. Pro tip: Press warm glue with wax paper for smooth edges on jewelry pendants.
Mastering Acrylic Paint Techniques
Acrylics dry fast—a blessing and curse. Layer colors by working in sections: base coat first, then stenciled designs. For furniture makeovers, mix 3 parts paint with 1 part water for a smooth, stain-like finish. Seal with matte varnish to prevent chips.
Transform wood bangles using this hack: Apply painter’s tape in geometric patterns before brushing on metallic hues. Let dry, then peel for crisp lines. Pair with hot glue accents for dimensional flair.
Exploring Paper Crafts and Floral Designs
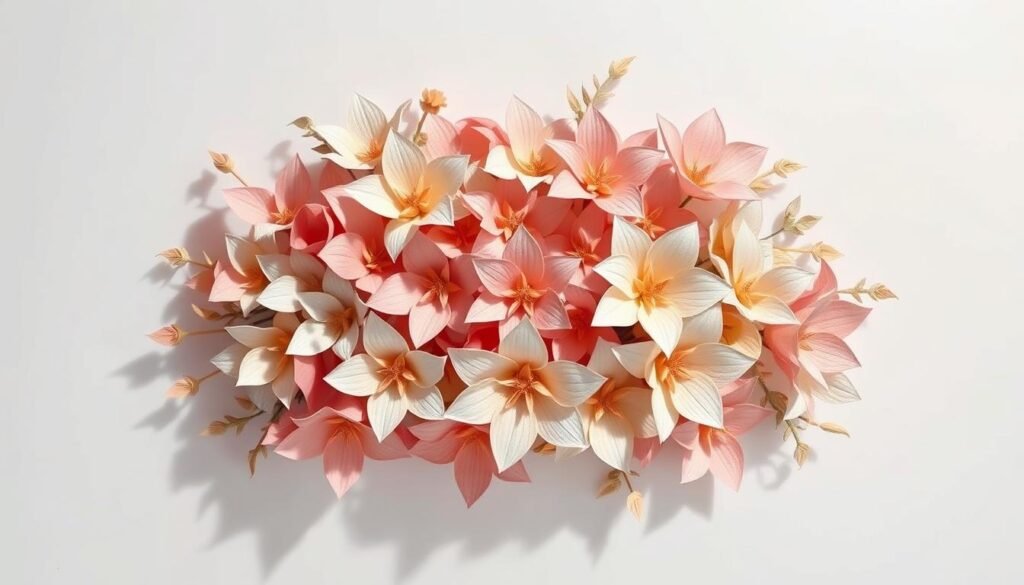
Transform ordinary sheets into lasting beauty through paper artistry. Unlike fresh blooms that wilt, these creations maintain their vibrancy for years—perfect for personalized gifts or bold home statements. The secret lies in mastering folds that mimic nature’s curves while embracing paper’s unique textures.
Paper Techniques That Bloom
Start with foundational folds: accordion pleats create peony fullness, while precise origami triangles build geometric succulents. Weight matters—tissue paper floats like cherry blossoms, while cardstock holds crisp rose shapes. Specialty kraft papers add rustic charm to centerpieces.
Quilling transforms strips into intricate petals. Layer coiled shapes with glue dots for 3D depth. For gift toppers, combine small blooms with metallic leaf accents. Hosting an event? Batch-cut petals using craft punches—assemble dozens in minutes during TV downtime.
Seasonal versatility shines here. Autumn? Pressed maple leaves from marbled paper. Winter? Frosted white poinsettias with glitter edges. Your creations become conversation starters that reflect current moods without floral upkeep.
Pro tip: Seal delicate pieces with clear acrylic spray. This prevents color fading and lets you dust arrangements with a hairdryer’s cool setting. Suddenly, that “temporary” hobby becomes a legacy of handmade beauty.
Upcycled Craft Projects for Home Decor
Your home tells a story—why not let it narrate your creativity? Upcycling transforms forgotten items into statement pieces that whisper personality while shouting sustainability. That lampshade collecting dust? It’s one afternoon away from becoming a vintage map masterpiece or textured chalk-paint showstopper.
Start by hunting for solid frames or furniture with good bones. Check joints for stability and surfaces for smoothness—rough spots just add character. A $5 thrift store lamp becomes decor gold when wrapped in sheet music using mod podge. Let dry between layers for museum-quality durability.
Master these pro techniques:
- Distress chalk-painted surfaces with sandpaper edges
- Seal decoupaged materials with clear acrylic spray
- Layer map sections diagonally for dynamic visual flow
| Store-Bought | Upcycled |
|---|---|
| Mass-produced look | One-of-a-kind charm |
| $75+ per piece | $3-20 materials |
| Limited sizing options | Custom-fit to your space |
The magic lies in balancing history with fresh style. That chipped picture frame? Gold leaf its crevices instead of hiding flaws. Your home gains depth when pieces show their journey—like you patina copper accents rather than polishing them shiny-new.
Creative Projects Involving Wood and Foam
Wood and foam might seem like unlikely partners, but together they unlock endless creative possibilities. These materials offer contrasting strengths—organic warmth meets modern adaptability—that transform basic projects into functional art. Whether restoring reclaimed planks or shaping foam into architectural details, you’ll discover how accessible craftsmanship can be.
Woodworking Tips for Beginners
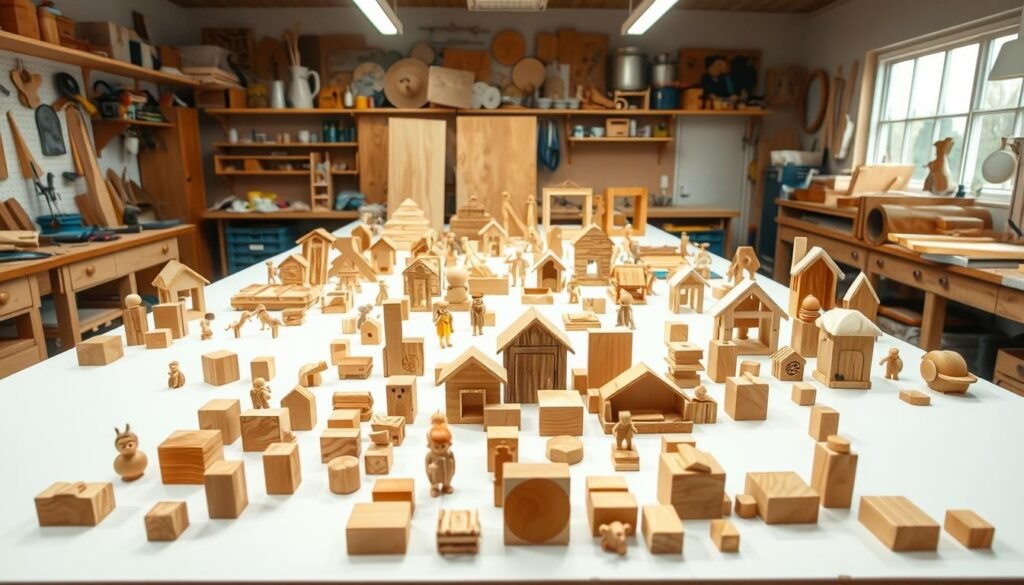
Start with salvaged wood—pallet planks or old shelves work beautifully. Always clean surfaces with vinegar solution before sanding. “The beauty lies in imperfections,” says furniture restorer Mara Klein. “Let knots and grain patterns guide your design choices.”
Essential starter techniques:
- Use clamps instead of extra hands for precise glue-ups
- Seal raw edges with clear wax for protection
- Mix acrylic paint with water for rustic wash effects
Innovative Uses for Foam Pieces
Move beyond kids’ crafts with these professional applications:
| Material | Home Decor Use | Time Investment |
|---|---|---|
| EVA foam | Custom drawer liners | 45 minutes |
| XPS foam | 3D wall panels | 2 hours |
Seal foam pieces with gesso before painting—it prevents warping. Combine carved wood elements with foam bases for lightweight shelves that hold surprising weight. Your creations become tactile reminders that great design doesn’t require fancy tools—just vision and willing hands.
Handmade Jewelry and Accessory Creations
Jewelry-making isn’t just about adornment—it’s a language of self-expression through carefully chosen components. When you shape beads into wearable art, you’re designing confidence that fits like a second skin. This creative practice blends mindfulness with personal style, producing pieces that spark conversations at brunch or board meetings.
Techniques for Beaded Jewellery
Master three core skills to elevate your work: precise stringing tension, hidden clasp closures, and intentional spacing. These elements create that “I bought this boutique” look without the markup. Start with silk cords and gold end caps—they’re forgiving for beginners yet polished enough for gifting.
Material choices shape your design’s personality. Delicate seed beads whisper elegance on evening necklaces, while chunky wood discs anchor daytime statement pieces. Consider this guide when selecting components:
| Bead Type | Best For | Cost Per Project |
|---|---|---|
| Czech Glass | Formal earrings | $8-12 |
| Recycled Wood | Boho bracelets | $4-7 |
| Metal Charms | Layered necklaces | $10-15 |
Quick-win projects build momentum. Try tassel earrings: attach silk fringe to hook findings using jump rings. Done in five minutes, they’re ideal last-minute gifts or confidence boosters before tackling complex designs.
Balance bold beads with skin tone considerations. Cool complexions pop against silver and amethyst, while warm undertones glow with brass and carnelian. Store supplies in clear tackle boxes—seeing your rainbow of options fuels fresh ideas without rummaging.
Unique Wall Decor and Stencil Applications
Blank walls are canvases waiting for your story—tell it with stencils and vision. This technique bridges precision with playfulness, letting you imprint personality onto any surface. Whether refreshing a tote bag or designing an accent wall, controlled creativity becomes your superpower.
Using Stencils for Personalization
Professional results start with brush control. Load just enough paint to cover bristle tips—this prevents bleeding under edges. Hold tools at 45 degrees for crisp lines, lifting stencils straight up before paint dries. For multi-layered designs, let each color set for 15 minutes between applications.
Move beyond basic shapes by combining techniques:
- Overlap floral and geometric patterns for depth
- Fade colors vertically for ombre effects
- Add hand-painted details around stenciled bases
Create custom stencils using vinyl sheets or laminated cardstock. Trace patterns with craft knives, preserving delicate bridges between cutouts. For frequent use, seal edges with clear nail polish. Your wall displays gain authenticity when patterns reflect personal sketches or favorite quotes.
| Material | Best For | Uses |
|---|---|---|
| Mylar | Wall murals | 50+ applications |
| Cardstock | Single projects | Quick prototypes |
| Vinyl | Furniture | Reusable designs |
Measure twice, stick once—use painter’s tape to test layouts before committing. For repeating patterns, mark registration points with pencil dots. Step back frequently to assess balance. Imperfections? They’re opportunities for artistic improvisation.
DIY Projects for Unique Gift Ideas
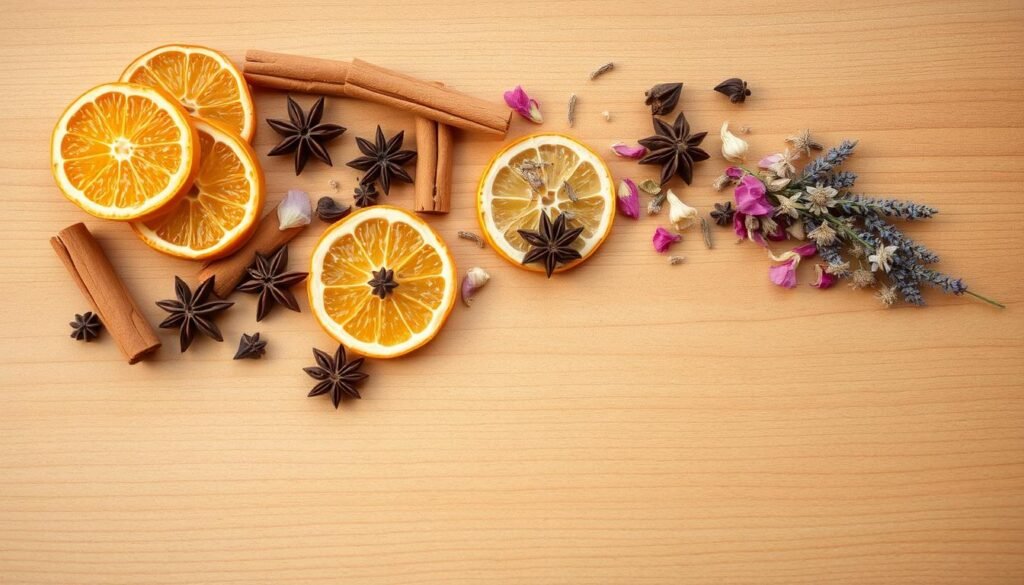
Gifts carry more meaning when infused with personal touch—a truth that transforms simple materials into cherished keepsakes. That fancy soap you’ve been saving? Make it yourself using goat’s milk melt bases and lavender oil. Pour into silicone molds for spa-quality bars that say “I value your me-time” better than store receipts ever could.
These projects turn minutes into memories. Paint delicate florals on taper candles during lunch breaks. Assemble silk tassel earrings while waiting for laundry. Even family game nights get upgrades—revamp Jenga blocks with acrylic hues for colorful camaraderie.
What makes handmade presents powerful? They honor the recipient’s essence while fitting your schedule. Paper blooms become permanent birthday toppers. Custom-scented soy candles mirror a friend’s favorite vacation spot. Explore more creative DIY possibilities that align with your skills and their personality.
Your hands create connections no algorithm can replicate. Whether crafting solo or with family, each piece becomes a way to say “I see you” through thoughtful design. That’s the magic of intentional giving—it outlasts trends and tight budgets alike.

