Want to preserve summer’s magic in your home? Imagine turning garden treasures or wedding bouquet keepsakes into custom wall art that sparks joy every time you walk by. This guide unlocks simple methods to create stunning botanical displays—no fancy tools or expensive supplies required.
You’ll learn how to press petals like a pro, whether you prefer classic book-pressing or modern microwave techniques. We’ll explore creative layouts that turn even slightly imperfect blooms into eye-catching arrangements. (Hint: Those wilted edges add character!)
Why choose pressed botanicals? They’re space-smart decor for apartments, offices, or RVs—ideal for adding life to blank walls without clutter. Each piece becomes a conversation starter, blending nature’s randomness with your personal style.
Our methods work with flowers from any source: backyard roses, farmer’s market finds, or meaningful event bouquets. You’ll discover how to:
- Select blooms that retain color when dried
- Combine textures for dimensional interest
- Protect delicate petals during framing
Seasoned crafters share their best-kept secrets, like using hairspray to preserve vibrancy or repurposing thrift store frames. Ready to make decor that’s truly yours? Let’s begin.
Introduction to DIY Flower Frames
Transform fleeting blooms into lasting decor with a timeless craft. Pressed botanical displays bring nature indoors while celebrating special moments – first garden harvests, anniversary bouquets, or wildflower adventures. Let’s explore why these creations resonate with modern makers and how you can master the basics.
Why Choose Pressed Botanicals for Walls?
Unlike bulky vases or high-maintenance plants, pressed arrangements offer year-round beauty without watering or sunlight. They turn sentimental blooms into functional art – perfect for small spaces like RVs or home offices. One California designer notes: “Clients love how these pieces spark memories without collecting dust.”
These creations solve three common decor dilemmas:
| Feature | Live Plants | Printed Art | Pressed Botanicals |
|---|---|---|---|
| Maintenance | Daily care | None | None |
| Cost | $15+ monthly | $50+ | Under $20 |
| Customization | Limited | None | Full control |
| Space Needed | Floor/table | Wall space | Minimal wall |
Your Roadmap to Success
This project shines because it’s forgiving for new crafters. Unlike oil painting or pottery, you don’t need perfect skills – nature’s variations become design features. The process flows through four phases:
- Bloom selection (color-rich varieties work best)
- Pressing methods (traditional vs. quick-dry)
- Layout experimentation (play with shapes!)
- Sealing techniques (protect your masterpiece)
Many find arranging petals meditative – a creative break from screens. Finished pieces make heartfelt gifts, especially when using blooms from meaningful events. Ready to turn petals into permanent beauty? Let’s gather your supplies.
Gathering Your Materials and Tools
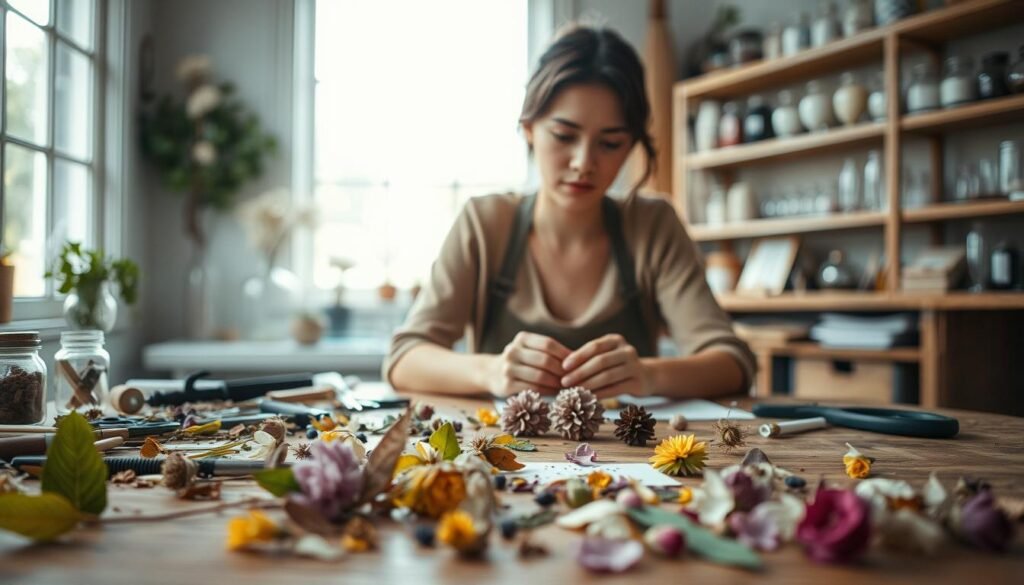
Ready to craft nature-inspired art? Let’s start with your toolkit. Quality supplies make all the difference between a “that’s nice” piece and one that makes guests ask “where did you buy that?”. Here’s what pros use to achieve gallery-worthy results.
Essential Materials: Glass Frames, Flowers, and Pressing Tools
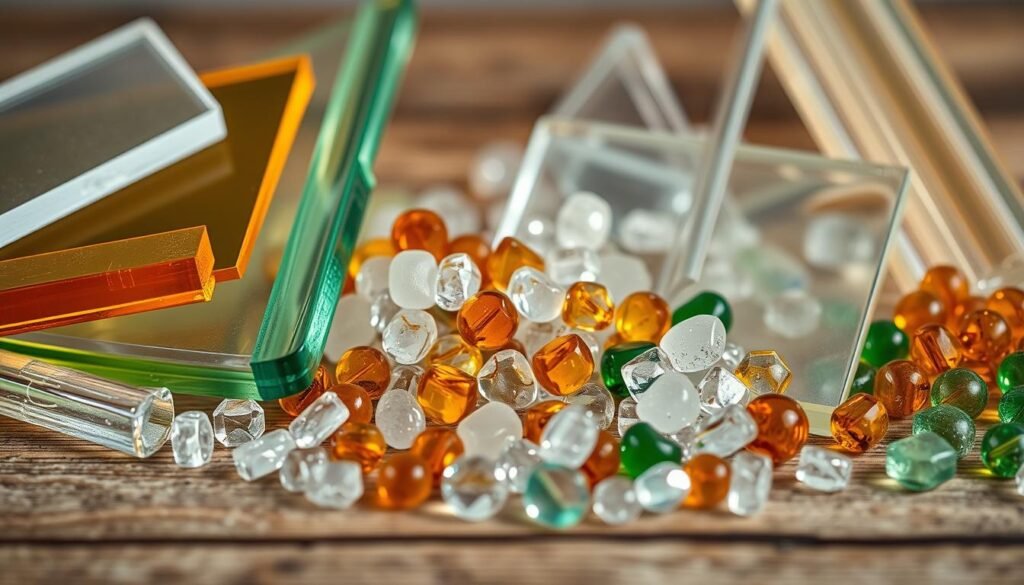
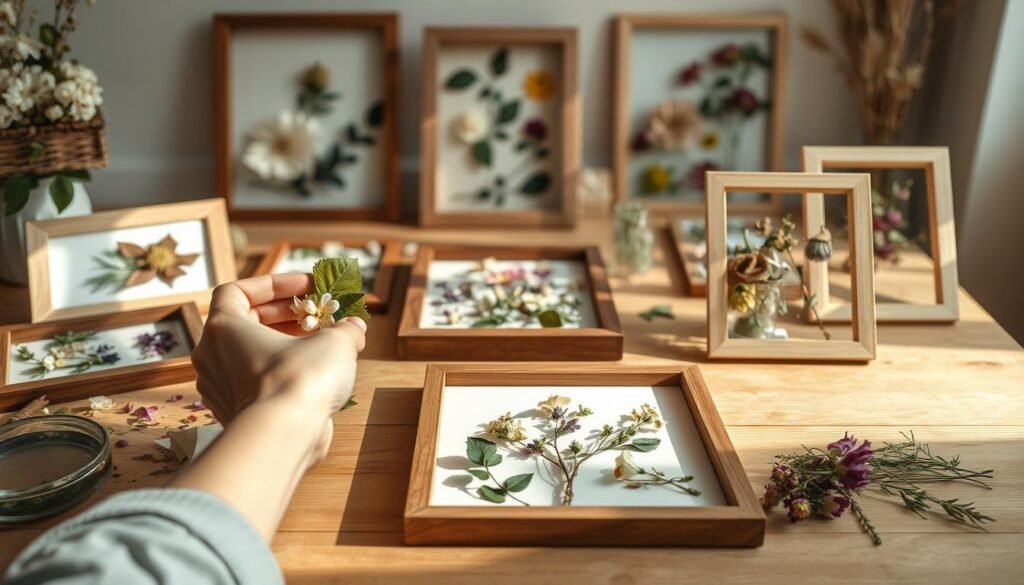
Floating glass frames like NCYP’s 4″x6″ or 5″x7″ models let light dance through petals, creating depth regular frames can’t match. Pair them with blooms that hold color when dried—think pansies or lavender.
For pressing, choose between classic methods:
- Hardcover books (free but slow)
- Wooden presses like Berstuk’s (faster, great for bulk projects)
A crafter in Oregon shared:“My vintage dictionary pressed roses beautifully, but the flower press saved me weeks when making 50 wedding favors.”
Additional Craft Supplies Explained
Mod Podge glue acts as both adhesive and shield—it dries clear and blocks humidity. Use a soft brush to apply thin layers. Tweezers? Optional but helpful for positioning stubborn petals without smudging.
Microwave users need two ceramic plates and a bowl to weight them down. Wax paper prevents sticking during quick-dry methods. Budget tip: Dollar stores often carry suitable paper towels and scissors.
Total cost? Under $30 if you repurpose thrifted frames. Remember: Thinner blooms press fastest, while layered designs need sturdier paper backing.
Selecting and Preparing Your Flowers
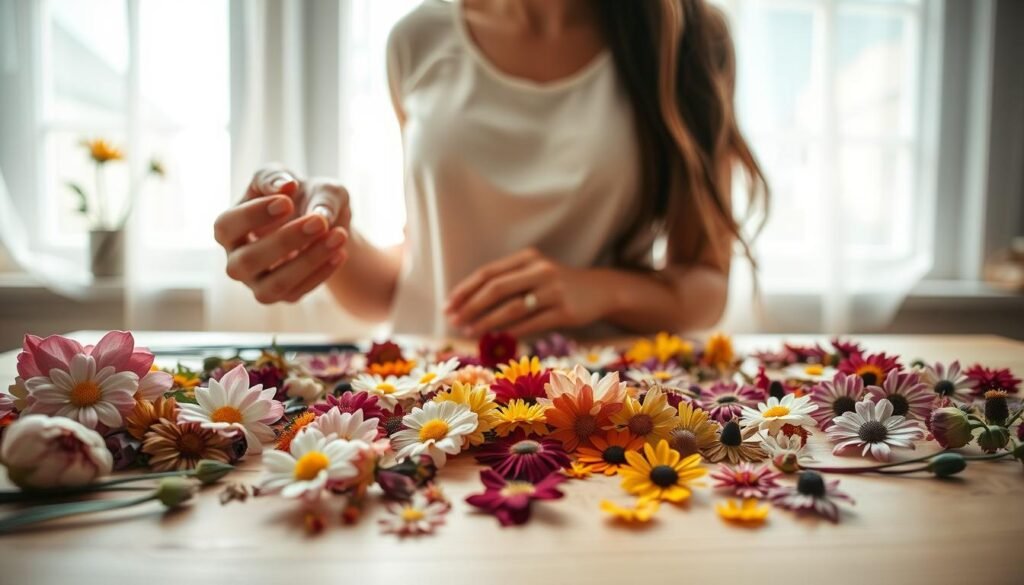
Nature’s confetti awaits your creative touch—let’s handpick blooms that transform into timeless art. Whether you’re gathering wild daisies on a hike or receiving a meaningful bouquet, your selection process determines how vividly memories shine through glass.
Blooms That Become Masterpieces
Not all petals press equally. Thin, flat varieties like violets and cosmos dry faster while retaining bold hues. Avoid fleshy stems like peonies—they often mold before fully drying. A seasoned gardener in Vermont advises: “Queen Anne’s lace adds lace-like texture, while marigolds give sunset warmth.”
Harvest in mid-morning after dew evaporates. This preserves structure and prevents rot. Gently brush off dirt with a soft makeup brush—it’s gentler than cloth. For stems thicker than spaghetti strands? Snip them. Delicate ones? Keep them attached for whimsical shapes.
| Flower Type | Best For | Color Retention | Prep Tip |
|---|---|---|---|
| Pansies | Centerpieces | Excellent | Press face-down |
| Lavender | Borders | Good | Bundle small sprigs |
| Ferns | Backgrounds | Natural green | Use fresh cuttings |
| Daisies | Focal points | Moderate | Remove yellow centers |
Yellow and purple varieties outlast pinks and reds in vibrancy. Add depth with feathery grasses or maple seeds—they create movement in static arrangements. Remember: slightly immature buds hold tighter than fully open ones. Your pressed flowers should feel paper-thin but not brittle when ready.
Drying Flowers: Traditional Pressing and Microwave Techniques
Capture nature’s delicate beauty through two trusted drying methods. Whether you’re preserving sentimental blooms or crafting seasonal displays, the right technique ensures vibrant results. Let’s explore approaches that fit your timeline and tools.
Traditional Book Press Method
This timeless approach lets you make pressed botanicals with items you already own. Place blooms between parchment-lined book pages, stacking heavy volumes on top. Most varieties dry completely in 1-2 weeks—thicker stems may need extra time.
Pro tip: Use phone books or dictionaries for better absorption. A botanical artist in Maine shares: “I rotate books every three days to prevent moisture buildup. Works like magic!”
Tips for Safe and Effective Microwave Drying
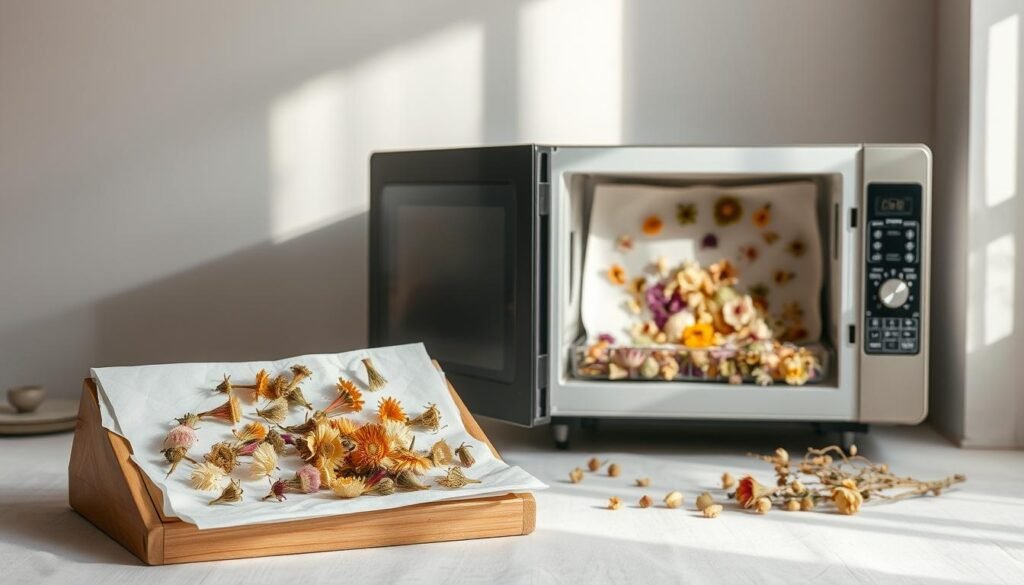
Need blooms ready in minutes? Layer wax paper and paper towels on microwave-safe plates. Heat in 30-second bursts, checking crispness between intervals. Always keep a glass of water inside to prevent scorching.
- Pre-press thicker blooms in books for 24 hours first
- Use ceramic plates to distribute heat evenly
- Let cooled flowers rest 10 minutes before handling
Humidity affects drying speed—summer projects may need extra checks. If petals curl, spritz lightly with water and reshape before reheating. Your microwave flowers will retain color best when dried at 50% power.
Assembling Your diy flower frames
The moment has arrived to bring your botanical vision to life. This phase transforms pressed treasures into polished art—where patience meets payoff. Let’s turn your careful preparations into a display that stops scrolling and starts conversations.
Step-by-Step Assembly Instructions
Start with clean glass to ensure crisp visibility. Position your design face-up on the backing board, adjusting petals with tweezers for perfect placement. A professional framer in Colorado advises: “Work from the center outward—it prevents petals from shifting as you secure them.”
| Common Mistake | Smart Solution | Pro Tip |
|---|---|---|
| Glue pooling | Use dime-sized amounts | Wipe excess with cotton swab |
| Petals lifting | Apply pressure while drying | Use wax paper as weight |
| Uneven coating | Brush in one direction | Hold frame at eye level |
Using Mod Podge to Secure Your Design
This magic glue acts as both adhesive and shield. Dip your brush halfway and stroke gently along petal veins—this maintains natural texture while creating invisible bonds. Though it appears milky wet, rest assured it dries crystal clear.
Apply two thin coats rather than one thick layer. Wait 20 minutes between applications, using this time to check for gaps. Make sure edges fully contact the glass to prevent future lifting. Most crafters find overnight drying eliminates tackiness completely.
When closing the frame, press firmly along all sides to activate the seal. Store upright for 24 hours before hanging—this lets any residual moisture escape. Your living artwork now stands ready to spark joy for years!
Customizing Your Flower Frame Design
Your pressed petals become storytellers when arranged with intention. This phase transforms botanical elements into visually arresting compositions that reflect your unique perspective. Let’s explore how to elevate simple materials into gallery-quality displays.
Creative Arrangements and Layout Ideas
Start by laying out petals on tracing paper cut to your frame size. Try these approaches:
- Focal anchoring: Place one striking bloom slightly off-center, then build around it with smaller elements
- Pathways: Create visual flow using trailing vines or grasses that guide the eye
- Negative space magic: Cluster blooms in one corner for modern minimalism
A New York designer shares: “I photograph arrangements with my phone first—if it looks good on screen, it’ll shine in the frame.” Use this trick to test balance before gluing.
Personalizing with Colors and Patterns
Complementary hues make designs pop. Pair purple pansies with yellow buttercups, or crimson poppies with sage leaves. For text integration:
| Element | Application | Pro Tip |
|---|---|---|
| Handwritten notes | Wedding dates | Use archival ink |
| Pressed ferns | Border accents | Angle toward center |
| Metallic foil | Background texture | Apply before petals |
Round frames demand circular patterns—think sunbursts with petals radiating outward. Square formats love geometric clusters. Remember: imperfections add charm. Those slightly curled edges? They’re nature’s signature.
Troubleshooting Common Crafting Challenges
Even seasoned crafters face moments where petals crumble and glue misbehaves. Let’s transform frustration into creative problem-solving with smart fixes for common hurdles.
Handling Delicate Blooms and Glue Application Issues
Reinforce fragile flowers leaves by brushing them with diluted white glue before positioning. This creates an invisible shield without altering their natural appearance. When working with partial blooms, press the remaining half flat-side down—it creates intriguing shadows that hide imperfections.
Struggling with adhesive? Apply glue dots smaller than a peppercorn using toothpicks. For stubborn pieces that won’t stick, try this pro trick: warm your tweezers slightly (not hot!) to reactivate dried adhesive. If visible spots appear, dab with clear nail polish remover using a microbrush.
Humidity causing chaos? Store pressed botanicals in airtight containers with silica packets until assembly. When pressed flower art techniques feel overwhelming, remember: broken pieces often create better designs. Layer fractured petals like mosaic tiles for unexpected texture.
| Challenge | Quick Fix | Prevention |
|---|---|---|
| Curling petals | Weight with wax paper | Press longer |
| Glue strings | Use rubbing alcohol | Lower glue temp |
| Brittle stems | Rehydrate slightly | Store properly |
When your project resists cooperation, step back for 10 minutes. Fresh eyes often spot elegant solutions—like turning a snapped piece into a focal point. Remember: nature’s imperfections become art’s greatest strengths.
Inspiration from Pressed Flower Art and Related Projects
Summer’s vibrant palette offers endless ways to showcase nature’s artistry. From minimalist wall displays to functional home accents, pressed botanicals breathe life into everyday spaces. Let’s explore fresh ideas that push beyond traditional floating glass displays.
Creative Examples from RV Blogger Projects
Small-space innovators are reimagining botanical decor. One traveling creator shared her “portable garden” – pressed wildflowers sandwiched between contact paper layers on cabinet doors. Another transformed thrifted trays into seasonal centerpieces using preserved daisies and fern fronds.
These mobile-friendly projects prove you don’t need a studio. Try adhesive contact paper suncatchers for windows that catch sunlight like stained glass. Pair them with pressed pansies for kaleidoscope effects.
Exploring Other Flower Craft Ideas
Why stop at walls? Embed petals in resin coasters for practical art, or layer them under contact paper for unique placemats. Wedding planners suggest preserving bouquet highlights in shadow boxes – a heartfelt alternative to disposable decor.
For gift-giving, pair small pressed flower pieces with handwritten notes on seed paper. Every creation becomes a story – one that grows more meaningful with time.

