What if your living area could feel brand new without months of prep or a contractor’s bill? You’re moments away from discovering how simple, intentional changes can transform your surroundings. Let’s talk about making spaces that spark joy—one smart update at a time.
We’ve curated ten creative upgrades designed for fast results and minimal stress. Think fresh wall treatments that redefine rooms, or furniture transformations that feel like shopping new—without the price tag. Each idea balances visual impact with manageable effort, perfect for those looking to revitalize their environment quickly.
No prior experience? No problem. These approaches focus on clever techniques rather than complex renovations. You’ll learn how to maximize existing pieces and affordable materials. By Sunday evening, you could be sipping coffee in a space that feels thoughtfully renewed.
Ready to turn inspiration into action? Grab your favorite playlist and let’s explore how small changes create big transformations. Your home’s next chapter starts here.
Introduction: Setting the Stage for Your DIY Home Refresh
Your home becomes a living story when your hands shape its evolution. There’s magic in creating spaces that reflect your personality—not a contractor’s schedule. With smart planning and intentional choices, you’ll craft rooms that feel uniquely yours in just two days.
Think about what energizes you: a splash of color where sunlight hits just right, or shelves arranged to showcase your favorite memories. These changes don’t require professional training—just curiosity and a willingness to experiment. Start by assessing which areas feel stagnant, then match them to your current skill level.
| Approach | Time Commitment | Visual Impact |
|---|---|---|
| Surface Updates | 2-4 hours | Instant refresh |
| Furniture Revival | Half-day | Personalized style |
| Accent Walls | Day project | Room transformation |
Gather materials before Saturday morning hits—this prevents last-minute store runs from derailing your momentum. Choose one focal point per room to avoid overwhelm. Remember: imperfect brushstrokes often add character, while waiting for flawless execution keeps spaces feeling incomplete.
You’ll know you’ve chosen the right starter project when it sparks excitement rather than anxiety. That thrill of stepping back Sunday evening to see tangible progress? That’s how lasting design confidence begins.
Benefits of Tackling DIY Projects on Weekends
When we bought our first house, the blank walls felt more intimidating than inspiring. Over years—and two moves—we discovered the secret: short, focused efforts yield lasting rewards. Weekend transformations let you edit your space like a favorite novel—one meaningful chapter at a time.
Imagine finishing a room refresh before Monday’s commute. These bite-sized upgrades deliver visible progress without upending daily life. You’ll avoid the dust-cloud chaos of month-long renovations. Bonus? Mistakes become learning moments rather than costly disasters.
Here’s what we’ve loved most:
Family fingerprints on the walls matter more than flawless finishes. Our kids now beg to “help” with painter’s tape—their giggles turning chores into memories. Saturday projects teach patience and problem-solving better than any parenting podcast.
Budget strains vanish when you spread costs across seasons. That $50 cabinet makeover in March funds July’s patio refresh. You’ll develop an eye for potential—spotting $10 thrift store treasures that become statement pieces.
Completion sparks momentum. Each success builds confidence to tackle bolder ideas. Last fall’s simple shelf installation led to this spring’s built-in bookcase. Progress compounds when you start small but think big.
Your home evolves as you do. Weekend efforts let rooms grow alongside your life’s seasons—no demolition required. Isn’t that what authentic living spaces should celebrate?
Easy Weekend DIY Projects: Getting Started with Your Home Makeover
The secret to a successful refresh lies in strategic beginnings. Start by auditing your space—notice where light pools in the morning or which corners feel neglected. These observations become your roadmap for choosing tasks that align with both your vision and skill set.
Gather supplies like a chef prepping ingredients—missing tools mid-task can derail momentum. Create a dedicated workspace with drop cloths and organized materials. Pro tip: label paint cans with room names using masking tape for quick identification later.
Focus on visible transformations first. A dated console table revived with chalk paint delivers instant gratification. These early wins build confidence to tackle bigger ideas down the road. Track progress with before-and-after photos—they’ll remind you how far you’ve come when motivation dips.
Consider your home’s architectural personality. High ceilings beg for vertical accents, while cozy nooks shine with warm lighting upgrades. Work with your space’s quirks rather than against them—that awkward alcove becomes a reading nook with cushion foam and fabric remnants.
Time management separates stressful sprints from enjoyable transformations. Block out prep, work, and cleanup phases. Sunday evening should find you admiring results—not scrubbing dried glue from floors. Remember: perfection isn’t the goal. Your hands shaping the space? That’s the real magic.
Painting Projects to Refresh Your Home
Ever notice how a single color shift can alter a room’s entire personality? The right paint acts like a mood ring for your walls—subtle yet transformative. Let’s talk about making choices that enhance your space rather than overwhelm it.
Choosing the Right Colors and Finishes
Light plays tricks on paint swatches. North-facing rooms crave warm undertones to combat gray light, while south-facing spaces can handle cooler hues. Test samples at different times of day—what looks buttery at noon might turn neon by sunset.
Finish selection matters as much as color. Semi-gloss options like Farrow & Ball’s Modern Eggshell strike the perfect balance—durable enough for busy kitchens yet forgiving of minor imperfections. High-gloss paints? Save those for trim unless you enjoy spotting every brushstroke.
Essential Tools and Techniques for a Smooth Finish
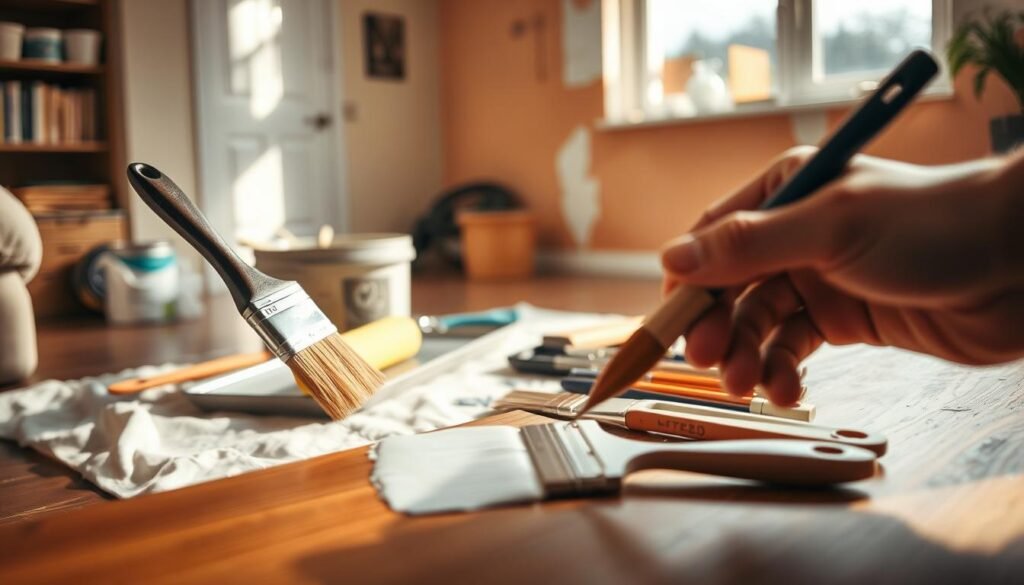
Your tools are silent partners in this dance. Synthetic bristle brushes glide better on latex paints than natural ones. Foam rollers? Ideal for smooth surfaces but struggle with textured walls. Always keep a damp rag nearby for quick cleanups.
Surface prep separates hobbyists from pros. Scrub walls with TSP substitute, sand rough patches, and prime stains—especially crucial when covering dark colors. Skipping these steps is like applying lipstick without exfoliating first.
Invest in a quality angled brush for crisp edges. Load it halfway, start two inches from corners, and work outward. For large areas, use a W-pattern rolling technique to distribute paint evenly. Let each coat dry completely—patience prevents peel-offs later.
Updating Your Kitchen Cabinets and Countertops
Does your kitchen feel like it’s stuck in another decade? Cabinet doors and countertops hold immense power to anchor—or age—your space. With strategic updates, you can modernize these workhorses without replacing them entirely.
Step-by-Step Painting Process for Cabinets
Start by removing doors and hardware—label hinges with masking tape to simplify reassembly. Clean every surface with a degreasing agent like TSP. This strips years of cooking residue that paint can’t bond to. Light sanding creates texture for primer adhesion.
Use oil-based primer for durability in high-moisture areas. Apply thin coats of semi-gloss paint with a high-density foam roller. Two light layers beat one thick, drippy mess. Reinstall hardware once everything cures for 48 hours—patience prevents fingerprint smudges.
Creative Ideas for Countertop Transformation
Rust-Oleum’s Appliance Epoxy turns dated laminate into sleek stone lookalikes. Clean surfaces thoroughly, then apply three thin coats with a foam brush. The finish resists hot pans and knife nicks better than standard paints.
For temporary flair, try removable contact paper with marble patterns. Or mix concrete overlay kits for a modern industrial vibe. These budget fixes buy time until you’re ready for permanent upgrades.
Total cost? Under $200 versus $15k for new cabinetry. Your refreshed kitchen becomes proof that smart updates trump full renovations. Now—where’s that coffee mug?
Revamping Walls and Doors for Instant Curb Appeal
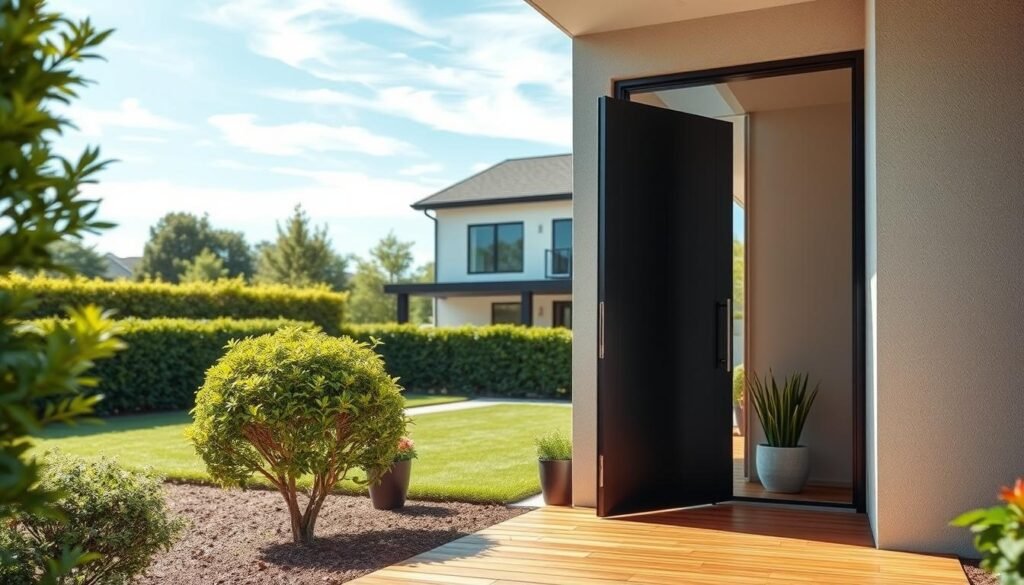
Your front door holds more power than you might realize—it’s the handshake of your home. A fresh coat of paint here creates ripple effects, influencing how visitors perceive your entire space. Let’s explore upgrades that deliver maximum style with minimal effort.
Color Strategy That Commands Attention
Tricorn Black isn’t just trendy—it’s transformative. This rich hue adds depth to any exterior while hiding scuffs better than lighter shades. Homes with black front doors often see 1-3% higher sale prices, according to recent real estate studies.
Here’s why this works:
- Creates instant focal point without structural changes
- Pairs seamlessly with brick, stone, or siding
- Requires just one quart of paint for most standard doors
Prep is key. Remove hardware and clean surfaces with TSP substitute. Use angled brushes for crisp edges around glass panels. Two thin coats beat one thick application—let each dry completely before adding the next.
Don’t stop at color. Swap outdated knobs for matte black lever handles. Add modern house numbers in brushed brass. These finishing touches turn a basic update into a design statement.
Walls play supporting roles in this transformation. Consider painting adjacent trim in matching tones to unify your exterior. For interior spaces, accent walls in coordinating hues create visual flow from outside in.
DIY Home Decor and Upcycling Furniture Ideas
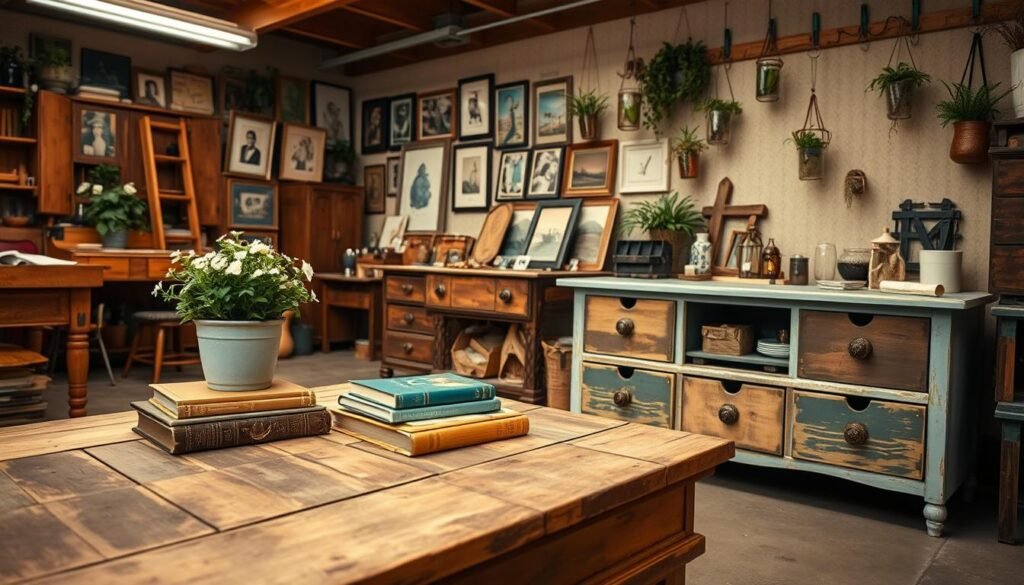
The most intriguing design stories often begin with someone seeing potential where others saw junk. That scratched dresser? It’s a blank canvas. Those mismatched chairs? A color-blocking opportunity waiting to happen. This approach turns your space into a gallery of personalized narratives—each piece whispering tales of creative resurrection.
Finding and Refinishing Pre-Loved Pieces
Scout local treasures like Facebook Marketplace or estate sales—goldmines for solid wood furniture priced lower than IKEA flatpacks. We scored a mahogany table for free, its legs begging for sandpaper love. Three hours of stripping old varnish revealed tiger-stripe grain patterns modern factories can’t replicate.
Here’s the magic formula: degrease surfaces with TSP substitute, sand until smooth, then seal with water-based polyurethane. For metal accents, Rust-Oleum’s metallic spray paints add luxe finishes without the price tag. Swap drawer pulls for $4 ceramic knobs from Hobby Lobby—instant boho chic.
Thrifted furniture often carries hidden perks. Vintage pieces typically use hardwood construction absent in today’s particleboard options. That mid-century desk you’re eyeing? Its dovetail joints will outlive trends. Plus, repurposing keeps 9 million tons of furniture from landfills annually—style points with a conscience.
Your refreshed creations become conversation starters. Guests won’t believe your coffee table started as a porch discard. More importantly, you’ll gain confidence to tackle larger diy home transformations—one sanded edge at a time.
Transforming Your Living Spaces with Custom Touches
Your home’s personality emerges in the details you choose to highlight. Framing a basic doorway with $15 pine trim creates architectural drama in under three hours. Suddenly, that bland entryway becomes a curated moment—proof that thoughtful design trumps expensive renovations.
Consider swapping upper kitchen cabinets for floating shelves. This simple shift lightens the space while showcasing favorite dishes or vintage finds. A client recently reported:
“Removing those heavy cabinets made our kitchen feel twice as large—like we gained square footage without moving walls.”
| Project | Time | Cost | Impact Level |
|---|---|---|---|
| Doorway Framing | 2.5 hours | $40-$80 | High |
| Floating Shelves | 4 hours | $120 | Transformative |
| Lighting Zones | 1.5 hours | $60 | Ambiance Shift |
| Decorative Molding | 3 hours | $90 | Luxury Illusion |
Strategic lighting transforms how you experience a room. Install dimmable sconces beside artwork or use LED strips under open shelving. These layers create depth while making your space feel intentionally designed.
Don’t overlook subtle upgrades. Adding chair rail molding at waist height gives dining areas a polished look. For renters? Use removable adhesive trim—it delivers similar sophistication without permanent changes.
These adjustments prove that personal style thrives in the margins. Your home becomes a living portfolio of choices that whisper, “This is who we are.”
Creating Inviting Outdoor Living Areas
Your yard holds untapped potential to become a natural sanctuary. With strategic updates, you can craft spaces that blur the line between indoors and nature. Let’s explore how to maximize your outdoor areas without breaking ground or budgets.
Simple Projects for Enhancing Your Patio and Garden
Start by framing your patio with $10 boxwoods from local nurseries. These potted evergreens add structure while allowing seasonal swaps. Pair them with 48-cent pavers from Home Depot—arranged as edging—to define garden beds with crisp lines.
Lighting transforms ordinary evenings. Hang bistro strings along fence lines or pergolas. One client shared:
“Our once-forgotten deck became the neighborhood’s favorite sunset spot—all thanks to $40 worth of twinkle lights.”
| Project | Time | Cost | Impact |
|---|---|---|---|
| Container Gardening | 1 hour | $25 | Instant Curb Appeal |
| Paver Edging | 2 hours | $15 | Polished Look |
| Lighting Setup | 45 mins | $30-$60 | Ambiance Upgrade |
| Vertical Herb Wall | 3 hours | $50 | Functional Art |
Group seating areas around focal points like fire pits or water features. Use weather-resistant cushions in patterns that echo your indoor palette. This creates visual continuity, making your garden feel like another living room.
Remember: thriving plants need less perfection than intention. A mismatched collection of terracotta pots often charms more than rigid symmetry. Your outdoor space should invite bare feet and laughter—not museum-like formality.
Incorporating DIY Lighting and Fixture Upgrades
Lighting does more than brighten corners—it shapes how you experience every room. Swapping outdated fixtures acts like swapping eyeglass prescriptions: suddenly, your space comes into sharper focus. A recent client found a $60 wagon-wheel chandelier on Facebook Marketplace that anchors their dining area—proof that secondhand scores can rival designer catalogs.
Think beyond basic bulb changes. That flush-mount ceiling light you’ve ignored for years? Replacing it with a modern drum shade takes under two hours but elevates the entire room. Hunt for:
- Textured pendants above kitchen islands
- Brass sconces flanking bathroom mirrors
- Industrial cage lighting in entryways
One homeowner transformed their breakfast nook with a $90 sale find:
“The new fixture made our mornings feel like brunch at a boutique hotel—without the $25 avocado toast.”
| Project | Time | Cost Range |
|---|---|---|
| Chandelier Swap | 1.5 hours | $60-$150 |
| Flush-Mount Update | 45 mins | $30-$80 |
| Outdoor Sconces | 2 hours | $40-$120 |
Layer your light sources like a pro. Combine ambient overheads with task lamps and accent LEDs. This approach turns flat rooms into dimensional spaces where you actually want to linger. Remember: fixtures are functional jewelry—choose pieces that spark joy when you flip the switch.
Organizing and Decluttering with Creative Solutions
That moment when you open a drawer and actually find what you need? That’s the magic of intentional organization. Your kitchen’s spice cabinet holds hidden potential—swap mismatched jars for uniform Dollar Tree containers labeled with chalk tape. Suddenly, cumin lives next to cinnamon without chaos.
Hardware swaps prove that small details reshape entire spaces. Replace basic cabinet knobs with antique brass pulls from Etsy—a $30 refresh that elevates your kitchen’s personality. One homeowner shared:
“Our dated oak cabinets felt modern again after switching hardware. Guests now ask if we did a full remodel!”
Decluttering comes first. Sort items into “keep,” “donate,” and “toss” piles before organizing. This ensures you’re designing systems for things you truly use. Try the 12-12-12 challenge: find 12 items to discard, 12 to donate, and 12 to relocate.
Maximize vertical space with floating shelves above doorways or beside refrigerators. Use woven baskets from Target to corral pantry staples while adding texture. For tight corners, install narrow pull-out organizers—they turn dead zones into functional storage.
Your materials matter. Clear acrylic bins reveal contents instantly, while fabric-lined drawers soften utilitarian ideas. Remember: the best systems adapt as your needs evolve. What starts as a spice cabinet refresh often sparks whole-home transformations—one sorted shelf at a time.
Budget-Friendly Projects Under $100
Revamping your space doesn’t require a hefty budget—just smart choices that maximize impact. Our favorite projects prove that thoughtful updates can elevate rooms without breaking your savings. From thrifted treasures to clever material swaps, beauty lives in the details you curate.
Where Creativity Meets Cost-Efficiency
Start by hunting secondhand stores for quality materials. A $20 side table becomes a showstopper with marble-contact paper. Those leftover paint samples? Turn them into cohesive wall art by cutting geometric shapes—instant gallery vibe for under $15.
Focus on high-visibility areas first. A bold front doormat or patterned cabinet liners deliver outsized style per dollar. For rentals, use removable wallpaper on drawer interiors—surprise pops of color that pack personality.
Repurpose what you own. That old ladder? Lean it against a wall as a towel rack or plant stand. Leftover fabric scraps become no-sew pillow covers when paired with iron-on adhesive tape. Smart reuse cuts costs while adding unique character.
Remember: impactful design lies in how you combine elements. Mix thrifted finds with a few new statement pieces. Your project stays under $100 when you prioritize versatility—materials that work across multiple rooms stretch budgets further.
Ready to start? Grab a measuring tape and your phone’s calculator. With strategic choices, you’ll craft spaces that feel luxe without breaking your resolve—or your bank account.

