What if your next conversation-starter wasn’t from a store—but made by your hands? Picture transforming spare buttons into wall art or wine corks into chic coasters. These aren’t just projects—they’re gateways to rediscovering that spark of imagination you thought adulthood had buried.
Research shows crafting does more than beautify spaces. It lowers stress, sharpens focus, and even helps combat insomnia. A PureWow study found 68% of participants felt more relaxed after just 30 minutes of hands-on creating. Best part? You’re likely already surrounded by potential supplies.
This isn’t about perfection. It’s about joyful experimentation—turning mismatched fabric scraps into bold throw pillows or old jars into atmospheric lanterns. Each project becomes a triple win: therapeutic creation, personalized decor, and budget-friendly ingenuity.
We’ll show how to spot hidden potential in everyday objects (yes, even those coffee filters collecting dust). You’ll learn why tactile activities ground us in our screen-dominated lives—and how they’ve become a secret weapon for entrepreneurs seeking fresh inspiration.
Ready to see your space—and your mindset—through new eyes? Let’s begin where every great discovery starts: with what’s already within reach.
Introduction to Empowering Adult Crafting
Imagine transforming your living space—and your mental state—with nothing but your hands and everyday items. This isn’t child’s play. Modern crafting for grown-ups merges purposeful creation with measurable wellness benefits, turning idle evenings into opportunities for self-renewal.
The Joy and Benefits of Creative Crafting
Neuroscience reveals why stitching embroidery or arranging dried flowers feels so rewarding. Tactile activities activate your brain’s reward centers—like hitting a “reset button” after hours of screen time. One Baylor University study found participants experienced 72% less anxiety during hands-on projects compared to passive relaxation.
Think beyond glue sticks and glitter. Today’s makers craft leather-bound journals from recycled materials or sculpt modern planters from concrete mix. Each piece serves dual purposes: beautifying your environment while quieting mental chatter.
Communities thrive around this movement. Local stitch-and-bitch groups and online forums prove creating together builds connections as strong as the art itself. As one maker told me: “My weekly pottery class isn’t about vases—it’s where I remember who I am outside my job title.”
Ready to begin? Your toolkit already exists. That linen closet overflowing with unused fabrics? Those wine bottles destined for recycling? They’re not clutter—they’re your first act of joyful rebellion against disposable culture.
Embracing Unexpected Materials as Creative Tools

What if your craft supplies weren’t hiding in stores—but scattered throughout your home? The magic begins when you redefine “materials.” Those coffee filters destined for the trash? They’re sculptural paper waiting to become delicate lampshades. That stack of expired magazines? Consider it free abstract wall art in raw form.
Innovative Material Choices
Your recycling bin holds better options than most craft stores. Plastic bottle bottoms become etched coasters with a candle flame and sandpaper. Old CDs morph into mosaic tiles for garden stepping stones. The trick? Treat materials like collaborators—learn their textures and structural limits through playful testing.
Start with simple transformations:
- Shredded paper + flour paste = papier-mâché bowls
- Wine corks + hot glue = bath mats
- Broken ceramics + grout = statement tabletops
These projects prove polish comes from technique, not expensive supplies.
Sustainable Practices in DIY Projects
Every upcycled item fights our throwaway culture while sparking innovation. A 2023 Upcycle Alliance report shows 73% of makers find their most unique pieces come from repurposed materials. You’re not just crafting—you’re redefining value.
Try this mindset shift: Before tossing anything, ask “What textures or shapes could I use?” Those plastic grocery bags? Braid them into outdoor rugs that laugh at rain. Cardboard boxes? Layer them into floating shelves stronger than particle board. The planet wins when your creations replace store-bought decor.
DIY Home Decor Projects to Transform Your Space
Your home’s next showstopper might be hiding in plain sight—disguised as that dated side table or bare wall. With strategic updates, you can convert overlooked items into focal points that reflect your personality. Let’s explore techniques that blend function with artistic flair.
Upcycled Furniture and Wall Art
That scratched dresser from Facebook Marketplace? It’s a candidate for high-impact transformation. Sand down imperfections, apply chalk paint, and swap hardware for instant sophistication. For walls, try this: stretch burlap over old frames and arrange dried botanicals in shadow boxes.
| Project | Materials | Cost Savings |
|---|---|---|
| Mid-century side table | Thrifted piece + wood stain | $200+ retail vs. $40 DIY |
| Macrame wall hanging | Cotton rope + dowel | $80 store vs. $12 homemade |
| Etched glass vases | Mason jars + etching cream | $25 each vs. $5 materials |
Hand-Painted Accents and Custom Designs
Transform plain walls with painter’s tape patterns—geometric shapes in matte black make rent-friendly statements. For furniture, try color blocking: paint drawer fronts in contrasting hues while leaving frames neutral. Remember this rule: light colors expand spaces, dark tones add depth.
Pro tip: Test paint samples on poster board before committing. You’ll avoid costly mistakes and discover unexpected color combinations that elevate your existing decor. One maker transformed her kitchen using leftover blue sample pots—now her breakfast nook looks straight from a design magazine.
Ready to start? Grab that lonely chair in your basement. With some sandpaper and a bold color choice, it could become the conversation piece your living room needs.
Ingenious Paper and Flower Crafts for a Fresh Look

Your next dinner party centerpiece might not come from a florist—but from your kitchen drawer. Paper blooms offer endless possibilities: allergy-free arrangements, permanent wedding bouquets, or custom shades for lamps. Unlike fresh stems, these creations adapt to your style—not the seasons.
DIY Paper Roses and Floral Gift Toppers
Start with coffee filters—their natural texture mimics real petals when dyed. Dip edges in diluted food coloring for gradient effects. Twist around skewers secured with floral tape, building layers until you achieve peony-like fullness. Pro tip: Crinkle tissue paper leaves between your palms for realistic veining.
| Paper Type | Best For | Visual Effect |
|---|---|---|
| Cardstock | Sturdy roses | Clean, modern lines |
| Tissue paper | Dahlias & peonies | Soft, romantic layers |
| Old book pages | Vintage arrangements | Textured, literary charm |
| Coffee filters | Budget-friendly blooms | Organic, natural shapes |
Gift wrapping becomes art with floral toppers. Cut spiral shapes from colored paper, then roll into tight rosettes. Attach to packages using double-sided tape—no messy glue. For holidays, try metallic papers; for birthdays, match the recipient’s favorite hues.
These techniques turn basic supplies into heirloom-quality decor. As one maker shared: “My paper magnolias outlasted three relationships—now they’re my most reliable companions.” Your creations will similarly become conversation starters that never wilt.
Easy and Eco-Friendly Home Accents

Your trash bin holds more artistic potential than any craft store aisle. Those empty soda bottles and worn-out tote bags? They’re raw materials for decor that tells your sustainability story—one guests will admire without guessing their humble origins.
Recycling Tips for Creative Home Decor
Start by reimagining disposal routines. Before tossing plastic containers, note their shapes: round yogurt tubs become hanging planters with drilled drainage holes. Flattened cereal boxes? Prime candidates for drawer dividers covered in fabric scraps. “The key,” says upcycling artist Mara Lin, “is washing materials thoroughly and sanding rough edges—treat them like store-bought supplies.”
Try these starter transformations:
- Turn grocery bags into weatherproof outdoor rugs (crochet with “plarn” yarn)
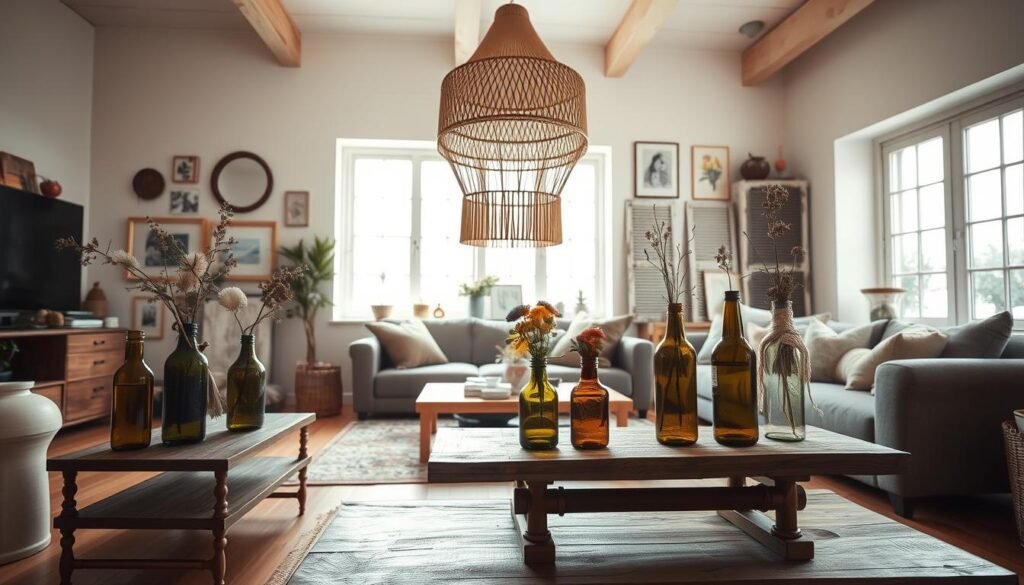
- Convert wine bottles into sleek soap dispensers using pump tops
- Layer old maps around LED candles for wanderlust-inducing luminaries
You’ll soon spot hidden value everywhere. That chipped mug becomes a succulent planter. Discarded jeans transform into quilted chair pads. Bonus? These textures—faded denim, crinkled paper—add depth that mass-produced items can’t replicate.
Create a “maybe materials” bin near your recycling station. Sort glass, plastic, and paper into labeled containers. When inspiration strikes, you’ll have supplies ready for easy DIY projects that align with your eco-values—no special trips required.
DIY Molding Techniques Using Uncommon Supplies

Your kitchen drawer holds secret weapons for crafting museum-worthy resin art. Those ice cube trays and silicone cupcake molds? They’re professional-grade casting tools in disguise. With resin, you can freeze moments in time—dried lavender from your garden or childhood trinkets—inside glossy, durable designs.
Resin Crafting for Detailed Art Pieces
Start simple: mix two-part epoxy in disposable cups. Pour into cleaned takeout containers for geometric coasters. For organic shapes, press leaves into air-dry clay before casting. Pro tip: Warm resin bottles in water first—it reduces bubbles better than any fancy tool.
| Additive | Effect | Best For |
|---|---|---|
| Mica powder | Metallic shimmer | Jewelry dishes |
| Alcohol ink | Marble patterns | Statement trays |
| Pressed flowers | Botanical preservation | Paperweights |
Always work in ventilated areas with nitrile gloves. Cure pieces on level surfaces covered in wax paper—peel-off mistakes become “happy accidents” for future collages.
Custom Monogram and Personalized Projects
Transform wooden initials into heirlooms with brushstroke techniques. Layer acrylic paints thickly for textured depth, dragging bristles to create organic ridges. Seal with resin for a glass-like finish that withstands daily use.
Struggling with uneven casts? Sand edges with 400-grit paper before applying final resin coats. Buff with automotive polish for gallery-ready clarity. Your chess set won’t just challenge minds—it’ll spark conversations about hidden artistry in functional designs.
These methods turn grocery aisle finds into luxe-looking pieces. As one maker laughed: “My mother thought my leaf bowl came from Paris—until she saw my mold was a Dollar Tree pet food tray.” Your supplies are closer than you think.
Transforming Everyday Items into Gift-Worthy Crafts

What makes a gift unforgettable? Often, it’s the thoughtful twist that says “I see you.” That coffee sleeve protecting their morning brew? Imagine it remade with fabric scraps from their favorite worn-out shirt. This is the craft of meaningful giving—where everyday objects become cherished keepsakes.
Start with simple upgrades. Melt soy wax with lavender oil in thrifted teacups for aromatic sachets. Turn mismatched buttons into tassel earrings using jewelry pliers. The secret? Choose materials that tell stories—like maps from their hometown or pages from their beloved novel.
| Project | Materials | Time Needed | Personalization Tip |
|---|---|---|---|
| Patchwork Coasters | Denim scraps + cork | 20 minutes | Use fabric from their old jeans |
| Herbal Bath Salts | Epsom salt + dried rosemary | 5 minutes | Add their zodiac birth flower |
| Custom Soap Bars | Melt-and-pour base + oat flakes | 15 minutes | Press their initial with a cookie cutter |
Presentation elevates handmade items. Wrap soaps in vintage sheet music secured with twine. Line gift boxes with coffee-stained paper for rustic charm. One crafter shares: “My sister cried when she saw her bookmark—made from our childhood blanket’s fringe.”
Short on time? Batch-create bases like neutral-colored candle holders. Customize each later with quick additions—a stamped metal tag for one friend, pressed wildflowers for another. This way, you craft six unique gifts in the time it takes to shop for one.
Your next standout present isn’t waiting in a store. It’s hiding in your junk drawer—ready to become proof that the best gifts aren’t bought, but built with intention.
Advanced DIY Techniques for the Ambitious Crafter
Your crafting journey just leveled up—welcome to the league of makers who turn ambitious visions into gallery-worthy pieces. This stage isn’t about following tutorials—it’s where your unique style meets professional polish through intentional design choices.
Mastering Complex Designs and Finishing Touches
Sophisticated projects like resin chess sets demand strategic planning. Break them into phases: mold preparation on day one, pigment mixing on day two. This approach prevents overwhelm while ensuring crisp details in every pawn and rook. One maker shared: “Working in stages taught me patience—now my pieces look like they came from an artisanal workshop.”
Elevate embroidery work with layered stitching on denim jackets. Use water-soluble stabilizer for intricate patterns—it vanishes after washing, leaving flawless floral motifs. For string art, map designs digitally first. Print templates to guide nail placement, ensuring geometric precision in every curve.
When projects falter, recovery techniques save the day:
- Buff resin bubbles with micromesh pads
- Camouflage stitching errors with strategic bead placement
- Transform cracked clay into mosaic accents
Invest in tools that multiply possibilities—precision knives for paper filigree, heat guns for textured resin effects. These aren’t luxuries but skill accelerators that refine edges and finishes. As your confidence grows, blend techniques: pair woodburning with epoxy fills, or mix macramé with LED lighting.
Every mastered challenge becomes a stepping stone. Soon you’ll be modifying patterns—then creating entirely new ones. That’s when craft evolves from hobby to personal signature.
Exploring Crafting with Paint and Mixed Media
Your blank walls might secretly crave color—and your morning coffee could be the answer. Painting isn’t about innate talent. It’s about playful experimentation with tools you already own. That half-used lipstick? A potential abstract masterpiece. Those Q-tips in your medicine cabinet? Precision brushes for floral details.
Easy Landscape Painting Projects
Start with simple horizon lines. Use masking tape to section canvases into sky, mountains, and fields. Blend dollar store acrylics with a damp paper towel for soft gradients. Pro tip: Dip cotton swabs in white paint to dot lavender fields—instant Provencal charm without fine motor skills.
Innovative Mixed Media Approaches
Layer coffee stains over watercolor washes for aged-map textures. Press rubber cement onto paper before painting—peel it post-drying for crisp negative space. One crafter transformed cereal boxes into 3D wall art by combining torn edges with metallic spray paints.
These techniques prove artistic expression thrives on constraints. Your kitchen sponge becomes a cloud-stamping tool. Leftover candle wax morphs into resist patterns. As you blend mediums, you’ll discover—like many makers—that the most striking pieces often begin as happy accidents.

