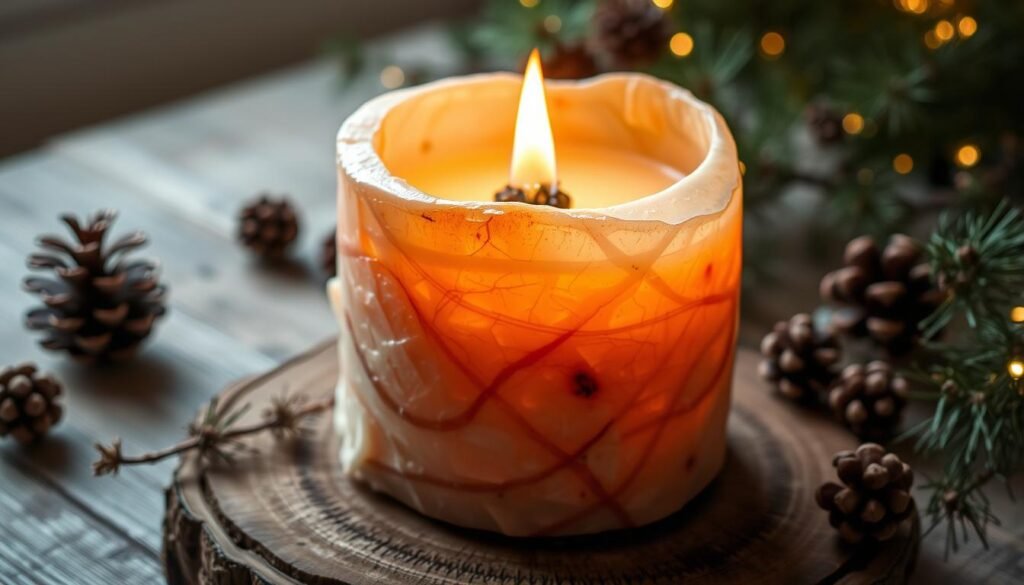
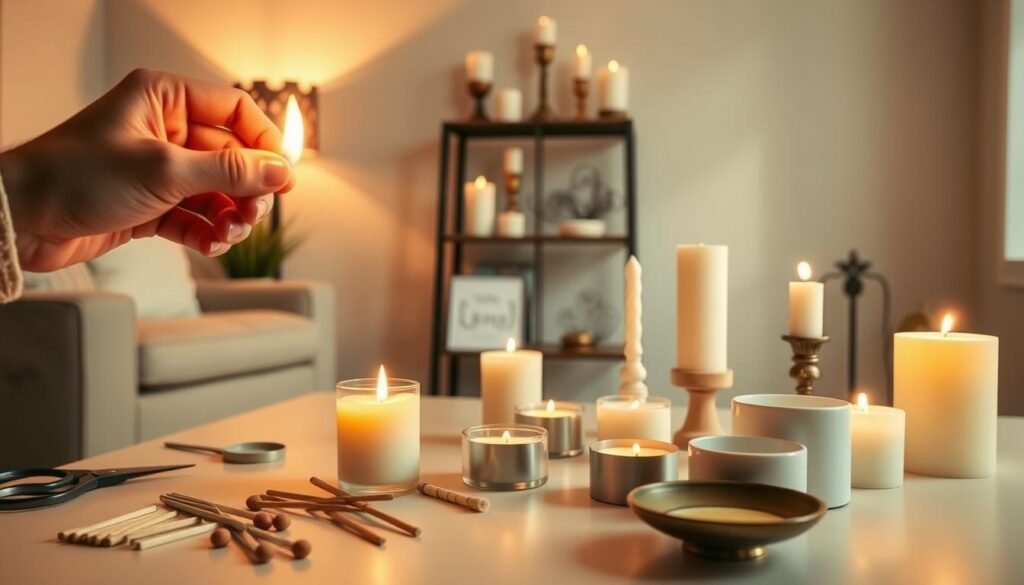
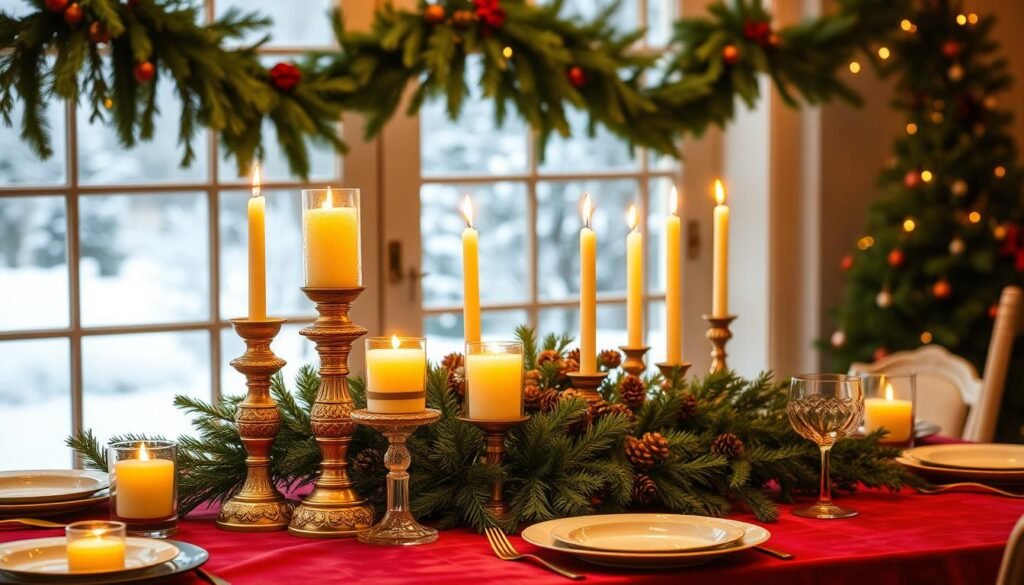
Imagine filling your space with the soft glow of flickering light and the comforting scent of pine or cinnamon—without spending a fortune. Handmade holiday creations aren’t just trending; they’re reshaping how we think about seasonal decor. Crafters nationwide are swapping store-bought options (think $20-50 price tags at retailers like Yankee Candle) for personalized pieces that reflect their unique style.
Why settle for generic when you can design something extraordinary? This approach lets you control every detail—from choosing exactly the right fragrance to matching your existing home aesthetic. You’ll save money while crafting an item that feels genuinely yours—a win-win for both your wallet and your creative spirit.
We’ll guide you through selecting quality materials, blending scents like a pro, and adding those final artistic flourishes. Learn how to ensure even burning and lasting fragrance—skills that elevate your creation from “homemade” to “artisan-quality.”
By the end, you’ll have more than just a beautiful centerpiece. You’ll gain the confidence to infuse every corner of your space with seasonal beauty, turning simple wax and wicks into cherished holiday memories. Ready to make magic?
Introduction to DIY Christmas Candle Creations
There’s a special joy in crafting decorations that carry your personal touch. While store-bought options fill shelves with predictable designs, handmade pieces let you infuse spaces with warmth that feels uniquely yours. Think about it: for less than $10 in supplies (hello, Dollar Tree finds!), you can make multiple pieces that outshine pricey boutique versions.
Why Handmade Christmas Candles?
You’re not just pouring wax—you’re designing memories. Each choice matters: maybe vanilla-spice for the kitchen, crisp cedar for the entryway. Your creations become extensions of your home’s personality, unlike mass-produced duplicates. Bonus? You skip synthetic additives that irritate sensitive noses.
Involving loved ones turns this into tradition-building. Kids can pick colors while you explain safe practices—crafting becomes both creative outlet and teaching moment. That glow? It’s pride and ambiance.
Setting the Holiday Ambiance
Your candle’s fragrance becomes your secret weapon. Blend peppermint with orange zest for energizing mornings, or mix pine and amber for cozy nights. Placement matters too—cluster smaller jars on windowsills, let a statement piece anchor your dining table.
Remember: these aren’t just decorations. They’re sensory experiences that make guests pause and say, “Wait—you made these?” That’s the magic of putting heart into holiday preparations.
Essential Materials and Supplies for Your Holiday Candle Project
Building beautiful seasonal pieces starts with smart material choices. Let’s cut through the clutter—you only need a few key items to create stunning results without breaking the bank.
Must-Have Supplies & Tools
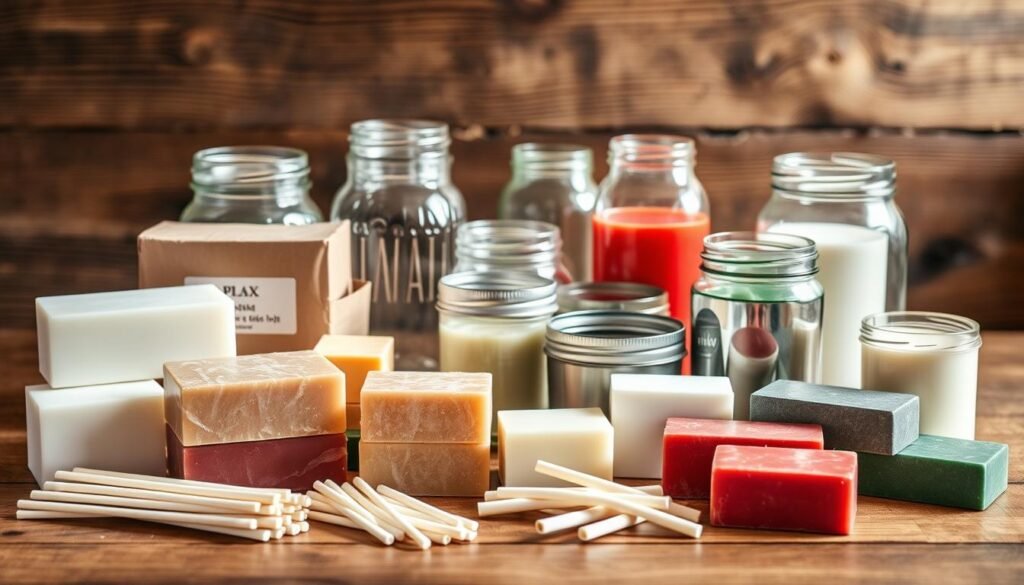
Your toolkit should focus on versatility. Start with white jar candles from Dollar Tree—they’re perfect for melting down into new creations. You’ll need 8-9 for larger projects. Pair these with:
- Cotton wicks (available at craft stores)
- A $5 hot glue gun for securing decorations
- Rubbing alcohol for surface prep
Don’t overlook household items. Bamboo skewers help position wicks straight, while thrifted ceramic bowls make charming containers. That pasta sauce jar in your recycling bin? It’s about to become your favorite candle holder.
Tips for Budget-Friendly Sourcing
Smart shopping turns ordinary items into design gold. Hit dollar stores first—their glassware often costs less than craft store equivalents. Need wax? Those $1 jar candles melt beautifully and burn cleanly.
Check thrift shops for unique containers. I’ve scored ceramic bowls for $2 that retail at $15 elsewhere. For seasonal accents like mini trees, wait for post-holiday sales at big-box stores.
Remember: Your local buy-nothing group might have spare supplies. Many crafters happily share leftover wicks or wax blocks. It’s eco-friendly and builds community—exactly what holiday projects should embody.
Crafting a diy christmas candle: Step-by-Step Instructions
Transform ordinary supplies into radiant decor with techniques that balance creativity and precision. Let’s turn that vision in your head into a tangible glow—no prior experience required.
Workspace Setup Like a Pro
Clear a heat-resistant surface near a window or fan—melting wax needs airflow. Lay out wooden spoons, bamboo skewers, and hair clips within arm’s reach. Pro tip: Use painter’s tape to mark where containers will sit. This prevents last-minute spills when pouring.
The Art of Layered Perfection
Melt 8-9 repurposed jar candles slowly using a double boiler. Wait until the wax reaches honey-like consistency—about 145°F. Pour your base layer, then let it cool for 35 minutes (set a timer!). Add decorations when the surface feels firm but leaves a fingerprint when pressed.
Sealing the Deal Safely
Top with a final wax layer at 165°F for seamless bonding. Cool completely overnight—resist peeking! Trim wicks to ¼ inch using nail clippers for precision. Remember: Keep pinecones or trees 2+ inches from flames. “A beautiful piece becomes dangerous if decorations crowd the wick,” notes veteran chandler Lisa Marrone.
Struggling with sunken embellishments? Pour warmer wax next time. If layers separate, gently reheat the surface with a hair dryer. Your patience now ensures a flawless burn later—worth every second.
Creative Variations and Unique Design Ideas
Turn broken trinkets and thrifted finds into enchanting candle designs that spark conversations. The magic happens when you see potential in unexpected items—like transforming dollar store bottle brush trees into a glittering forest scene.
Exploring Innovative Styles: From Shimmering Trees to Relaxing Rudolph
Picture a wide ceramic bowl holding three flickering flames, surrounded by miniature evergreens. Position those bottle brush accents opposite the wicks—they’ll cast dancing shadows as wax pools deepen. Broken reindeer figurines? Glue them to the container’s side, add painted eyelashes, and suddenly Rudolph’s “relaxing” in a cinnamon-scented spa.
Your kitchen tools become heroes here. An elf-shaped measuring cup makes a whimsical holder—its handle peeking over melted wax like it’s guarding the flame. For rustic charm, try covered bowls resembling knitted winter hats. Pro tip: Cluster three small versions on a tray with pinecones for instant farmhouse appeal.
Multiple wicks aren’t just practical—they’re design tools. Arrange them in triangular formations to create mesmerizing melt patterns. Just keep decorations 2+ inches from flames. As candle artist Jenna Wu advises: “Your safest pieces often become the most stunning—simplicity lets materials shine.”
Remember—perfection’s overrated. That lopsided ceramic tree? It adds character. The key lies in embracing imperfections while prioritizing safety. Your creations will glow brighter when they carry stories only you could tell.
Safety and Best Practices for Homemade Candle Making
Creating glowing centerpieces brings joy—but only when done responsibly. Let’s explore how to maintain that magical ambiance while keeping your space secure.
Wick Placement and Optimal Burn Time
Centered wicks aren’t just about looks—they prevent uneven melting. Use a ruler to measure 2+ inches between flames and decorations. Why? Wax pools expand as candles burn, shifting nearby elements closer to danger zones.
Limit initial burns to 2 hours. This helps set a stable melt pattern. For subsequent uses, extinguish flames once wax reaches the container’s edge. “Overburning warps designs and weakens containers,” notes fire safety expert Mara Lin.
| Candle Size | Max Burn Time | Wick Trim Frequency |
|---|---|---|
| Small (3″ height) | 2 hours | Before each use |
| Medium (5″ height) | 3 hours | Every 3 uses |
| Large (7″ height) | 4 hours | Weekly |
Fire Safety Measures and Responsible Use
Always burn candles within sight—never while sleeping or in empty rooms. Keep them 12 inches from curtains and holiday greenery. A simple trick: Place designs on metal trays to contain potential wax drips.
Trim wicks to ¼ inch using nail clippers for precision. Longer wicks create taller flames that can ignite nearby decorations. Test new designs by burning them for 30 minutes while monitoring heat distribution.
Remember—your creations deserve admiration, not constant use. Light them during special moments rather than daily. This preserves intricate details and reduces fire risks over time.
Enhancing Your Holiday Decor With DIY Candle Accents
Your handmade creations deserve a stage that amplifies their glow—let’s explore how to make them shine in every corner of your home. Whether dressing up your holiday table or crafting a welcoming entryway, strategic placement transforms simple wax into immersive experiences.
Styling Tips for Mantels, Tables, and More
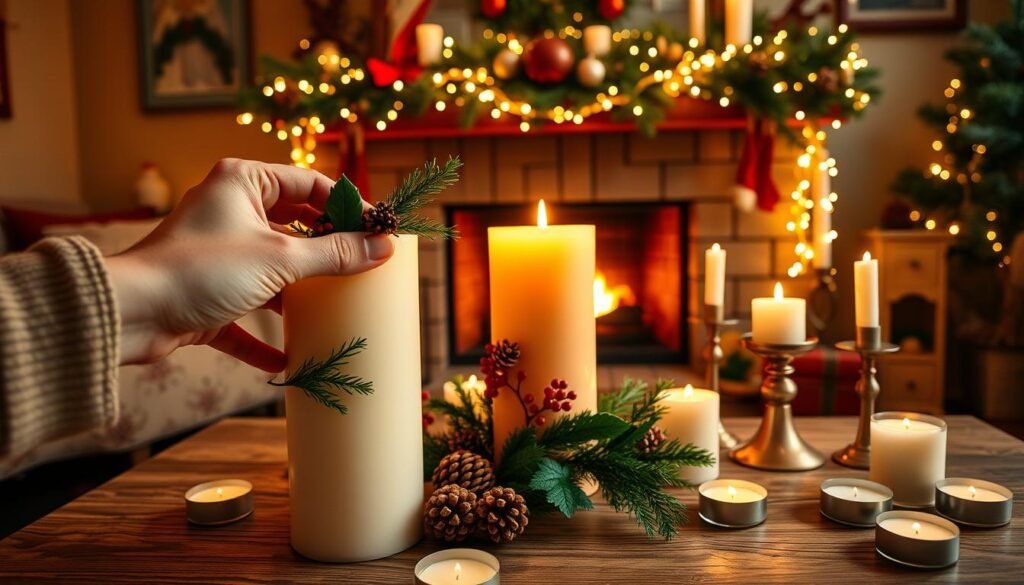
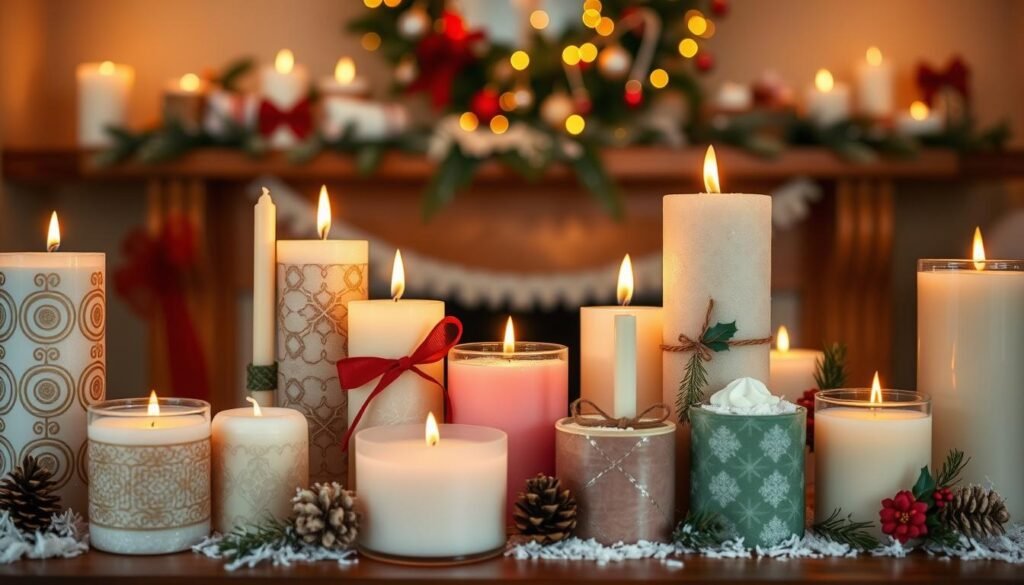
Think layers, not clutter. On your holiday table, cluster three pieces at varying heights: place a tall pillar on a stacked book, a medium jar on a cake stand, and a tea light in a glass votive. This creates depth without overwhelming place settings.
For mantels, alternate candle sizes with framed art or seasonal figurines. Leave 6-8 inches between groups to let each element breathe. Pro tip: Use mirrored trays beneath arrangements—they double the flicker effect while protecting surfaces.
Complementary Decor Ideas Inspired by Glass and Natural Elements
Glass hurricane covers aren’t just practical—they’re design tools. Pair them with loose eucalyptus sprigs or cinnamon sticks for texture. “The right vessel elevates simple greenery into gallery-worthy displays,” notes interior stylist Clara Bennett.
- Wrap base layers with preserved moss or birch bark
- Nestle pinecones beside votives for woodland charm
- Float cranberries in water-filled glass bowls around pillar candles
Remember: Odd numbers create harmony. Group five mini arrangements on a long holiday table, or cluster three along a windowsill. Your space will feel curated, not crowded.
Conclusion
As the final wax sets, you’re not just making candles—you’re crafting memories. This holiday season, you’ve gained skills that transform simple materials into meaningful decor. Whether designing centerpieces or gifts, your creations now carry that special touch no store-bought item can replicate.
Remember: great holiday candles balance beauty and practicality. Revisit safety tips like wick trimming and burn times to protect your designs. For those eager to experiment further, our guide to natural lavender-rosemary candles offers fresh scent-blending ideas.
Share these projects at gatherings or package them as heartfelt gifts. Your handmade pieces become conversation starters—proof that seasonal magic lives in details made with care. Keep refining your style; every pour teaches something new.
This tutorial isn’t just about wax and wicks. It’s about creating moments that linger long after the flame flickers out. Ready to light up next year’s celebrations? Your future self—and your guests—will thank you.

