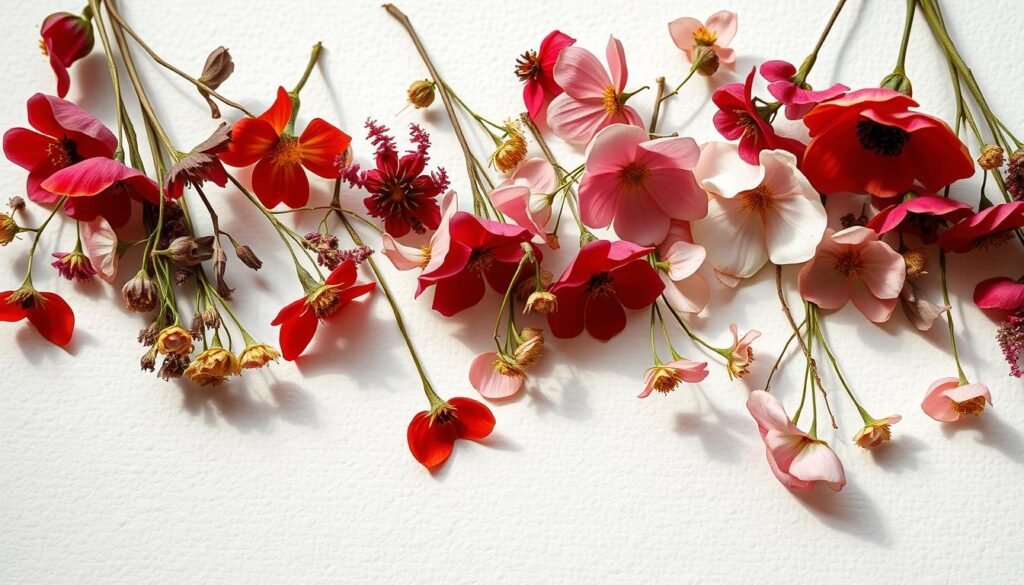
Imagine adding organic texture to your brand visuals – the kind that makes followers pause mid-scroll. That’s the magic of working with preserved botanicals. Whether you’re styling Instagram posts or designing product packaging, these delicate natural materials offer a fresh way to connect with audiences craving authenticity.
Creative entrepreneurs nationwide are embracing this trend for good reason. Botanical elements bring warmth to digital spaces while aligning with eco-conscious values – a perfect match for brands prioritizing sustainability. From flat-lay photography to handmade stationery, these timeless accents create instant emotional resonance.
We’ll guide you through crafting showstopping visuals that reflect your unique style. Discover how to choose blooms that complement your brand palette and longevity needs. Learn pro techniques for arranging specimens that tell compelling stories without saying a word.
Ready to transform how you approach content creation? Let’s explore how nature’s artistry can become your secret weapon for standing out in crowded digital markets – all while keeping your creative process joyful and sustainable.
Introduction: The Art and Appeal of Pressed Flowers
That tattered notebook from your grandmother’s attic? The one with crumbling rose petals between its pages? It holds more than memories – it’s proof of our timeless urge to capture nature’s fleeting beauty. This craft bridges generations, transforming simple blooms into storytellers that whisper of summer days and handwritten letters.
Modern creators are rediscovering this tradition’s power. What began as childhood nature projects now fuels authentic brand storytelling. The crunch of autumn leaves pressed into wax paper becomes content gold – tactile, nostalgic, and irresistibly shareable.
| Traditional Use | Modern Application | Audience Impact |
|---|---|---|
| Memory keeping in diaries | Product packaging accents | +37% engagement (2023 social data) |
| Botanical education | Website background textures | 2.1x longer dwell time |
| Seasonal home decor | Instagram story overlays | 84% recall rate |
Why does this resonate? It’s not about petals and paper. It’s shared human experience. Followers don’t just see your floral designs – they smell their fifth-grade science fair project and feel the August sun that warmed those blossoms.
Your content becomes a bridge between screens and soil. When you frame dried lavender beside your skincare line, you’re not selling products – you’re offering permission to slow down. That’s the real magic: turning yesterday’s craft into today’s connection.
What Are Pressed Flowers? An Overview of Nature-Inspired Art
Ever wondered how summer’s brilliance gets preserved in paper-thin form? These delicate botanical keepsakes begin as fresh blossoms, transformed through moisture removal techniques into lasting artistic elements. The magic happens when petals and leaves lose their water content while maintaining vibrant hues and structural integrity.
Think of it as nature’s pause button. Through careful dehydration – whether using books, presses, or modern tools – three-dimensional blooms become flat, lightweight materials perfect for creative projects. The best specimens? They’re not just pretty. Their cell structure and pigment concentration determine how well they’ll flatten without crumbling.
Here’s why this matters for your craft:
– Thin-petaled varieties (like daisies) often outperform fleshy blooms
– Pigments in purple pansies hold better than yellow marigolds
– Proper drying locks in color for 2-5 years on average
This isn’t new-age witchcraft – it’s science meeting tradition. Civilizations from ancient Japan to Victorian England used similar preservation methods. Today’s creators benefit from centuries of trial and error, achieving gallery-worthy results with basic supplies.
Why does this centuries-old technique still captivate? It turns fleeting beauty into tangible creativity. When you master these fundamentals, you’re not just making art – you’re bottling sunshine and nostalgia in every petal.
Choosing the Perfect Blooms for Pressing
Not all petals are created equal when it comes to preservation. The secret lies in selecting specimens that flatten beautifully while retaining their charm – think of it as matchmaking between nature and your creative vision.
Nature’s Willing Participants
Some varieties practically beg to be pressed. Reach for single-layer blooms with open faces – daisies wink from the garden, while Queen Anne’s lace offers intricate detail. Delphiniums bring vertical drama, and baby’s breath adds airy texture. Steer clear of thick-petaled types like peonies; their juicy layers trap moisture like rainforest canopies.
Timing Is Everything
Harvest your candidates mid-morning after dew evaporates. This sweet spot ensures vibrant hues without excess dampness. For seasonal success:
- Spring: Violas and forget-me-nots
- Summer: Cosmos and bachelor’s buttons
- Fall: Goldenrod and asters
No garden? Grocery store bouquets work beautifully. Just avoid roses unless you’re prepared to disassemble them – their dense centers need individual petal pressing. Remember: blooms at 80% openness preserve best, capturing peak beauty without fragility.
Pro tip? Keep a field kit handy – scissors, wax paper, and a notebook for labeling. When you spot that perfect pansy, you’ll be ready to capture its magic before the midday sun fades its sparkle.
Essential Tools and Supplies for Flower Pressing
Your toolkit determines whether those garden treasures become keepsakes or compost. Let’s break down the gear that turns fragile petals into lasting artistry – no fancy equipment required.
Books, DIY Presses, and Commercial Tools Compared
Start with what you already own. That encyclopedia set gathering dust? Perfect for beginners. But if you’re pressing daily, consider upgrading:
| Method | Cost | Space Needed | Best For |
|---|---|---|---|
| Heavy books | $0 | Bookshelf | Casual crafters |
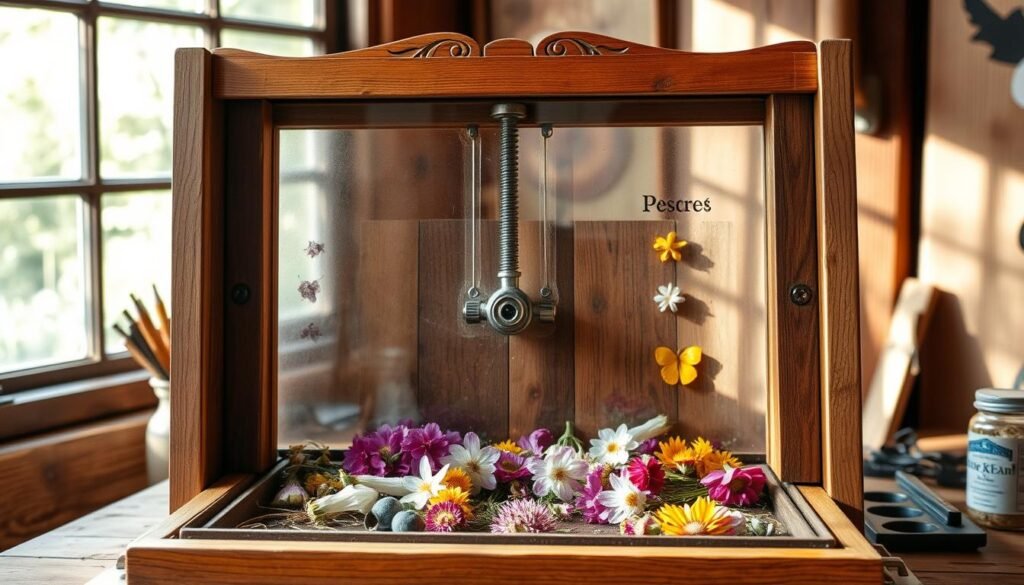
| DIY wooden press | $15-30 | Workbench | Serious hobbyists |
| Commercial flower press | $50+ | Studio | Professional artists |
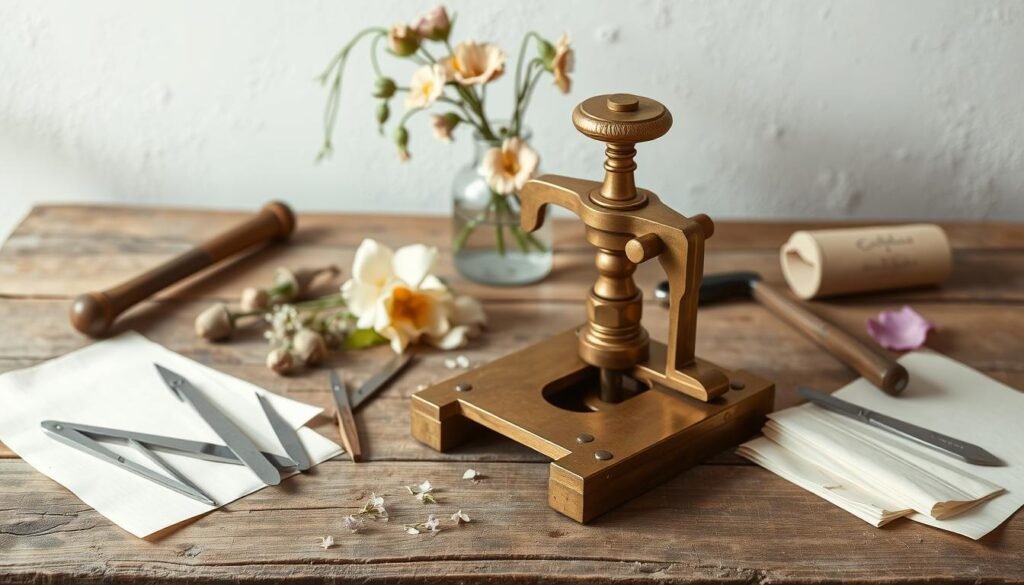
Wooden presses with adjustable bolts let you stack multiple layers. Commercial versions offer quick-release mechanisms – ideal for bulk projects.
Selecting the Right Paper, Cardboard, and Tweezers
Paper choice makes or breaks your results. Skip the paper towels – their texture leaves ghost patterns. Instead:
- Parchment paper: Non-stick surface protects delicate veins
- Blotting sheets: Absorb moisture evenly
- Thin cardboard: Adds structural support between layers
Those stainless steel tweezers from your nail kit? They’re gold for positioning fragile specimens without fingerprint smudges. Curved tips help navigate tight spaces when arranging intricate designs.
Pro tip: Cut materials to match your press size. Nothing kills momentum like realizing your cardboard’s too wide halfway through assembly!
How to Press Flowers Using a Book Method
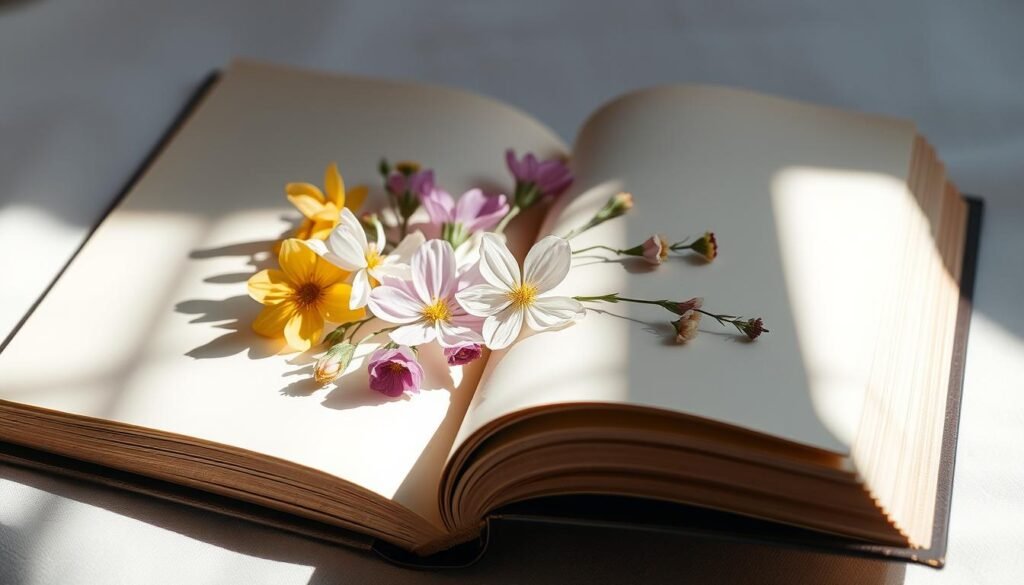
Your favorite novel just found a second act as a botanical time capsule. This classic technique turns literature into preservation tools – no fancy equipment needed. Let’s transform that hefty hardcover gathering dust into your new creative partner.
Step-by-Step Book Press Instructions
Start with the right foundation: Grab a thick book you don’t mind dedicating to craft projects. Phone directories work beautifully – their porous pages absorb moisture like champs. Open to the middle section and line it with parchment paper.
Arrange your blooms face-down, leaving three-quarters of an inch between each. This breathing room prevents color bleed and mold – nature’s version of personal space. Top with another sheet, then close the book gently like you’re tucking in a child.
Pro tip: Stack additional weights on top – cookbooks or dumbbells add necessary pressure. Thicker specimens like daisy centers need 4 weeks minimum, while delicate violets dry in 14 days. Resist peeking for the first week; patience preserves pigment integrity.
When checking progress, slide a butter knife under pages instead of flipping violently. Perfectly preserved petals should feel crisp but not brittle. If they stick, leave them another 3-5 days. Your finished treasures will lie flat as origami paper, ready for framing or digital scans.
Remember: Not all books are equal. Avoid glossy pages that trap moisture. For sentimental volumes, slip wax paper between text blocks to protect ink. This method’s beauty lies in its simplicity – turning everyday objects into time machines that capture spring’s fleeting moments.
Creating a DIY Wooden Flower Press: A How-To Guide
Crafting a wooden press transforms basic materials into a functional art piece that outperforms traditional book methods. Unlike makeshift solutions, this customizable tool gives you precision control – essential for preserving delicate botanicals with professional results.
Materials and Tools Needed for a Wooden Press
Gather these supplies from your local hardware store:
- Two 12×12″ plywood sheets (¼” thickness)
- Four 3″ bolts with wingnuts
- Corrugated cardboard cut to 11.5×11.5″
- Blotting or parchment paper
Drill matching holes 1″ from each corner – use a drill press for perfect alignment. The secret lies in the layered sandwich system: cardboard absorbs moisture while paper protects delicate veins. Stack them as follows:
| Layer Order | Material | Purpose |
|---|---|---|
| 1 | Wood base | Foundation |
| 2 | Cardboard | Moisture control |
| 3 | Paper | Surface protection |
| 4 | Botanicals | Specimen placement |
For pressure adjustment, turn wingnuts clockwise until resistance forms – about 1/8 turn daily maintains ideal tension. This detailed tutorial shows how thicker stems need firmer compression than fragile petals.
Personalize your press with wood-burned patterns or decoupage. When not in use, display it as rustic wall art in your craft space. The finished piece becomes both tool and conversation starter – proof that functional can be beautiful.
Quick Pressing: The Microwave Flower Press Technique
Who says preserving nature’s beauty can’t keep up with modern life? The microwave method turns hours into minutes – perfect for last-minute projects or impatient creators. With the right tools, you’ll transform fresh botanicals into flat, dry specimens faster than your tea cools.
Timing and Safety Tips for Microwave Pressing
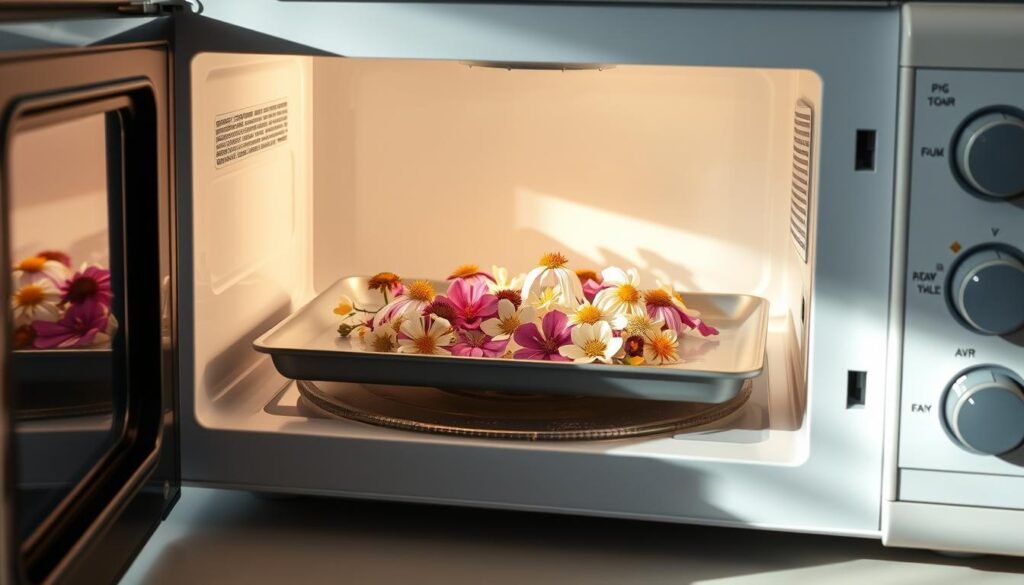
Start with a quality flower press like the Microfleur Max. Begin with a 25-second burst at medium power – this initial step prevents shock to delicate petals. After each cycle, air out the press for 15 seconds. Repeat in 10-second intervals, checking progress like you’d test cake doneness.
Why the cooling step? It lets trapped steam escape, preventing that dreaded burnt-leaf smell. Think of it as giving your blooms breathing room between workouts. For best results:
- Use parchment paper as a protective barrier
- Rotate the press 180° between zaps
- Never leave the microwave unattended
Troubleshooting Common Microwave Issues
Sticky petals? They need more drying time – add 5-second increments. Uneven results usually mean overcrowding. Give each specimen personal space like subway riders during rush hour.
Avoid fleshy varieties (looking at you, succulents) that turn to mush. Instead, try these microwave-friendly options:
- Pansies – their flat faces dry evenly
- Ferns – retain structural integrity
- Herb leaves – perfect for cocktail garnishes
Burnt edges? Reduce power by 30% and increase intervals. Remember: this method trades some color vibrancy for speed. For heirloom-quality pieces, stick with traditional pressing – but when deadlines loom, your microwave becomes the ultimate creative ally.
Exploring Alternative Techniques: Ironing and Silica Gel Methods
Your craft table deserves options beyond the ordinary. While traditional methods work beautifully, sometimes you need different ways to handle tricky specimens or tight deadlines. Let’s examine two unconventional approaches that expand your creative toolkit.
The ironing technique turns household appliances into time-savers. Place blooms between parchment sheets and press with a warm iron (no steam!) for 15-second bursts. It’s perfect for last-minute school projects or when your kid wants instant results. But be warned – expect some curling edges and muted colors compared to slower methods.
Silica gel offers a different way to preserve nature’s artistry. Bury specimens in these moisture-absorbing crystals for 3-7 days. You’ll maintain more 3D shape than traditional pressing – ideal for boutonnieres or shadowbox displays. The trade-off? This way requires careful monitoring to prevent over-drying.
| Method | Time Required | Best For | Limitations |
|---|---|---|---|
| Ironing | 2-5 minutes | Quick crafts, flat designs | Color fading, wrinkles |
| Silica Gel | 3-7 days | 3D preservation, thick blooms | Crystal cost, storage space |
Combine both different ways for striking layered art. Try ironed ferns as background textures with silica-preserved roses popping forward. This hybrid approach lets you play with depth while keeping projects manageable. Just remember – each method serves specific needs. Save the iron for experiments and silica for heirloom pieces.
Your choice depends on what you’re preserving – and why. Quick fixes have their place, but lasting beauty often rewards patience. Now you’ve got the knowledge to match the method to the moment, whether you’re racing against naptime or crafting legacy pieces.
Expert Tips for Perfected Pressed Flowers
Transform fragile petals into lasting masterpieces with professional preservation secrets. While basic techniques work for casual projects, true artistry lies in the details – the subtle choices that keep botanicals looking freshly plucked years later.
Color and Texture Preservation Masterclass
The book method remains the best way to lock in vibrant hues. Swap absorbent paper every 72 hours during the first week – this prevents moisture buildup that dulls pigments. For parchment users? Rotate sheets halfway through drying to ensure even pressure distribution.
Group specimens by thickness like a florist sorting stems. Delicate violets dry faster than woody lavender stalks – separating them prevents under-dried edges or over-compressed centers. Use nylon tweezers (metal conducts heat) to position fragile pieces without leaving fingerprints.
| Challenge | Quick Fix | Long-Term Solution |
|---|---|---|
| Fading colors | Store in dark drawer | UV-protective glass frames |
| Brittle texture | Light glycerin spray | Humidity-controlled storage |
Pressure adjustments make or break your results. Tighten press screws until resistance feels like closing a jammed jar – firm but not forced. Check progress after 48 hours: petals should feel like crisp autumn leaves, not potato chips.
Remember – great preservation isn’t about force. It’s about listening to nature’s whispers. When specimens curl slightly at the edges? That’s character, not failure. Embrace these organic imperfections – they’re what make each piece uniquely yours.
Creative Ideas for Incorporating Pressed Flowers into Home Decor
Your walls deserve more than mass-produced prints. Those preserved botanicals you’ve carefully curated? They’re ready to become conversation-starting focal points that blur the line between nature and art.
Framing, Wall Art, and Display Inspirations
Thick matting isn’t just for museums – it’s your secret weapon against flattened dimension. Try floating specimens between glass layers for a modern gallery look. Shallow shadow boxes let you build textured scenes, like ferns cascading down a wall.
Wedding table numbers find new life when backed with delicate blooms. Use removable adhesive dots to refresh seasonal displays without damage. For high-impact wall art, cluster matching frames in grid patterns – varying bloom sizes create rhythm.
Professional framers suggest UV-filtering glass to prevent fading. But DIY lovers? You can achieve similar protection with spray sealants. Rotate arrangements quarterly to match nature’s calendar – snowdrops in January, goldenrod by September.
Your home becomes a living scrapbook when you frame memories this way. Each piece whispers stories of garden adventures and creative triumphs – proof that ideas rooted in nature always bloom beautifully.

