Imagine turning kitchen scraps into radiant home accents that spark joy for seasons. You’re about to unlock a simple yet stunning way to blend nature’s beauty with eco-friendly creativity—no fancy tools or big budgets required.
Let’s explore how citrus slices become timeless decorative treasures. This method isn’t just about preserving fruit—it’s a celebration of slow living and mindful design. You’ll discover why crafters nationwide are embracing this technique to add warmth to wreaths, centerpieces, and holiday displays.
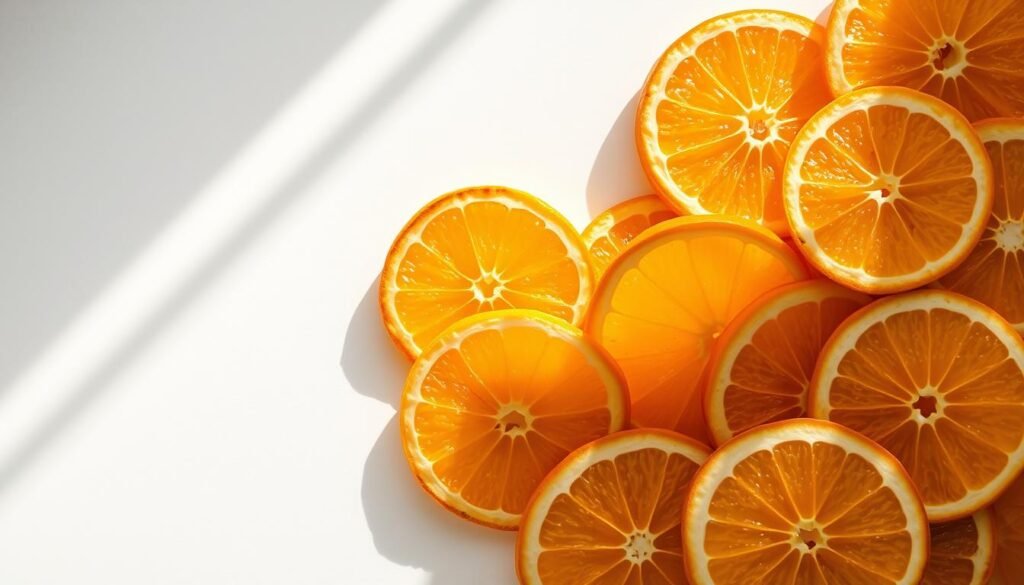
The magic lies in transformation. Thin, golden discs of citrus evolve into rustic-chic elements that pair perfectly with dried flowers or twine. Best part? You’re giving produce a second life while reducing waste—a win for your space and the planet.
By the end of this guide, you’ll master the art of creating durable, aromatic accents. Whether you’re styling a cozy cabin or modern loft, these natural ornaments prove sustainability never sacrifices style. Ready to make your home smell like a sunlit grove year-round?
Introduction to Sustainable Citrus Decor
Colonial artisans knew the secret to lasting decor: sun-dried citrus slices. This practice thrived in early American homes, where fragrant citrus creations doubled as air fresheners and holiday ornaments. At Colonial Williamsburg, historians still demonstrate how 18th-century families combined cloves with oranges to make pomander balls—a tradition that’s equal parts practical and picturesque.
Why Natural Accents Resonate Today
Modern crafters rediscover what our ancestors knew—nature provides the best raw materials. Citrus slices add texture to wreaths and charm to garlands while avoiding plastic waste. Their warm amber tones create instant coziness, whether displayed in mason jars or woven into table runners.
“The simplest materials often make the most striking designs. A dried orange slice carries more character than any mass-produced ornament.”
Crafting Through Controlled Drying
Dehydration transforms fresh fruit into durable decor through precise moisture removal. This method lets you:
- Preserve citrus’s vibrant color longer than air-drying
- Create uniform slices for symmetrical arrangements
- Lock in citrus oils for subtle fragrance
| Method | Time Required | Color Retention |
|---|---|---|
| Oven Drying | 4-6 hours | Excellent |
| Air Drying | 3-5 days | Moderate |
| Dehydrator | 8-12 hours | Superior |
Your choice depends on desired results and equipment availability. Oven methods work for quick projects, while dehydrators offer museum-quality preservation—perfect for heirloom pieces.
Benefits of Using Dehydrated Oranges in Eco-Friendly Spaces
Eco-conscious crafting meets timeless design with nature’s golden discs. These translucent citrus slices do more than brighten your space—they create a greener future through thoughtful reuse. Let’s explore why this craft resonates with modern creators seeking both beauty and responsibility.
Environmental and Economic Advantages
Every dried slice tells two powerful stories. Environmentally, you’re diverting fruit from landfills while creating decor that lasts years. Unlike plastic ornaments, these biodegradable pieces enrich your compost when retired. Local farmers benefit when you source citrus in season—fewer food miles mean lower carbon footprints.
Financially, this method shines. A single batch made with leftover fruit can adorn multiple holiday seasons. Consider this:
- Zero-waste potential: Use peels for potpourri or infused oils
- Multi-year durability: Properly stored pieces outlive store-bought decor
- Dual-purpose flexibility: Transition from wreaths to tea blends effortlessly
“Sustainable choices shouldn’t demand sacrifice. Citrus drying proves ecology and economy can coexist beautifully.”
The stained-glass effect of preserved slices adds warmth to any room. Their extended shelf life lets you stockpile during citrus season, ensuring year-round creativity without repeated costs. You’re not just decorating—you’re investing in a cycle that rewards both home and planet.
Understanding the Dehydration Process
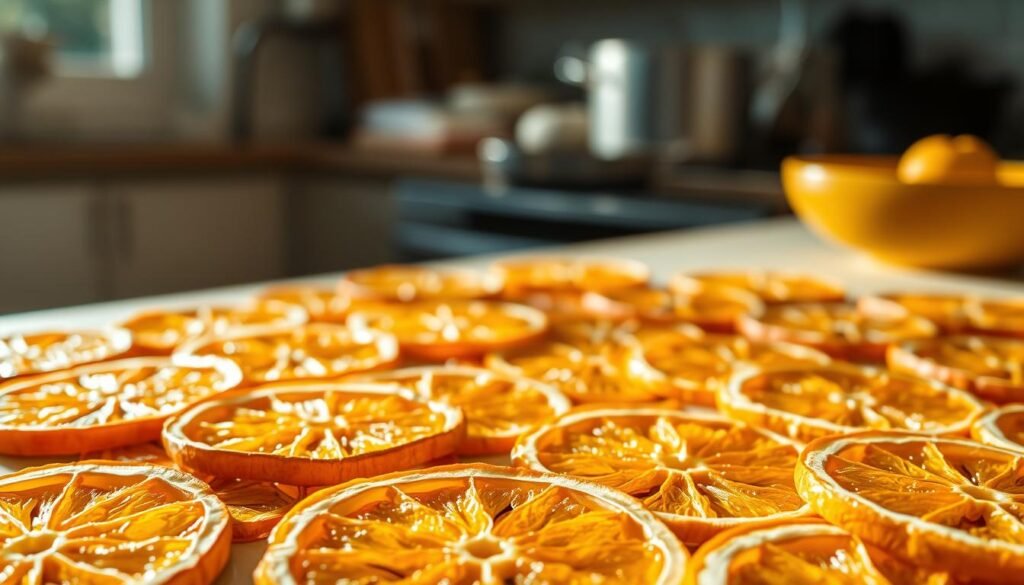
Think of citrus slices as nature’s stained glass—transforming from juicy wedges to luminous decor through precise moisture removal. This scientific dance between heat and patience creates pieces that last seasons while keeping their sun-kissed glow.
The Science Behind Removing Moisture
Dehydration works like a slow-motion magic trick. By drawing out water molecules, you preserve cell structures that give slices their translucent beauty. Too fast, and you’ll collapse delicate fibers. Too slow, and unwanted microbes might crash the party.
Here’s the sweet spot: 135°F to 145°F. At this range, heat gently coaxes moisture away without caramelizing natural sugars. You’re left with flexible yet durable pieces perfect for wreaths or wall hangings.
How Temperature and Time Affect Results
Imagine baking cookies—every degree matters. Cranking your oven to 200°F might seem efficient, but you’ll trade vibrant color for crispy edges. Stick to lower heat, and you’ll notice:
- Slices dry evenly from center to rim
- Citrus oils remain intact for subtle fragrance
- Golden hues deepen without browning
“Time is the secret ingredient most crafters underestimate. Rushing dehydration is like fast-forwarding a sunset—you miss the best part.”
Plan for 4-8 hours depending on method. Test doneness by pressing slices—they should feel leathery, not brittle. Store properly, and your creations will outlast store-bought decor while telling a sweeter story.
Essential Tools and Ingredients
Your citrus masterpiece begins with smart selections. Like choosing paint for a canvas, the right materials determine your project’s success. Let’s break down what truly matters when prepping nature’s decor supplies.
Fruit Selection Secrets
Not all citrus performs equally. Seek firm, unblemished fruits with smooth skin—these dry evenly and maintain shape. Navel oranges shine for beginners thanks to their thick rinds and minimal seeds. Their classic round shape slices cleanly for wreaths and garlands.
For showstopping accents, try jewel-toned varieties:
- Blood oranges: Develop rich burgundy hues when dried
- Cara cara: Reveal pinkish flesh perfect for gift toppers
- Bergamot: Offers floral notes for potpourri blends
| Variety | Best For | Drying Time |
|---|---|---|
| Navel | Wreaths | 6 hours |
| Blood | Ornaments | 7 hours |
| Cara Cara | Table Settings | 5.5 hours |
Equipment Essentials
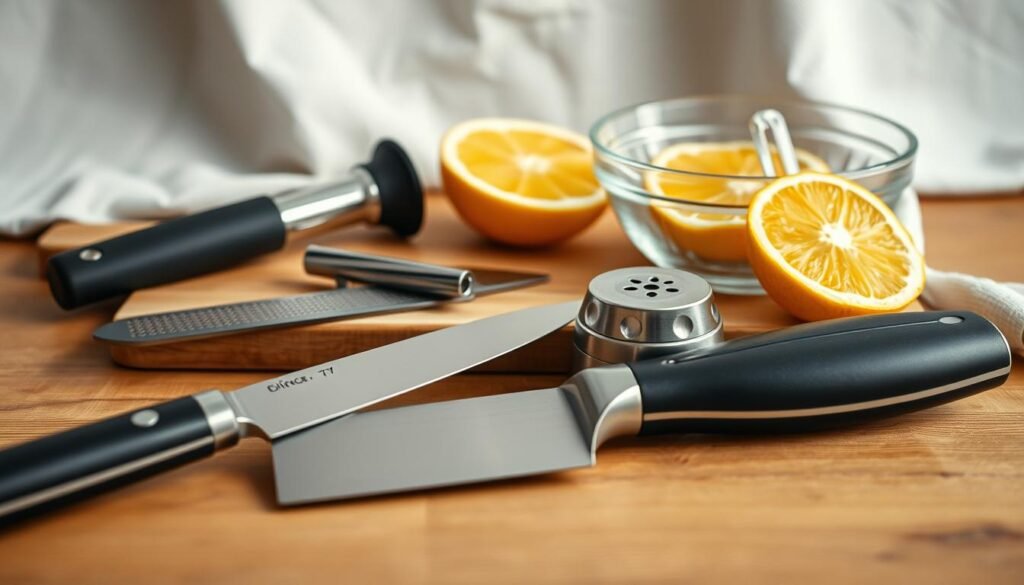
Your toolkit makes slicing precision effortless. A sharp chef’s knife works, but a mandoline slicer creates paper-thin rounds that dry faster. For bulk projects, consider these helpers:
- Dehydrator: Ensures even airflow
- Parchment sheets: Prevents sticking
- Cooling racks: Speeds air-drying
“The right tools transform frustration into flow. Invest in quality slicers—they’ll become your citrus best friends.”
Remember: Small fruits suit cocktail garnishes, while large specimens make bold wall hangings. Match your citrus size to the project’s scale for professional-looking results every time.
Step-by-Step Guide for Oven Drying Dehydrated Oranges
Your kitchen becomes an artisan studio when transforming fresh citrus into luminous decor. This hands-on process rewards patience with stunning results—sun-kissed accents that elevate wreaths, garlands, or table settings effortlessly.
Preparing and Slicing Like a Pro
Start with firm, unblemished citrus. A mandoline slicer ensures uniform 1/4-inch thickness—critical for even drying. Blot slices with paper towels to remove excess juice. This simple step prevents sticking and speeds up the process.
Mastering Oven Techniques
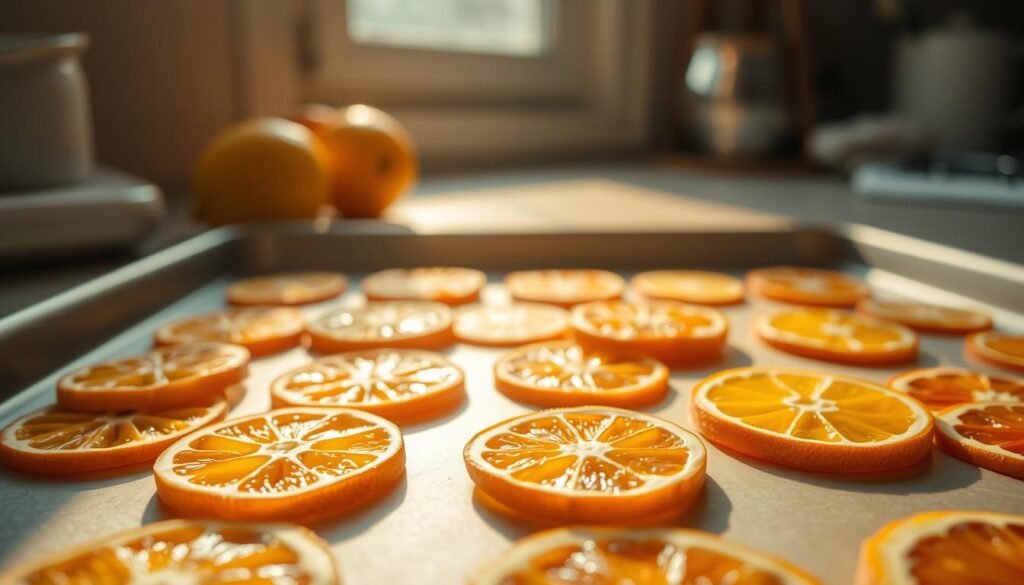
Preheat your oven to its lowest setting (175°F ideal, 200°F acceptable). Arrange slices on a wire rack over a parchment-lined sheet. This setup promotes airflow—the secret to flat, warp-free results.
“Low and slow wins the race. Rushing citrus drying is like baking cookies at 500°F—you’ll burn the magic.”
| Temperature | Time | Key Benefit |
|---|---|---|
| 175°F | 6 hours | Vibrant color retention |
| 200°F | 4.5 hours | Faster drying |
Flip slices hourly using kitchen tongs. Finished pieces should feel leathery, not brittle. Store cooled slices in airtight containers—they’ll stay flexible for crafting projects all season.
Alternative Methods: Dehydrator and Natural Drying
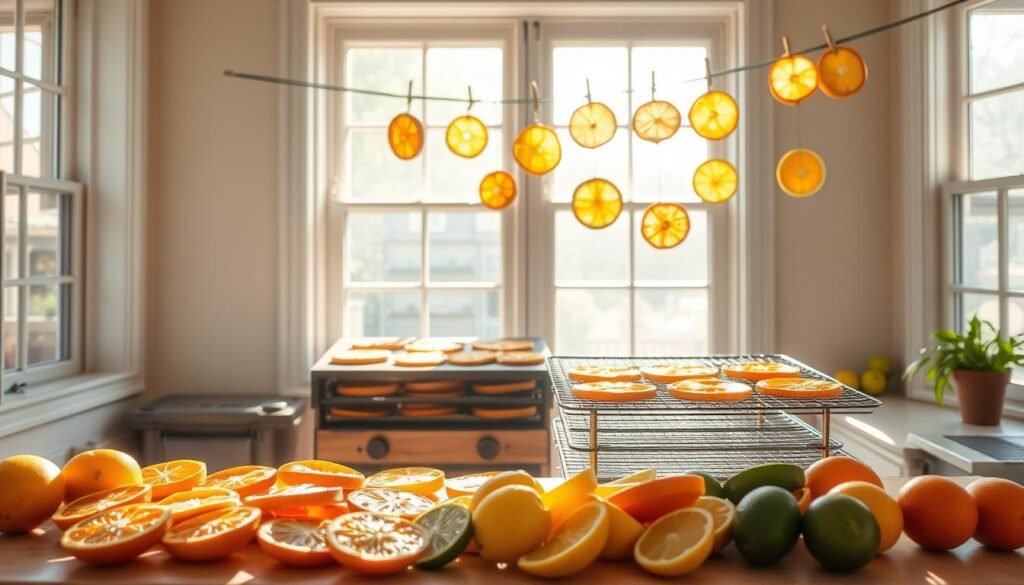
When time or tools limit your options, two paths lead to gorgeous results. Food dehydrators deliver museum-quality preservation, while air drying connects you to timeless traditions. Let’s explore how both approaches create stunning accents for wreaths and dried citrus garlands.
Harnessing Modern Technology
Set your dehydrator to 135°F—the sweet spot for preserving color and flexibility. Arrange slices in single layers, leaving space for airflow. Check progress after two hours, flipping pieces halfway for even drying. Most batches finish in 3-7 hours, depending on thickness.
Why crafters love this method:
- Consistent results across multiple trays
- Hands-off operation after setup
- Energy efficiency compared to ovens
“My dehydrator became the MVP of holiday crafting—it handles citrus while I tackle other projects.”
Embracing Slow Crafting
Natural drying offers simplicity with poetic rhythm. Place slices on wire racks in cool, dry areas. Rotate them daily like pages in a journal. Though this method takes 5-10 days, it rewards patience with subtle texture variations.
| Method | Time Investment | Best For |
|---|---|---|
| Dehydrator | 3-7 hours | Bulk projects |
| Natural Air | 5-10 days | Small batches |
Choose your approach based on schedule and desired aesthetic. Both methods create pieces that elevate seasonal displays—whether you’re crafting tomorrow or next week.
Tips for Consistent and Vibrant Dry Results
Perfecting your citrus craft requires equal parts science and artistry. Discover how a pastry chef’s staple—confectioner’s sugar—unlocks gallery-worthy results. This sweet trick preserves that sunlit glow while adding subtle sparkle to your creations.
Common Challenges and How to Overcome Them
Sticky slices signal trouble. After patting citrus dry, dust both sides with confectioner’s sugar like winter’s first frost. Use ½ cup per standard baking sheet—this creates a protective layer that enhances color and prevents premature browning.
Watch for these telltale signs:
- Leathery texture: Properly dried pieces flex without cracking
- No tackiness: Run your thumb across the surface—if it grabs, keep drying
- Even coloration: Sugar-treated slices maintain vibrant hues for years
“Sugar isn’t just for sweetness—it’s nature’s preservative. The right amount acts like invisible armor against fading.”
| With Sugar | Without Sugar |
|---|---|
| Vibrant orange tones | Dull amber shades |
| 3+ year color retention | 6-12 month lifespan |
Temperature control makes or breaks your results. Keep ovens/dehydrators at 135-145°F—high enough to remove moisture, low enough to protect delicate citrus oils. Rotate slices hourly for uniform drying, and remember: consistent thickness prevents some pieces from becoming brittle while others stay gummy.
Patience rewards you with pieces that transition seamlessly from holiday wreaths to summer centerpieces. Store your sugar-kissed creations in airtight containers, and they’ll remain flexible for countless crafting sessions ahead.
Creative Ways to Use Dehydrated Oranges in Decor and Cooking
Transform your living space and kitchen creations with nature’s golden medallions. These translucent discs bridge festive charm and culinary flair, offering endless possibilities for crafters and food enthusiasts alike.
Home Decor Projects and Festive Arrangements
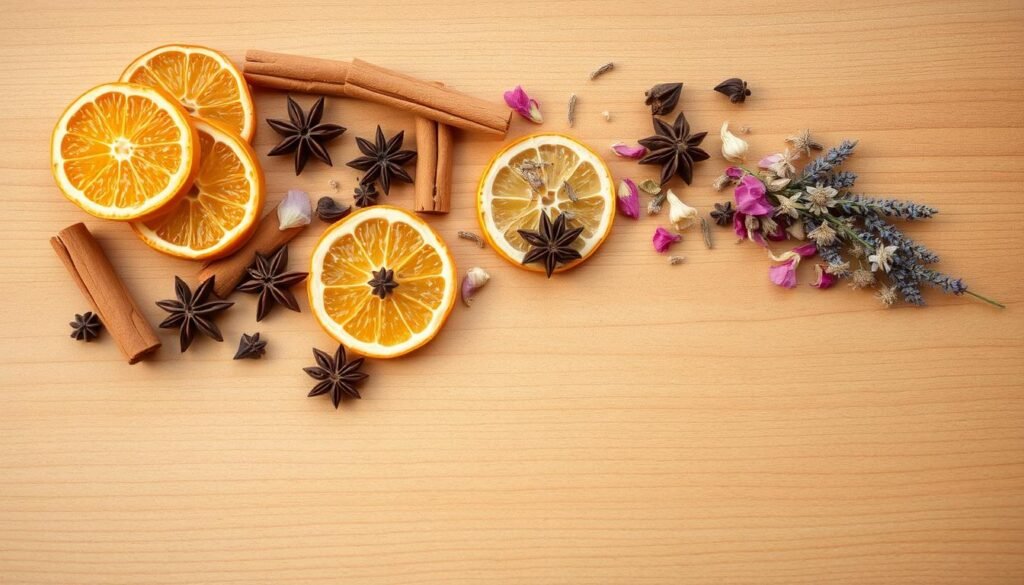
Thread dried orange slices onto twine with cinnamon sticks for aromatic garlands that dress up mantels. Nestle them into evergreen wreaths or hang as solar-powered ornaments on your Christmas tree. For tablescapes, layer slices between tapered candles and sprigs of rosemary.
- Create centerpiece bowls with pinecones and star anise
- Craft gift tags using slices as natural embellishments
- Design fragrant potpourri blends with cloves and dried florals
Culinary Recipes and Beverages Enhancements
Elevate winter cocktails by rimming glasses with crushed cinnamon-sugar and floating a citrus slice. Infuse olive oil for salad dressings or steep in hot toddies. For baking, try these ideas:
| Sweet Treats | Savory Dishes |
|---|---|
| Chocolate-dipped slices | Herb-crusted chicken garnish |
| Granola clusters | Citrus-infused couscous |
“A single slice transforms ordinary drinks into holiday magic. It’s like wearing perfume for your glassware.”
How to Preserve and Store Your Dehydrated Oranges
Your golden citrus creations deserve lasting protection—proper storage keeps them vibrant for seasons of reuse. Follow these simple steps to maintain their sunlit glow and subtle fragrance.
Packaging and Long-Term Storage Tips
Glass jars with tight seals become your best allies. Transfer cooled slices into airtight containers, layering them between parchment paper. This prevents sticking while letting you admire their amber beauty through clear walls.
Store jars in cool, dark spaces like pantry shelves or linen closets. Avoid humid areas—basements and bathrooms accelerate moisture damage. For extra protection, add silica packets to absorb rogue humidity.
Well-preserved pieces last 3+ years, ready to enhance future wreaths or gift wraps. Check annually for flexibility—if slices feel brittle, lightly mist them with water before crafting. Your sustainable decor journey just became timeless.


